However, although restricted to only a 1/4" gap, for some people the Pass Through slot and associated functionality is important.
From my understanding the extra functionality that the Pro has is camera assisted registration. i.e start lasering a pattern/image then when the GF stops (auto/manual?), push the material further through the slot and the GF will auto align to continue the pattern/image on the new part of the material.
Some of my thoughts on potential uses for the pass through and registration functionality:
Large cardboard models (think Autodesk 123D Make).
Lasering skateboard decks (might need to leave the front door open and override the interlocks).
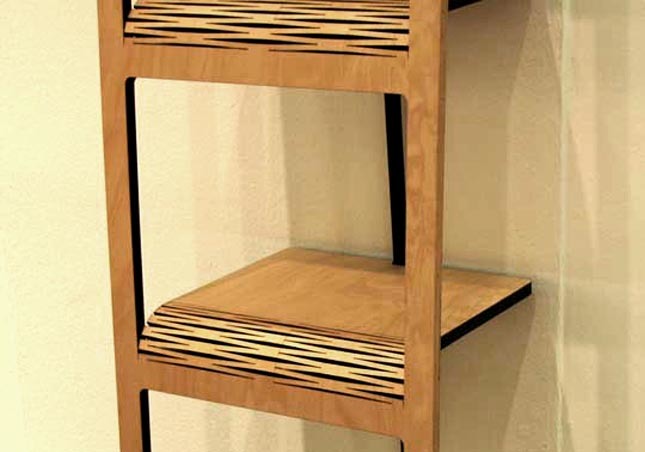
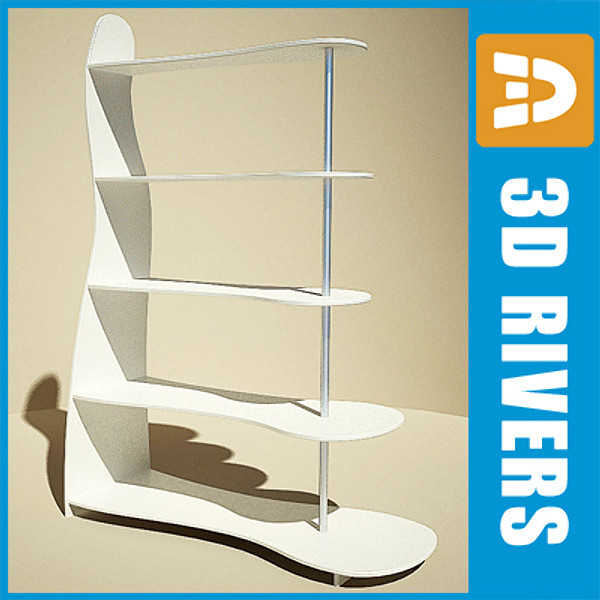
Custom room panels.
Larger leather works (e.g. bags), to avoid having to sew together smaller pieces.
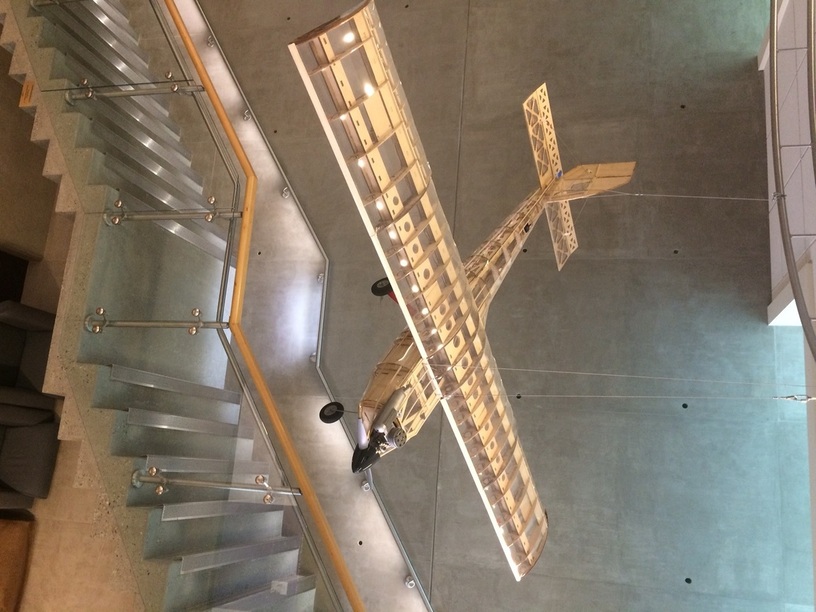
Model glider wings.
Large signs.
Cutting patterns out or on material.
I also think a section in the GF Catalog of designs specifically for the GF Pro would be a good idea.
My question is, how are Pro buyers, who are keen on the pass through slot and functionality, expecting to use this Pro feature in detail (not just general ideas)?
Probably not really going to use it much since it’s pretty small. Combined with the lack of much Z axis adjustability, it’s not much of a compelling feature. I’ll still use my existing laser for large format work.
I would really like to see a demo video of the pass thru in action. It’s an important feature that has not been demonstrated yet. Glowforge please post a video showing the Pro cutting material using the pass thru.
Going to be using the pass-through feature to make various over-sized gaskets. My gasket material is typically no thicker than 1/8". Hand cutting a 36" radiator tank gasket is timely, and introduces unwanted error. Hand cutting some gaskets actually causes a ‘round over’ deformation of the gasket as the knife presses into the material. Some commercially available composite gasket material is not laser-safe.
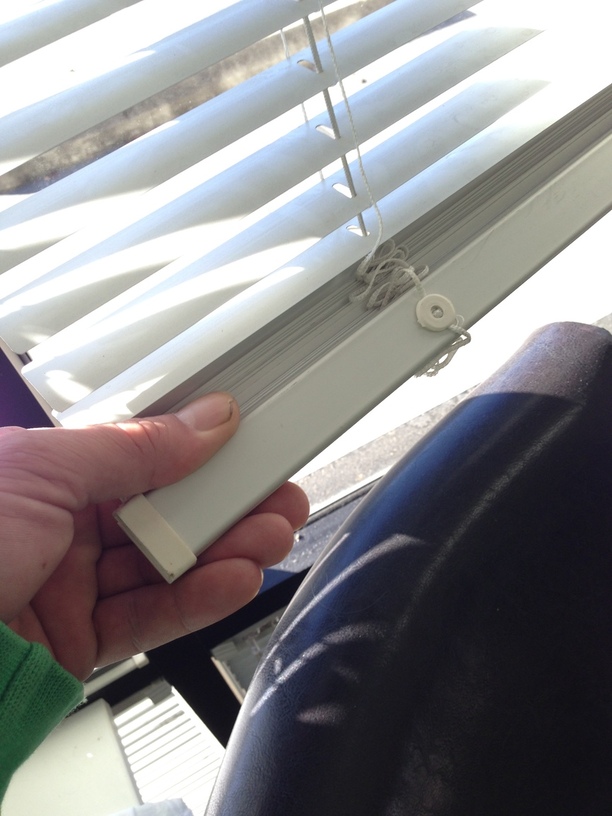
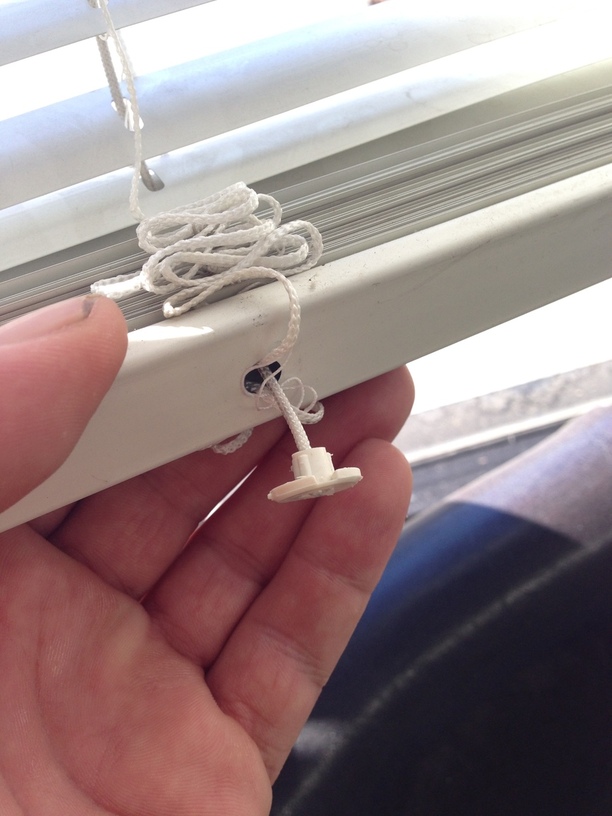
I opted to get the not-pro, but blinds and a headboard were my main ideas for the pass through slot. I figured out how to adapt the headboard design for the basic, and I couldn’t justify the additional cost to make some crazy blinds.
And I’ll live vicariously through anyone who does make blinds
I’m planning on using the slot, along with a friend, for making hardboard patterns to use with a router to make furniture out of thicker pieces of wood. In addition, really large leather bags?! Large organizing bins. I have zero faith that Glowforge will have an automatic registration for passthrough material initially. Not because I don’t have faith in them but it’s a difficult problem to solve. I plan on doing the registration myself with the mouse I guess (wishing they’d have nudging with keyboard keys)!
Also, does anyone know how accurate the placement is? For example, if I place a line 1 inch from the edge of my work piece, will it be 1 inch from my edge in real life? I guess that’s the calibration error between camera and work piece.
Alas, I’m only full of half-baked ideas and no follow through. My original idea was for intricate cutouts, but then that literally defeats the purpose of blinds and is probably not allowed by our HOA, at least for front facing windows. Then I thought you could just back them with rice paper, so you’d have privacy and the closed blinds would let light in, which would be cool until you want darkness. Then I thought maybe just engraving each blind with part of an image, accounting for the small overlap, so that your closed blinds are a giant piece of artwork might be cool.
But I can barely commit to curtains. Custom blinds are probably not really for me.