I’ve moved my new Glowforge (arrived this month) to it’s permanent “home.” It’s in my workshop, where almost all the equipment is on mobile bases. I was planning to build a mobile platform from scratch, but my local Sams Club was closing, so I picked up a mobile commercial cart instead. In addition, since the filter has not arrived, I needed to vent the Glowforge out a window, which was a bit of a challenge since all of the windows in the workshop are awning windows (hinged at the top).
The solution is fairly simple, but thought I’d share in case others want to do something similar.
The Cart
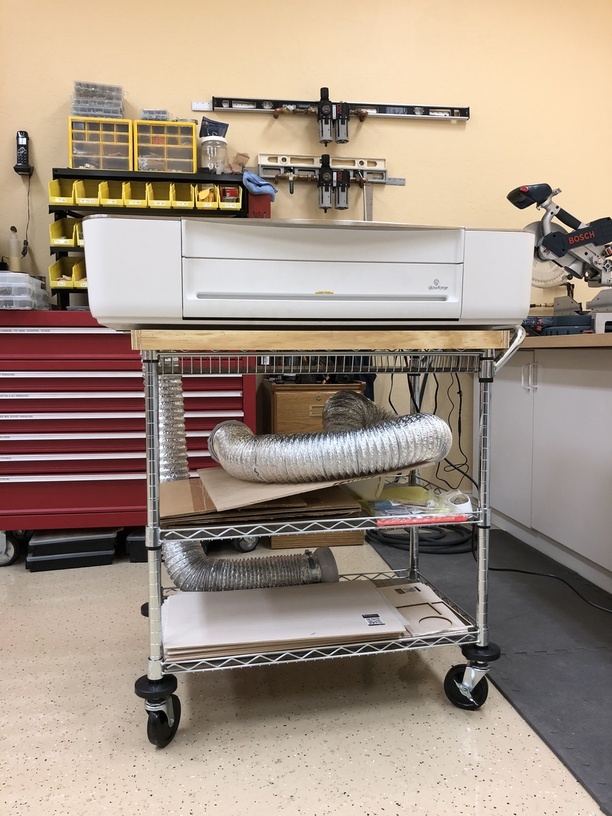
The cart’s top shelf is more of a tray, which was unsuitable for the Glowforge. So I made a simple plywood top out of 3/4" sanded plywood that fits snugly over the top of the support posts. The Glowforge overhangs the sides a bit, but is very stable (note the locking wheels on the cart). I use the bottom shelf for materials and the middle shelf holds the exhaust extension (see below) and other accessories like the glasses, cleaning materials, etc.
Venting
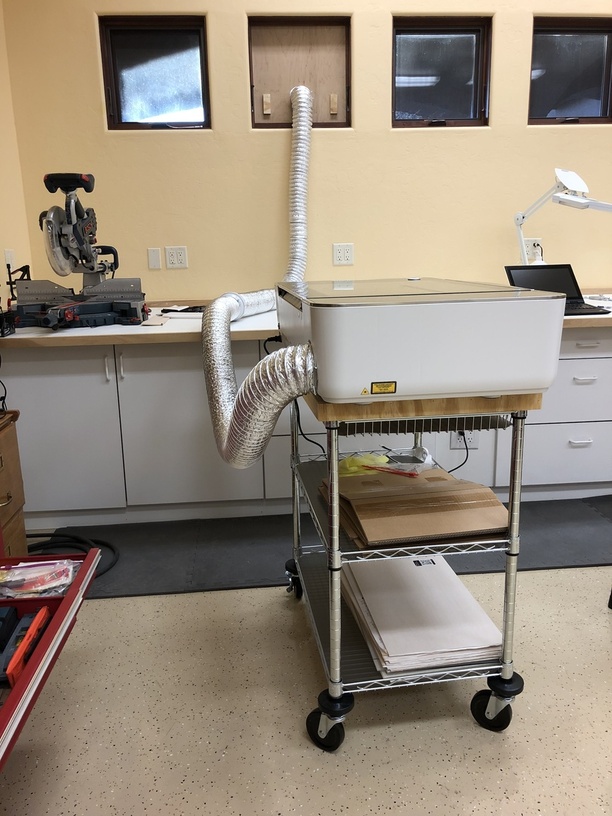
I removed the screen from the window and made a panel out of .2" maple plywood. It’s stiff enough to provide good support while being flexible enough to fit in the screen’s slot (requires a slight twist to get it past the locking handles on either side). I used to Glowforge to cut a hole for the vent cap (perfect - the plywood is exactly the same thickness as thick Proofgrade plywood) using blue painter’s tape to eliminate surface burning. Then I added the vent extension using a threaded coupler that enables the two pieces to be separated when not in use. Thus, it’s easy to remove the extension and window panel and store it on the cart. As the workshop can get dusty, even with my dust collection system, I keep an old bed sheet over the unit, which sits on the side of my table saw’s outfeed table.

It only takes about 5 minutes to set up the whole thing, so no reason to not use it whenever I have a project or a new idea.
Another Use for the Passthru Slot
As an aside, one of the reasons I splurged on the Pro model was the passthru slot. I figured I would eventually need it. Well, turns out it was needed for this project! The panel is just under 20" wide, so that was perfect, but it was too tall for the cutting area. Since the cut is at the bottom, I used the back passthru slot for the material. However, the plywood, as is often the case, had a twist in it. My solution was to use a 18" long scrap piece of the plywood in the front slot which was placed on top of the front left corner of the panel in the bed and raised up above the slot outside the Glowforge. This provided the leverage to keep the corner down, which had too much twist for tape to hold flat. I had not thought about using the front passthru slot in that way before, but it reinforced my decision to get the Pro model, as I think twisted wood material is going to be fairly common.
