Variable speed rotary tool with a flexible shaft. Yes they work great, totally positionable and if you turn the housing at the back you can adjust the beam width. Originally from a dentist office then to a salvage yard then to a friends loft and then to me. They were separate lights and I welded up the ring mounting to hold them. Don’t get me talking about tools.
7 Likes
OMG that’s awesome! I love it!
And like everyone else… serious workshop envy!
2 Likes
Ok… now that’s the coolest thing I’ve seen. Setting a pretty high bar.
2 Likes
You know, I’ve been thinking it would be really cool to have a glowforge founder meetup somewhere. I think we just found the spot…
6 Likes
I could needlepoint that on a pillow… but I have a laser.
The plaque will be in my garage before I sleep tonight.
4 Likes
Wow, truly impressive!! The only time my shop was that clean was when I first moved in LOL
7 Likes
Way too cool!! I want one of those!
1 Like
Looks amazing!! Amazing shop too!
1 Like
Are you, like, Ironman or something? This acrylic project as well as your workshop are the coolest things I’ve seen in many a day!
3 Likes
No, but I really want an artificial intelligence assistant to bounce ideas off, and a virtual holographic interactive display environment, oh and a billion dollars.
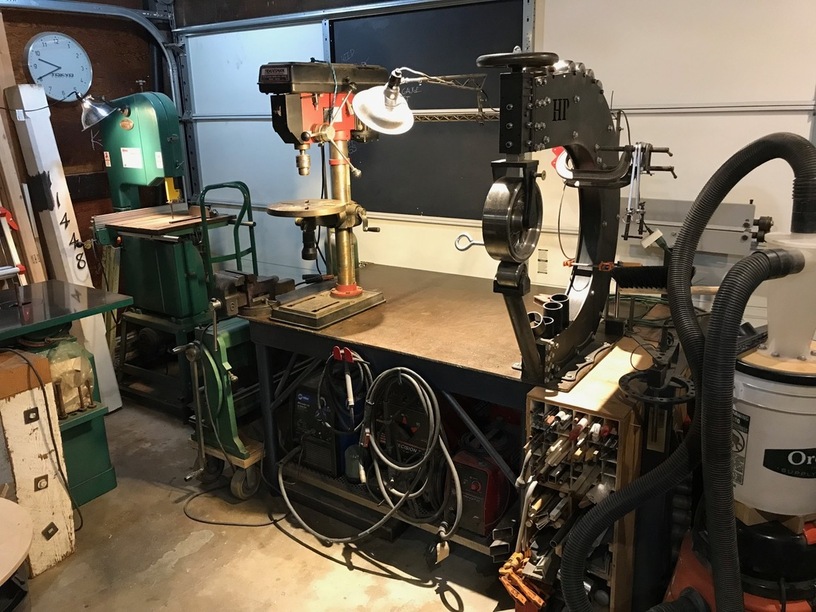
As long as I’m being a big show off… the other side of the shop. Here I demonstrate how many separate areas of a previously functional large shop can be crammed into your garage. Also the unadvisable “fire hazard” of mixing a wood shop with a metal shop “which is why I have to constantly vacuum everything”
16 Likes
When you cleaned off the ‘rub-and-buff’, did that come clean easily, and was it a simple wipe, or did you use a solvent damped cloth ?
Many thanks,
John

I was quite surprised how well this worked and have already ordered rub n buff in every color. Use a soft non abrasive cloth and a little elbow grease.
As long as the acrylic is glossy it rubs right of with buffing, but be aware that the color will not rub off any areas that had become de-glossed, like around the edges on my piece from pushing against the die.
The other thing that is of note is what happened when I heat formed the acrylic, the engraving became much clearer. Not sure if it was the heat “and” the stretching or just the heat. I think it is clear enough that you can engrave and color from the back on clear… which is awesome for a bunch of applications. It certainly works with the thin lines anyway, I will have to test a larger defocused area and see how much clearer it gets by taking it up to 425 degrees.
3 Likes
I’m envious, your shop is bigger than my house…
Way too cool, I’m fighting to stay focused on the  right now.
1 Like
oh wow… impressive.
1 Like
I am wondering were you got the blower from? I am interested in getting something like that for some projects I have in mind.
1 Like
That is beautiful! Very nice!
1 Like
Very cool! I really like this!
1 Like
It is a home made unit.
Basically a barbecue heating element in a air tight metal box.
The box was made on my press brake out of 22 gauge sheet steel. Sealed with a high temp furnace caulking then coated in high temp barbecue spray paint. I sandwiched in a half inch layer of furnace refractory cement in the lid to help keep the dies cooler. It is plumbed with regular air compressor fittings and has a barbecue thermometer pushed in at the lid to give me a approximate idea of the temperature.
It was a simple build for me because I have all the metal working tools, but there are probably some already made things that could be hacked.
2 Likes
That is incredibly impressive AND clever!
Thank you!