@dan and crew, another HackaDay gem. Most of the good here from the comments.
For the general community, there is a guide linked in the post about how to prepare images for engraving. Haven’t read it, I assume good stuff. Read the comments on Hackaday though, because the guy who made the guide apparently did a few things less than ideal.
For the GlowForge crew, a comment talks about Mr. Beam Jr, and says it uses a fork of Octoprint (web based system) to do greyscale.
Now… I am not sure if they just mean spacing out engraving dots to get a different color, or if they mean dynamic power adjustments to obtain different depth. But at the least, there is something out there which may get you considerably closer to a major feature development with minimal time invested.
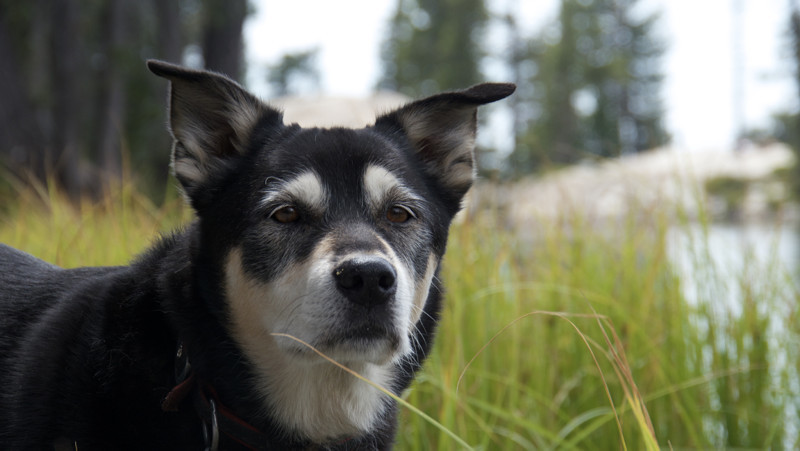
This is a good start to a conversation about the engraving/raster aspect of the lasering. Not too promising in the article to have the first comment contradict the first two steps, but at least it got me to begin playing with the Mode menu and Filter menu and I identified a few images of sunflowers that I took that might make interesting engravings.
I would assume that defocusing the laser slightly would be too slow to vary beam intensity for greyscale etching, but might be used to create a variable dot size pattern.
I have some experience in the past of taking scans of Japanese manga, in black and white, refining the grayscale to make there to be less grays, which makes the file size smaller, and if done correctly, can make the image sharper and clearer. Then we did things like translation and etc, but I expect that prepping an image for the laser would benifit by following the same process. Photoshop and Gimp have the tools to do this, but I’m not at my desktop to remember exactly what the options are called. If you have trouble with getting an image to look right, message me and I’ll do what I can to help.
the quick and dirty for photoshop:
open your color image.
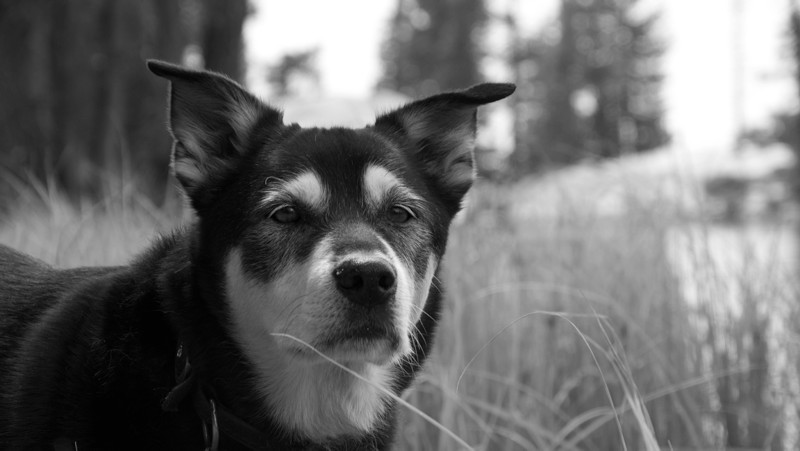
1: From the top menu select Image>Mode>Greyscale
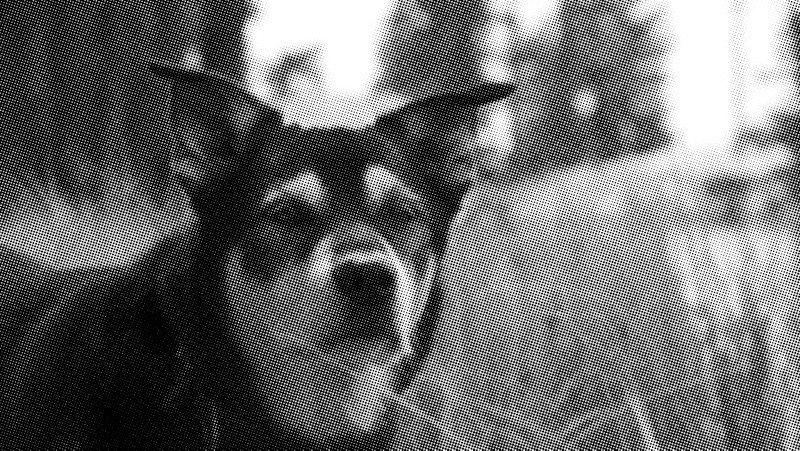
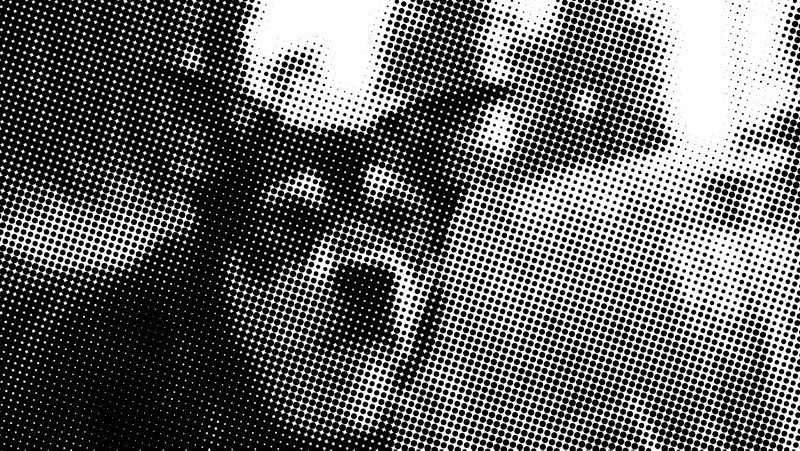
2A: From the top menu select Filter>Pixelate>Color Halftone
2B: Set the Max. Radius: to 12 pixels.
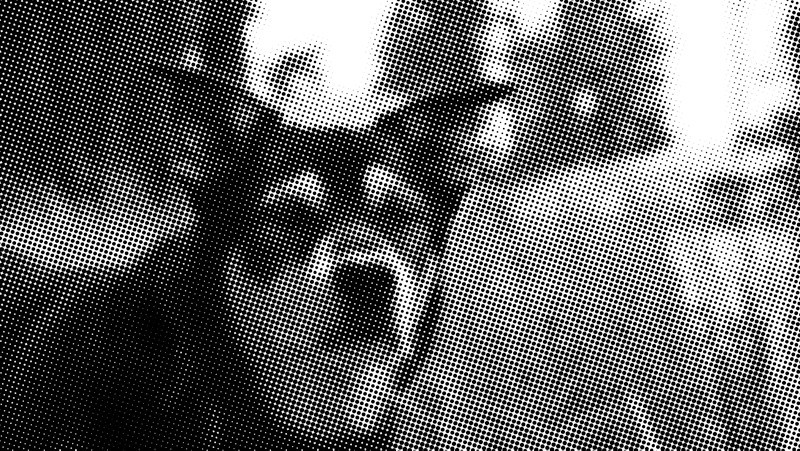
Too detailed? Hit Undo, repeat step 2, and set the Max. Radius higher
Not enough Detail? Hit Undo, repeat step 2, and set the Max. Radius lower.
(note that these images and the corresponding halftone max radii were dramatically scaled down for the forum, it was processed full size at 4976x2800)
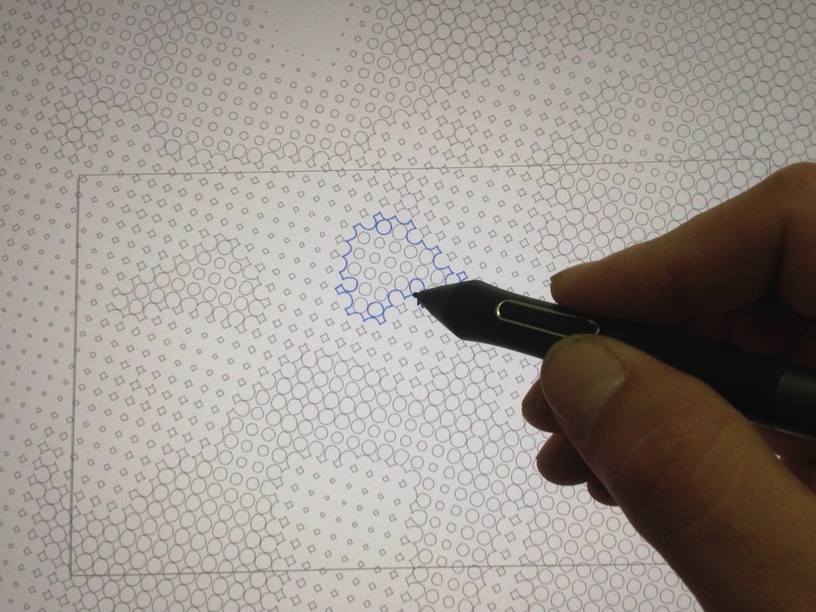
you can take it further by using the magic wand tool to select the (non-contiguous) black, the path window to “make paths from selection”, and export: send paths to illustrator. Now you have an insano vector image to play with in illustrator.
I’m guessing that you could raster-engrave the image lightly on wood (browning), and then vector-trace your halftones to outline each one (black). This could be a really cool effect… or a lot of wasted time. I will be trying it on something much more simple.
Some good advice here. But as an extra detail for the uninitiated: try to avoid going straight from RGB to greyscale in Photoshop.
You have a lot more creative control if you go through Image > Adjust > Black and White (or Layer > New Adjustment Layer > Black and White) first.
And then maybe take a pass Curves or Levels to refine things further – your bit depth isn’t as high in greyscale mode, so it’s better to deal with this before you switch over.
yup. lots of different ways to do many very similar things in photoshop. Word of warning: it is easy to spend lots of time and stress over details that will be too small to ever see in the finished product, or that will be lost in the next step. Always keep your final product in mind… unless you don’t have a final product in mind, or you don’t have time restraints… in which case try everything!
GIMP is a free program with great tutorials on YouTube for creating photos for laser engraving. I haven’t tried to laser anything with it yet but it seems easy and it has a lot of options. Did I mention is was FREE? lol I will let you know how it works.