Got it, thx.
(your post makes it sound like it’s “best practice” to cut outside first, that’s why I was confused)
Got it, thx.
(your post makes it sound like it’s “best practice” to cut outside first, that’s why I was confused)
And now I will feel great shame. 
One of my self-appointed missions is to make people understand that when you write instructions, you probably know a lot about your subject. So your instructions leave out the 50% you consider as obvious as breathing. However, your audience is left confused through no fault of their own.
No need to feel bad over my lack of understanding!
Thank you! I can’t wait to get the update. I make a lot of plaques that take about an hour a piece and it’ll be so exciting to do them faster. Plus I have two shows coming up and these ornaments are killing me. She pays VERY well, at least I think, I can’t really get a good answer on how much I should be charging. I really want to knock them out for her and still have time to make my own stuff but it’s proving difficult to manage both.
You may or may not see a big impact from the increased engraving speeds. It depends on a lot of factors. The clean corners, however, are awesome. That will make a positive impact on the quality of the inside cuts on your Jeep ornament.
Give this a try. engrave the black, cut the red.

I will try it! Thank you! Normally I don’t mind messing around since I’m still learning the program but now that I have to get them out so soon it’s driving me nuts.
A couple of points of note.
#1. Ten images the same color will be engraved one at a time, but as filled vectors, the same color Glowforge will engrave them all at once.
#2. Any bitmap will have either jaggies or a blurred edge where a vector will have a sharp edge at any scale. If you want to make a wider score you can set the line width you want and use Stroke to Path to create two score lines that far apart or go half and set each narrower and do it again and have 4 score paths. this will be much faster, particularly on vertical bits than engrave. It is easy to go too crazy on this but much better than an image,
#3 If you put one copy in the GFUI and copy paste there you will have one set of layers, if you make many copies in Inkscape each image will be a layer and those things of a color will be jammed together.
Here is your deer with some minor modifications you first lightly score the green, then engrave the yellow and then cut the blue. You will notice I made a very small change to the loop as such a curved place in a weak area will be much stronger than if it comes to a point,

If you copy paste in the GFUI and line them up horizontally they will all engrave at once
This looks amazing! Thank you!
Yes, curious about this. Usually it is a funky, twisted node.
Holy crap, dude! That looks amazing! How did you do that to the loop? Just pulled the anchor points out a little? I love the score around the outside!
There are many ways - I would click the sharp corner nodes and convert to “smooth”, then adjusting as necessary.
It’s likely rbt has some even cleverer way (I’m an amateur)…
There are many approaches depending on the exact situation, one of the easier is to add a node on each side of a sharp corner and then delete the node at the corner.
Finally got the update but for some reason the faster the engraving speed the slower it is. I’m bummed.
A conspiracy of the way the universe works. It takes more time to get up to speed and more time to slow down. So a narrow engrave can take a lot longer because you don’t get the benefit of the speed while cutting. A wider engrave that can take full advantage of the speed gets more than it loses.
What I like most is the ability to use the highest LPI that would burn all the way through at full power and a thousand speed. It takes a lot longer but makes a nice look.
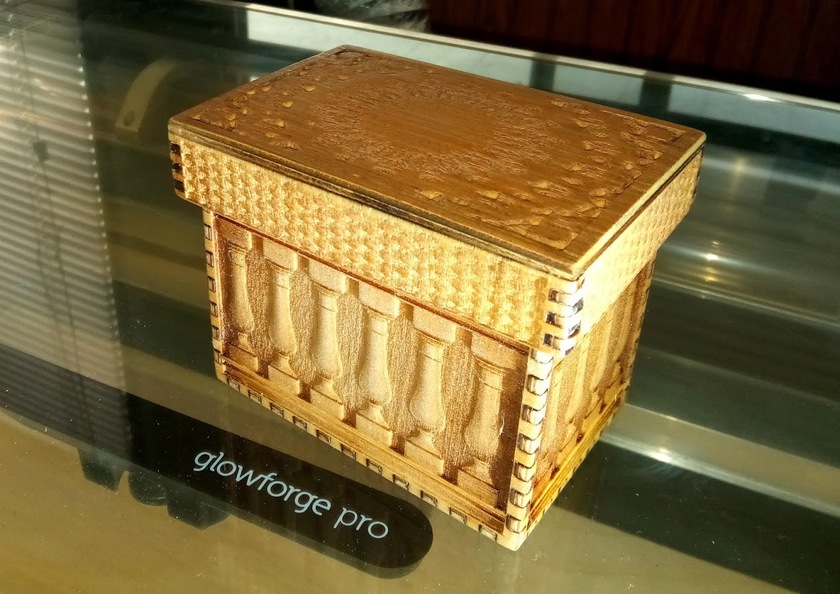
That is 1/8" Baltic Birch
Looks great and your machine is so clean! I feel like I’m constantly cleaning mine but it’s constantly yellowing and getting junk all over the tube and glass.
That is my second machine but I have only recently had to clean it when I cut up a bunch of oak. To keep the other one running I bought a cheap Vivosun for the assist which did not work well alone but with a working exhaust fan got the crud out so fast it did not get the machine as dirty as if it had been about longer.
If you are cutting MDF or Oak it will not help much but maple cherry and walnut barely left their dust.