I’d love some help and I’m desperate. I have someone who wants me to do 8 designs for ornaments. He needs a butt ton. The problem is that some were easy like snowflake cut outs but for the ones that are like this, if I do a sheet of 12 (3.2" long) at full speed, 225 LPI, and 65 power each sheet takes 2 hours. He’d like to have it within the next 10 days. I tried scoring instead of engraving but it doesn’t look great. Can anyone tell me if there’s anything I can do to make this go faster? I don’t care if I have to change the look of the file. I’m adding some examples of the files here. I’m fairly new to both illustrator and the GF so I’m hoping maybe there’s something I’m missing but I’ve been messing with the files for hours and I’m not getting anywhere.
Did you see today’s announcement on speed changes? Take a look and see what you have for new options - a Basic is 1.4x faster and a Pro is 4x. That should change your job times a fair amount.
Layout all of the items that can fit on a sheet, then convert your etched portions to a single bitmap, leaving the vectors for cutting out the ornaments from a sheet.
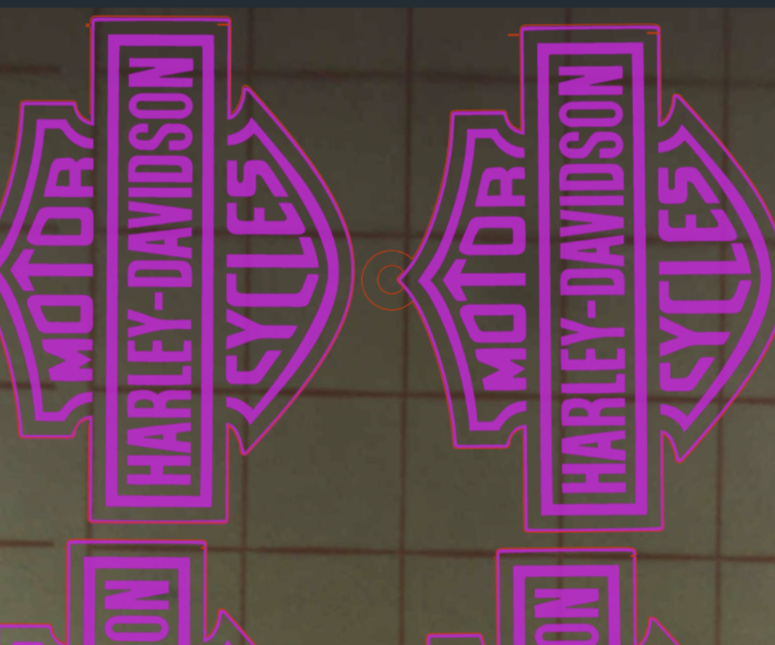
Here is one of your images with 22x ornaments. I didn’t load it to try, but will bet that the time required is less than you noted above.
You can adjust the LPI to 270 in the GFUI and test to see if you like that.
Dropping the LPI and increasing head speed are the main ways to make engraves faster. You can also slightly reduce the physical size of the items and gang more up onto a full sheet, thus maximizing output for the sheet/time.
Higher engrave speeds are rolling out this week at some point.
Jeep: invert the border so it engraves the text instead of the outside. Then connect the inner circle that is touching the jeep and cut the jeep out instead of engraving it.
Deer: make the outer ring and mountains a little thicker and cut it all out instead of engraving.
Not a stupid question. And I did this in AI so… yeah
The easiest thing you can do is make sure all of the engrave portions are a single color, that is different from the portion that you want to leave a vector for the cutouts.
Layout your items
Select one of the compound paths, then go to Select -> Same -> Fill and Stroke
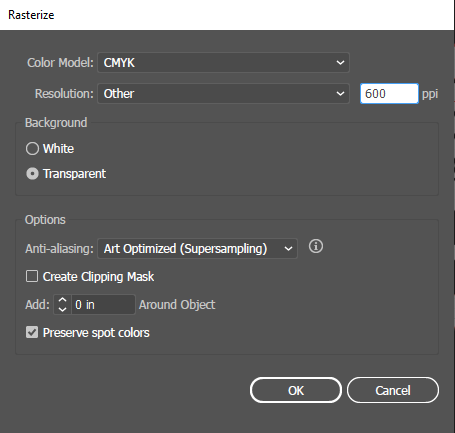
Next step, with all of those selected is to go to Object -> Rasterize
There are a couple of experts on here that will tell you to make sure the DPI is at least double what you’re going to print at, so just make the raster 600 DPI. It will be pretty when printed.
I like my background transparent, you can choose white. It doesn’t matter (white won’t be printed).
You’re getting some other great suggestions. Hope this helps.
Weird. It has to be something in the file already. If you want to message me the file or load it here I’ll be happy to look at it.
If not, try to release your compound shape and then go zoom in to the areas you’re seeing the extra line. It is probably sitting hiding there waiting to be discovered
Okay, so these were my initial thoughts as well but then I tried in Illustrator and couldn’t figure out how to do it. I’d love to just do more cuts instead of engraving and I think he’d be happier with that too but I spent at least a couple hours trying to get the jeep one to cut out the little piece under the jeep and the circular top but I couldn’t quite get it. I was so close but I just wasn’t sure anymore after staring at it for so long. As far as the deer, I’m not sure how to make the lines thicker other than using stroke and that doesn’t actually thicken the lines in the program. I’m kind of teaching myself Illustrator as I go and it’s getting easier but still haven’t figured it all out yet. Here’s what I came up with for the jeep but I don’t think it’s right.
For cutting this is true. For engraving, you first make your line thicker and then you convert it to a fill (or you can rasterize it.) I use Inkscape, so for that program I would make the line thicker and then do a Object to Path and after that a Stroke to Path. I don’t know the AI commands, but I know they exist.
And if you want to rasterize it, then in Inkscape it would be Make a Bitmap copy.
I changed the outside line to blue. The glowforge likes to cut from outside to inside. If your material isn’t completely flat this results in your ornament being dropped down to the bed and can cause minor issues when the inside pieces are cut out. If you’re doing a whole sheet it may increase your time and you may not want it.