Forgive me I’m being dense at the moment. When I place the board in the crumb tray isn’t above the normal print tray?
The surface of the tray is around 1.5" above the floor of the machine. It can only “print” from that height up to about .5" higher. So you need to prop your material up so that it falls in that range. You enter the height it now sits above where the tray surface would have been.
Here’s one (of many) solutions to supporting material:
3 Likes
As regards the crumb tray and your cutting board. When you remove the crumb tray you have to replace it with something as tall as the crumb tray but less than two inches in height. Your cutting board is shorter than the crumb tray. So you need to put something under your cutting board that when combined with the height of your cutting board is between 1.5 and 2 inches high. Once you have done this click on the gear icon in your browser. Then click on Set Focus. This will take care of you having to manually enter a height.
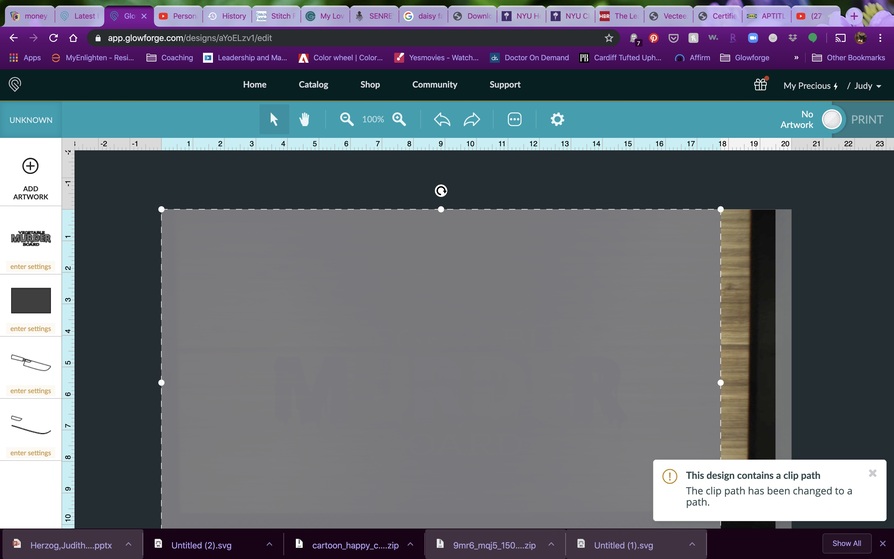
As for your design it looks fine to me. Ignore the big rectangle and enter settings for everything else. Have you tried engraving on bamboo yet? It can be a tricky material. If you have not, then search the Beyond the Manual section to get an idea of settings.
3 Likes
Here’s a thread with a video showing how to do it:
3 Likes
Thanks to everyone for all the help and advice. I used custom settings and the crumb tray. It’s not centered but I love the way it turned out.
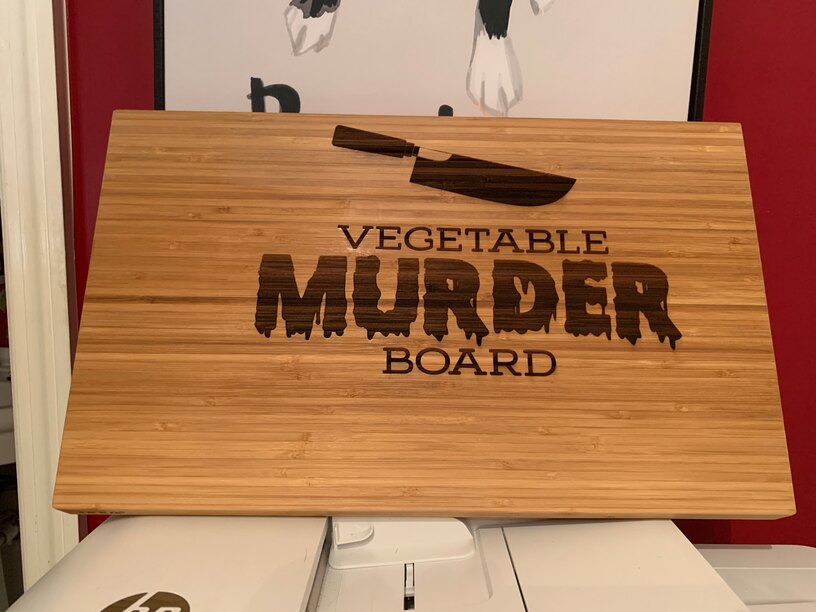
11 Likes
Genuinely curious how you used the crumb tray to engrave a board over an inch thick.
If you don’t mind sharing, what were your custom settings? I’ve had trouble with that exact board trying to get it dark enough for my liking. Thank you!
I just placed it on the tray. I centered it vertically on the crumb tray and used the left edge to make sure it was straight. I got the spec from the Ikea website, the spec could be wrong. I will use calipers next time.
There is barely over .5" between the bed of my tray and the bottom of the laser head carriage. You’re saying you put a 1.25" thick board on top of the tray.
I use the 9 1/2 x 6" but they are .50" thick, no tray adjustments needed…
1 Like
Not at all…I used the crumb tray
Speed 1000
Precision Power 80%
DPI 450
Focus Height .5 inches
1 Pass
1 Like
I just double checked the website. The pamphlet included says 1.25, the website says .75 inches. Makes more sense at .75.
1 Like
There’s still not enough clearance for .75" material on my machine. Did you actually measure it, or just going by what they state on the web site?
1 Like
Just what it says on the website. I have to do another board. I will measure with calipers and will let you know.
@elfguy you are totally right. I should be using the crumb tray. The only reason it worked was because my speed was slow enough so that the back of the laser carriage was gently scraping the wood surface. I will be printing the clips you sent me next.
3 Likes
you can’t engrave and svg can you?
SVG is just a container file. It can contain vectors or raster images. Vector images can be cut, scored, or engraved. Raster images can only be engraved.
1 Like
Just wanted you to know that years after this post (2023), I just used this to make a really cool Dungeons and Dragons themed board for my friend. This was VERY helpful. Thank you again
5 Likes