Help with a photograph on poplar

Can someone help me? I have a friend that asked me to put this photo on the lid of a box for her husband. I have edited the way I do all my photos and it’s just not working. I’ve tried the PG settings and my own and still can’t get a decent image. Is there something I can be doing different? I converted it to black and white, sharpened it, upped the brightness, increased contrast, messed with levels and curves. I HATE doing photos because I just can’t seem to get the hang of it but I’d love to make this for her.

1 Like

There are a couple of tutorials in the Tips and Tricks section – here’s a link to one:

If you’re a Photoshop user, @jbmanning5 has developed a PS action to automatically prepare photos for print – he’s also got a service on his website where you can upload your photo and pay him (very reasonable) to do it for you. :slight_smile:

2 Likes

Thank you. I feel like I did all that and still get a crummy image. Maybe it’s my settings. I looked through all the tutorials I could search for, tried all the different settings suggested, and it still doesn’t look right. The closest I’ve gotten is using the PG draft settings but even that was too dark and wasn’t sharp. I’ll check out the photoshop action to see if it helps.

There’s also a sad truth to consider: some photos are just not great candidates for engraving with a laser.

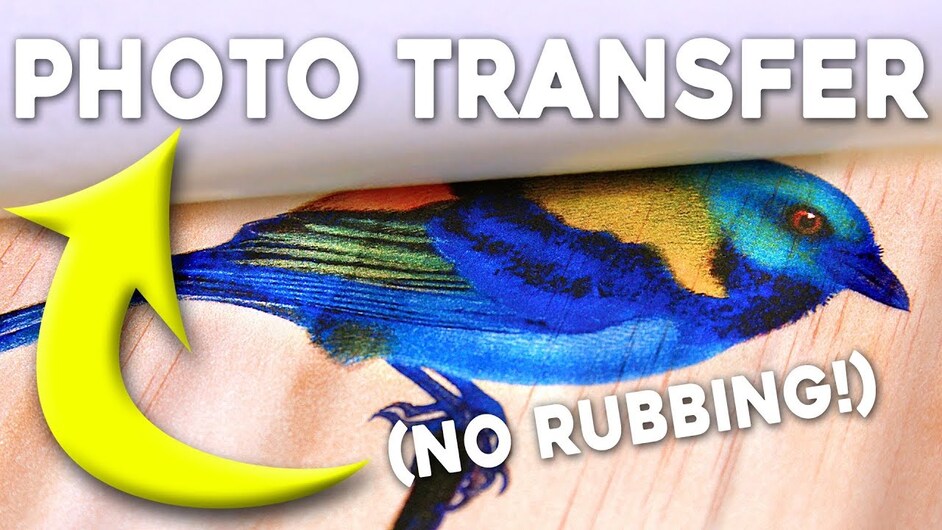
There are alternative ways to use the laser and crafting skills to make a highly personalized thoughtful presentation, the crafsman did a really great tutorial on how to transfer photos to wood. Let’s see if I can find it… aha:

Maybe laser up a nice wooden box and transfer the photo onto it?
7 Likes

Thank you. I’ll test it with the photoshop action and then give up. I will say, the photo thing isn’t coming easily for me with any photos so I have a feeling it’s more me than the photos but this one I could definitely see being trickier since there’s a lot of black and it’s pretty low res. I make my boxes by hand but, you’re right, I can absolutely transfer the image or even sublimate it if necessary.

1 Like

Also, that guy has a great voice!

2 Likes

If you’re having trouble with settings, take a clip of the most important part of your photo and do something like this:

1 Like

The CrafsMan should read bedtime stories. I love him.

2 Likes

In my miserable opinion, the image itself is a difference of darkness where the people are at the dark part of the photo and wearing dark clothing.
Even if you do add light, brightness etc, sometimes the image isn’t perfect for the service.

Also, avoid Sharping up the image, it would result on the laser to literally engrave every little detail and you don’t want that in every image! specially in images like that! (high levels of dark areas).

I hope you understand what I’m trying to say! :slight_smile:

That image is simply not suitable for engraving without washing out the background.

You would need to mask out the subjects and the background in different layers, adjust for each, then merge back together.

Tell him, nice shirt. Favorite band of my daughter and myself. She has spent an afternoon with them in person for her 15th birthday.

5 Likes

You might, just might, have better luck getting rid of the shirts, and change the oval 90 degrees, so you don’t have half the image as black/dark shirts. then you may have better luck getting the b/c balance to work better for the faces and the cave formations.

2 Likes

I thought about that but the box is a vertical gun box. As it is I cropped out a ton of the black by changing it to an oval and not using the whole picture.

I think I finally got it! I used the photoshop action which was almost identical to what I did myself but certainly faster. Full power, 1000 speed, 225 lpi, and I messed with the density of the dots. Don’t mind my scrap wood that I used for testing. Going to make the lid tomorrow. Cross your fingers it looks the same. The wood I’m using is slightly thinner.

11 Likes

Hey not bad!

3 Likes

It’s fairly close to the glowforge method - with the big big exceptions being:

  • it gives you a baseline edit
  • each of the tools used/layers are editable so you can make changes as needed (you can actually save the base file as a PSD and come back whenever*
  • and the shadows highlights tool - which is incredibly powerful

I threw the asterisk in there just to come back to it - this is also really useful for when you have a single image that you’ll want to be engraving at different sizes. If you resize the edited image, all of the sharpening goes out the window pretty much. You want to keep the final output the size that it is output at.

2 Likes

This is only the second photo I’ve tried. Honestly, I am not a huge fan of engraved photographs but other people seem to enjoy them. I like the action because I was dodging and burning by hand along with adjusting the levels and curves so I couldn’t make an action for it. I’m a photo editor by trade so I was probably way overcomplicating it.

3 Likes