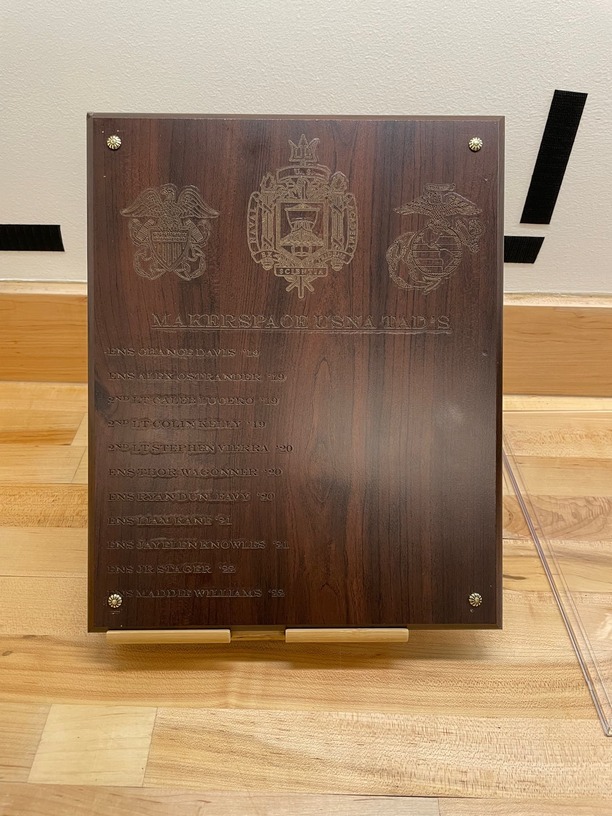
I hope I can make this make sense and maybe I am asking too much. I was able to make a nice etched plaque (see photo and I know there is some bubbling so I might retry).
What I would like to if possible and I know it would be a lot to ask for is for some way to add coloring (after engraving) to this plaque. I am willing to experiment and take some risk as long as I can come up with a reasonable plan. For example, is there some way to apply paint/powder/adhesive to the plaque then wipe off everything other than what is etched in?
I do not need more than 1 color but would just like add a color (like gold) to make the text “pop”.
Still very happy with this plaque which will reside in my MakerSpace but I would love to make it look even better if possible.
Thanks for any help. Social media is @makerspaceusna
Congratulations @bbaker on your first post, and welcome to the community!
Great first engrave. Usually when you want to color, you would leave the masking on, and apply color via spray or acrylic.
Since you already removed the masking, I would try applying acrylic paint and wiping of the excess so as to leave only paint inside the engrave. Your material looks like sealed wood, so that might work well.
Tests are the best way to learn. Since you are willing to re-do, you might as well use this first try as a test of the techniques outlined above.
It might work if you were to seal the entire surface, especially the engraved text, and spread on the paint and quickly but gently wipe it off to leave in the grooves. You can always test on a similar smaller engraved piece that you make just for testing before committing to the full plaque!
I agree with above…I usually mask then paint before taking the masking off. Another method is to paint first then engrave leaving everything painted except the engraving (it would be ashamed to cover up that beautiful wood though)!
Welcome!!
I should have considered the taping prior to engraving and then painting. This is not glowforge wood so I would have had to tape first, engrave, and then paint, but that sound like a solid plan for the next attempt.
I am also considering painting and trying to wipe off the paint not in the engraved portions as mentioned. That seems like the best plan with what I have already done.
The other crazy thing I am considering is adding in color mica powder with spray adhesive either before or after and again trying to wipe excess off. Probably not as likely to succeed as paint.
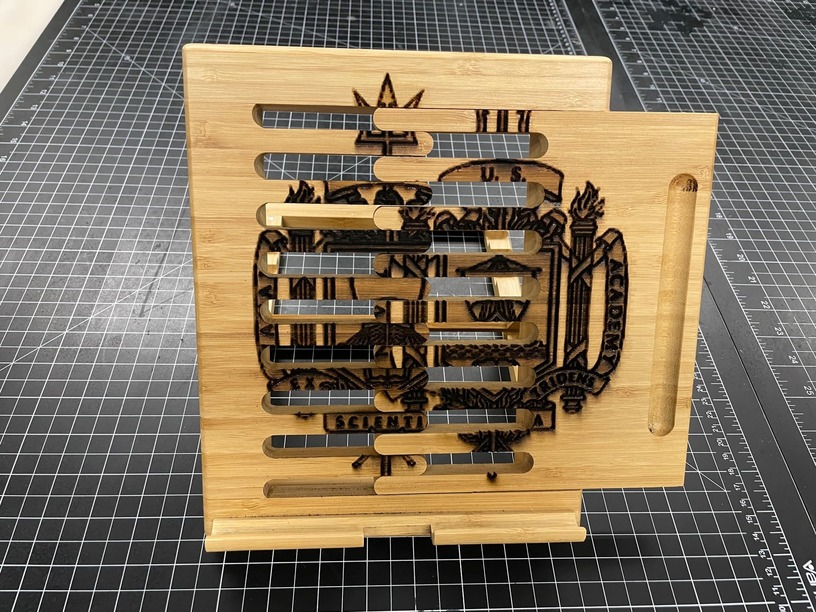
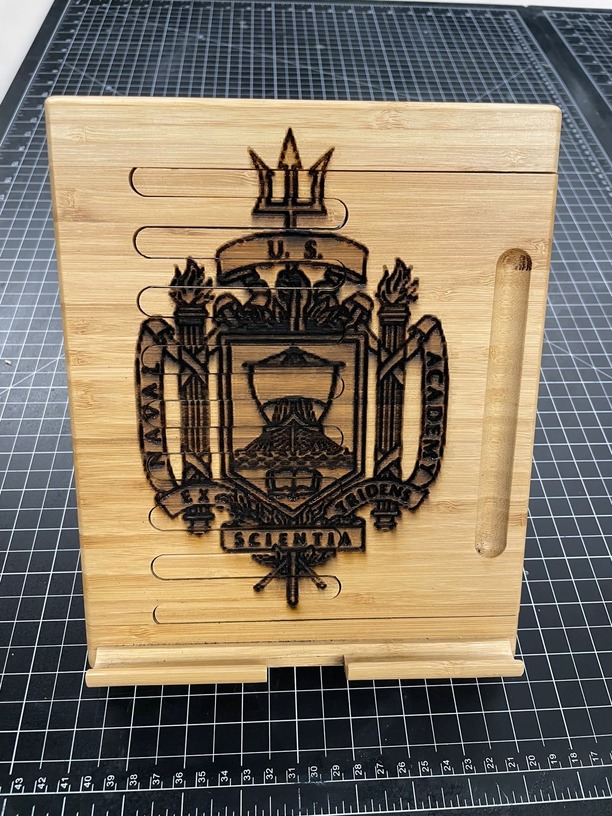
Again appreciate the offers for help. Not my/our first project but I/we are by no means experts. Attached is one of our better ones that we also just did - we wanted this dark engrave and it has not been cleaned up much yet (just came off the cutter today). I also have engraved some laptops/tablets successfully with my logo so that was a cool project.
Engraving thru masking for the areas that will be painted is the way to go. I’ve made dozens of pieces that way. Engrave, paint with spray or acrylic, then remove the masking.
If it was prefinished before you started engraving you might be able to work a wax-based pigment into the engraving. Depends a lot on how deep it is. Something like rub and buff might work.
The trick would be to try it on a hidden area before you apply it to the rest of the piece. Maybe can engrave a small thing on the rear side and try techniques there?
I think the only risk with coloring and wiping the surface outside of the engraving clean, is the engrave opens the wood grain and it is possible the end grain can absorb the paint so it bleeds the color. Since it’s a dark wood that may not be a big issue. To prevent the possibility you can first use a clear finish to seal that grain. I have had success using an artist’s brush and spraying some clear finish into the cap of the can and painting the edges of the engrave to seal it.
Welcome to the community, you have just found the best accessory for your laser!