I am trying to cut out a gear. I understand that each line is basically 2 paths which is causing my GF to appear as if it is doing 2 passes. I have looked and looked but I cannot figure out how to remove one of the paths to get a quicker and cleaner cut.
Upload the file and maybe we can help. It’s a bit vague as it is.
In Inkscape just select the object select break apart in paths and then hit Union, that will leave you with just one line in most cases.
2 Likes
I just tried that and I get a filled in black gear. Sorry but I a a complete novice and this and am just trying to self teach along the way.
It basically gave me one set of nodes on the outline of the gear. I lost all of the inner structure.
I tried posting the file but it looks like it just posted the image not the actual file. I am feeling very stupid right now because I can’t seem to figure anything out.
Try zipping the svg and attaching that. Trust me you aren’t stupid, discourse is notorious for bad svg handling.
A filled black gear is a good thing, that means you have just one line, when you load it you could either engrave and have that hole or if you cut it will just cut it out.
I was not thinking about a hole in the center so if there was one you need to do the outside and the hole separately and then make sure the hole is above the outside in the list of parts and select both and hit difference under paths, then it should be filled except for the hole in the center, You can make the area filled or not or any color and the outline any color or thickness but the GFUI will not care much, Cut will cut it and engrave will engrave it.
gear help.zip (23.6 KB)
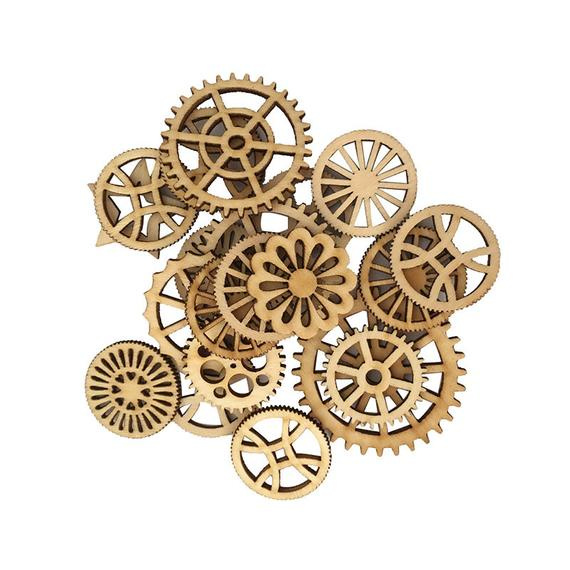
I am trying to get pieces like these and I do but I am basically double cutting each line since it is doing a line on each side of the path.
1 Like
Yes those would be more complicated, but the same basic process. When you use break apart you will get a lot of filled shapes. Shift+Ctl+F brings up the fill control and you might want to change the color and opacity so you can see what you’re doing better.
By selecting the outer gear and hitting Union the two lines that were become just one. Then for most of the rest, you can select all of them and hit Union and they will be shaded on the inside but all one piece too.
Then in the pulldown under objects, the first thing is objects and that pops up a window that should have all the parts listed. If the holes are the path above the outside you can select both and hit the difference button. Otherwise, there are arrow icons at the bottom to move the selected item up or down in the list,
I hope that gets this done, 
1 Like
While what @rbtdanforth said was all correct about the object dialog, it can be a little hard to understand for someone who’s new to this.
Here’s how I did it (almost exactly like @rbtdanforth, just in a different order), with one major caveat at the end:
Select the gear, and choose the node tool, just to see what we’re working with. It shows that you’re 100% correct, you have filled line shapes, not lines. This is probably the result of a trace at some point. No worries, we can get it together.
Choose path->break apart. This is going to look bad, it’ll go all black.
Don’t panic, select all and turn off fill and turn on stroke. You’ll see that you have all your lines conveniently separated.
Great, now select all the inner pieces by dragging a rectangle over them, but not completely encompassing the outer rings. Once they’re all selected, do Path->union. Now all your inner parts are one big path and are together.
Great, now select the outer rings but not the inner parts. Do the same thing, Path->union. Now you have two paths, just like you wanted.
If you’re feeling particularly thorough, change the outer ring to be blue stroke. Now when you send it to the GF, the inner holes will cut first (black), and the outer will go next. That’s the most accurate way to cut things like this out.
So, now onto the caveat. Gears require high precision. This method I’ve laid out relies on some tricks, and your scale and shapes might not be exact in the end. [EDIT: in fact, the center hole will be all lumpy, not a perfect circle. That alone is enough to tank this whole plan for me, I’d definitely do what I’m about to say next] I’d suggest using a dedicated gear generator to get things exactly right. There are lots available on the web, and there have been posts about them here.
Try this: https://community.glowforge.com/search?q=gear%20generator
I think you’ll be happy with the outcome.
PS: gears really do require precision to work properly, you should definitely get to know about kerf compensation. Search the forum for it if you’re not familiar, it’ll probably be important, depending on what you’re up to.
5 Likes
@evansd2 is definitely more exacting as we have had issues before. His precision is amazing and I might like to be there, but I keep finding that the butterfly effect as I work produces vagueries that exceed even kerf compensation and if I do not want 99% scrap I have to find ways to make things work anyway.
As for precision with wood, it is wood! and will breathe, get bigger or smaller, warp one way and then the other, all by amounts far greater than the closest measurement. I first discovered this when making bent wood lamps, that I would measure the diameter and then cut the cap only to find that the diameter had changed a millimeter smaller than when I had measured it!
It is not wrong to work as tightly as possible but there is a reason precision clockmakers do not use wood.
2 Likes
I completely agree with this. There’s an appropriate amount of precision for every project, chasing thousandths can be a waste of time. One thing with gears that will kill them is being out of round, and as the inner hole isn’t a circle in our example it would be a dealbreaker for me.
It may or may not be for you, hence why I caveated with “depending on what you’re up to”.
1 Like
I kinda feel the need to jump in here, because of what I do IRL. OCD is a serious and debilitating disorder, and the label gets thrown around in fun more than is fair to folks whose lives are hell because they really do have it.
We all have “OCD traits,” just as we all have days when we’re a little depressed or a little anxious or maybe even a little manic, because we’re human, and all of those things are attributes we naturally show from time to time. It’s when they begin to interfere with your ability to function that they become “disorders,” and then they’re nothing to joke about.
I’ve been known to refer to myself as “a little bit OCD,” or as “obsessive” or having “OCD traits,” not thinking about the fact that the layperson might not really register the difference between attributing symptoms of being human versus attaching a full-fledged diagnosis. In retrospect, I should be more aware of the effect that has when the joke moves on without the subtle distinction between something that is merely a humorous condition of humanity in general and something that is hell on Earth for a small subset. So I’m kind of writing this to myself, too, I guess.
In fairness to people who actually battle the disorder, and also to those who simply have high standards, I propose that when poking fun at friends we start naming the attribute rather than the disease. To that end, here are some useful terms to replace “OCD” in everyday usage:
obsessive, pedantic, scrupulous, exacting, perfectionist, precisionist, meticulous, fussy, fastidious, finicky, detail-oriented, fixated. You could even combine terms: compulsively perfectionist, passionately pedantic, obsessively detailed, etc.
Enough. Thanks for listening. ![]()
4 Likes
Thanks for the help guys. I got it figured out. At least this part. I’m sure I will be back with more questions.
3 Likes
This topic was automatically closed 32 days after the last reply. New replies are no longer allowed.