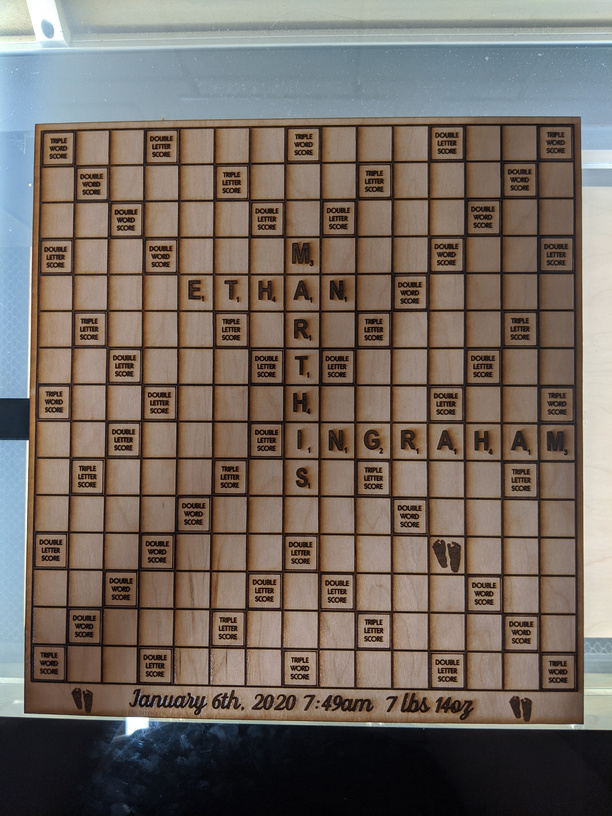
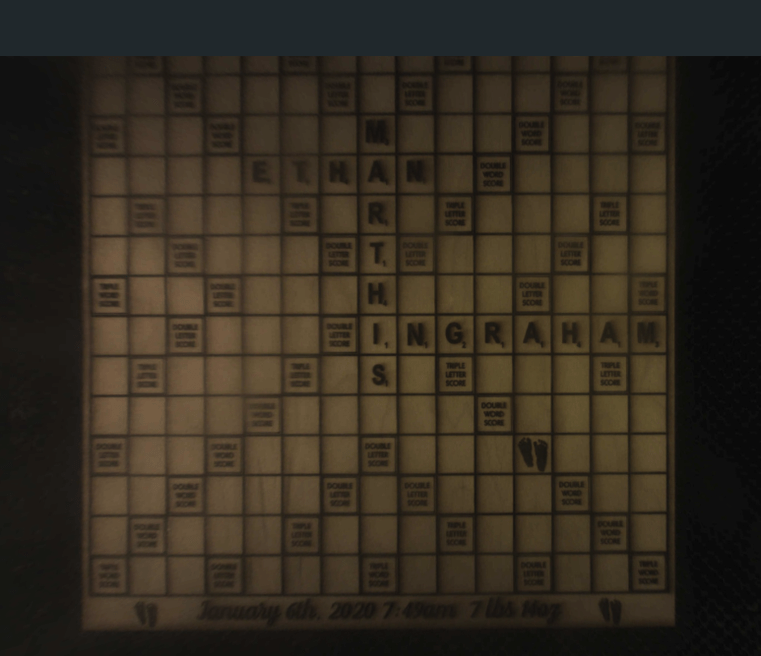
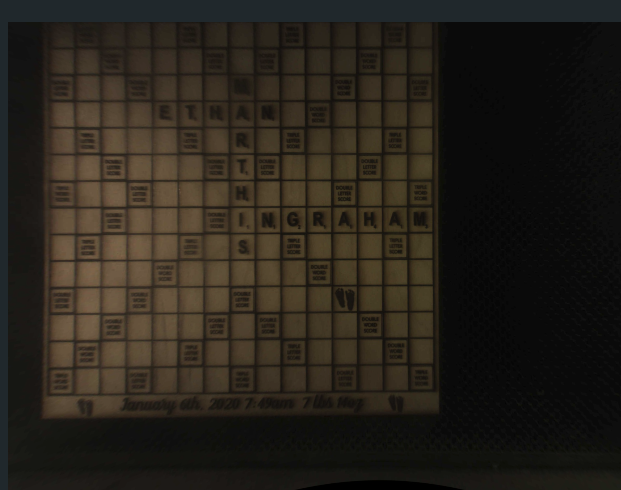
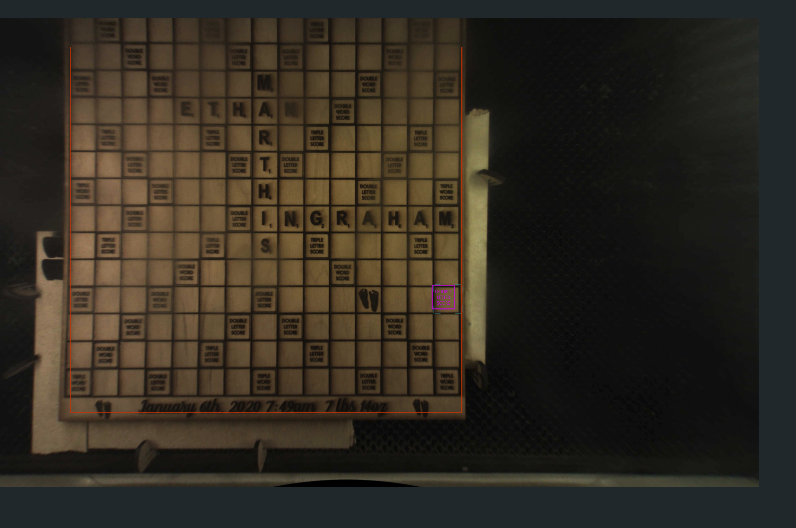
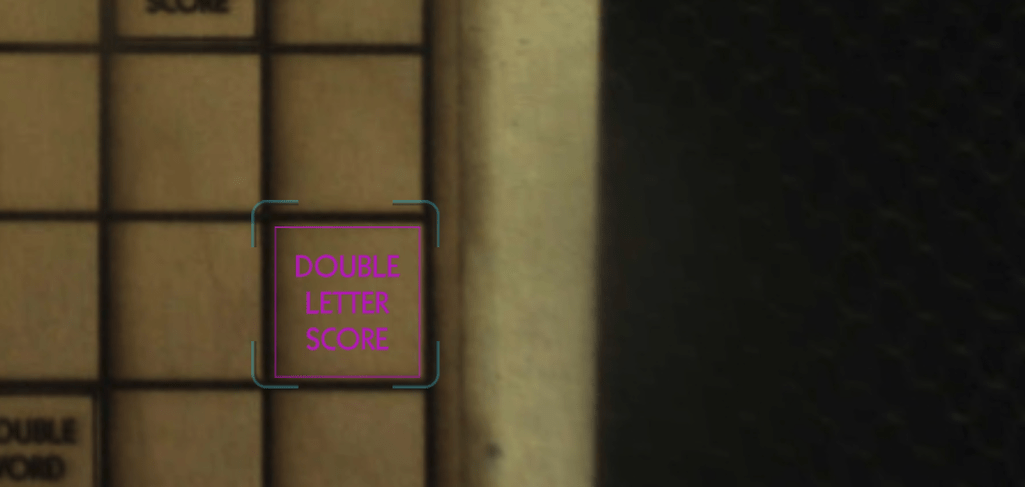
After a 5 hour long print… I realized I’m missing a square on my scrabble board. In an attempt to save my ass, I’d like to try my luck at printing my last block. Problem is… my glowforge is hella dark, even after cleaning the lens it’s going to be very hard to line it up.
Put paper or masking in the spot you intend to engrave, set the power very low and see if it is aligned properly. Keep adjusting until it is correct, then remove the masking and go for it.
If you’ve run the camera calibration, with most machines, it seems the very center of the bed is the most accurate. This is what I would do:
Set up a second file overlaying the original file, different color stroke, of what was missing, and only what was missing, so it doesn’t double engrave/work.
Put some masking over the section you’re missing.
Place your project back in the bed, upload the updated file and use the Set Focus option towards the center of the piece.
Line up the artwork the best that you can towards the center, the edges will seem off due to the wide angle camera.
Ignore the original artwork, and do a low power setting for the new part that was missing.
Another thing that might work, if you’re lazy like me, is to delete everything but the board outline and that one square from your artwork, cut the outline out of a piece of cardboard, then use the cardboard as a jig – make sure it doesn’t get moved while you fit your board into it, then the square should fall right into place.
If the tile is in the correct position in the border you cut with the jig it will be in the correct place regardless of what you see in the camera. assuming you did not move the jig when placing the work piece in
i do it all the time, can’t say to go for it but if it was me i would lol. Its all about acceptable risk i guess. Try it but really low power with some tape over the spot? see if it is trying to work in the right area just to double check? also dont forget to set the cut for the jig to ignore before you start. And if you moved the image on the bed after cutting the jig you should do that step over again and not move the image.
really kicking myself for not doing the tape trick - ugh!
oh well, lesson learned - plus i changed the engrave settings and now it’s only 2 hours instead of 5
Thanks everyone for the help! and @evansd2 for helping me in the DM with the little jigs
Just sand it with 300 to 400 grit sandpaper to get the burn marks off, you won’t lose any contrast at all. Just take a soft bristled brush(I use a paint brush) to knock the sawdust out of the scores and engraves when you’re done sanding.
today i learned my glowforge, light, and bathroom switch is on the same line… and using them all at the same time will cause the breaker to trip…here’s to try #3


 can’t say to go for it but if it was me i would lol. Its all about acceptable risk i guess. Try it but really low power with some tape over the spot? see if it is trying to work in the right area just to double check? also dont forget to set the cut for the jig to ignore before you start. And if you moved the image on the bed after cutting the jig you should do that step over again and not move the image.
