So… I’ve had the GF for about a year now, and haven’t really done a lot with it, due to time constraints, but for a while now, I’d been thinking it would be cool to design a hexagon box. I finally got a few days off, and needed a Christmas present for my mom, who was coming in to town for the holidays, and so began the hexbox project.
The challenge to myself was to not make it immediately obvious that the box was cut on a laser, so, no exposed finger joints allowed. At 60° joins, the edge fingers wouldn’t butt up correctly, so I looked at my options.
Solution 1, Make the box two layers thick, put the finger joints on the inside, and cut fill wedges for the outer layer. I decided to make a prototype box from draft board to try it out. I added some 3D engraving images (found on Pinterest) on the top and sides to give it some character, and added some 3.2 x 3.2 round neodymium magnets as a hinge and snap.
While this worked, there were some problems with the design. The box was a little small for anything but a ring or something, and the wedge pieces were so small that, when cut, they fell through the grate and I was only able to recover about 20 of them before having to pull out the grate and shake it like I was a musician trying to get a pick out of a guitars sound hole.
For the next iteration, I thought it might be fun to use edge gradients with the GF’s 3D rounding feature to bevel the outer layer, such that adding extra fills at the corners would not be necessary.
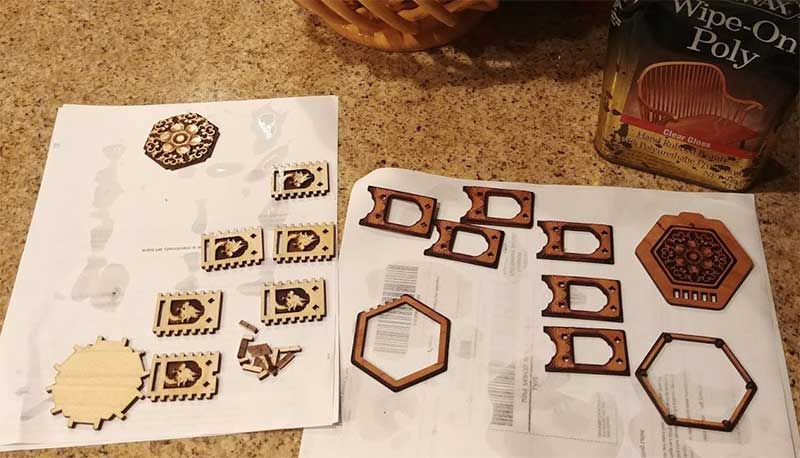
In any case, first draft success, on to version 2! I scaled up the box design, added a lot more 3D engraving, (which seriously increased the cut time) and started version 2, with Cherry and Poplar for contrast.
I made a few modifications to the design, re-designing the hinge, making the top an inlay, and also added two diamond dowels in the top of each face, as an accent/alignment/support. I made the base poke through the front piece, as balance, and added a lip for the hinge and front.
Thanks to all the 3D effects, the cherry layer took just short of 50 minutes, and poplar took another 23.
Peeled, and lacquered all the pieces, and let them dry overnight.
Assembling the pieces, and everything fit as expected. For this larger version, I attached some larger 6.4 x 3.2 round magnets as a hinge, and glued them in place. I had to use makeshift spacers while it was drying because the strenth of the magnets kept pulling them out of position.
Ultimately though, even when the glue had dried, the force of the magnets was stronger than the bond, and it blew apart when I attached the lid, so I revised the design to use smaller 3.2 x 3.2 round magnets with wooden spacers, and that worked beautifully.
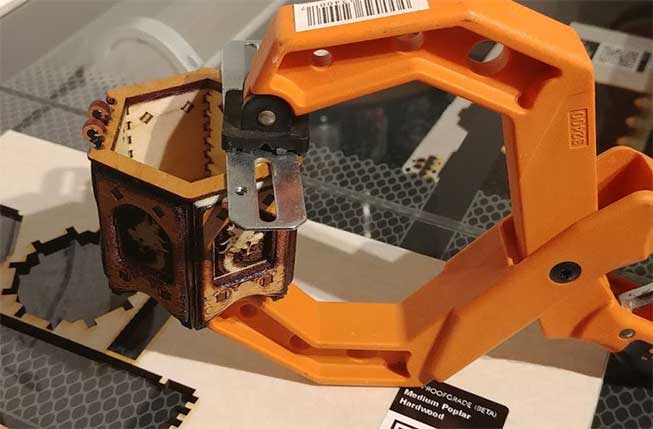
The front started to peel up, so I clamped it overnight, but you can see the revised hinge idea here.
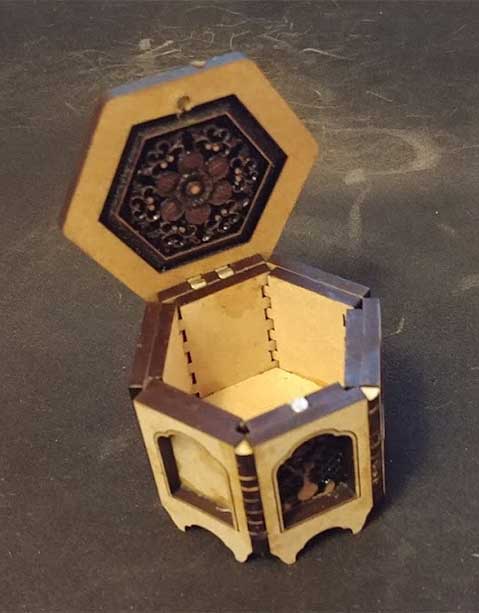
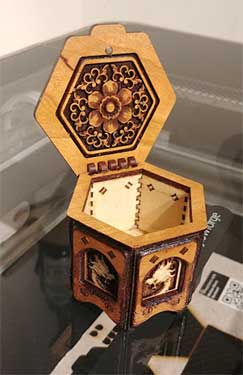
The box with hinge attached, open position.
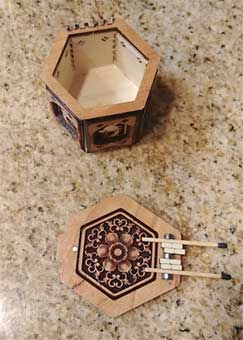
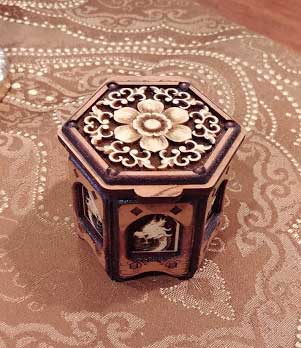
…and the finished piece in the closed position.
End to end, this project took about 3 days of design, cutting, lacquering, gluing, and revising, but the Glowforge performed like a trooper, allowing me to take a design from idea to physical object in record time. Every time I fire this thing up, I am reminded of how awesome a product it is. Thanks again to the GF design team. You folks made a lot of good calls on this machine, and it shows.
Looking back, I think I might go back to the corner fills idea from v1 on the next iteration. Although it’s a lot of work, I think it would look cleaner, and add some interesting contrast to the piece.
I may also take a trip to Home Depot or a hobby store, and grab some wooden dowels, to see if I could use those as a hinge, or as solid replacements for corner fills. It would also have been really cool to cut some fabric, and use that as an inner liner to totally hide the finger joints. Stay tuned, and thanks for all the inspiration in the forums!


 I bought the magnets a year ago from K&J without a specific purpose. I just knew the thickness of the proofgrade, and figured I’d come up with something eventually.