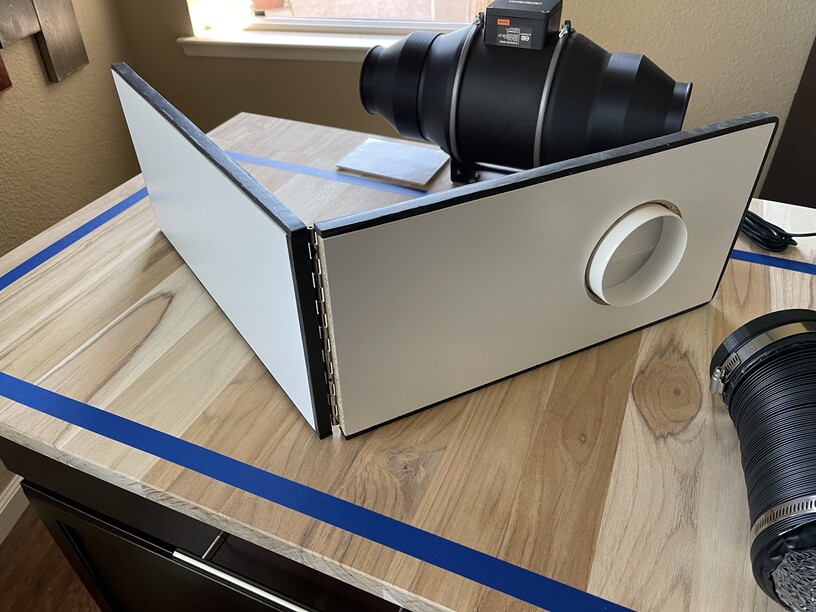
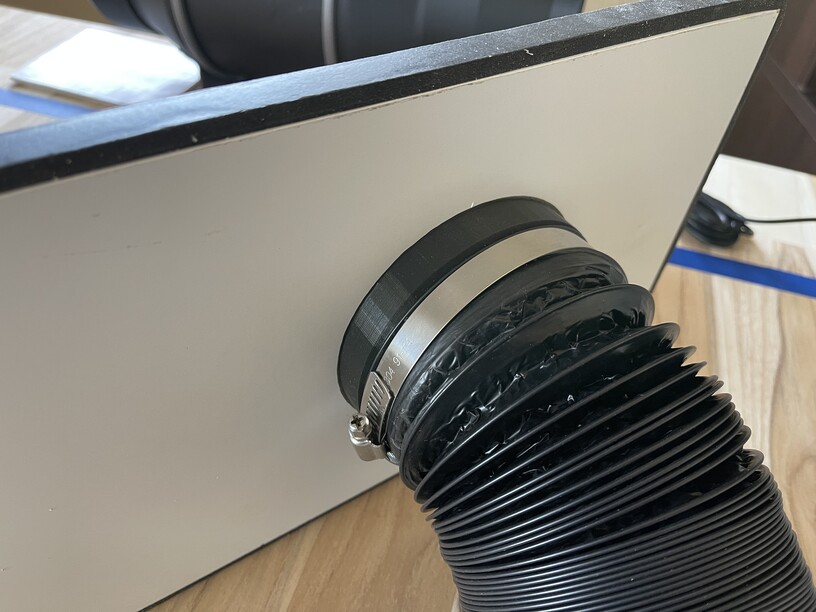
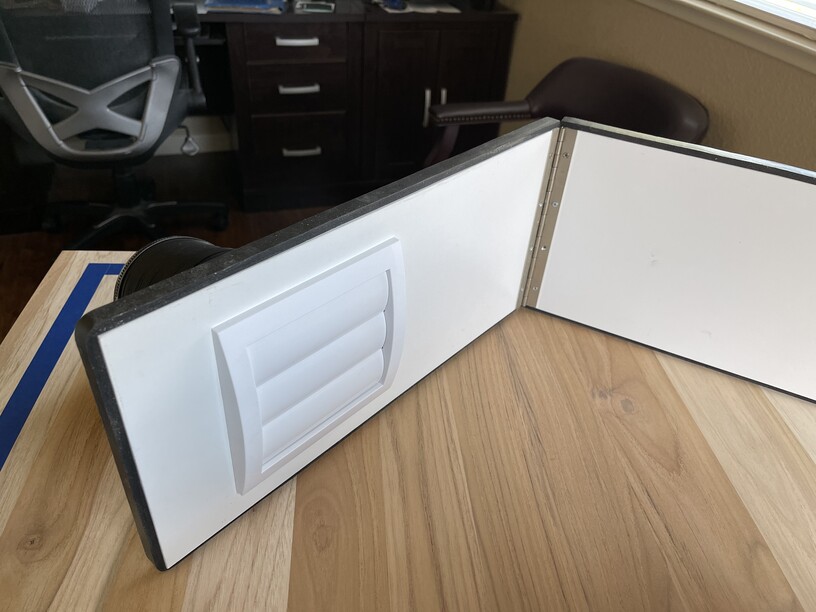
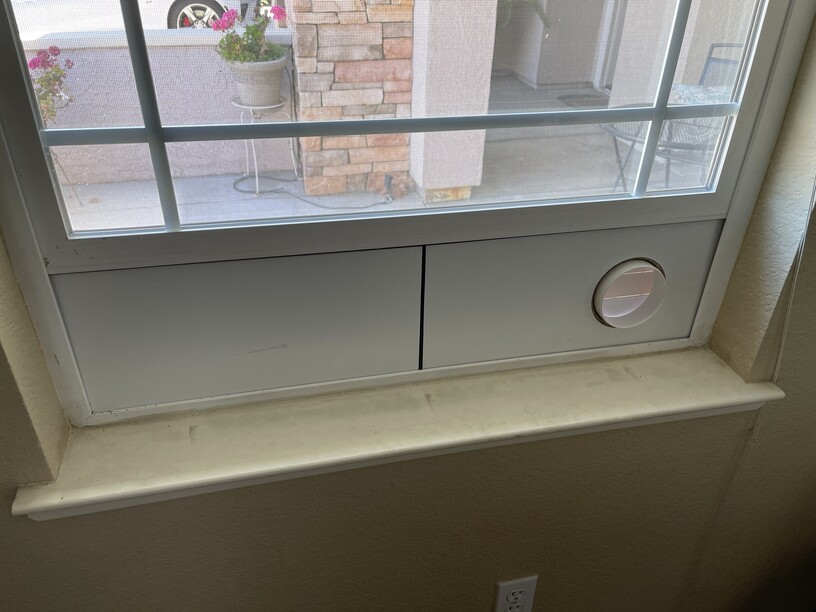
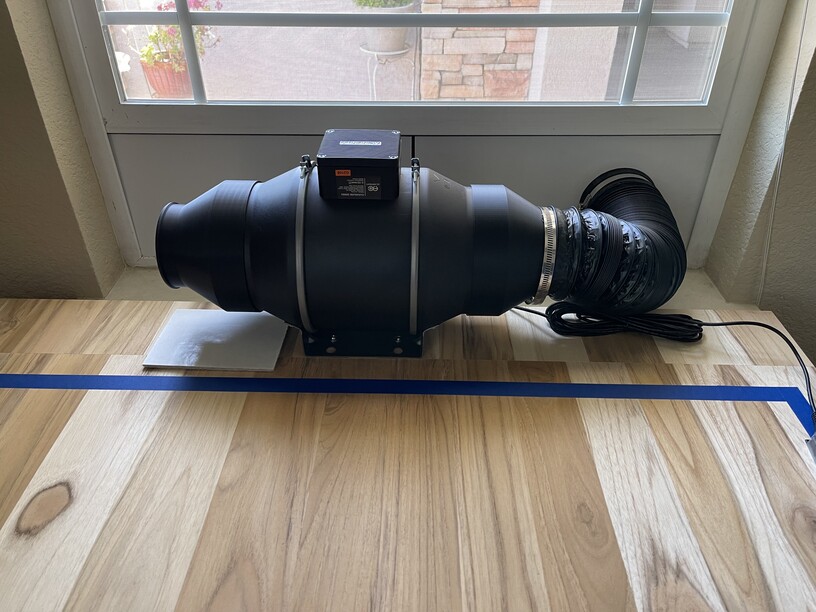
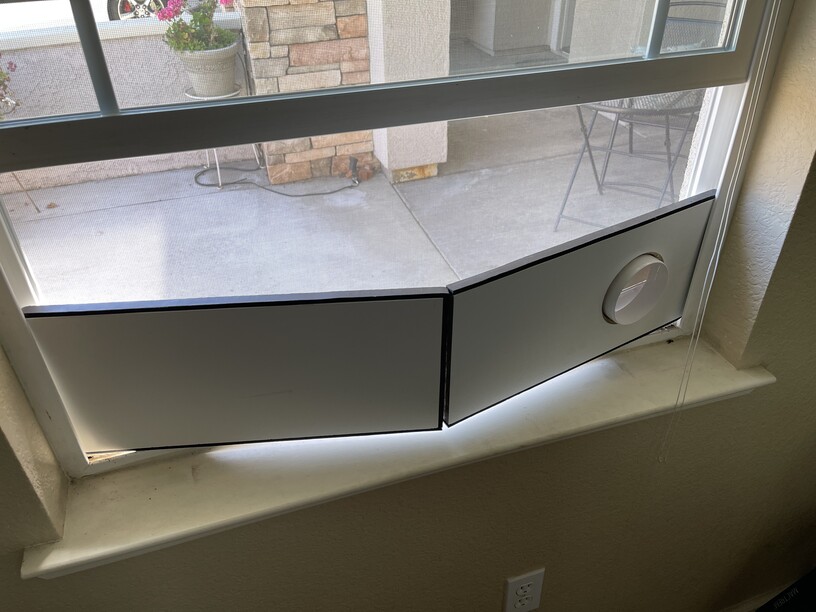
So, I will be receiving my Glowforge soon. I have been busy getting ready for it’s arrival. I was originally going to place the AC Infinity fan inside the cabinet, but decided it would require too many bends in the tubing. So, I will be placing it on top, behind the machine. The next problem…the window vent. I was going to just buy one of those designed to portable AC units, but they all looked flimsy to me. So, I came up with my own design. It’s just a shelf cut down to 8 inches wide. I hinged the middle with a piano hinge for more stability. Made the length of the two combined just about 1/2 inch short of the window width to allow for the foam seal around it. Added the 4 inch dryer vent with louvres to keep out bugs. I might add a blast gate made on the Glowforge once I get it. It simply goes into the window and with a little push in the middle it pops into place and seals all the way around once the window is closed.
That is very nice!! I printed the blast gate in the free designs and it works beautifully to prevent cold/bugs in when you’re not using it. Looks like you’re about ready to go!!
You’re gonna fit right in here.
Looks like a great solution. Being double-hung, be sure to address the upper seal on the window.
Oh yeah…I didn’t think of that. I guess that is my next problem to solve. Thanks!
Really nicely done. Gets the fan at the end of the run and the hinged panel is perfect for making a tight fit without making it hard to remove. One of the cleanest designs I’ve seen here for this kind of opening.
Yours looks so much better than mine! I have the same lovers. I also made the blast gate in free designs and it works great.
A very clean look!
Thank you! Except for the dirty window sill. Haha! I should have cleaned that before taking the picture.
Very impressive venting system. The hinge is a neat idea.
Maybe a stretch of 1/2" backer bead, the local home improvement outlet will have it. You just have to stuff it in there whenever you use the vent. I have a series of steps to operate due to an extended exhaust run with multiple fans, small price to pay.
Beautiful solution!
For the insulation between in and the sash, or even within the window frame, I recommend pipe insulation–the softer black stuff is easier than the “pool noodle” firm stuff. You can slit it in half or thirds if you need to for fitting the space.
That might work! Thanks for the idea!
Impressive setup, and well thought out. I’m eagerly awaiting your first lasered projects—they are likely to be equally impressive.
I’m eagerly awaiting my first prints as well! If I ever get the machine. Originally ordered on April 12. Got an email saying it was going to be delivered sooner than expected (May 15), which was great. However, being a school teacher I wanted to wait until summer break so that I would be home for the delivery. Was then told they were going to hold the machine to be shipped on June 1st, which was perfect. Long story short, no email or anything saying it’s been shipped. Finally got a hold of support, which was not easy to do. Said it should ship either yesterday (when I spoke with them) or today. Nothing. A little frustrating really. I was excited to be getting it, now I’m not as excited.
Slick and clean. And easily removable. Good job
After reading over a number of leather threads, I was morbidly curious about this human window vent…oh…wait… that says homemade…


This topic was automatically closed 32 days after the last reply. New replies are no longer allowed.