So, I’ve chimed in a few times over the last couple years but, mostly I’ve just read what others had to say. Once the pre-production units started shipping, things got pretty interesting. I’ve had a long list of ideas in mind that I’ve patiently waited to employ on the Glowforge.
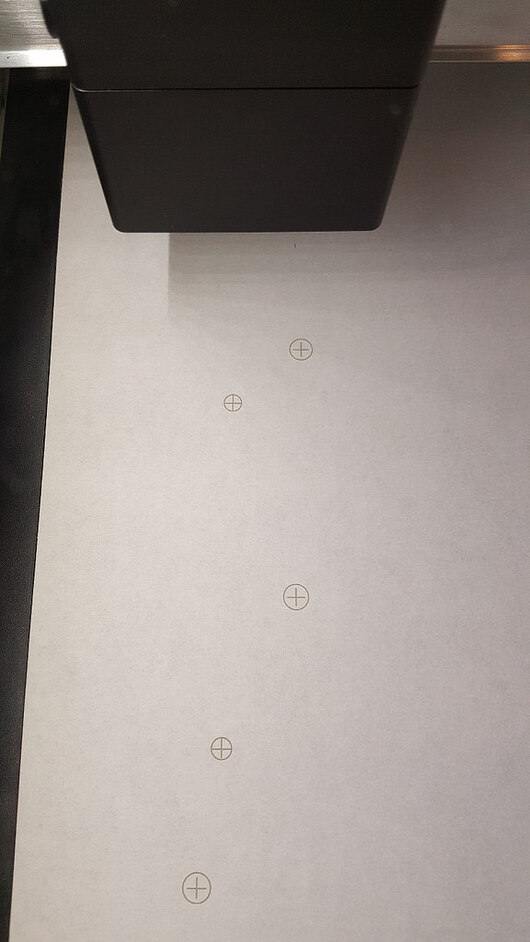
My Glowforge arrived a couple weeks ago and actually had to sit in the box for several days until I could make some time to set it up. Setup went smoothly and my first effort was the founders ruler. I had some exhaust issues that needed to be sorted out so it took a couple days to source materials to remedy that.
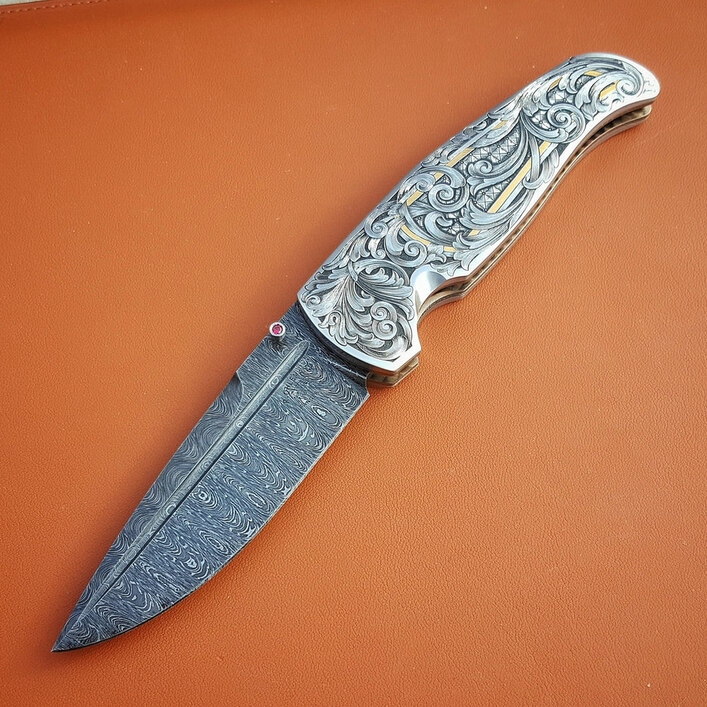
As soon as the exhaust was sorted out, I began testing engraves of various painted coatings over silicon bronze. One of the most anticipated uses of the Glowforge for me has been the application of resist for a modified intaglio technique I use on many of my knives. This is similar to etching PCB’s.
So far I’ve found flat black Rustoleum to work the best but, it is not without issues. The laser seems to particlize the paint which then settles back onto the part in a fine layer. I did my parts in the center of the machine, right below the camera so, perhaps moving closer to the exhaust fan could help alleviate some of that. I ran three passes to get the paint removal as clean as possible but, it was still a problem.
Another issue is the problem of the beam not being able to autofocus. My parts are curved and have about 1/16" elevation change between the edges and the center. I believe I am losing some definition due to defocusing.
Despite the issues, I was able to learn from several test pieces and go on to produce the acid etched bronze bolsters on the knife pictured below.
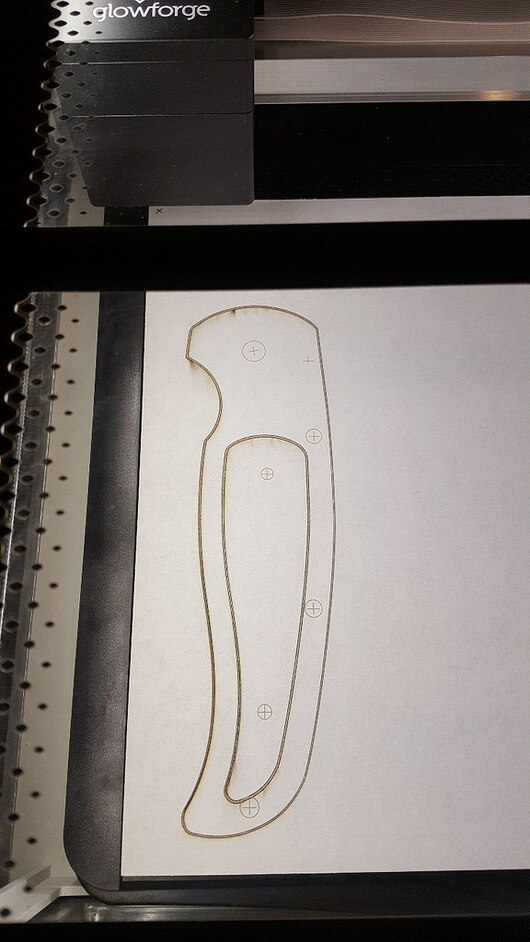
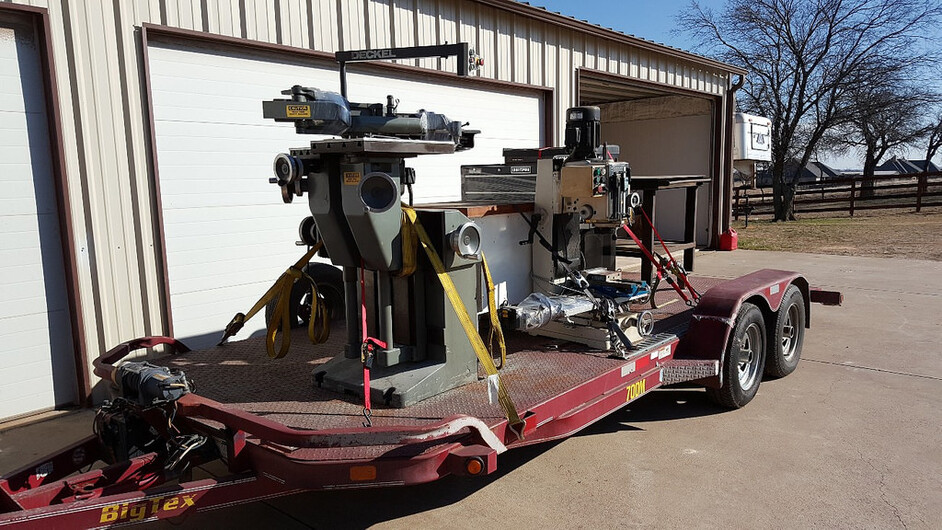
Today I worked on templates for my Deckel GK21. The Deckel is a pantograph milling machine that allows me to achieve repeatability in almost any shape and using most materials. This pattern is for a new knife model that will have an inlay. Parts will be made from titanium, zirconium, stainless steel, Damascus steel and various gemstones.
I do all my design work in Illustrator so it was easy enough to convert a few parts to raster for engraves and then save to SVG. These patterns are for a 2:1 reduction.
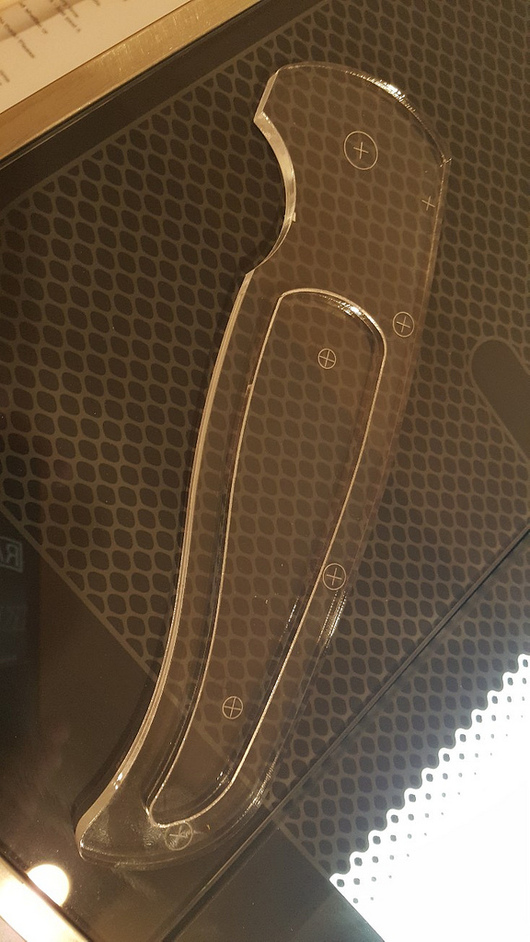
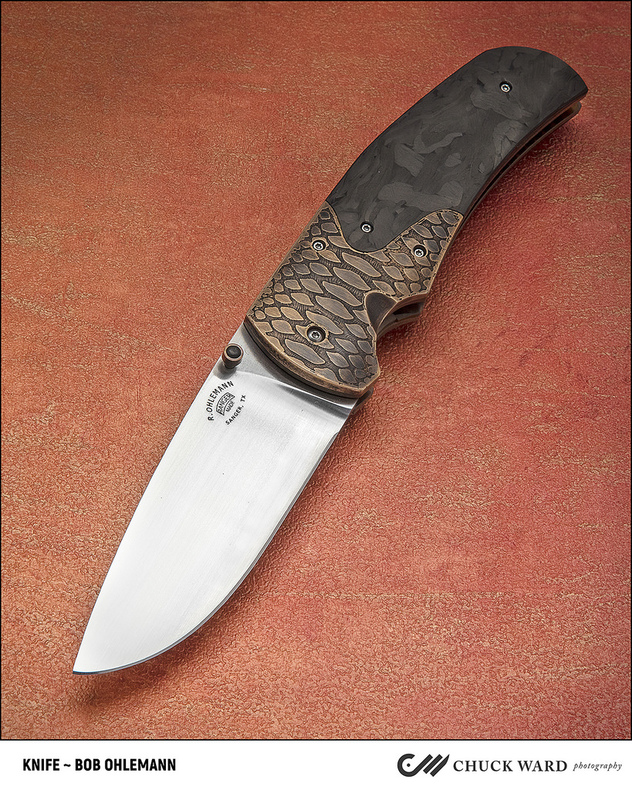
The Glowforge represents a fundamental shift in my process on many knife projects. Here is a 1:1 pattern for the same knife when I was building the prototype. This handmade pattern is derived from the same .ai file as the lasered pattern above.
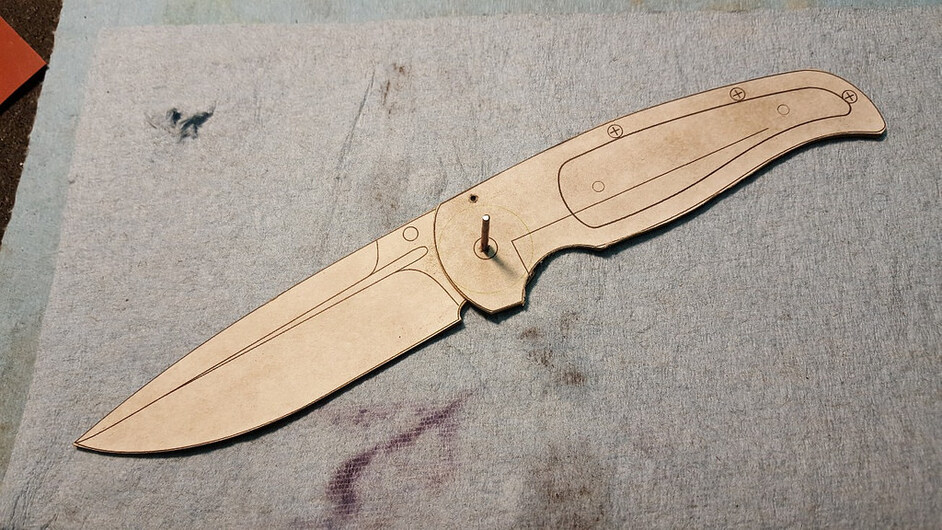
Here is the completed knife. I actually designed this knife over a year ago after I placed my preorder for the Glowforge. The idea was that the Glowforge would give me a way of developing precise templates for pockets and inserts on knives that will have inlays. After the last round of shipping delays, I decided to build the knife sans inlay just to identify any mechanical issues I might need to overcome.
I wish I had three square feet left, even had to let go of my Schaublin 13 when I downsized my shop, it’s like working in a submarine… I think my wife might notice If I tented over the driveway and added a 3 phase sub panel in the mail box.
I have a little Taig mill, 4 axes, 15"x6"x6" work area. It’s a pretty rigid rig, much better than the Sherline. Weighs about 90Lbs. Great for smaller projects and it takes up hardly any space at all. It needs about the same space as a decent drill press. I have mine mounted on a Delta tool stand.
 2018-03-25_12-28-25small by Bob, on Flickr