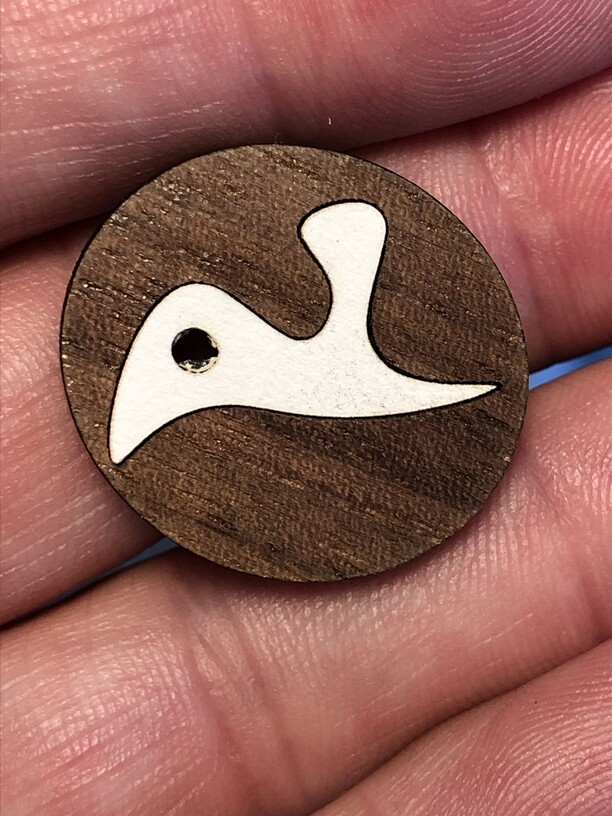
I am experimenting with papercutting. First I am cutting out a shape in paper. Then I need to dig a space into a piece of wood to make home for it. I am using engraving for that. Sometimes it cuts a space deep enough to take the paper - sometimes not. How can I control the depth of the engraving to make sure I have space for the paper? Thanks for any advice?
4 Likes
The depth of an engraving is controlled by a combination of power and speed. A test engrave will tell you if you’re in the ballpark, but controlled depth over an area is also affected by woodgrain and density, so there’s no way to “guarantee” that it will be even across the entire area without resorting to mechanical means, using a router as opposed to using a laser to make the engraving.
5 Likes
Thanks - so what increases the depth of the cut - raising or lowering speed? raising or lowering power?
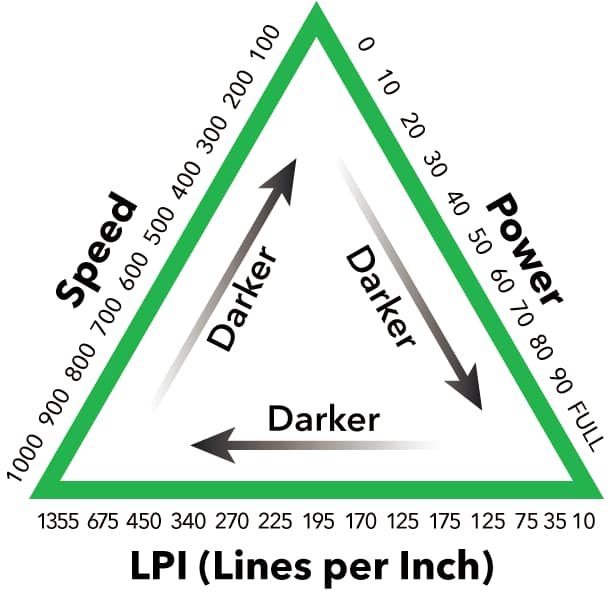
Think like you’re in the garden. Point a hose at the soil and you’ll get some soil washed away (a light engrave), increase the water flow (power) and you get more soil washed away and a deeper path where the water hit the soil (deeper engrave). If you increase power, and increase speed, it’s like doing the same with a water hose but moving it around really fast, so it doesn’t wash away as much soil as if you slowed down and pointed it straight at the soil.
It’s a balance game.
If the power stays the same, but the laser moves slower across the material, the result is a deeper engrave because the laser spends more time on any given point of the material.
15 Likes
Now this is a great explanation! It sure answers a lot of my questions as well! Bookmarking this!
2 Likes
Fantastic! Thank you.
That triangle is handy, but misses several points. Oak is perhaps the most extreme example that at every point there are several sorts of wood some burn easily and some with some difficulty. So less overall power by increasing cutting speed causes more differentiation and leaves a very rough wood grained surface of many depths. This may or may not be a desired effect
A lower LPI has a similar issue in that as the distance between the passes increases, the part not hit will rise higher than the actual path, again you get that ridged effect but this time parallel to the engrave path. Again also this may, or may not be a desired effect that 10 LPI becomes the crosshatch, that light enough, can be equivalent to a hatch effect on paper.
Then there is power. less relevant with vector engraving, than variable depth raster relief carving where the spread wants to be as great as possible to get more definition, but in those cases full power is most needed.
In addition the fact that higher LPI takes longer as does slower speed, it can add even hours to cutting time, and with shorter time having to make more passes takes even more (increasing the grain differences a lot as well)
In short experiment experiment experiment!
There is nothing here that support can help with so only unofficial suggestions such as mine or @yoyodyne2112 so this need to be in Beyond the Manual and I can move it there for others to chime in as well.
4 Likes
Another way I have smoothed a rough surface is to glue a bit of sandpaper to the end of an appropriate sized stick and at least take off the high points of the texture left by the engraving, even getting that extra part of a millimeter when the engrave is not deep enough.
Also if the shape engraved is also scored the edge will be sharper and perhaps provide a cleaner edge for the paper to fit. 
2 Likes
This topic was automatically closed 30 days after the last reply. New replies are no longer allowed.