How do you cut out a scanned footprint with details

Hi there,

I’m relatively new to using the glowforge. This community has been a lifesaver for me.

I really want to be able to cut out my babys footprints, leaving some of the detailed lines from the scanned image, but im not sure how to do that.

I have tried everything. Im using inkscape.

Do you have any recommendations on how to adjust the image so as to get some of the fine details without all the mini dots after scanning?

Thank you for your help!

3 Likes

Welcome to the forums @alidewji
Some screenshots or an example of what you’re working with would help us help you!

Do you want to engrave it on to wood?

If I had an image like:

I’d probably draw an outline around this (for the cut-line) and engrave this.

7 Likes

Welcome.
Did you do the scan on the Glowforge or get your digital footprint photo another way?

1 Like

Thank you so much for your responses.

I’m attaching three pictures. One of a scanned image and two of what I’m hoping it to look like, which isn’t my image - just something I found online.

2 Likes

Oops sorry. I forgot to add…I scanned them separately and also scanned on glowforge bed. I’ve tried it all!

going to want to bump the levels, contrast, brightness… That’ll get something closer to what you are looking for to engrave. But you’ll also need to use inkscape or illustrator (or another vector program) to outline the feet to cut.

Here’s a start with the engrave part.

6 Likes

I’d suggest using a ‘trace bitmap’ or ‘image trace’ technique to turn those feet into vectors, e.g., Inkscape tutorial: Tracing bitmaps | Inkscape

You could just cut those vectors out and have a pretty nice piece.
Here’s what my first try in Illustrator looked like:

Or if you wanna get fancier use these vectors to create an outline, and engrave the interior…

3 Likes

I just tried this, to learn about clipping paths and stuff in Illustrator, and here’s an example for you:
FeetWithTrace.svg.zip (1010.8 KB)

4 Likes

Oooh, totally agree you wanna do it more like this, here’s the same thing in the vectors I made for you:
FeetWithTrace-2.svg.zip (1.0 MB)
(edited… to rasterize the mask)

Happy to point you at the tools to do this.

But here’s the basic steps:

  1. Create a vector outline
    … I did this by vectorizing your original, bumping out the size of the shape by adding a fat stroke, outlining that stroke, cleaning it up.

  2. bumping up the contrast and brightness of your original
    … probably easiest to this in GIMP (or Photoshop)

  3. drop your updated original into the vector shape
    … I also created a mask because it looked like your background wasn’t quite white, and i didn’t want that to bite you. I had to rasterize the mask though, because GFUI wont actually support the SVG mask

5 Likes

wow. that looks amazing.
really appreciate how everyone here has gone out of their way to help. what an amazing community! thank you!
I clearly am quite new to this - not sure what rasterizing means haha, but ill google it!
so with the image that you gave me, there is an outline in red - im assuming that will cut around it.
and then, inside, it will engrave it? I was hoping for it to cut out the lines - will it be able tod o that ?
im sorry if youve already explained that to me. its just all going over my head.
attaching another picture. thank you

3 Likes

1 Like

There’s a ton to learn! And we’ve all been there! Which is why you find so many generous with their time on here :slight_smile:

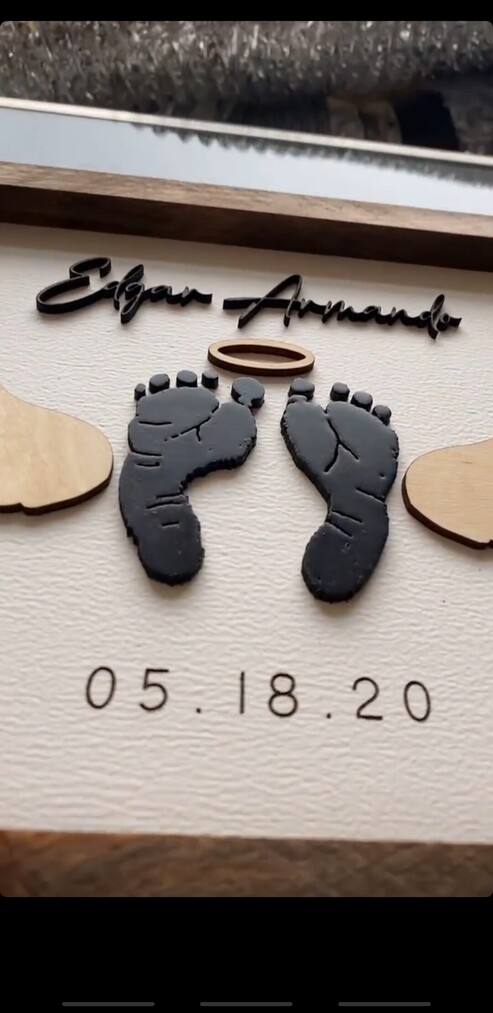
Best of luck to you, and definitely share a picture when you finish your project!

Rasterizing is turning a vector into a bitmap.

Vectors are usually things like SVGs and PDFs.

  • caveat: both SVGs and PDFs can contain bitmaps too… so don’t alway assume just because it’s an SVG it doesn’t have a bitmap hiding inside

Bitmaps are things like JPEGs, PNGs, BMP, etc.

A vector, is a shape represented by a series of instructions of how to draw it.
Where as a bitmap is just a whole bunch of numbers, each number representing a single pixel in the image.

A bitmap for a trapezoid could look like:

111000000111
110000000011
100000000001
000000000000

Where the 1 is a white pixel, the 0 is a black pixel. This would be a tiny image 4x12 pixels, of a little black trapezoid on a black background.

As a vector, you could instead represent this as instructions, like:

lineFrom(1,1).to(4, 4)
lineFrom(4,4).to(9, 4)
lineFrom(9,4).to(1, 12)
lineFrom(1,12).to(1, 1)

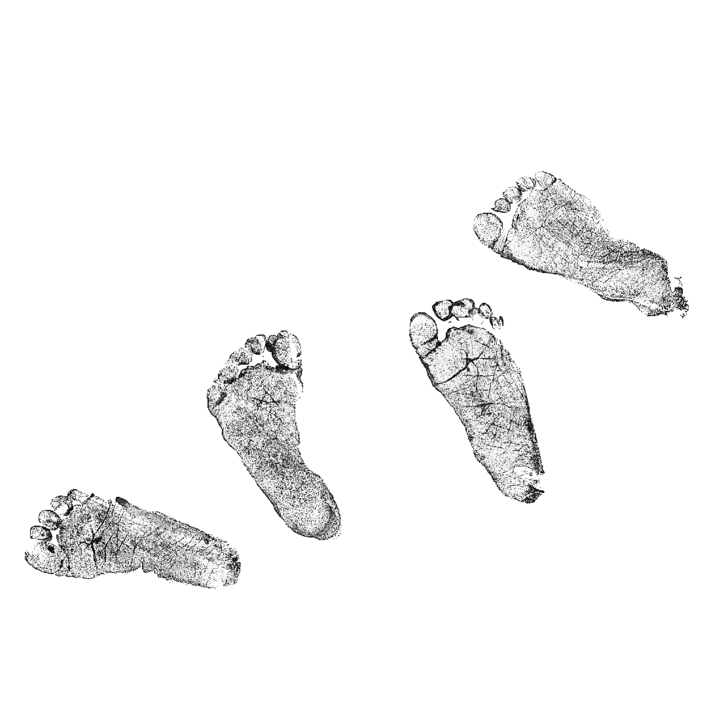
Because the vector is basically math, you can scale vectors to different sizes and the image always looks perfect. Where as if you took the one made with pixels, it doesn’t know where the line is suppose to be, so that’s why things get blurry and pixelated when you resize them.

But this is probably more information than you asked for :stuck_out_tongue:

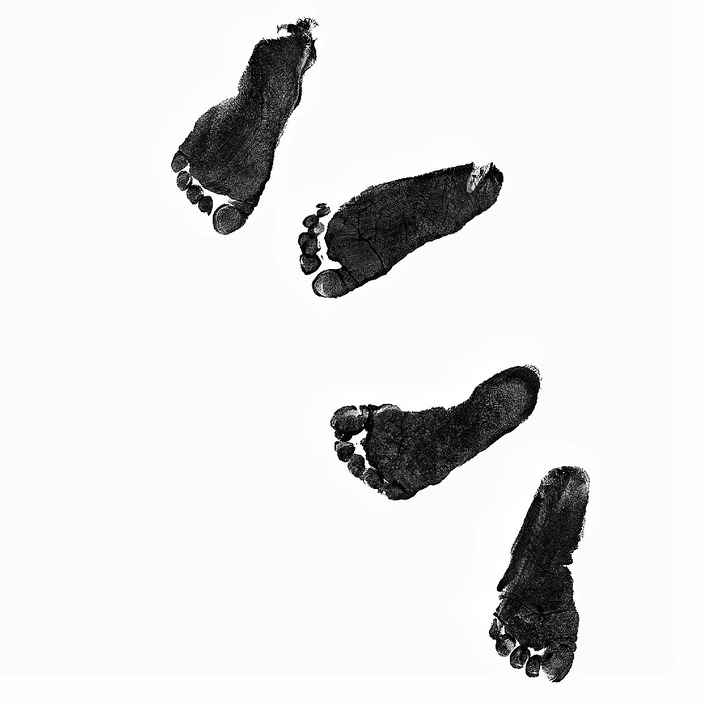
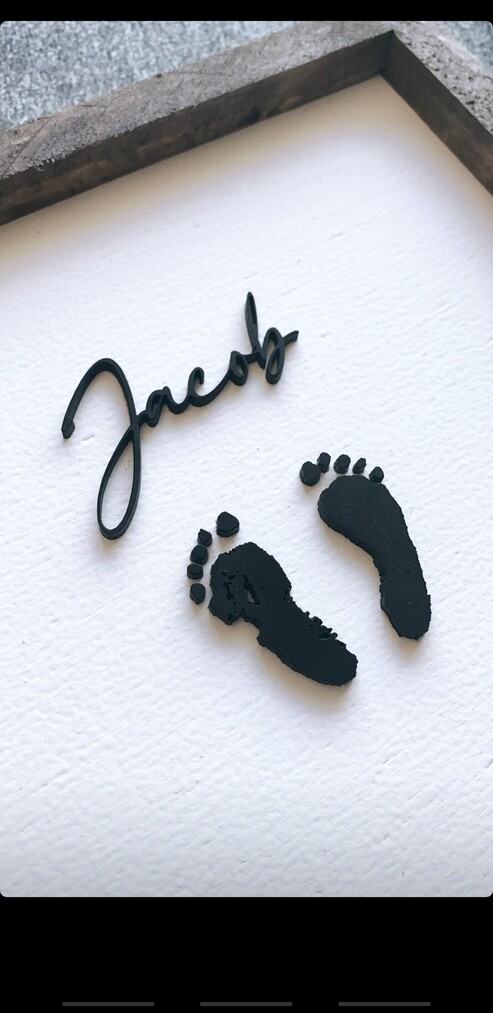
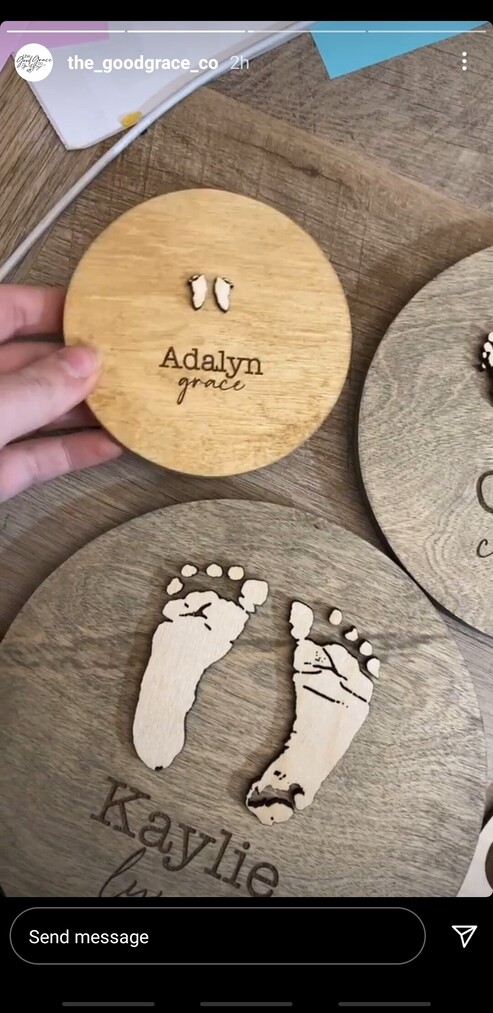
In the context of laser cutting/engraving, the laser can only cut vectors… things where it has instructions of where to draw (i.e., cut) that line. Bitmaps can be perfect when you want to engrave, which is basically the way the laser draws a whole bunch of pixels onto the wood or other surface. (What it really does when it engraves is goes back and forth drawing many, many lines next to each other… each line is like a row of pixels, and the laser can turn on/off as it goes to make that line into a row of pixels that are on/off).

Ok… I’m going to stop now and go have some dinner!

3 Likes

Wow. Thank you so much for your detailed response.

I’m going to give it a shot and will definitely post an image once I figure it all out.

Thank you for your response and taking the time out.
Hope you enjoyed your dinner:)

1 Like

Quote of the month!!! I remember the first six months of GF ownership @Jules and @eflyguy threw a lifeline to me dozens of times!!!

Now if I have a problem I call Andrew @eflyguy on the phone. That man has so much patience he needs to be sainted after he dies.

4 Likes

I didn’t think he could die :thinking::thinking::thinking::man_shrugging::man_shrugging::man_shrugging::joy::joy::joy:

1 Like

1 Like