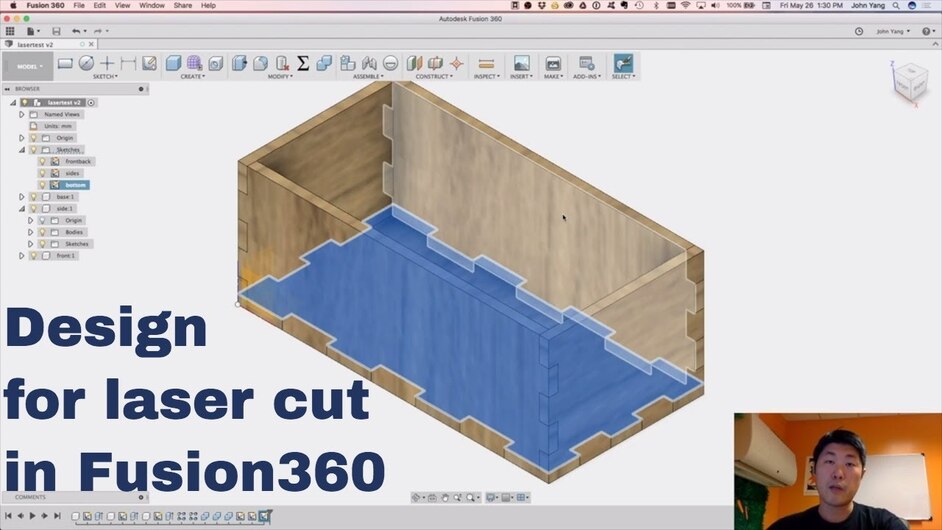
I made a quick video on how I design tabbed boxes in fusion 360. I’m sure there are better or more efficient ways to create the designs, but this method let’s me control placement for my custom designs. I’d love to hear feedback on this method so I can improve. Thanks
There is a problem with the video from 2:40 to 3:10 approx, It is accelerated and sounds weird.
I’d love to see that included in the tutorials if you can increase the audio level a little. It looks very nice and would be a great addition if you want to share it with other new users.
Great job on it! 
Very nice, you aproach your order of operation a bit different from me but I can’t say one is better than the other. There are, as @rodrigobrionesm said, some issues with the video.
I’d love to see it in the tutorials along side my writen ones.
I sped up the video since the operations are the same and I didn’t want to have a long video of the same action. I agree the audio is messed up. I’m still new to the YouTube and editing thing
Where are your written tutorials? I haven’t seen much on creating designs aside from the online box creators that only design on one tab size.
Go to the tips and tricks section. The first post is an index each link in it leads to a spreadsheet of more links. I believe that the F360 ones are in the third one.
When you get it the way you like it, @Jules can put it in the matrix for you.
Yep! ![]()
Just keep working on the videos. It’s a good start. I had lots of problems with sound in my first videos and just kept testing and tweaking. I still have lots to learn.
Thanks so much for making this!
No problem. Personally, as a F360 newbie, I prefer to see an action several times so I can understand it better 
Great job, thanks!
I just love when somebody makes vids like this @ljyang.
Could it be an Idea to have a category for video tutorials?
Nice Job! Don’t be afraid to be a little more verbose about how the software works and what each action is doing. Us newbies will appreciate that. Also, often with software like this there is new language - pieces are called bodies, pieces are described as coincident - it might be obvious to a pro as to why these terms are used, but it is just another part of the learning curve for new users. Again, don’t be afraid to be verbose when new terms might come up. As I said - nice job! Videos are very helpful and will take the community to new places Thanks for making it.
I’ve uploaded a new version with the audio fixed for the sped up sections of the video.
Would people want the raw video or something with full detail of all steps? it was a 45 minute session I recorded from start to finish. I edited it down to ~16 minutes here but could probably expand the sped up sections and have a 30 minute video. I just don’t know how useful that would be compared to the short version.
Yeah, in that one it’s much easier to make out what you are saying. I’ll link it in the matrix. 

I totally like this edit and I’ll definitely try and consider the ways your workflow differs from mine.
How are you adjusting for kirf?
I don’t adjust for kerf in this video. I have used a ‘slop’ factor in my other designs that I add into the parametric variables in the designs that I have actually cut out.
I use a K40 at the moment to cut my designs and I target a loose slip fit for gluing usually. I’ll post a runthrough of my hinged box design that does use some kerf compensation in places.
Only thing I’d suggest is using a construction line and mirroring instead of creating the slots on opposite sides of the side parts with the repetitive transactions.
Another thing you can do instead of typing in the parameter name the second (and third) time is selecting the first dimension to pick up it’s value. An example would be to set d1 = thickness and then when you need thickness again for d5 and d9 (or whatever they were) you select d1. Everything is still driven from the parameter table, but you enforce that the like dimensions stay alike. Clicking is faster than typing for a lot of people, but it isn’t as “readable” if you go back into the parameters table to see what is what.
Now, if we could only do DXF into the GFUI this would be perfect. You can create drawing views and export to PDF which I think will work great for the GF. I’m looking forward to using the 12 x 20 hack for positioning parts on the bed. I’ll stop now before I need to create my own thread.
Thanks for taking the time and doing this (twice!). I relearned some workflow from you 
