Hi. I’m trying to create some round signs that have flowers around, . And I don’t know how to create an outline to actually cut the flowers and not engrave them only on the inside of the circle. Does anybody knows how to do it ? I’m going to attach a picture just for example bc I don’t know if I explained ok

3 Likes
So that’s kind of a broad question because there are lots of workflows to do it.
It might help narrow things down if you say what software you’re using and what software you’re familiar with… that way someone can give you specific advice.
2 Likes
If you have Glowforge Premium, you can do it using the Outline tool (in the right-hand menu).
1 Like
Not so much if that example is to be followed as an example. The GF UI is not advanced enough to handle compound shapes like that. Read on, turns out you can do it in the GF UI, if you’re desperate or too short on time to learn an external editor right now.
Creating this outline will involve tracing a bitmap and then merging it with a circle, no matter what program you use. All we need now is for the OP to tell us what software they are using so that we can give more precise instruction.
The good news is that this will take literally seconds.
2 Likes
Hey I’m using Inkspace
I tried to create outline using Gf but they cut the outline. Not sure how to do it
Right. I think you mean Inkscape?
I’ll show you how to do it with a free svg like yours, taken from vecteezy. I grabbed the first one that looked like what you wanted.
First things first, I converted the path to a bitmap since that is what I figure you’re working with, a jpg or png or something. Here’s my nice raster wreath:
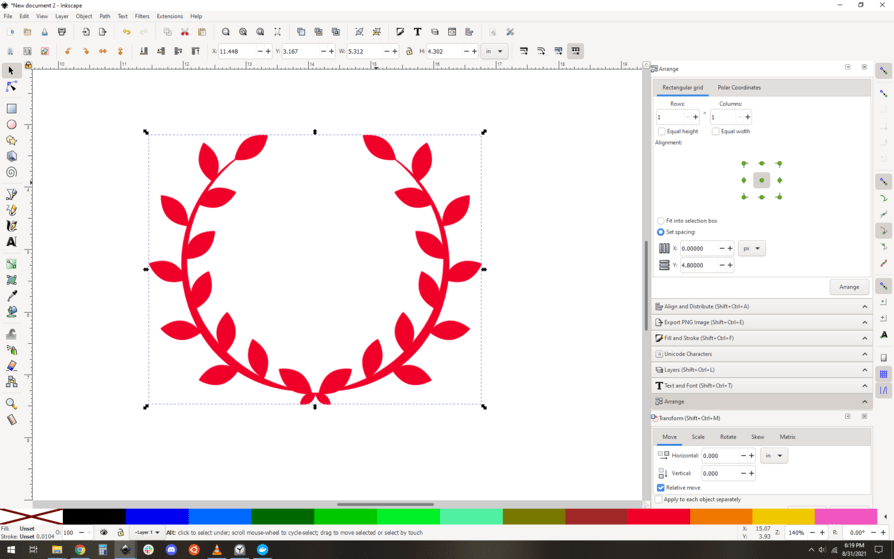
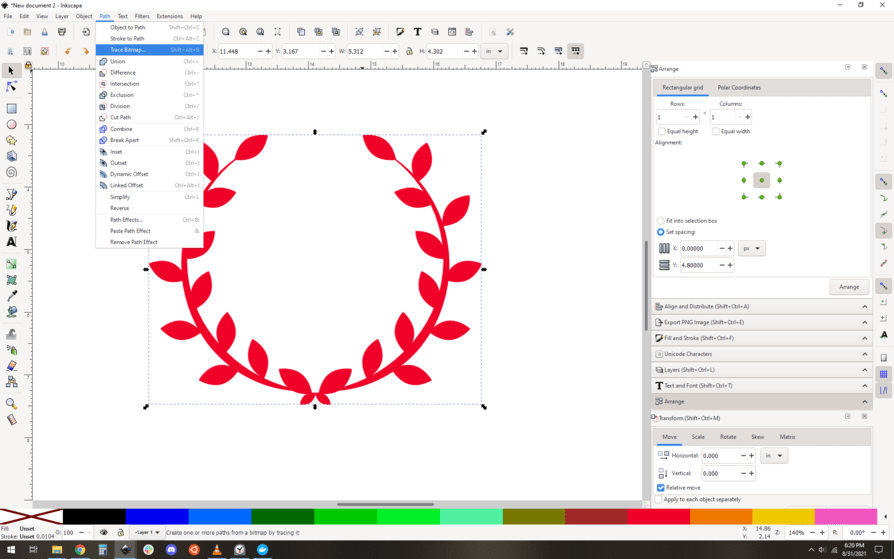
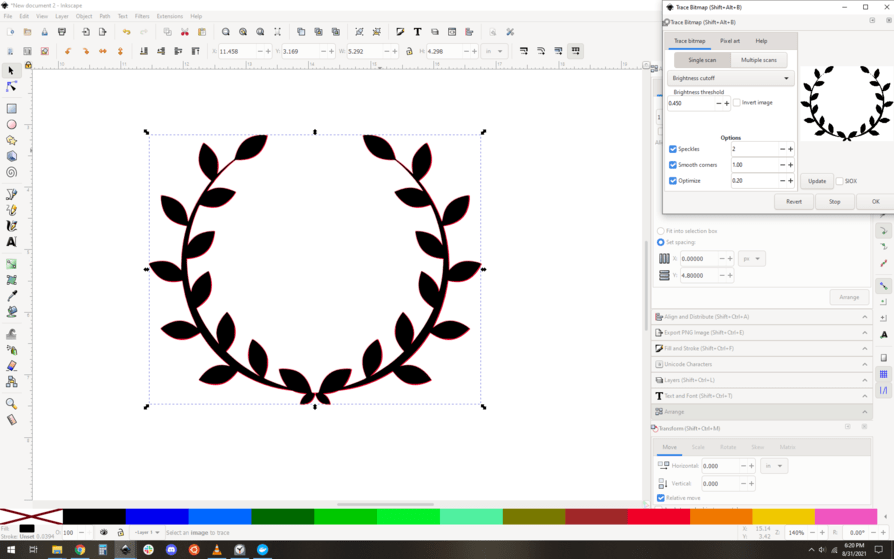
You want to trace this bitmap. It makes a vector version of the shape:
The vector is right on top of the original, so I changed its color to black to make it obvious… you can see just a bit of the red bitmap peeking out:
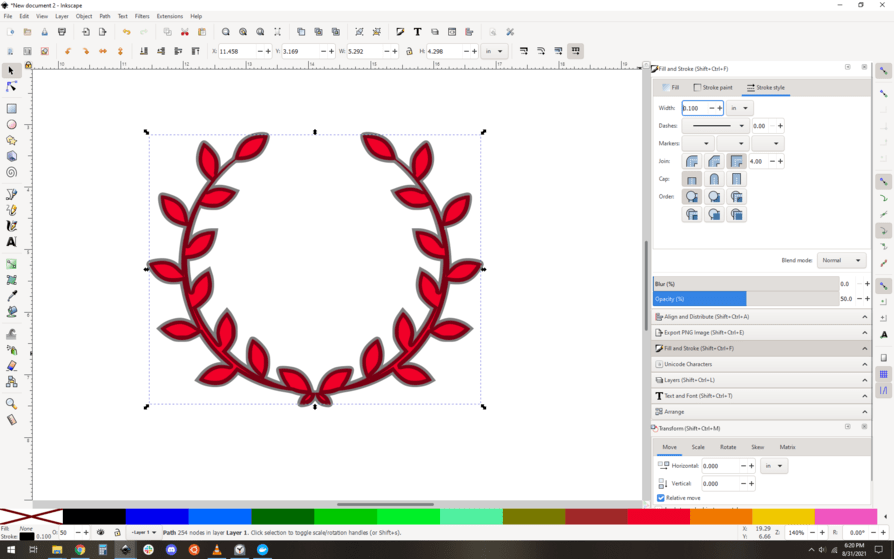
Now I want to offset that shape so that it has a border… to do that you can use the offset command, but my preferred method is to use the stroke of the line to do it. First thing, unset the fill and set the stroke to be a width that is about twice what you want for your offset. I chose .2" here, which will make a .1" offset from the centerline. I also set the opacity on the vector to be 50% so we could see the red shape underneath it:
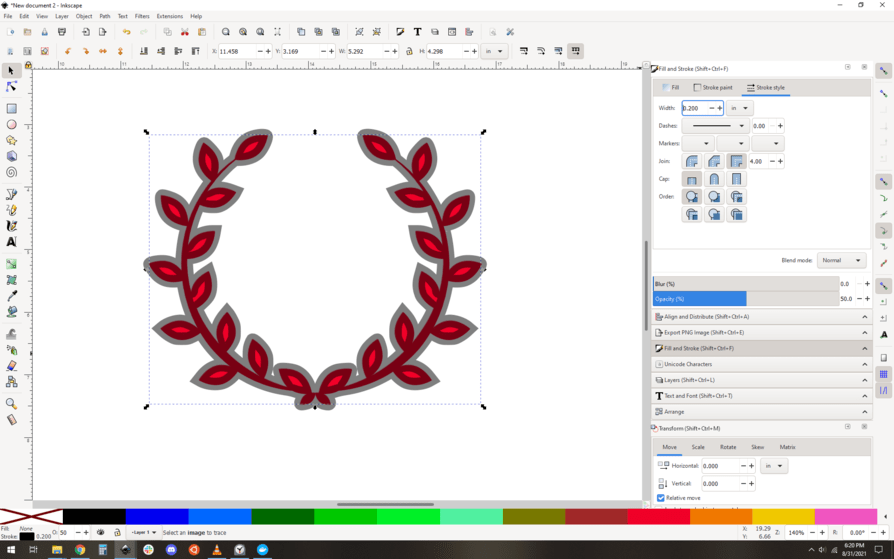
That light grey area will be your border. Seems too thick. I changed the stroke to be 0.1" instead:
Ah, that’s more like it. This is personal preference, so go nuts and use your own judgement. Next up: you want to convert this stroke to a path:

which makes your black outlines a filled shape. You can confirm it with the node tool:
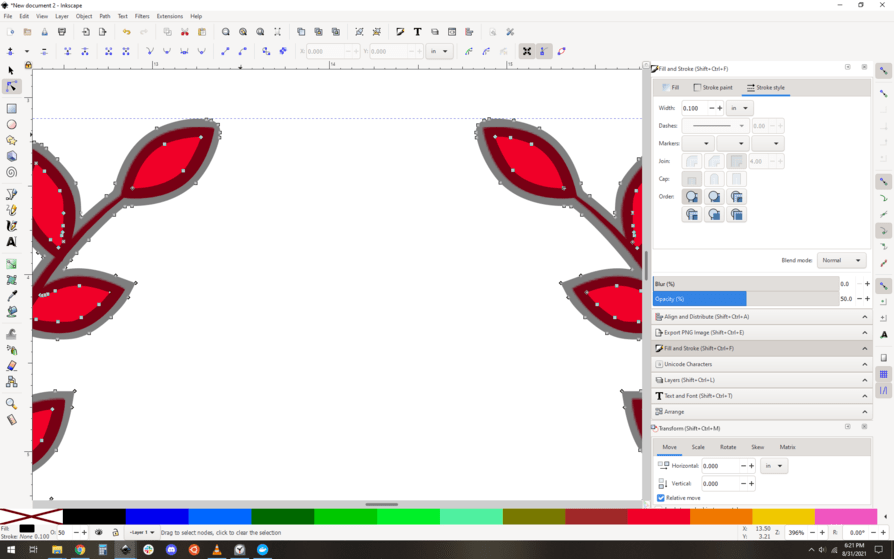
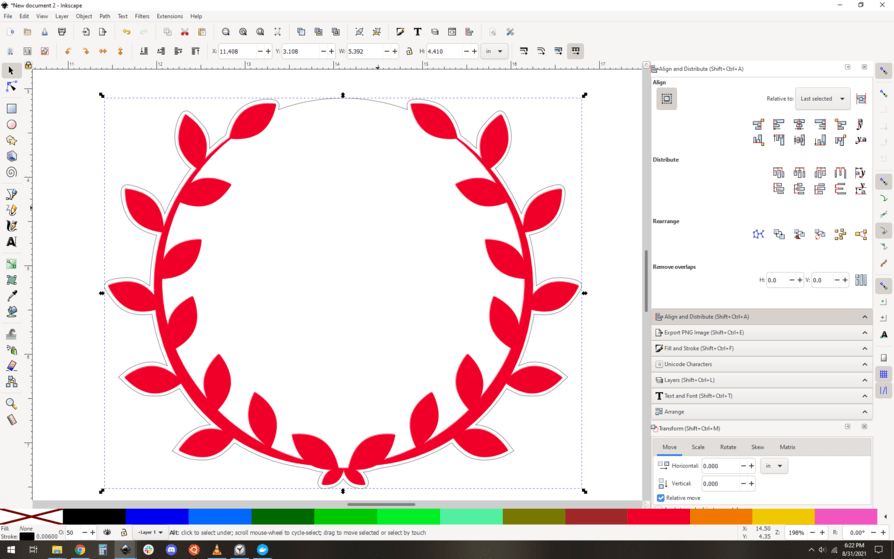
Look at all those nodes! Great. Of course we only want the outside of the shape, not the inner “windows” on the leaves. For that I am going to do a nifty shortcut that I learned from @rbtdanforth: First break apart the path (Path->break apart), and you’ll see that all the shapes are now independent items:
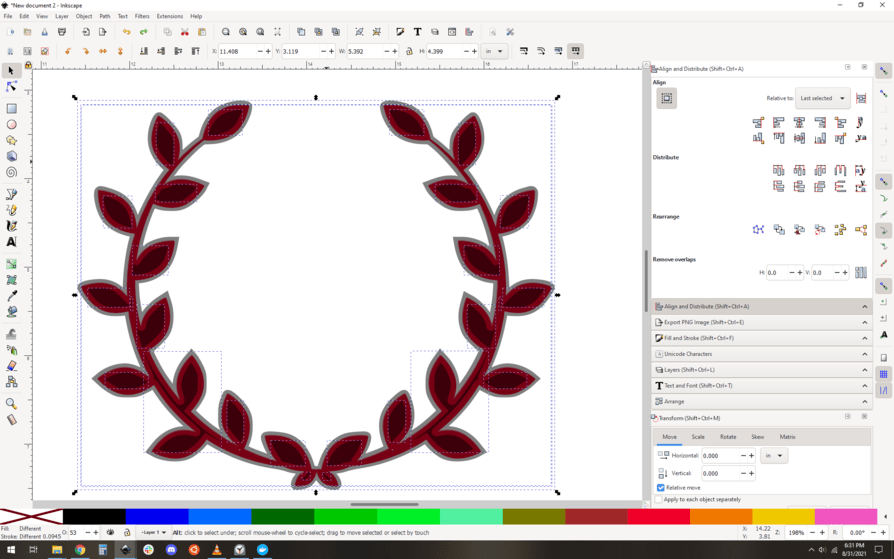
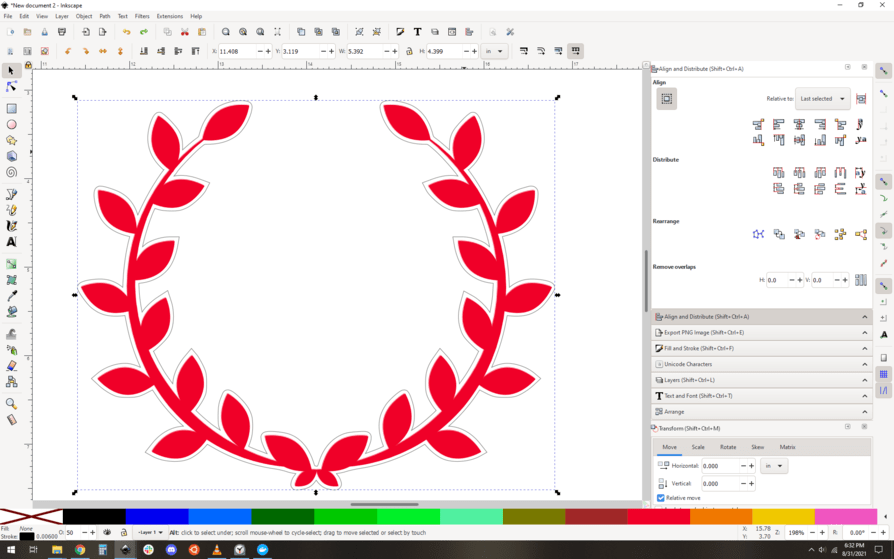
Then you can do a Path->union command and it’ll fuse all the overlapping shapes into one…it’s much faster than trying to manually track down all the little bits you want to delete. Adjust the stroke and fill so it is a nice thin line and you can see what’s going on:
Almost there. Now we need to place our circle. I did this by eye, and made the circle green to make it easier to see in this example:
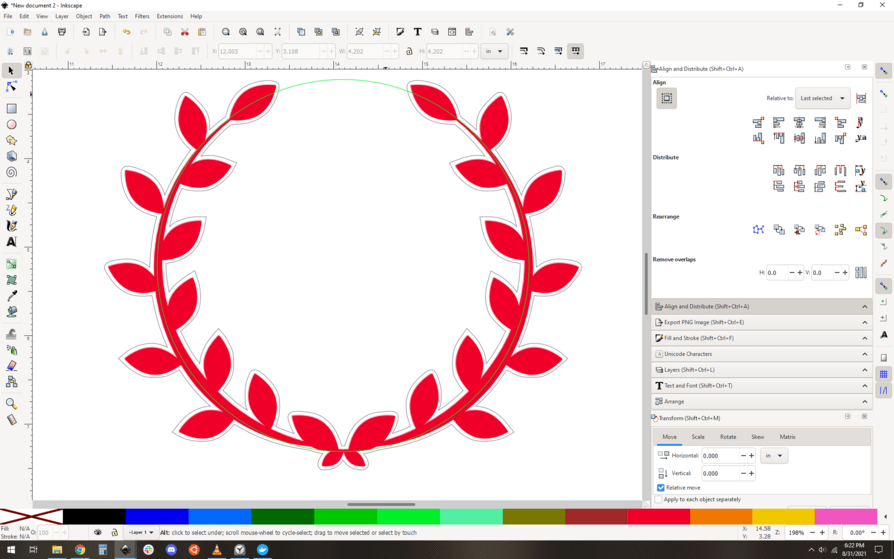
Now we just need to union the outline of the wreath and your circle, again with Path->union:
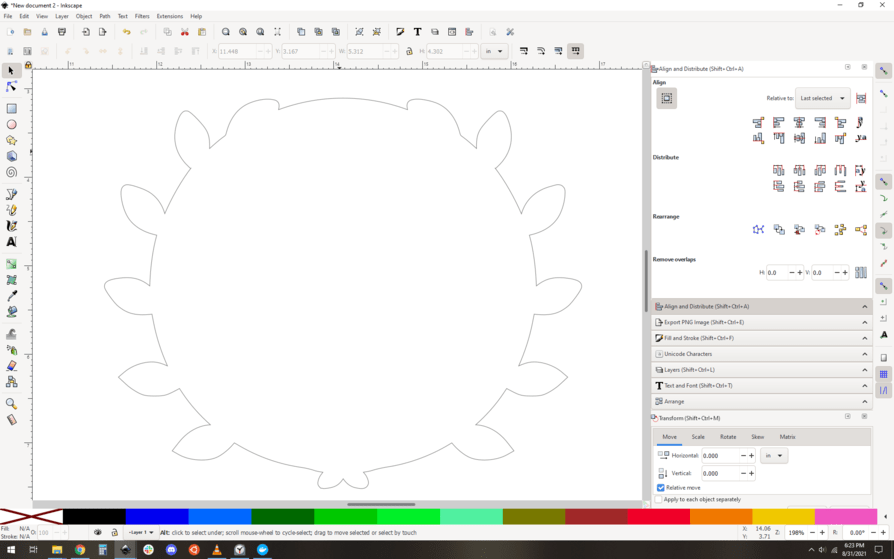
And you’re done!
Here’s the outline isolated so you can get a really good look at it:
It’s really simple once you get a firm handle on the path actions in Inkscape. Heck, it’s even easier if you start with a vector wreath, you don’t need to do any of that trace bitmap stuff.
11 Likes
Challenge accepted!
So, here’s how I’d do it using only the Glowforge Premium tools.
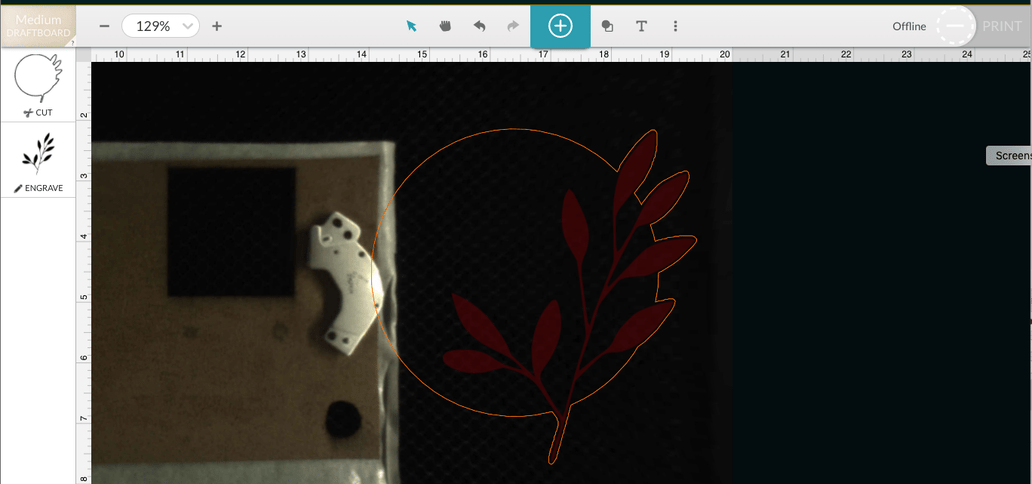
I grabbed a PNG image from a Creative Market download (this one was a free one from a Hand Drawn Elements collection). Uploaded it to the Glowforge interface:
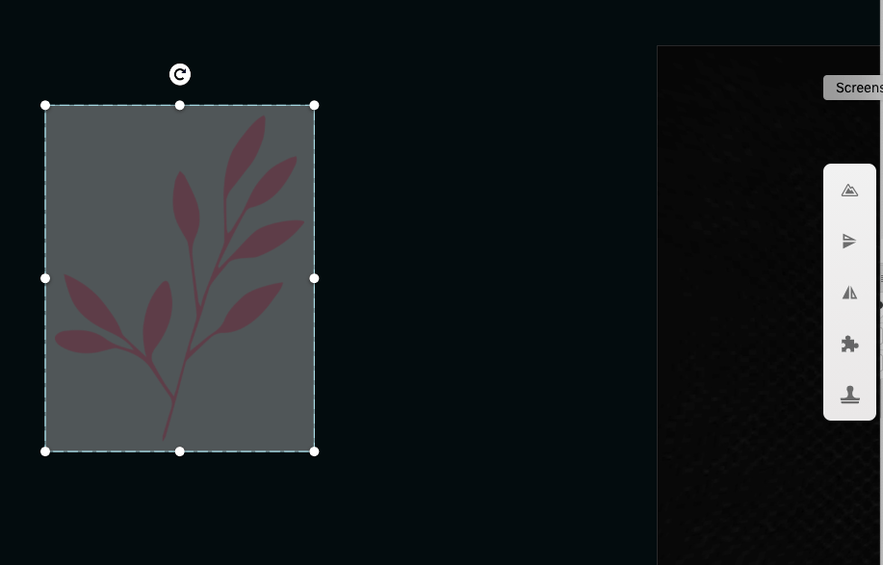
With the image selected, I used the Outline tool (it’s the one in the right-hand menu that looks like a mountain) and used an outline offset of 0.02 inches:
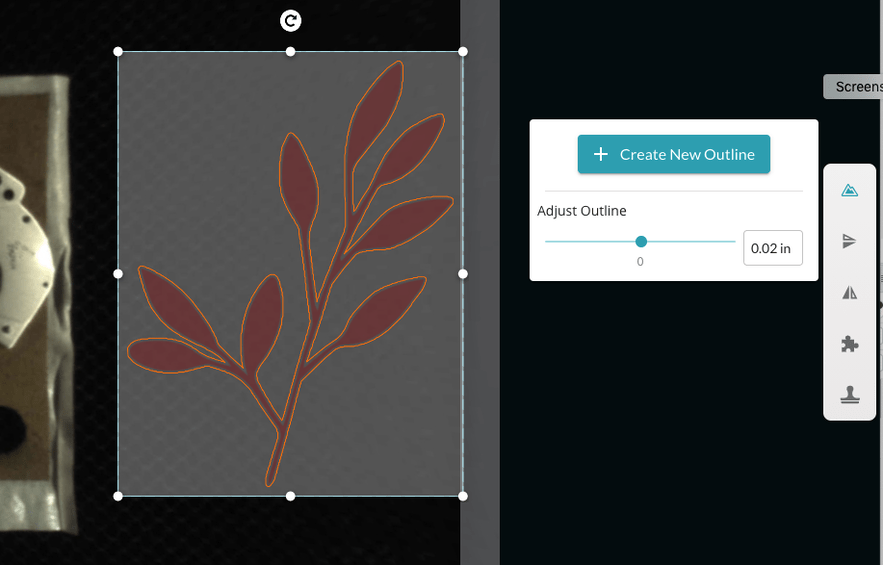
It does a nice job of drawing a tight outline. You could certainly make it wider or even thinner.
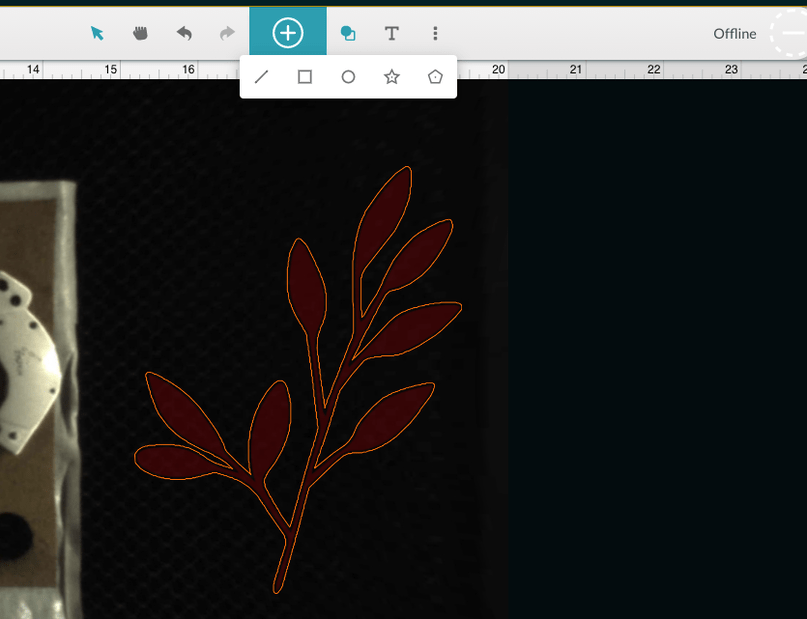
Now, if you want to incorporate that as part of a circular panel, that’s easy too. Just grab a circle from the Glowforge tools at the top menu (it’s the icon to the right of the bit Plus sign):
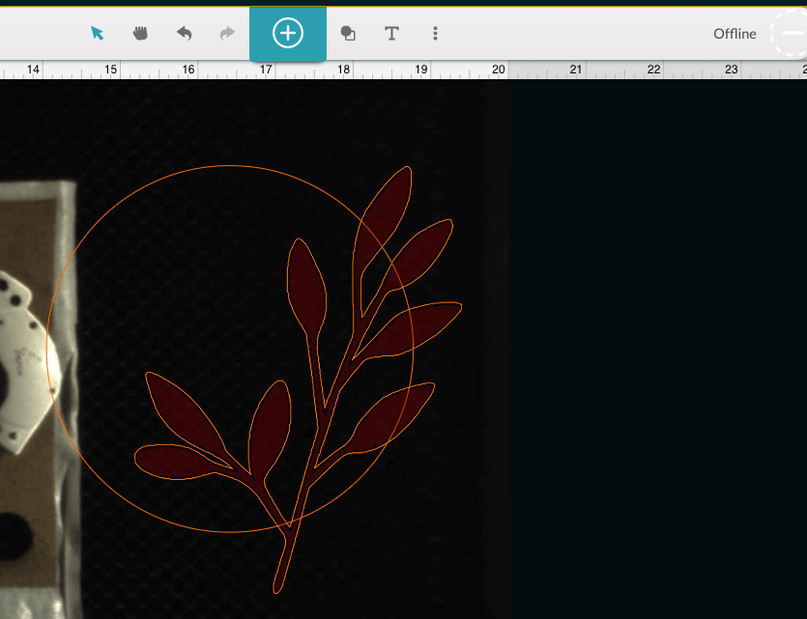
I placed the circle where I wanted it and made it bigger:
Now, select everything (PNG, first outline, and circle), and choose the Outline tool again, this time with a width of zero:
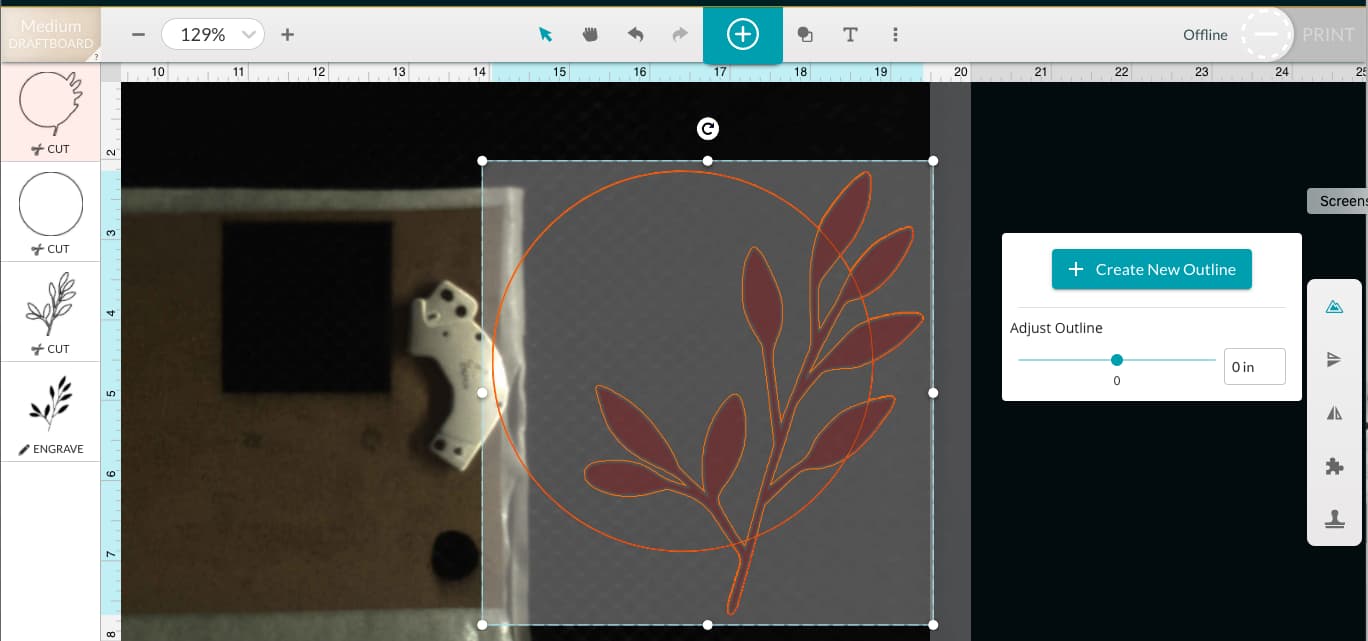
Look over at the list of operations on the left. There are a few we don’t need any more. I deleted the original outline of just the branch as well as the placed circle. So what we have is:
Not sure if this is what the OP had in mind, but either way I think you can get decent results using these tools. It does depend a bit on the original graphic, like if there are gaps and such (just make the outline wider).
Truthfully, like you I prefer to do this in my design app (in my case Illustrator) for the finer control. But the results you can get from the Glowforge Premium tools are pretty respectable.
14 Likes
Well well well, you can outline multiple things at once, making a sort of makeshift union. Interesting.
2 Likes
I also find this method to be the easiest.

4 Likes
I don’t know if the original poster is satisfied with these answers, but I learned something. Thanks you two.
7 Likes
Interesting way to think of it. I have been adding “toss-away shapes” like a big ellipse on the top where I want to make a loop for a pendant say before making the outline, and after you can make the ellipse smaller making the hole ![]()
I agree with @awebs76 and @dklgood ~ very generous of you @evansd2 and @cynd11 to share these helpful tutorials! Helpful to the OP, and also anyone else reading. 

5 Likes
Wow! thank you so much! I’m going to start right now pratice to see what I can do 
 you are very generous!
3 Likes
This topic was automatically closed 32 days after the last reply. New replies are no longer allowed.