Challenge accepted!
So, here’s how I’d do it using only the Glowforge Premium tools.
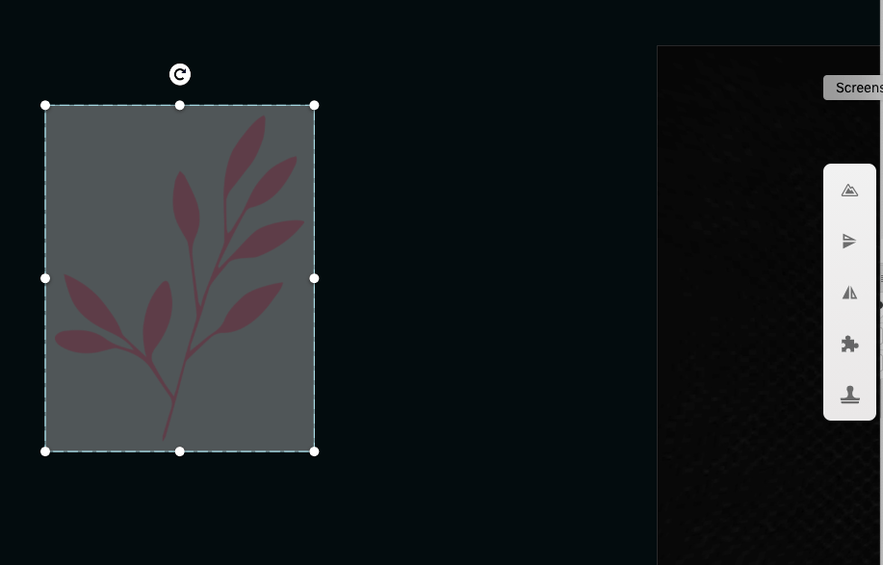
I grabbed a PNG image from a Creative Market download (this one was a free one from a Hand Drawn Elements collection). Uploaded it to the Glowforge interface:
With the image selected, I used the Outline tool (it’s the one in the right-hand menu that looks like a mountain) and used an outline offset of 0.02 inches:
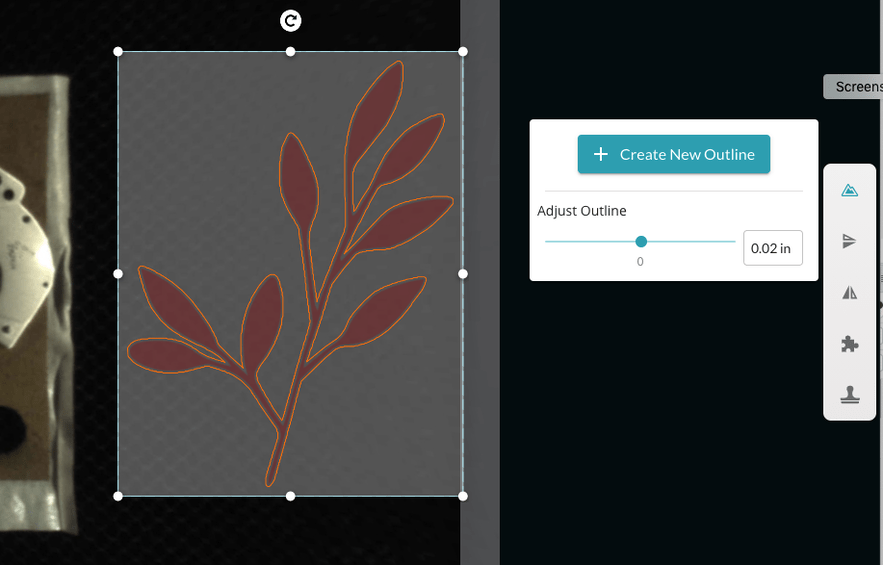
It does a nice job of drawing a tight outline. You could certainly make it wider or even thinner.
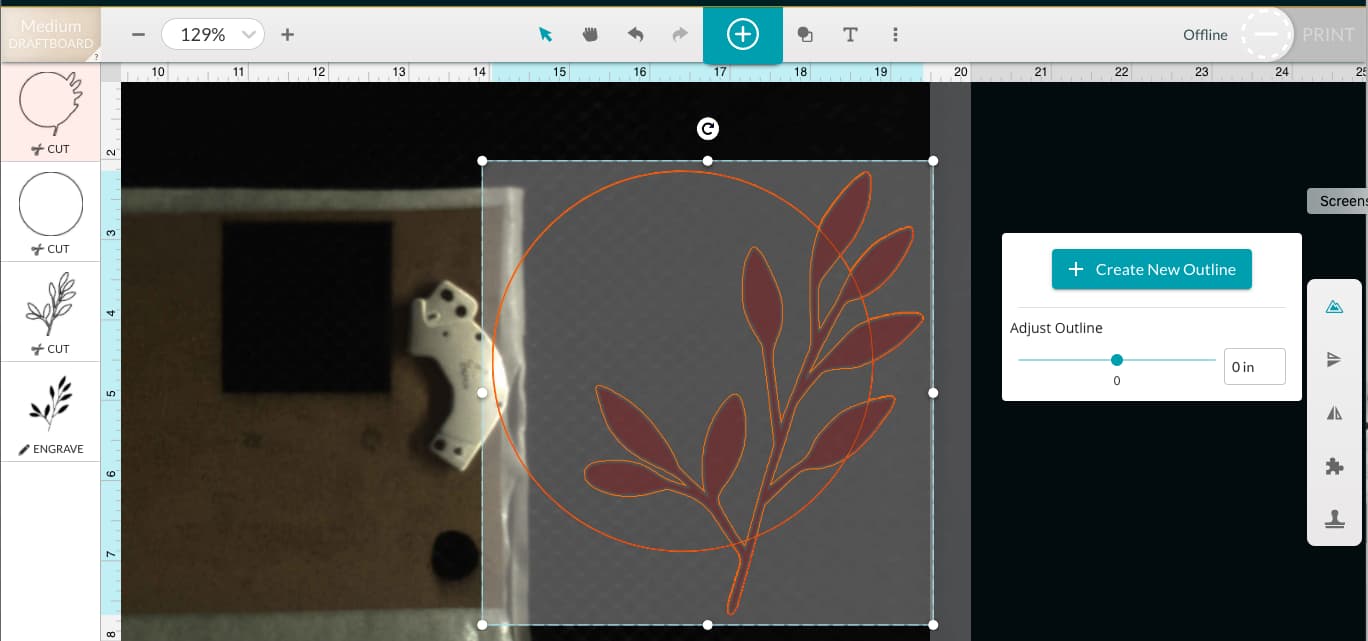
Now, if you want to incorporate that as part of a circular panel, that’s easy too. Just grab a circle from the Glowforge tools at the top menu (it’s the icon to the right of the bit Plus sign):
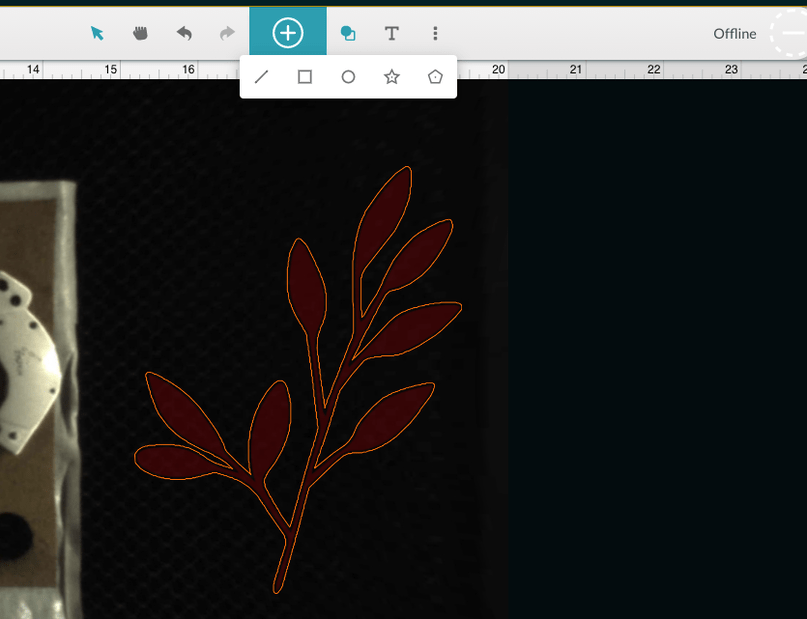
I placed the circle where I wanted it and made it bigger:
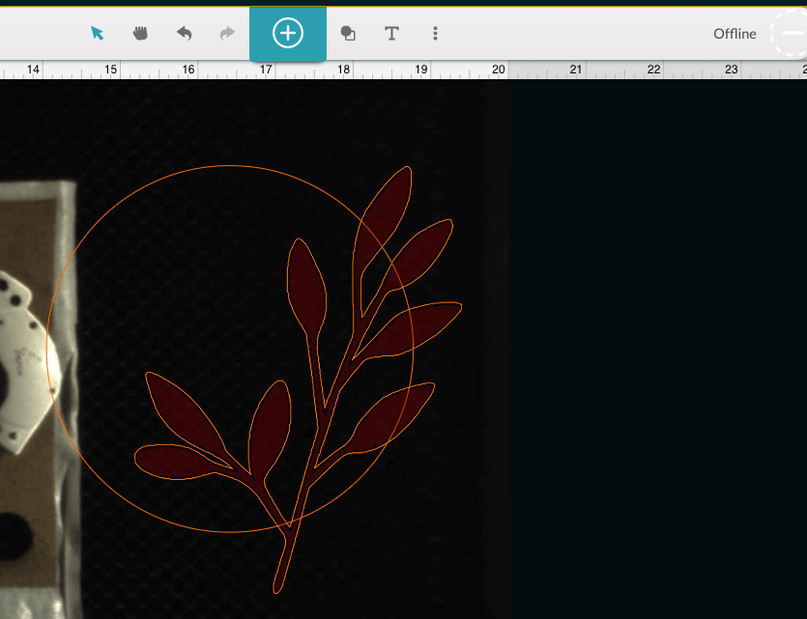
Now, select everything (PNG, first outline, and circle), and choose the Outline tool again, this time with a width of zero:
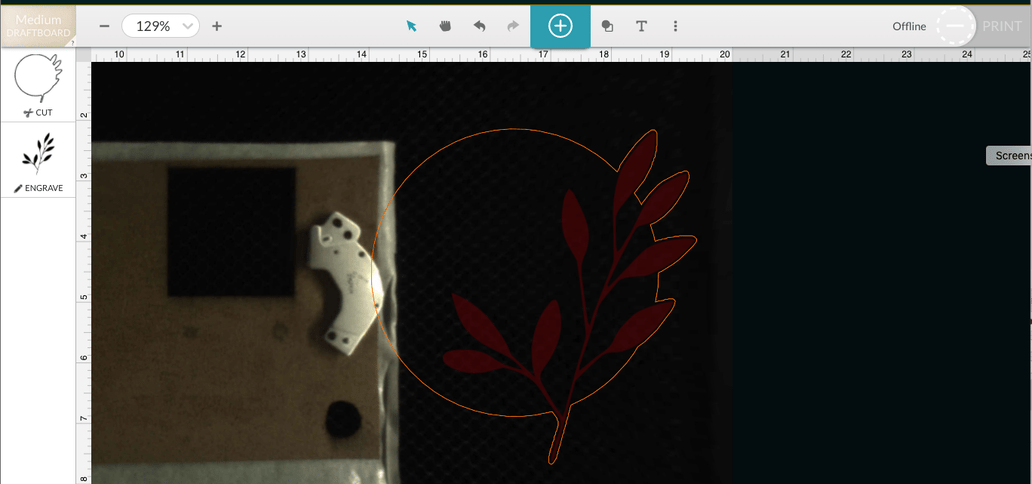
Look over at the list of operations on the left. There are a few we don’t need any more. I deleted the original outline of just the branch as well as the placed circle. So what we have is:
Not sure if this is what the OP had in mind, but either way I think you can get decent results using these tools. It does depend a bit on the original graphic, like if there are gaps and such (just make the outline wider).
Truthfully, like you I prefer to do this in my design app (in my case Illustrator) for the finer control. But the results you can get from the Glowforge Premium tools are pretty respectable.