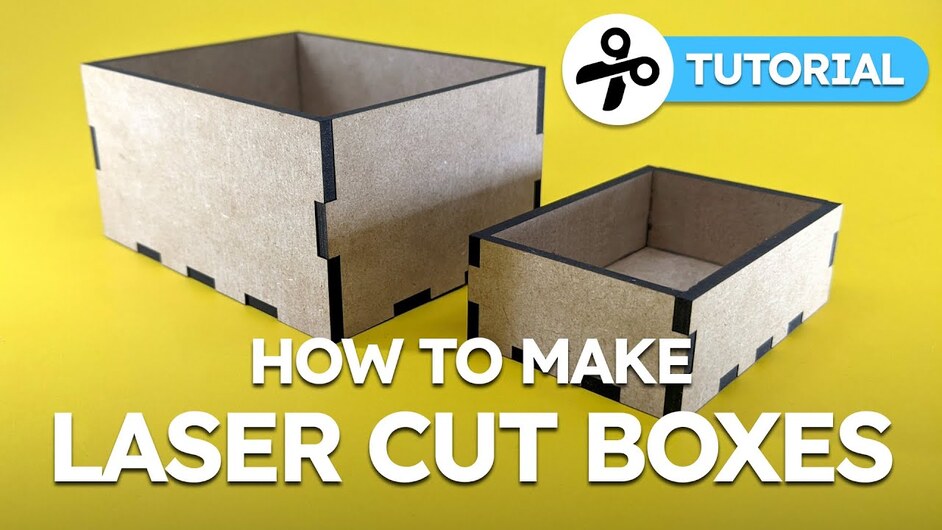
Hi folks! I made a new video about making laser cut boxes with finger joints using Cuttle, though I think I managed to make it useful even if you have another favorite box generator or even if you are tackling your first box project.
I don’t get tired of making custom boxes with this machine, I use them a lot for organizing but also as the starting point for other useful objects like enclosures and musical instruments.
In the video I tried to summarize my experience while adding a couple of tips, so I covered:
- A thorough explanation of all the options (or “parameters”)
- How to measure material thickness and how that affects the final result
- A quick explanation of “kerf” with some fun visuals and how it affects the box assembly
- My method for glueing and assembly
I’d like to make more videos about making boxes, so this is just the first one that hopefully lays the basic foundation.
One workflow you are probably familiar with is getting a file from your box generator and then opening it on your vector editor of choice to make changes (add holes, handles, labels, etc), which adds an extra step every time you need a different size box or material. In the next video I want to show how to do everything directly in Cuttle and even use some parameters (customizable options) to make it even more streamlined. So stay tuned (or in youTube parlance please like and subscribe ![]() )
)
Bonus Behind the Scenes Kerf Pictures
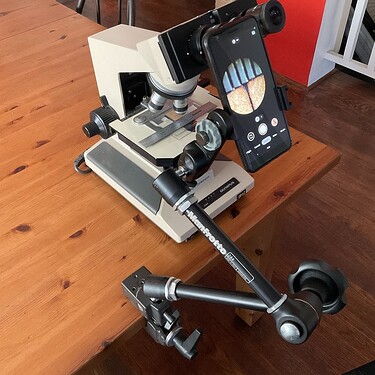
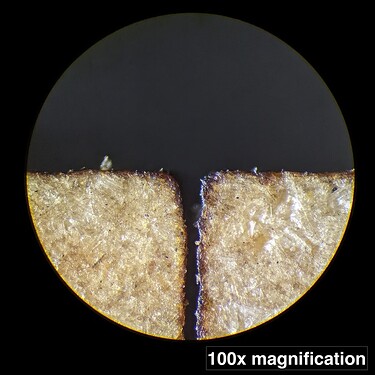
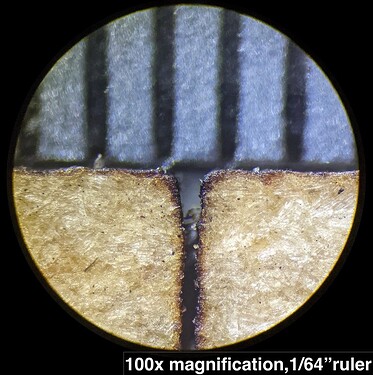
To get some visuals for the kerf section of the video I chucked a piece of draft board with a single line cut under this old but lovely microscope I inherited from a relative, I used a magic arm to hold the phone just so on the eye piece:
This doesn’t give us precise kerf dimensions but it’s fun see, I was surprised by how fine the fibers look on the draftboard:
I’d love to read your impressions, additional tips, and suggestions for what you’d want to see in the next video. Thank you!
Federico


