Hey Guys,
so we’ve started creating stuff on the 1/8th maple plywood as well as 1/8th baltic birch and we are having trouble figuring out how to mount stuff as screws and nails are very hard to find that small (and I don’t even know if they’d be effective on something that skinny). We’ve got picture mounting kits and such, but we aren’t sure if we have to glue like 2-3 layers of scraps to the back just to nail in or what. We tried using a very small screw with an eye into 2 glue pieces of and the layers just started splitting.
What have other people done, or should we just glue the mounts to the back? We don’t want to try to jam everything in frames, and we are now afraid even for multilayer designs that we might hit issues. Do we need to start going up to 1/4" thickness for wood?
I assume you’re trying to wall mount? You could forge up a mounting point or use existing hardware but it comes down to glue either way. Someone posted a keyhole-style mount ages ago. Let me go find it.
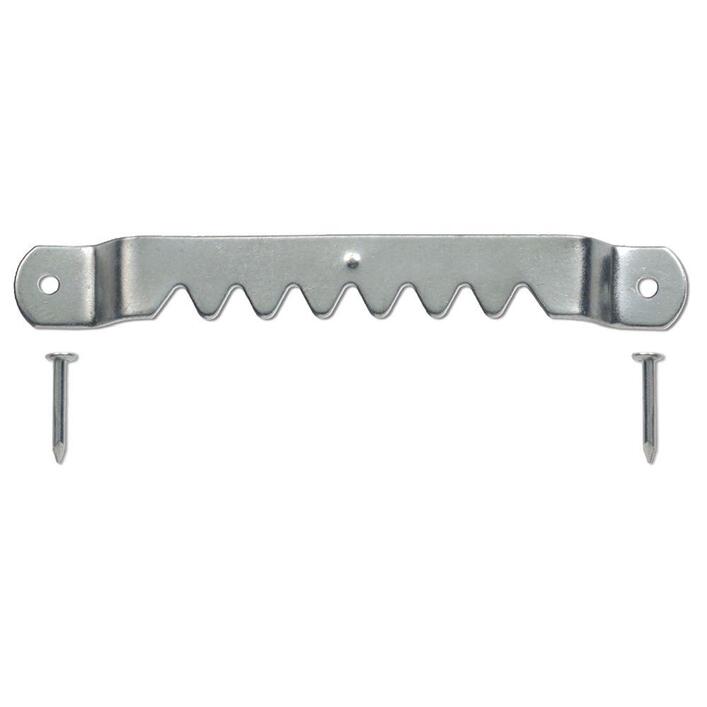
Of course you could also glue a standard sawtooth style picture hanger on there too.
If you’re really feeling industrious you could engrave a very small pocket or lightly score the outline for the sawtooth/keyhole, it would help align things. Maybe not worth it, ymmv.
Thanks for the link to the design, I had seen people mention something like that. I was thinking we could just glue on those sawtooth things, just didn’t know how crappy it’d look or how well it’d hold, but I guess 1/8th is fairly light, but I don’t really know much about adhesives and such.
Yeah, I thought about some sort of 3M things like that, however I wasn’t sure how people would take to using those when trying to sell stuff, also I know you can pull a strip to release, but how to do you reach it when your board is flat against the wall?
they make some that are for heavier objects that are two pieces of velcro. so you can just pull it off, and then release the strip.
this came up over the past day or two elsewhere and someone suggested having 2-3 options for mounting and then letting the buyer decide which one they want.
I don’t have an example handy, unfortunately, but I use bolts instead of screws in thin material. Screws tend to have coarser threads so material is more likely to split. The taper doesn’t contribute much holding power.
Size the hole a bit larger than the root diameter (solid part) of the bolt. Then turn it in - may need to flare the entry a tad to get it started. No nut required.
A drilled hole will have more solid sides than a laser cut one, so if doing that it will need to be a bit wider. You can also put a tiny drop of glue in the hole before threading in the bolt.
I’ve done this successfully in material as thin as 1/8" (3mm).
I just whipped one up in case it helps.
You would engrave the pink on the backside of what ever you were mounting, so you could have depth, then you cut the green in a separate piece of material you want as the bracket and glue the two pieces together. You may need more than one green piece depending on the depth you need for the mount. This is current sized at a 2x5 engrave and a 3x6 cut, with a 1x5 keyhole, so size it however you need. This is also an example to help if you need to change anything.
Edit: If you don’t want to or can’t engrave the back of one piece of material you can add the brown cut and engrave the pink into it, and mount all the pieces together.
I haven’t launched them yet, but I’m working on a line of signs/wall hangings and plan to just include a velcro command strip set with each one so it’s easy for everyone involved.
Never hurts to have a few more takes on the same concept, but my original reply linked to a thread that also provided keyhole hangers from @jbmanning back in Oct '17.
As some of the command strips are Velcro you can put them up first and then just pull off as you would with other Velcro. I have just used the standard velcro I bought a large quantity of years ago and used white glue that creates a very strong bond, then whatever means you use to put velcro on the other side you only have to place it and push. It is also far more forgiving in getting things level.
 maple plywood as well as 1/8th baltic birch and we are having trouble figuring out how to mount stuff as screws and nails are very hard to find that small (and I don’t even know if they’d be effective on something that skinny). We’ve got picture mounting kits and such, but we aren’t sure if we have to glue like 2-3 layers of scraps to the back just to nail in or what. We tried using a very small screw with an eye into 2 glue pieces of