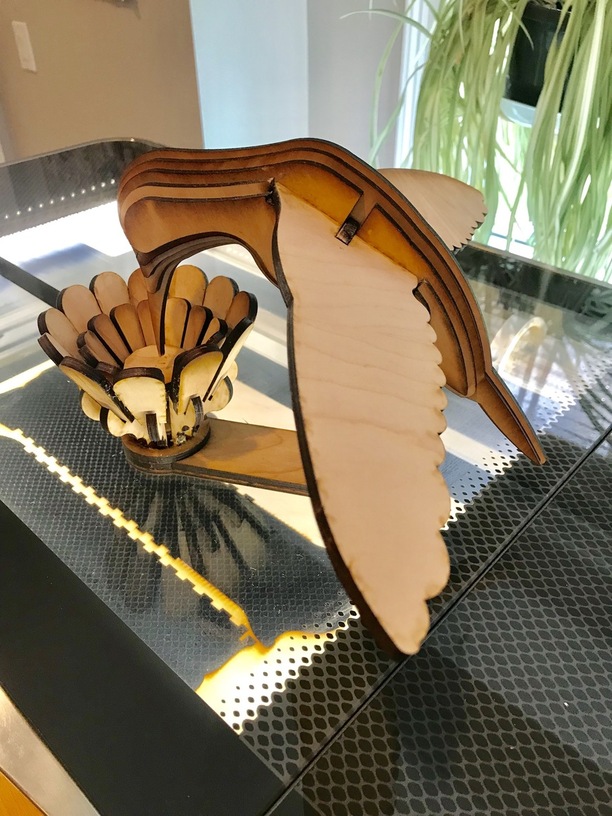
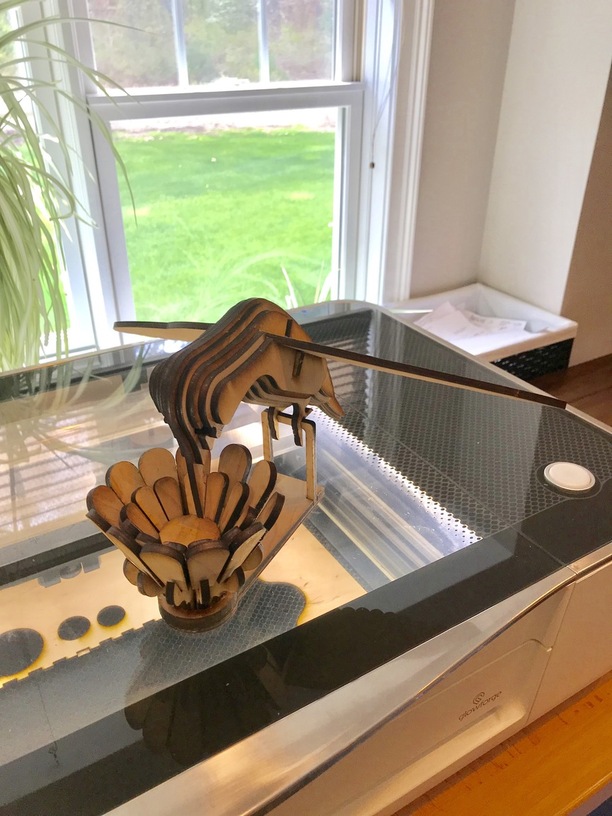
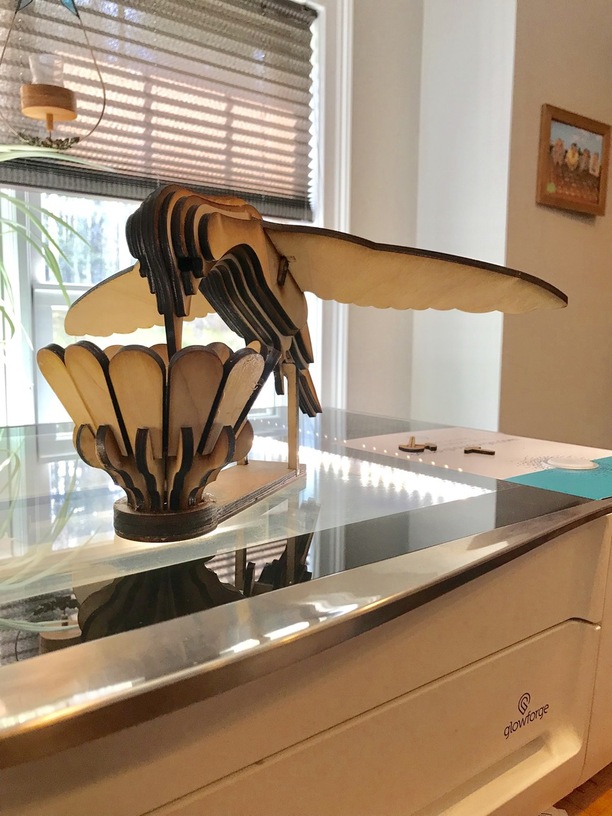
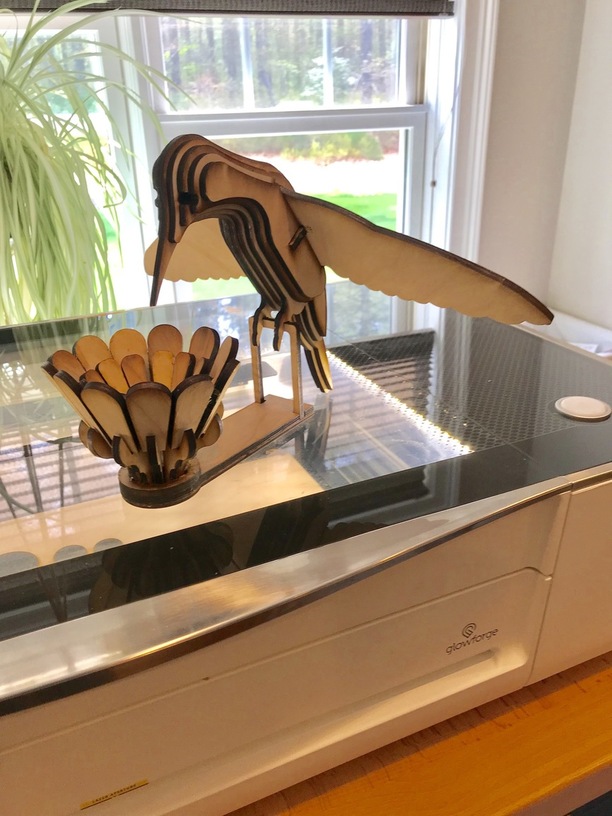
First thing always check thickness with calipers. I bought some so called 1/4” BB ply from HD to make a hummingbird pattern I bought from MakeCNC. I ran it at PG maple reduced speed to 150. I cut all the pieces and then I realized that something was off when doing a test assembly. The B.B. MEASURED ONLY 0.20 and not 0.25. I was able to modify some to make it work, mostly changing the wing angle for better glue up. I was pleased with the results.
50 Likes
Nicely done! You have some talent.
1 Like
I bought what is probably that same ply from HD a couple months ago and it works really well but yeah, it is nowhere near .25" Mine was actually even worse than yours. It was more like .18 so like 3/16"
Great hummingbird by the way, it looks really nice!
1 Like
Oh lovely! We used to have a garden club whose mascot was a hummingbird here in the neighborhood…that would have been a great decoration for some of the wild bashes we threw. (We did frequent theme parties - very little gardening.) 
1 Like
This is wonderful! Get’s me motivated, thanks for sharing:star_struck:
Your hummingbird turned out lovely.
Wood is never what it says, and that’s the way it rolls … so, calipers are very important.
2 Likes
Ok… quick honey…what’s that on tv? (Nothing to see here!) I can’t spend all my stash on these for her mom’s flower window. 
Gorgeous piece, and a good save!
Use a lot of the Home Depot inexpensive plywood … use the simple mathematical formula to adjust the design. Something like this:
.108 / .125 = X / 100 … which when solved for X becomes about 82. So in Inkscape I scale the project to 82% of the original dimensions. Add or subtract a bit of fudge factor for the tightness of the joints and VIOLA!!
Ditto on the Calipers 

2 Likes