Someone recently asked about cutting cork, which inspired me to post this project. One of the most exciting things for me about the Glowforge is not necessarily making finished pieces with the laser, but using it to make jigs and templates with a high degree of precision.
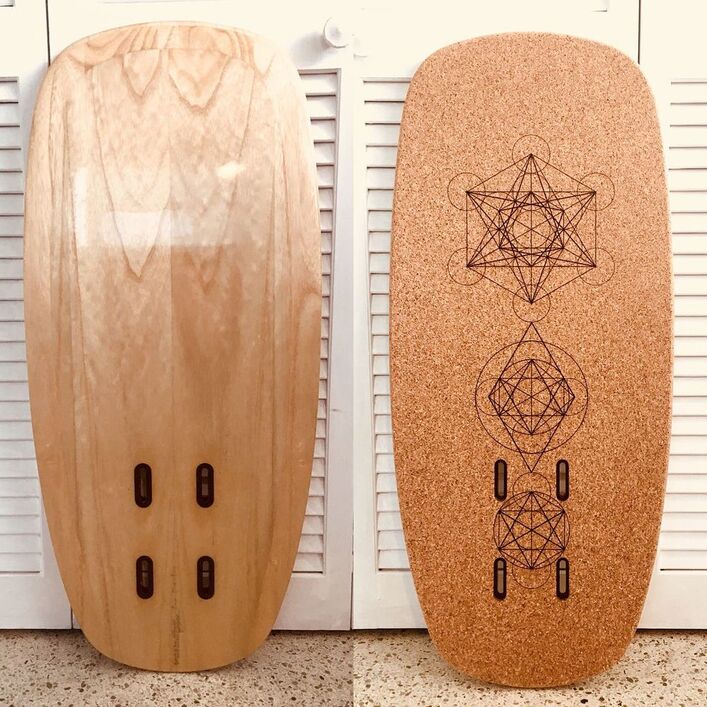
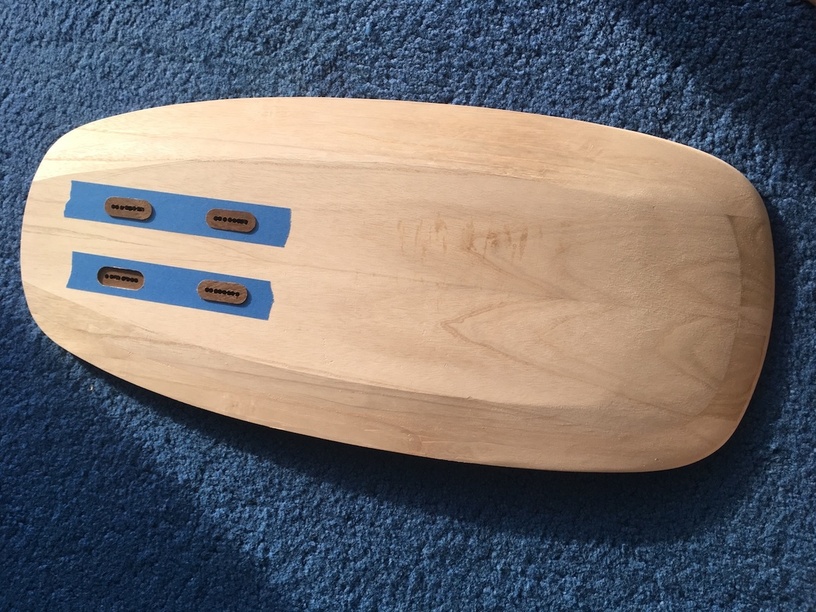
This is a hydrofoil board I made recently, using the Glowforge to make my life so much easier. The board itself is 37" x 16" x 3/4", and is made from paulownia wood with an EPS foam core. It also has ipe wood inserts with slots milled through them where the hydrofoil will bolt on. More on that later.
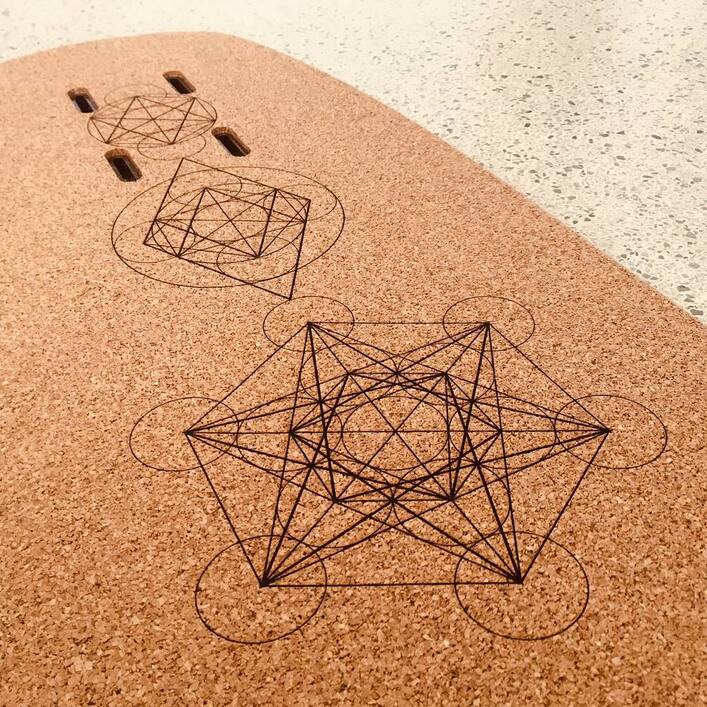
The deck is covered with 1/4" thick cork which I scored a design into using the passthrough slot and the “manual index” method. I purposefully drew the design in such a way that if the registration was a little bit off between the three cuts, it wouldn’t be noticeable—you can see how the design is made up of three distinct componnets. I can’t wait for the passthrough slot to optically align as advertised.
The hydrofoil itself bolts through the ipe slots like so:
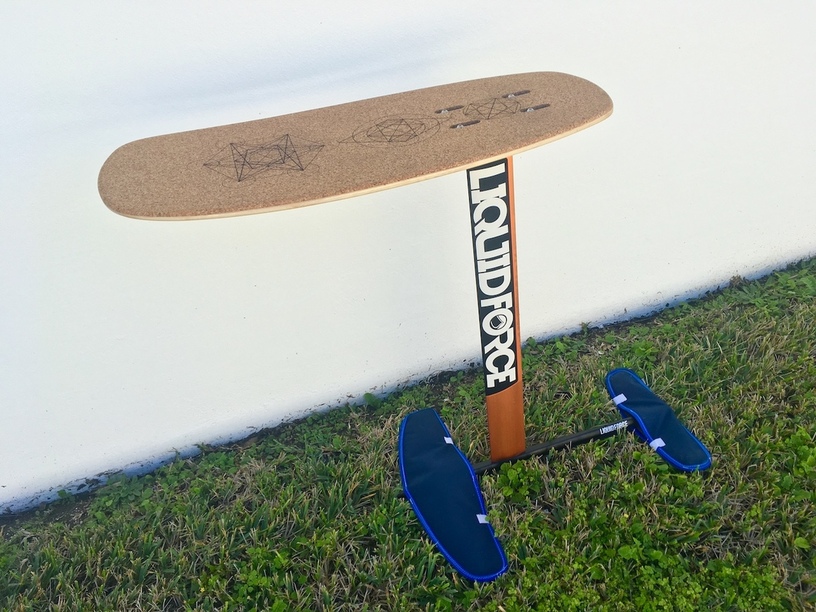
For those wondering what a hydrofoil board is, you can see it’s a standing platform attached to a 3’ tall mast, attached to what looks like a model airplane. As it moves through water, the wings produce lift and the board rises out of the water. It moves through the water with almost no drag, goes really fast, and feels like you’re carving a snowboard through the deepest powder imaginable. People ride them with a kitesurf-kite or surf on them, this board has almost no volume and is designed for kiting.
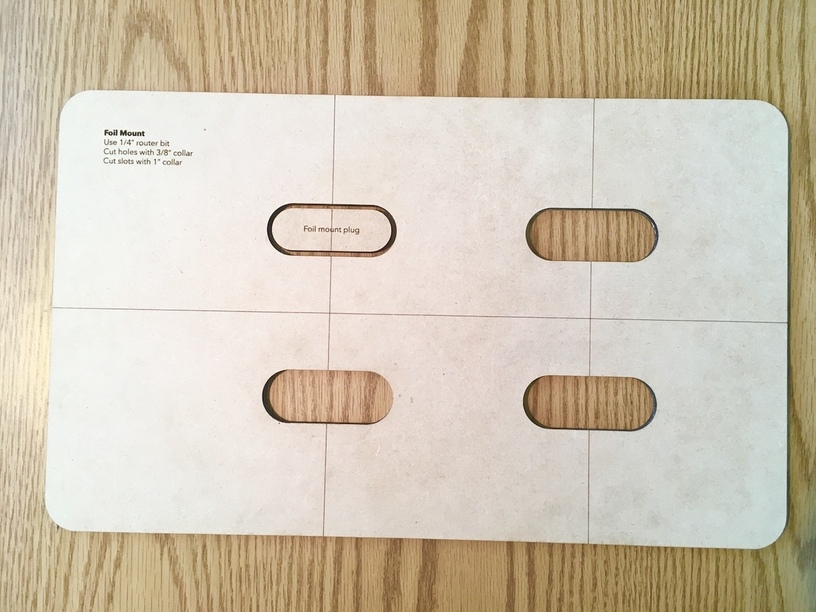
The first thing I did with the glowforge was make a jig to cut the mounting slots for the foil, and was able to get it absolutely perfect to fit the foil mast’s mounting plate. The jig is made from draftboard, and is designed for three different cut operations with a plunge router and a template guide bushing. With a small guide bushing, it cuts the holes through the board, where the ipe inserts will be glued into; with a medium size bushing, it cut slots in the cork deck just barely wider than the bolt heads and washers; with a large bushing, it cut the final slots through the ipe inserts once the board was finished. Because I was using the same template for all three operations, each of the three cuts was perfectly aligned, spaced, and concentric. Yes!
My only complaint is the draftboard is kinda cheesy, it’s less dense than mdf and fairly crumbly. Most cutting operations I held it down with masking tape, and the tape would peel off another layer of draftboard each time I’d use it. I don’t think it’ll last terribly long. I’d be in favor of a denser proofgrade material, and/or I will be looking for a laser compatible MDF.
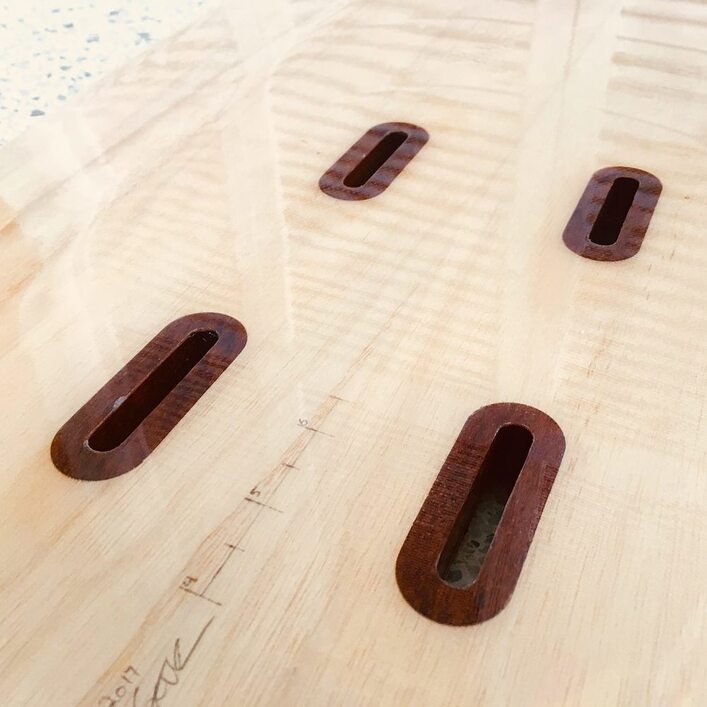
To cut the ipe inserts, I roughed them out on the bandsaw, then used a draftboard template and a Robosander to get them to final shape. A Robosander is a sanding drum with a template guide bearing on the bottom. It works great for this and is much safer than a router for small parts. Highly recommended glowforge accessory!
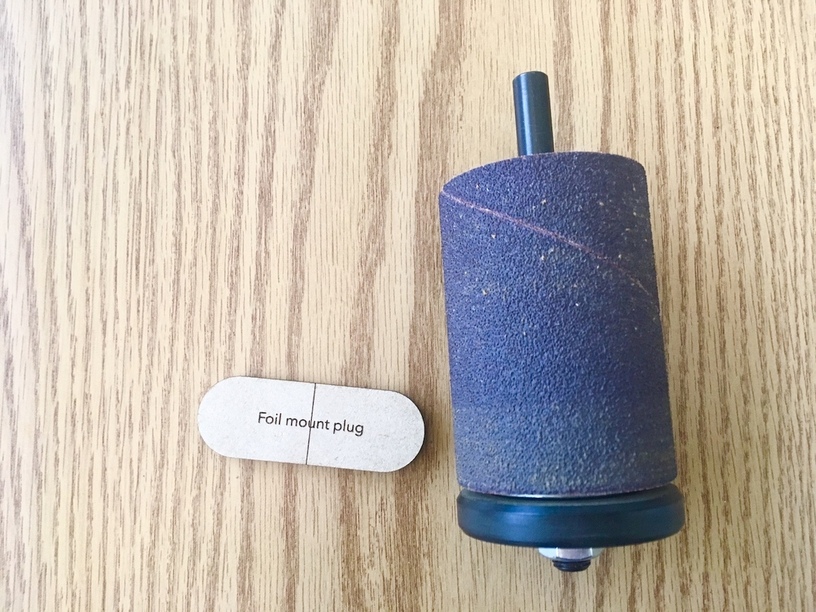
Of course we all know the laser has a kerf, and also the Robosander itself has a “kerf” (the bearing is not quite flush with the sanding drum) so I accounted for both to make the templates such that the ipe inserts fit snugly into the holes in the board. I left myself 0.010" gap between the two so I could glue the inserts in place with a slurry of epoxy thickened with microfibers, which makes an excellent adhesive for wood.
Last bit was the cork deck, which as described above I vector-scored using the manual index method for the passthrough slot. To make the thicker lines, I put several scores next to each other, offset by the width of the laser kerf. The thickest lines are 5 scores next to each other. I drew the art so that any mis-alignments would not be noticeable, but the manual index worked very well.
After scoring the cork, I used my jig and a router to cut the slots for the bolt heads, then I rough cut the cork a bit oversize with a razor, and vacuum bagged it onto the deck with epoxy. Once cured, I used a pattern router bit to cut it flush to the deck and rounded over the edges with sanding screen. The 1/4" cork cuts so wonderfully with a router, I wouldn’t bother trying to cut it with the laser.
For any composite nerds, the deck is made out of 4 layers of paulownia vacuum bagged into a rocker table. The top and bottom wood skins have a layer of 4oz under them in the sandwich. The deck has a layer of 4oz and a strip of 6oz uni carbon vacuum bagged on the top, and the bottom is 4oz hand-laid, as I am better at getting the glass to go perfectly clear when hand laminating. Hand laying uses 3x more resin, so it’s a weight-vs-cosmetics thing.
I’ve ridden the board twice since I finished it. Rides great and is very light, lively and responsive!


