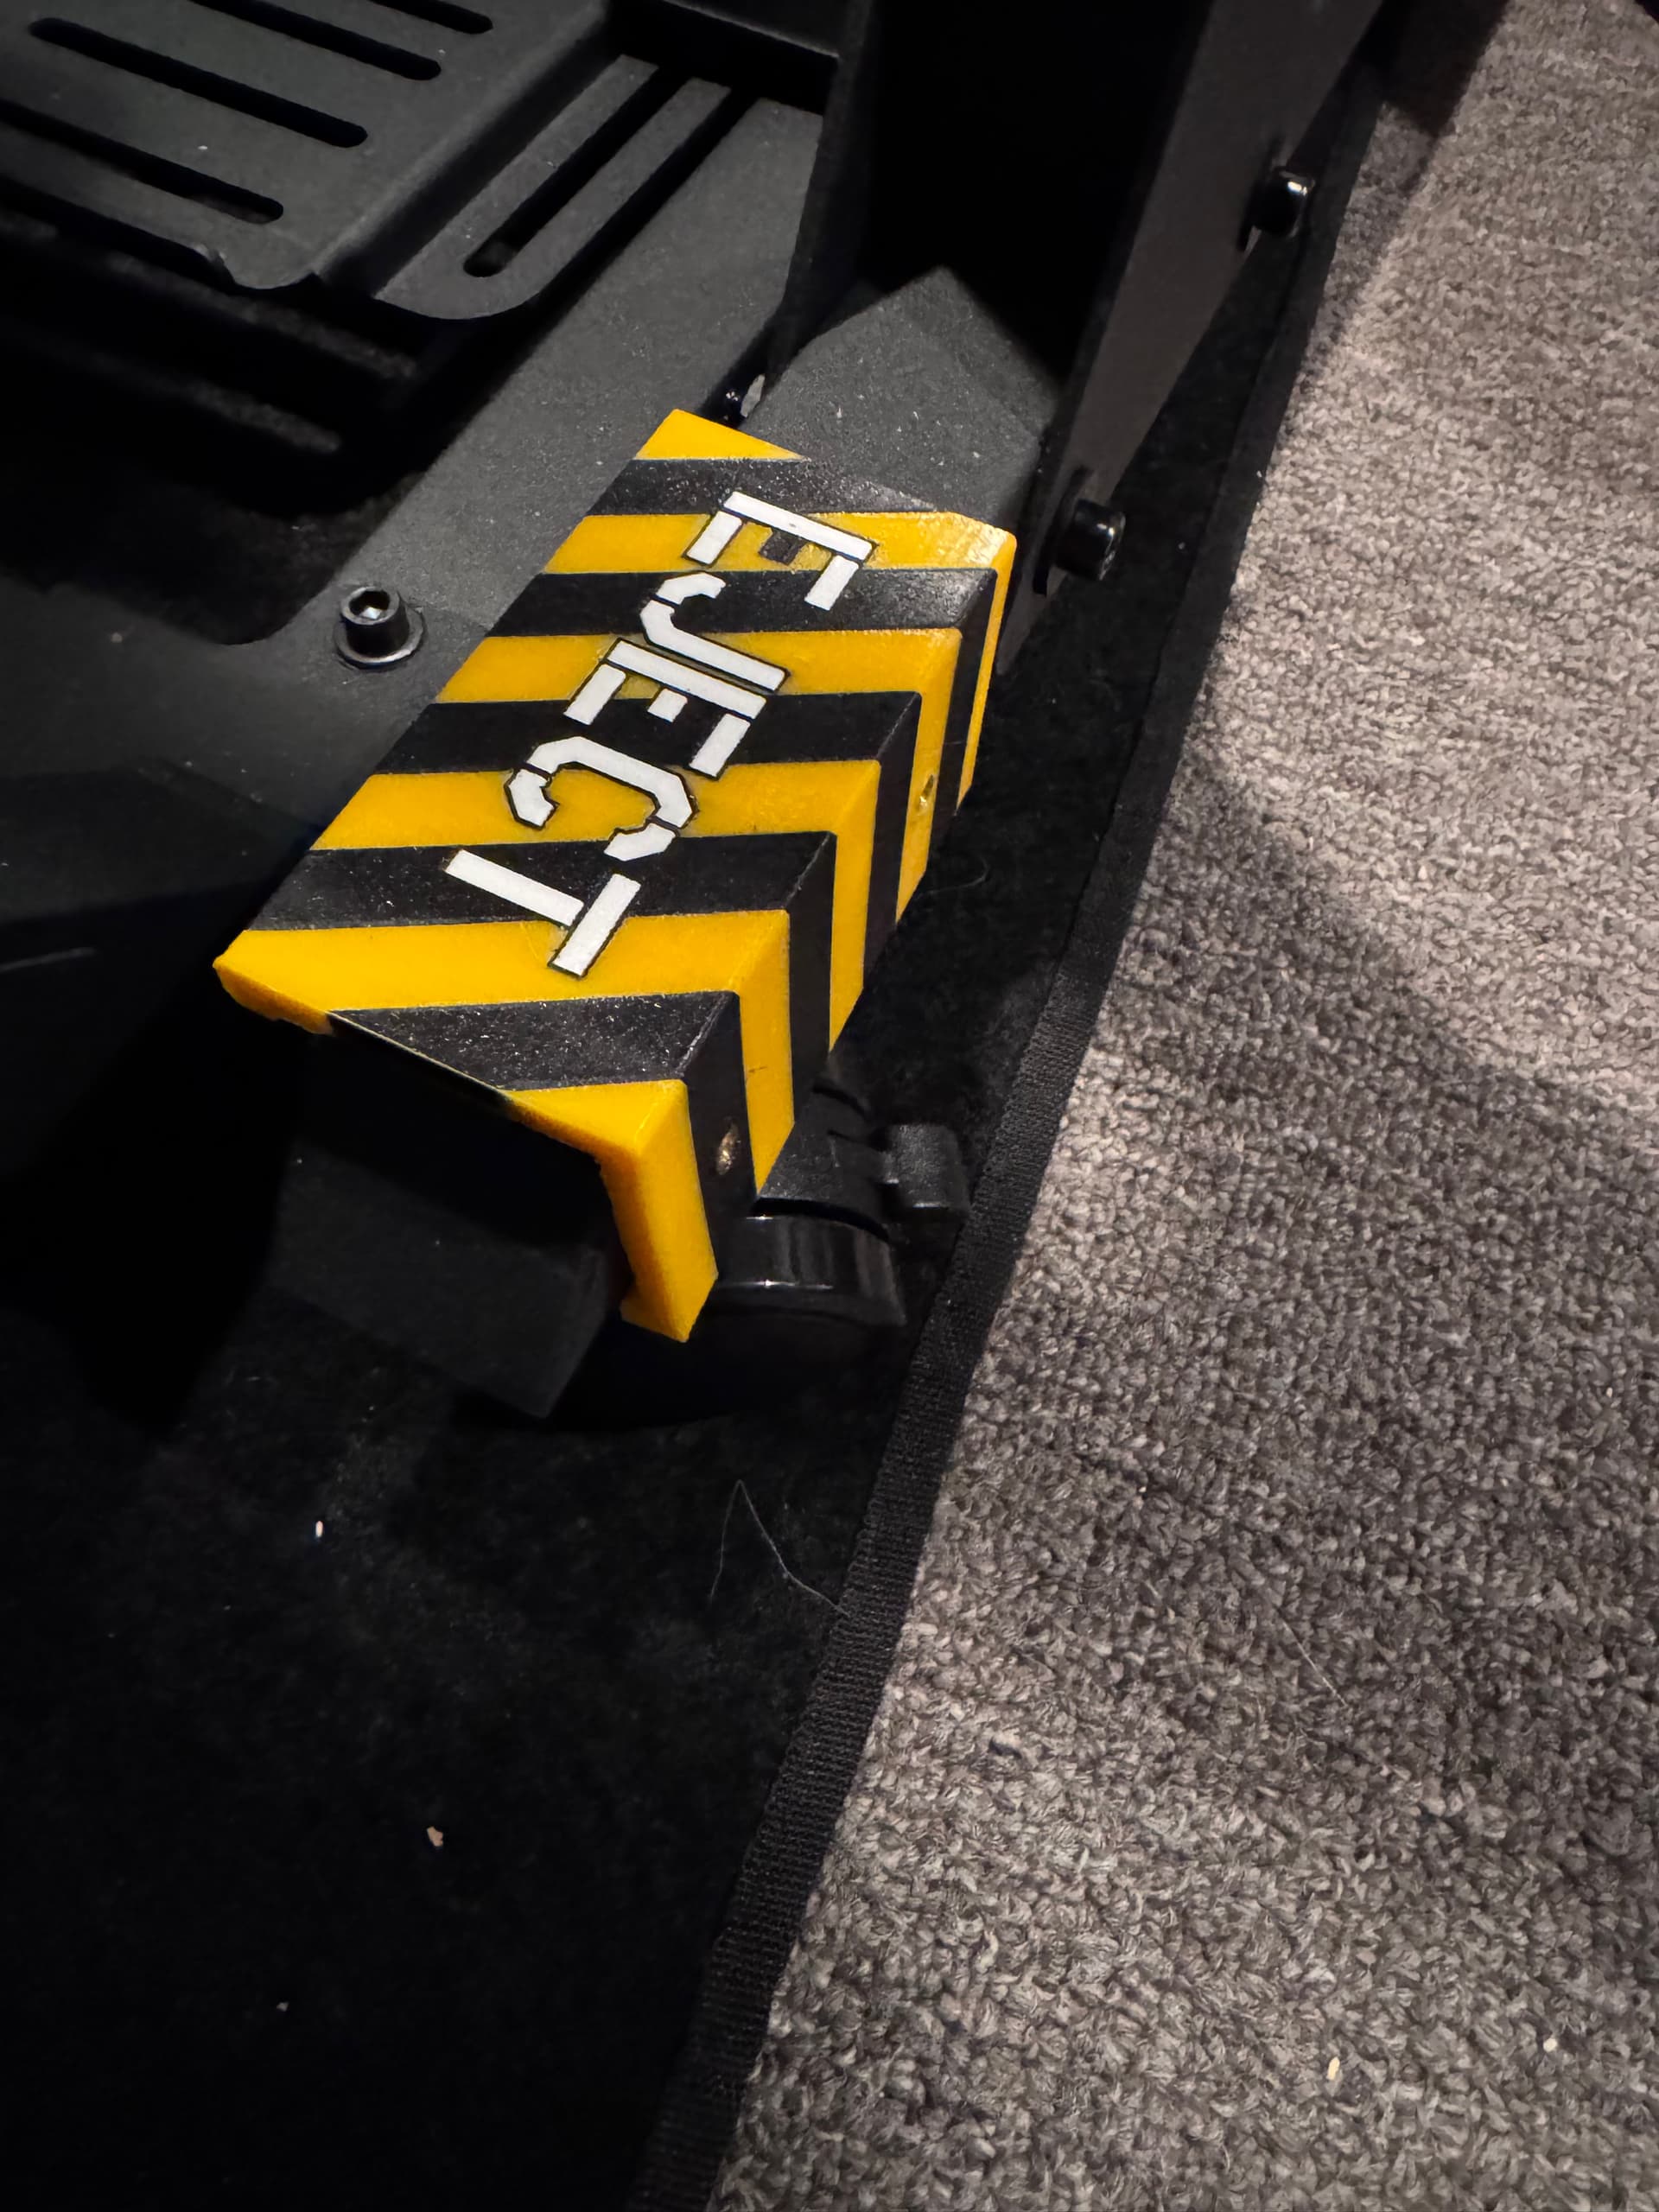
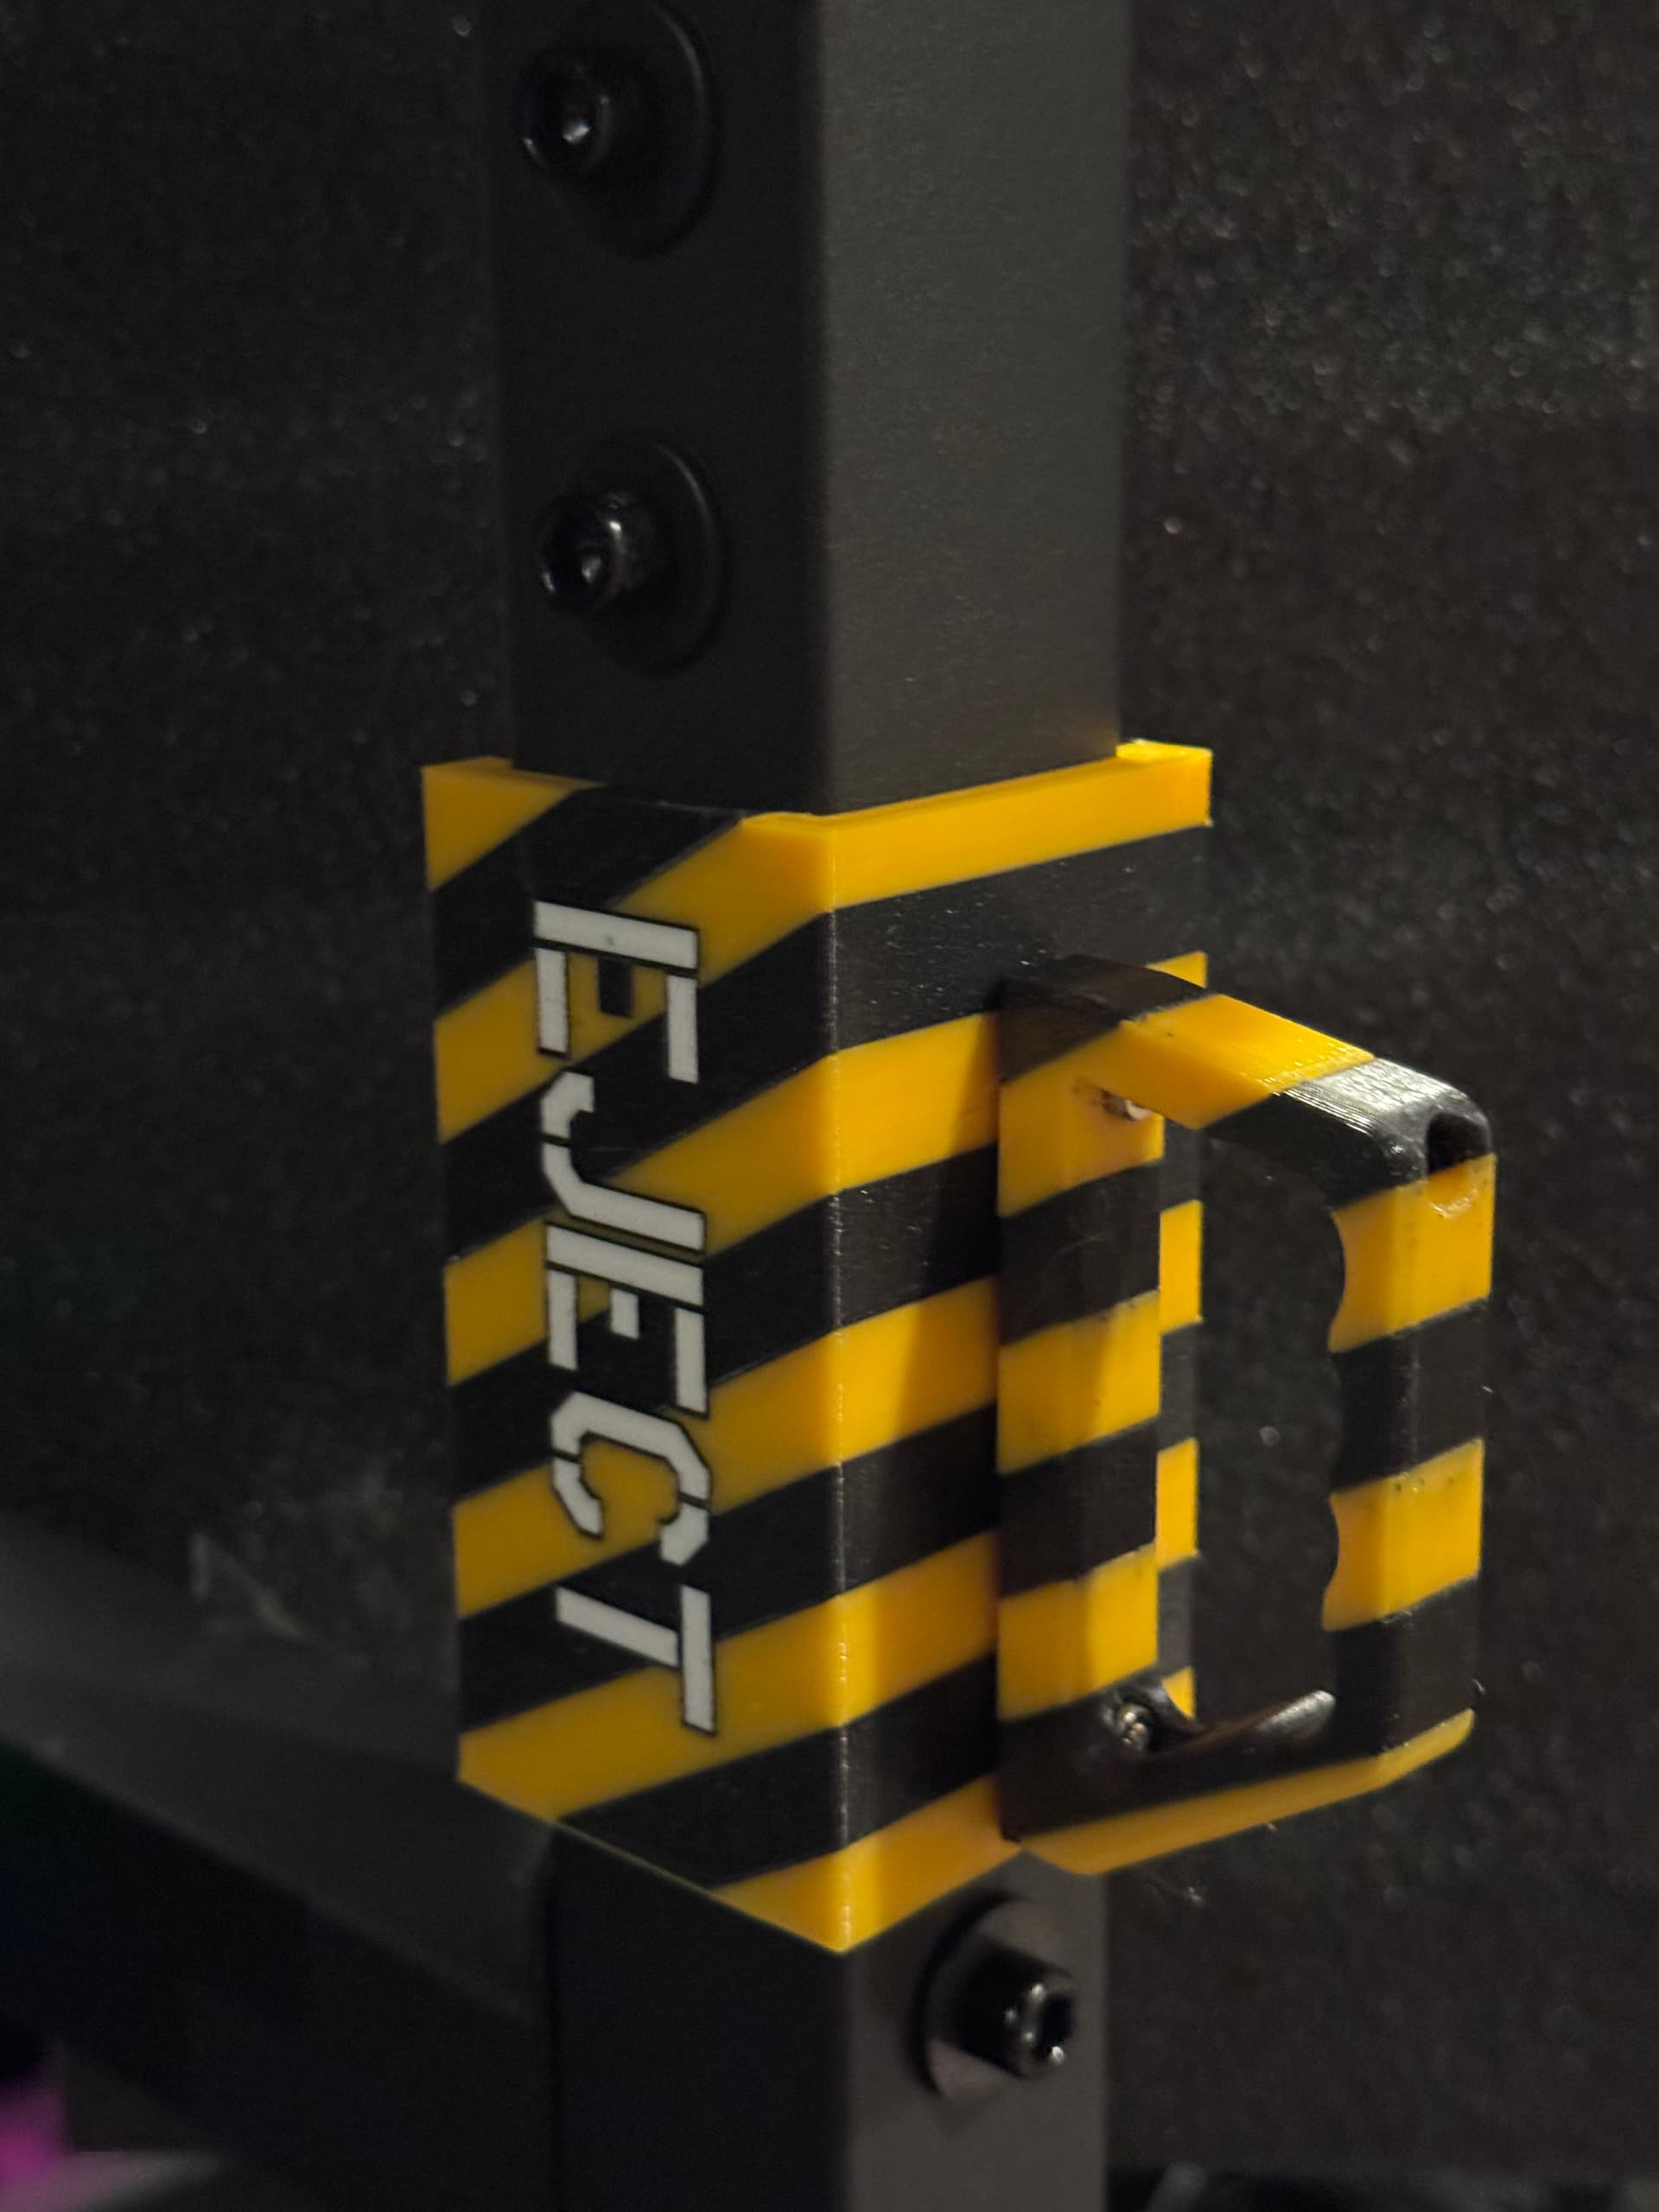
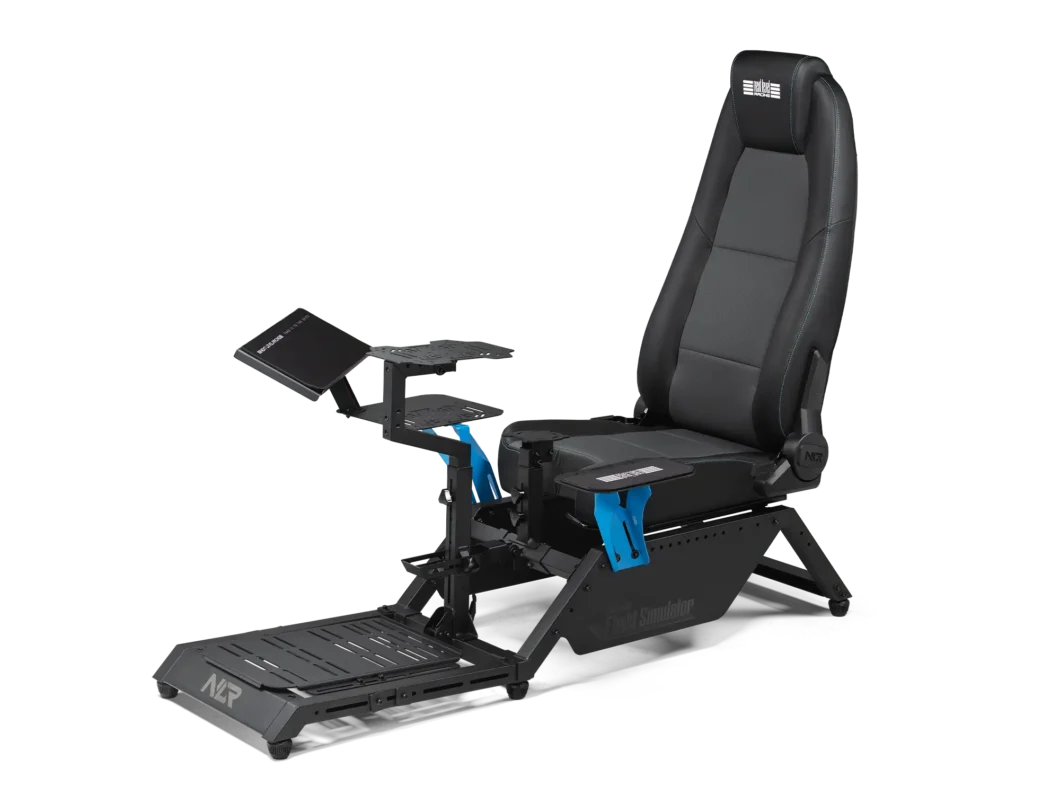
No, not from the GF community, one of my holiday presents for myself was a real sim-pit rather than the precarious balancing of all my WinWing hardware on my lap (just like in a real airbus! ) Anyway, I bought a Next Level Racing MSFS 2024 sim-pit (it’s nice!). However like most modern stereo gear, everything is black, and you mostly use the sim in the dark, so A) it is a tripping hazard and B) you can’t see all the black USB-C cables to the gear (to debug). So at first I was just going to put reflective tape on the entry points and corners, but then the voice in my head said “What, the guy who put ATV off-road lights and a flashing beacon on his snowblower is going to just use reflective tape???” haha, so off to CAD (I try to learn a new method each time). So I decided to make it kind of airplane themed, and once I made one I realized I was going to make them modular to be able to put different accessories on it (go big or go home):
These are all printed in 3 colors of PETG on the Prusa XL. That is actually modeled like this (not surface paint that is full thickness geometry!). If anyone wants, it’s currently up on my printables page including the STEP files
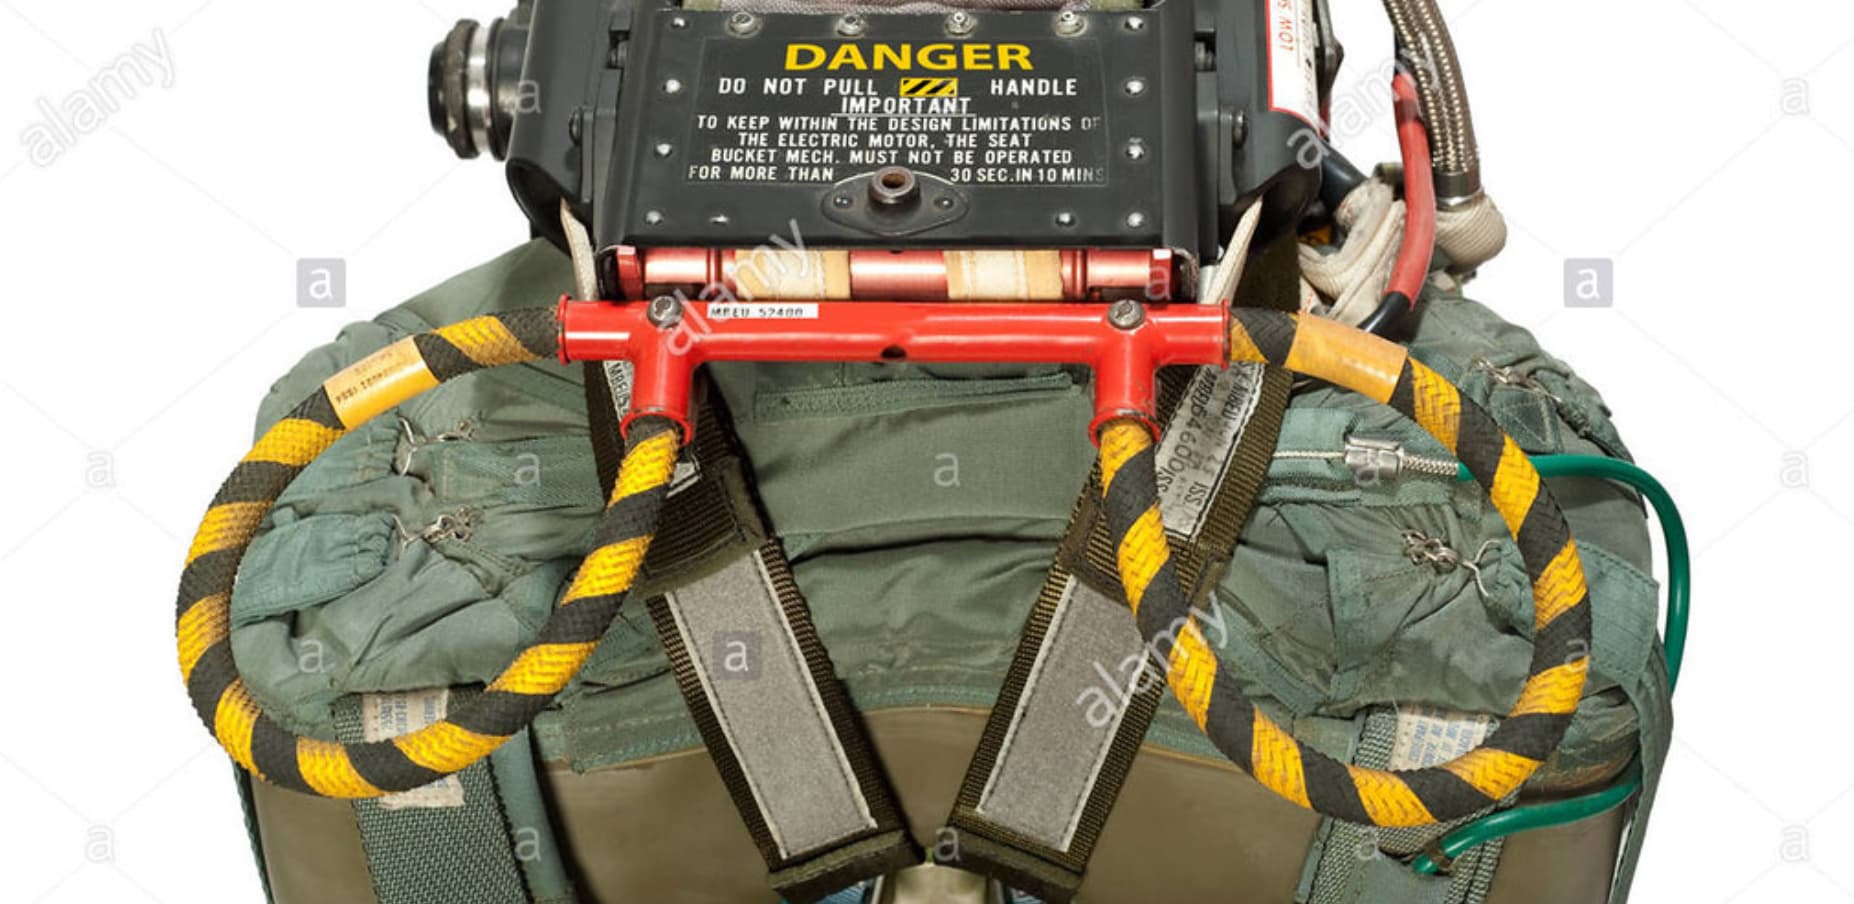
Next up is I wanted a light switch to be able to have aisle lighting (like on a real airliner) for entry and exit, and then had an idea (likely harebrained) of the overhead ejection handles from a Martin-Baker Ejection seat with a microswitch to turn the lights on and off (this is the real one, not my model, but picture that as a light switch). I am going to use some Yellow Nylon 1/2” braided rope dyed with RIT black dye in stripes for the handles. Figured I’d use a roller arm microswitch and that would tell an Arduino (or equivalent) to turn a MOSFET on to power a strip of 12-V red LED lights for some period then auto-off (say 30s). But you could use them as a game control in DCS as your ejection handle… :
It looks like I got a tool changer printer (Snapmaker u1) just in time! I don’t have this sim pit but I can take inspiration from this for other places and shapes.
I saw that printer on the FormNext videos from Tom Sanladerer, looks quite nice. The new crazy tool heads that Prusa demonstrated at FormNext seem pretty wild for my XL (2-part silicone and magnetic pick-and-place). Although we will have to see when they finally ship.
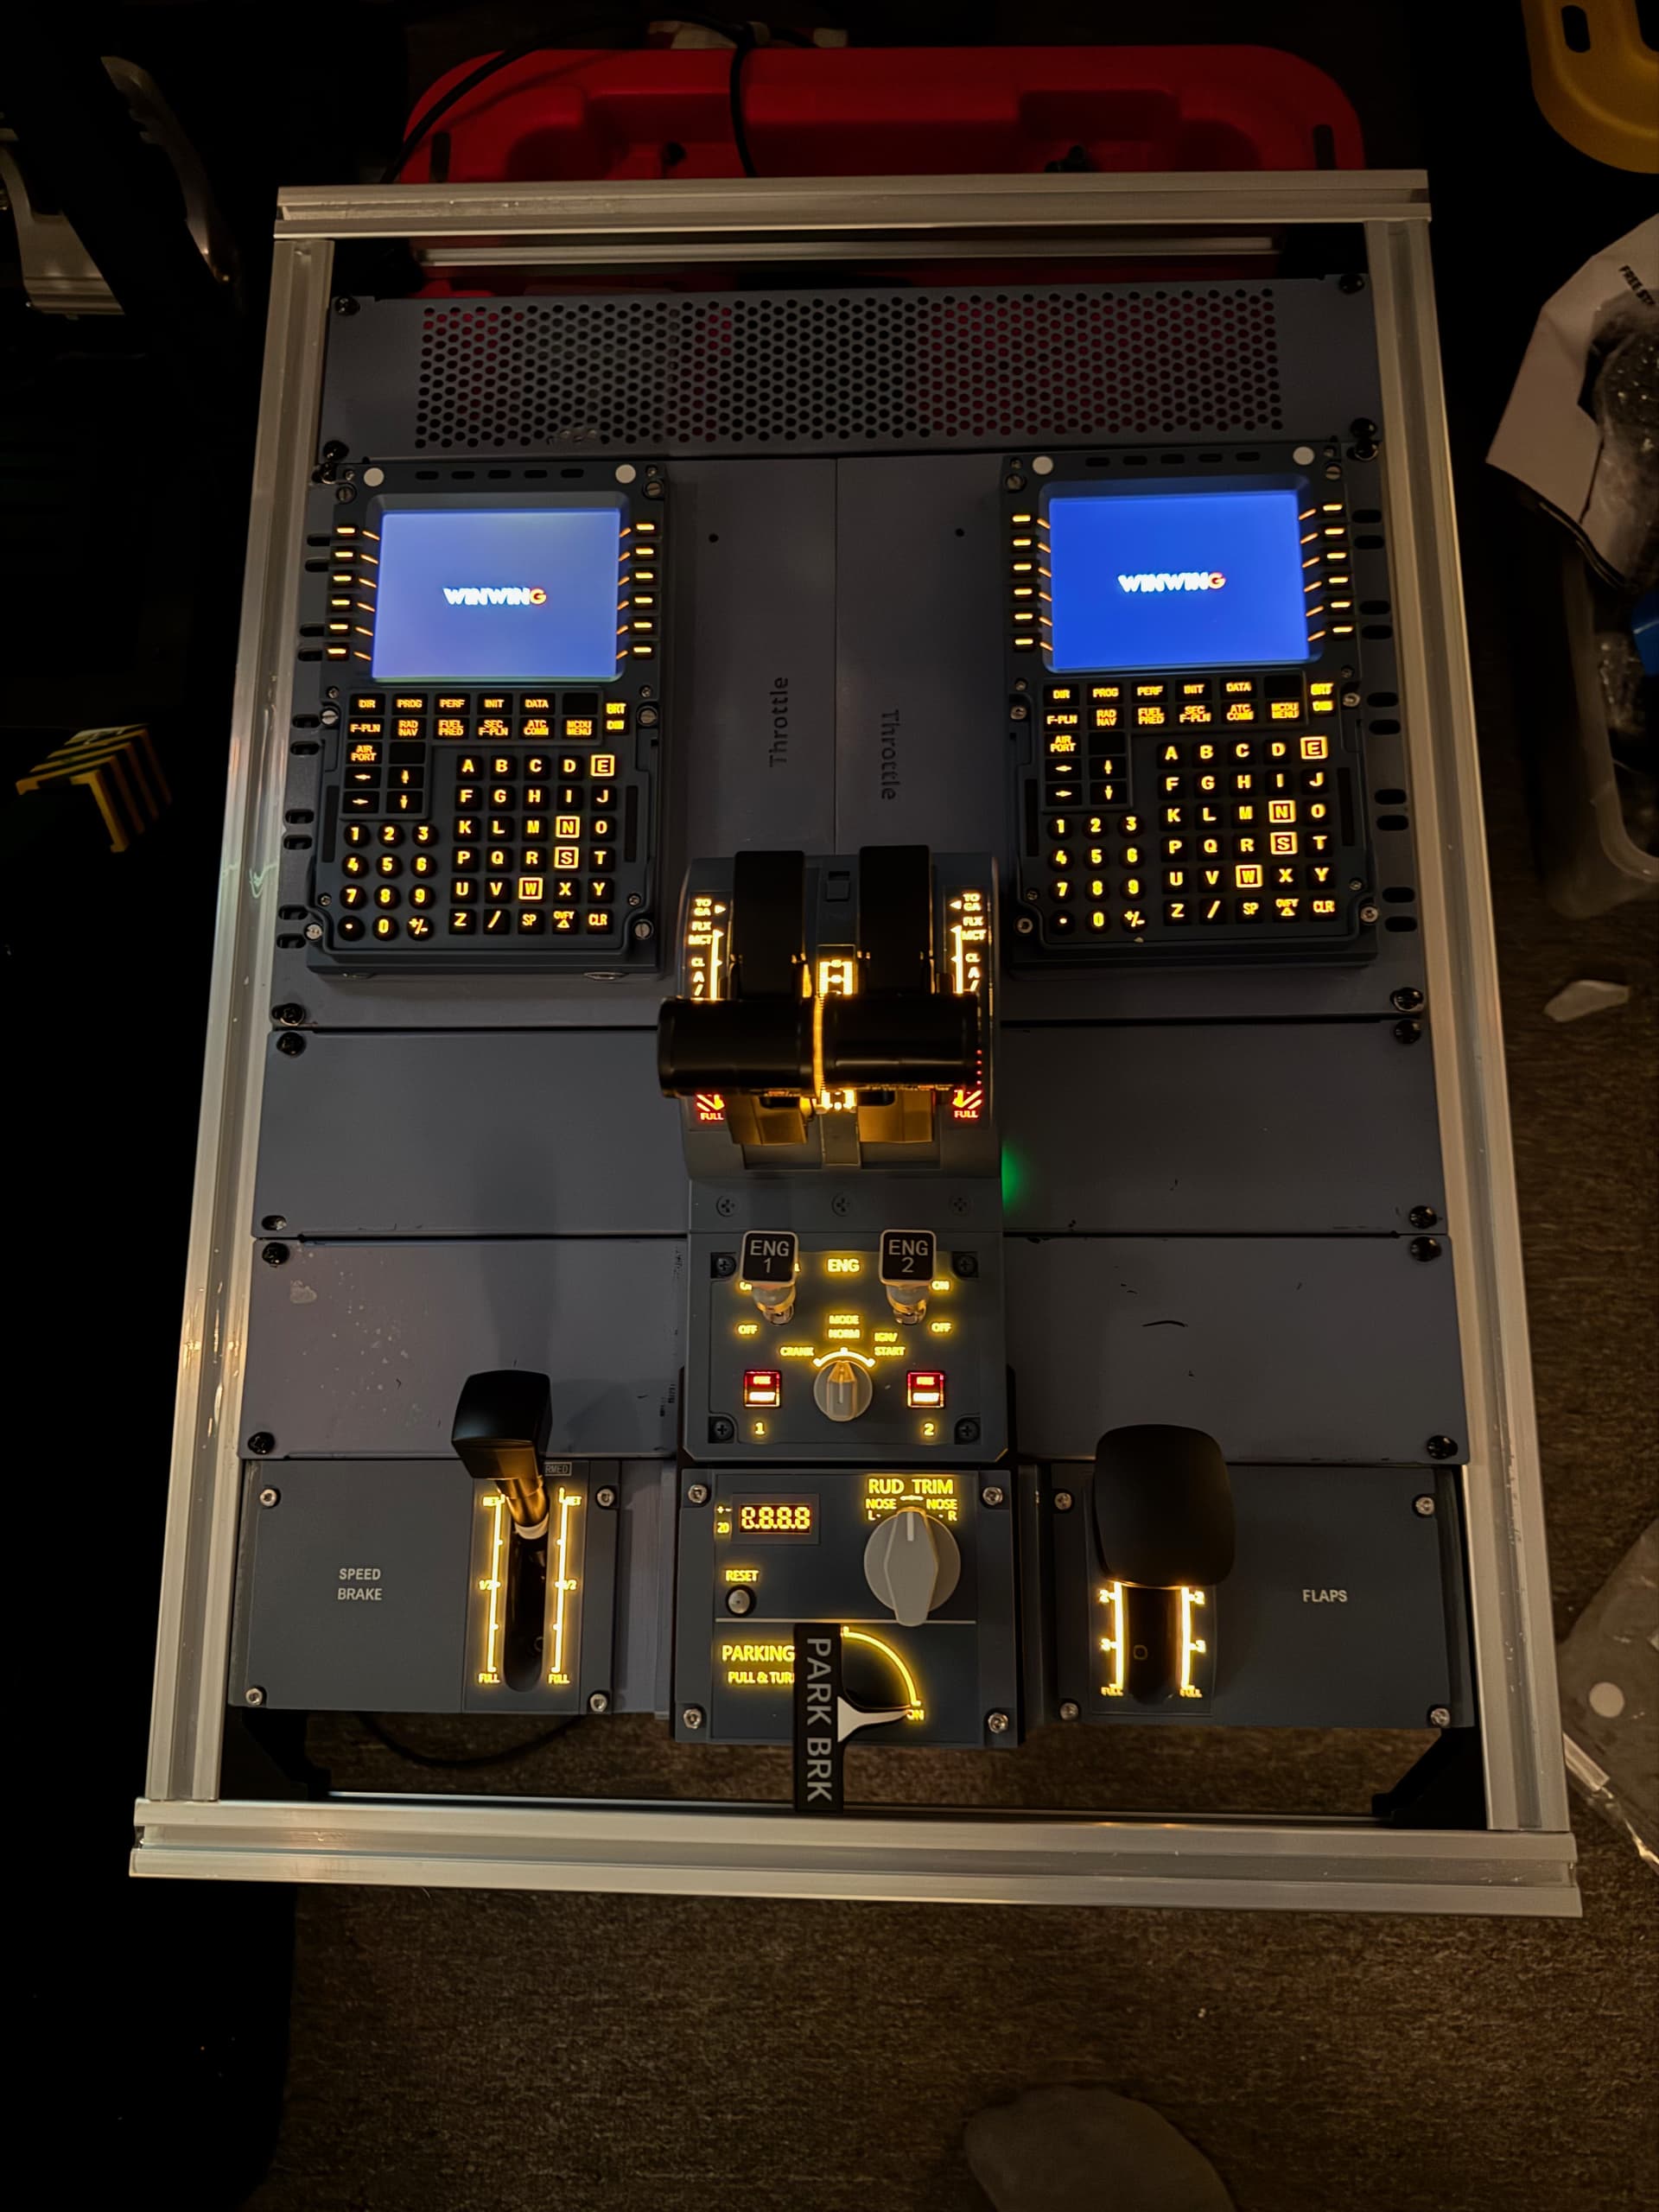
Just for a progress report, here is the top of the center pedestal (for scale that is a 19” rack in the middle which is what the Airbus has inside the pedestal) The panel that holds the two MCDUs at the top (and will hold the ECAM panel when WinWing ships it where the words “Throttle” are) is done in CAD and 3D printed with all the mounting holes can cable management for the panels, and then the panel that the flaps and spoilers mount on is a custom panel that I made to support those between the rack rails and the little rails on the sides of the throttle body (they use a M4 square nut as their holding nut. The frame is 3030 aluminum extrusions, and soon the side frame will be in place (it will sit at a 10 degree angle). There are vented panels on the top and on the front since a subwoofer sits under it. There is a USB hub inside and a 12-outlet power strip. They will eventually ship the radio and comm panels which sit below the MCDUs. Right now it is sitting on a rubbermaid container for testing next to the simpit
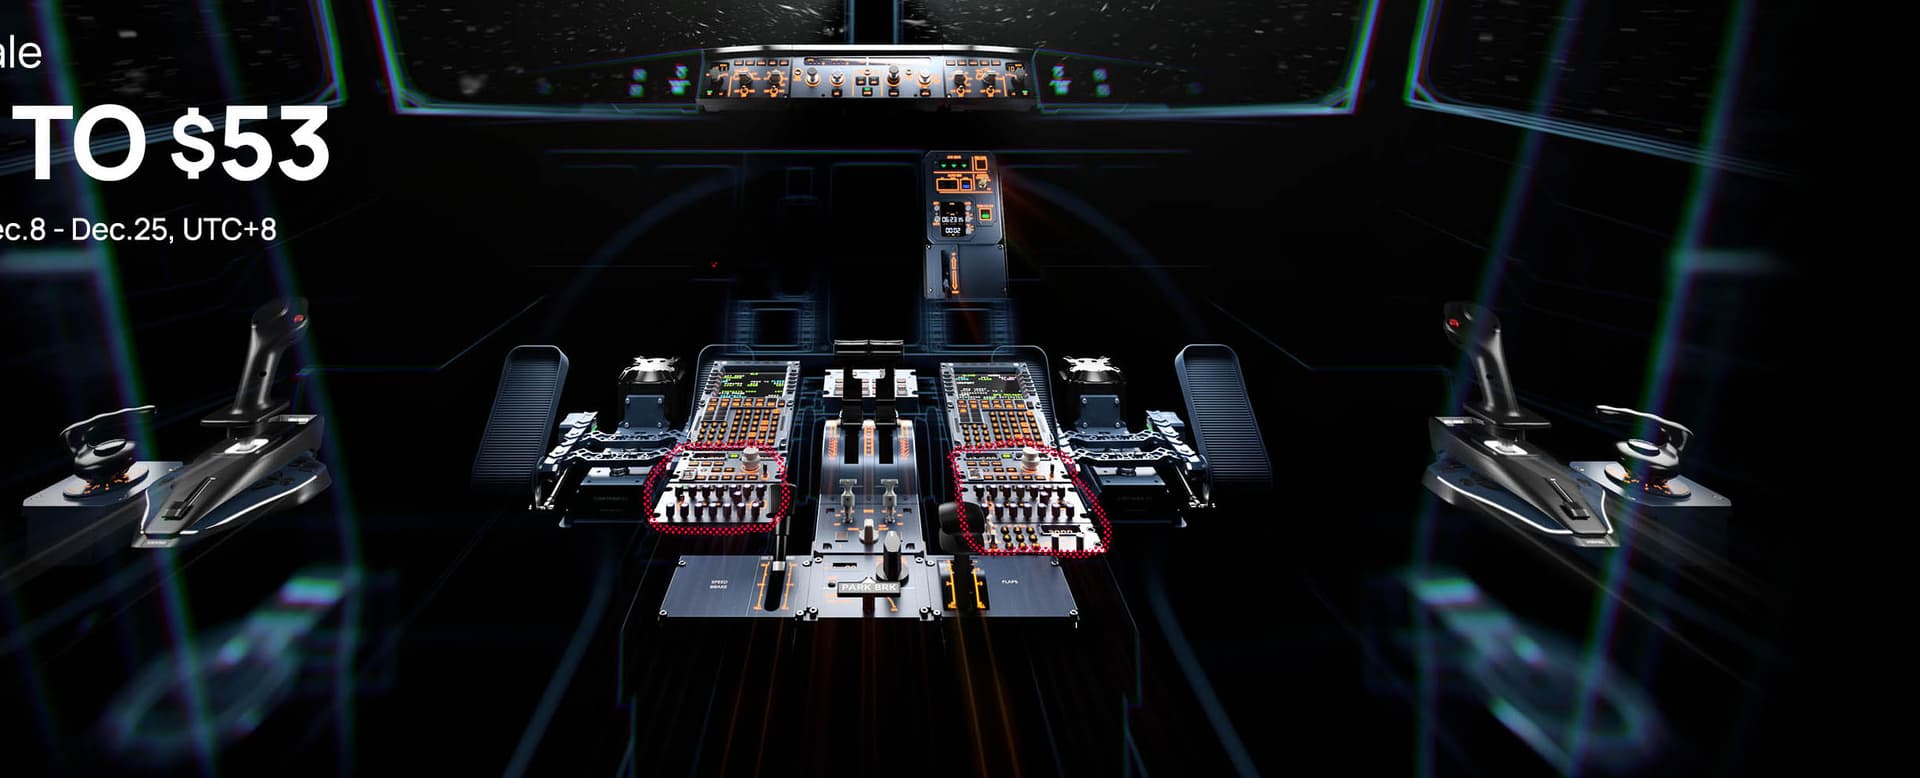
Oh and the full winwing cockpit setup looks like this (the red dotted area is the comm/radio panels) and you can just make out the ECAM panel between the MCDUs)