I made a keyboard! It was a super fun project, picking out all the components and soldering it all up. But then I had a problem… it’s just an open circuit board. I needed a case for it! And since this was a custom keyboard, it’s not like I could just go pick up a case at Best Buy… so I made my own!
After 14 iterations, here’s what I came up with:
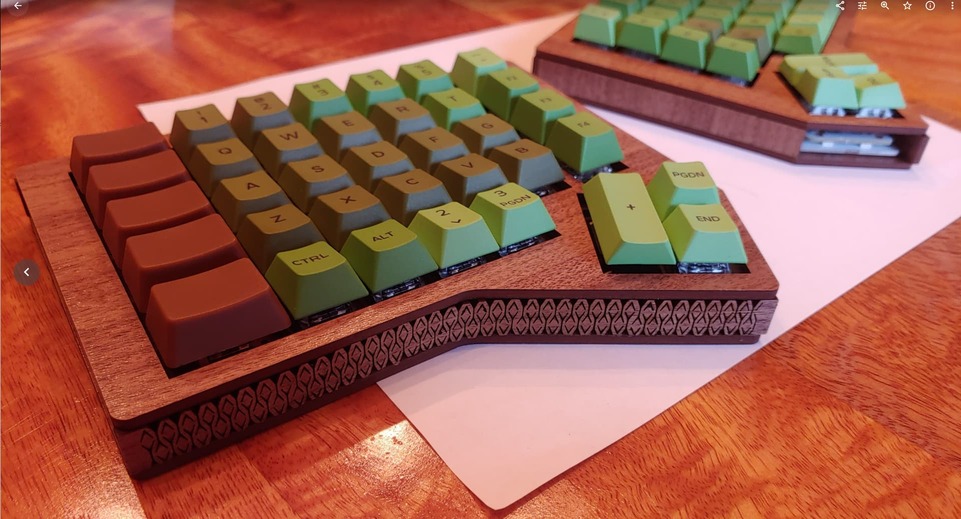
This is made with Proofgrade Walnut ply. The lid is magnetically attached to the base so it attaches with an oh-so-satisfying “SNAP” and locks into place. The front of the board has a funky curve, so I used a living hinge - which had an unexpected but delightful side effect of splitting the light coming from the edge LEDs and projecting a rainbow onto my desk (pics in album below). The vertical bits are all wood-glued down to the base, which is surprisingly strong (although the living hinge is still pretty fragile. Open to ideas on how to secure that better)
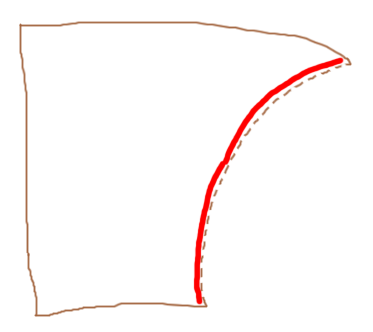
The glowforge part was easy, the schematics took a lot of trial and error with draftboard to get perfectly right.
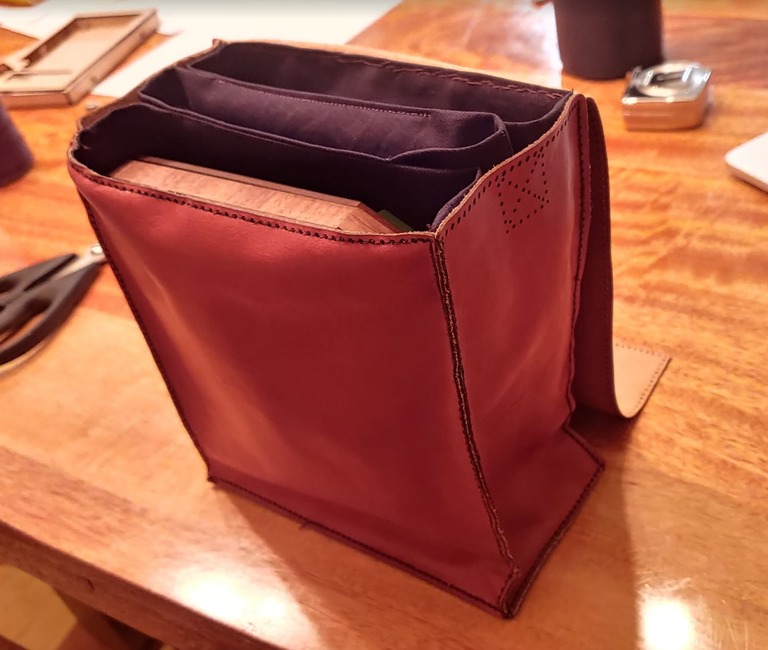
I was rushing to get this done before a LAN party, and I got it done early! Which is when I realized… I needed a way to transport it! So, with the help of a cosplayer/crafter/maker friend of mine, I made a leather bag for it. The liner has three shaped compartments - one for each half of the keyboard, then one in the center for cables. I lasercut all the holes in the leather so it was super easy to sew together with a normal needle and thread. It’s not quite done - I still need to cut and sew the shoulder strap.
Those were the two things I made with the glowforge. If you want to see more WIP and final product pictures, here’s the full album of the whole project (including keyboard, case, bag, DIY USB cables, etc).
 not too proud to admit it but oh well!
