I’m a Pro buyer. I bought mine late in the day on day 6 (sept 29th). I received the email around 8pm on Friday the 13th. Which also happens to be the day my 10week old daughter rolled over for the first time! I didn’t see the email until 4am on Saturday, my little human just went to sleep so I was able to take the next hour and a half to read through everything and tell them YES, Please send now. (I never read the fine print, but this time I actually did). So now it’s just a matter of waiting for the shipping email. I’ve started to get excited again. There are only 3 things I’m worried about now, the irrational worry that I may have submitted the form wrong and they don’t know that I want it now. The worry that the grayscale depth translation didn’t make it into the software, and the worry that the offset error that has been happening will make many of the projects I want to do very difficult. I feel like I’ll probably be just fine, and it will be far less of a learning curve than my x-carve was. Optimism has returned to me.
To everyone that is out there waiting for their email. I understand all the emotions tied up in it. I took out a loan to get the glowforge, and I almost canceled about 6 times. So I understand how you’re feeling, and yes, it’s likely that the wait will still be quite a while for a ton of people, my air filter is scheduled for the end of March next year, so yeah…Many of the founder status people will still be waiting for a good chunk of time. Try to look at it this way though, the only thing Glowforge has actually done wrong during the last two years is: 1) being too good at marketing (the ad really made the product more finished than it was). 2) being extremely optimistic people. In a way these were both nessesary, Glowforge didn’t initially have enough money to get this far in the production process, without endearing is all to the possibilities of what we could do with the Glowforge, they wouldn’t have been able to produce this machine at the quality it currently is, and that is the point of the thing! The Glowforge was made with the concept of cutting out the hard parts of working with a laser. This is no small feat. it’s similar to trying jump technology from running DOS to running Windows 10. Now I’m sure if I had $16,000 laying around I would have bought an epilog and I could have learned it well. But I had to take out a loan in order to get the $4170 I bought the Glowforge with. If you look around, all the people trying to make a easy home-use laser cutter are still working on it, or they are making a far inferior product for the price. Mr. Beam for example is still only able to cut a few millimeters! The product we’re still waiting for, is awesome! It’s obvious from the ‘made on Glowforge’ posts. And I’m certain we will all get our units well before any other company comes out with a better option.
And don’t forget, our support is part of the reason this technology has improved as much as it has. You are helping shape a major technological advance! Hang in there!
The offset error can be a little tricky, but laser elements are consistent to each other. Precision placement away from the camera is the challenging part, but if you are placing 20 items on a sheet of , they won’t overlap unless they also overlap on the screen.
While this is all power (and subsequently depth) mapped to grays, the gradient background is the most visible example. It’s a gentle slope, progressing deeper into the proofgrade as the value changes.
And congrats! What kind of projects are you looking at making??
Mmmm… If you’re worried about what I think you’re worried about, no longer worry about it. You can definitely control depth with grayscale. I’ve magically gotten as deep as 3/4" in some really nice scrap wood with my Basic! (I wouldn’t recommend it though. There were brief flareups.) You’ll want to test every material with things like that. I’ve got a block of wood with all varying powers, speeds, and LPIs so I can estimate depth in many woods with it.
I’ll say this about that… It CAN. It should be pretty spot-on center-bed (under the lid cam). And will vary more as you approach the extremes of the bed, up to 1/4" (at the time of this writing). So it’s really not a big deal most of the time. If you had artwork prepared that uses most of the bed, for example, line it up in the center and then you’ll have a pretty good idea of how it’ll all land. There are means of compensating if you find you need to. Search out some techniques right here in these forums.
Thank you, I have many projects in mind that would take up the whole bed, and I was hoping to take an item I cut out on my x-carve and stick it in my Glowforge to add the detail work. The thing I was most worried about was that a centered piece would skew on the edges due to the offset issue. (Since I wasn’t sure of the exact issue it was having)
I was wondering do you have to make each gray into a separate layer? Do you need the grayscale image to be vector when you upload? Or can you get this effect by uploading a .jpg?
I’m really hoping I can just slap a raster image in there play with a few settings and print! Any way I’m that lucky?
Yeah, it’s all about the placement. Everything else is relative to that placement and that part works flawlessly. I’ve been purposefully cutting things close the edge of my materials lately, just to see if it’ll fall of the edge. Everything’s been landing so tightly lately it’s hard to see the problem. Of course, I haven’t shoved a 1" square into a corner and tried to hit it or something like that. But if I did, I’d expect it to be off slightly.
If you simply “engrave by color” I think it’s called, with, say, a jpeg, you have some control over how much power to apply across the spectrum. However if you go vector, you can exactly specify every depth. It’s not by layer, it’s by color. So you can say that “red” is full power, “green” is half power. You can say that pink is full power at half speed… you can say that yellow is half power, half speed, 240LPI. So if you design like that, you can be very specific.
Thank You, for the info!!
And thank you!!! @dan and the Glowforge team. That is the piece of the puzzle I desperately needed to finally do precision carving efficiently!!!
Best part? You’ll get it, and be up and actually making things in MINUTES. It’ll take you longer to read through the documents than it will to actually set it up and start using it. For me, I was timid with it at first. Not knowing ANYTHING. After a couple of jobs I kinda went “Oh! Okay. I’ve got this. Let’s have some fun.” Let it love you, and you’ll love it right back.
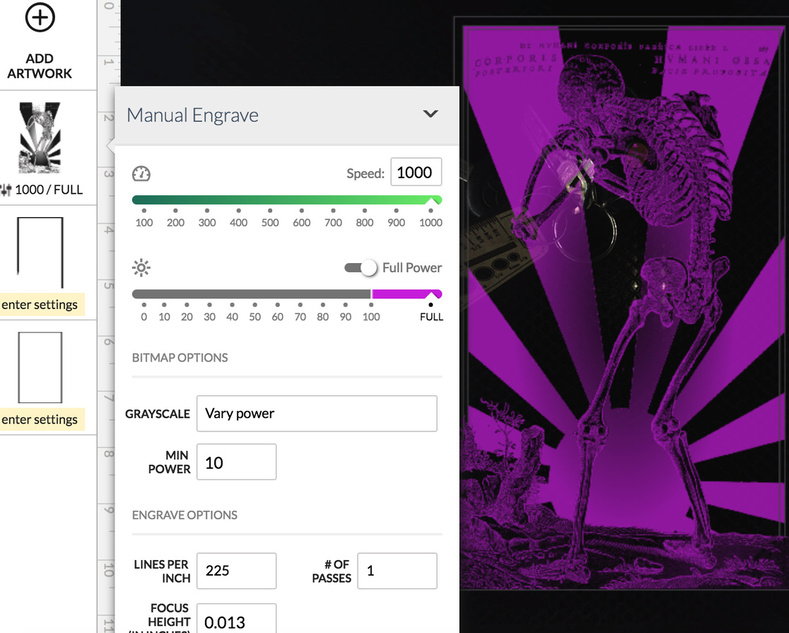
They renamed the Map Power to Grays to Vary-Power. I set speed. I set Max Power. And I set Minimum Power. The cloud will assign powers from there.
Set up like in the screen shot - black would be hit with Full Power; anything true white (0,0,0) is ignored - and then everything in between is assigned a power depending on its shade, respecting the minimum power that I assigned.
The skeleton here was a JPEG that I cleaned up and converted to PNG (to get rid of JPEG artifacts), the rays in the back were vector gradients I created. I then converted all of the stuff I wanted to engrave as a single PNG.
I agree!!! I also hear these type of posts on the Telsa Model 3 forums/facebook groups. All in all even though things are taking longer than originally expected, I believe that both the Glowforge and the Tesla Model 3, will be sooooooooooo much better because the people behind the projects believe in their product and want the very best for their customers! All that beta testing going on behind the scenes makes our products even better! I say a big round of thanks to all the beta testers that most likely put up with a lot of things the end users (us!) will not even have to mess with.
Kudos! Our day is getting closer…just hang on a little longer! …and if someone knows HOW I can cut with WOOD on a laser and not get overwhelmed with the burnt wood smell that gives me a humongo headache…I would really appreciate knowing!
If you have that reaction, I recommend, a dust mask, and putting your Glowforge in a garage or building a mini clean room around it (with a hepa filter next to a charcoal filter). At the very least seal up the exhaust hose more thoroughly. I get migraines from certain smells, for me though it usually only happens from cedar dust, melting plastic, some wood stains, and polyurethane coatings.
Ventilation is going to be your primary start. Make sure you seal all the duct seams very well. If is going to be over 8 foot, you will need an in-line booster to effectively vent (Glowforge supports the filter addon you can buy from them, but boosters are a Beyond the Manual category)
Since the finished objects smell I think you would need to put the GF in fume cupboard with a couple of rubber arm length gloves that would allow you to reach in and take it out, remove the masking and treat it with something to remove the smell.
That’s a good one. Sometimes you have the funniest sense of humor
(Although the OP might think you’re serious. It’d be something if lasers required that kind of thing. Trotec/Universal/FSL/Epilog/etc probably wouldn’t sell a tenth of the units they do. Still a good joke for a Sunday morning.)
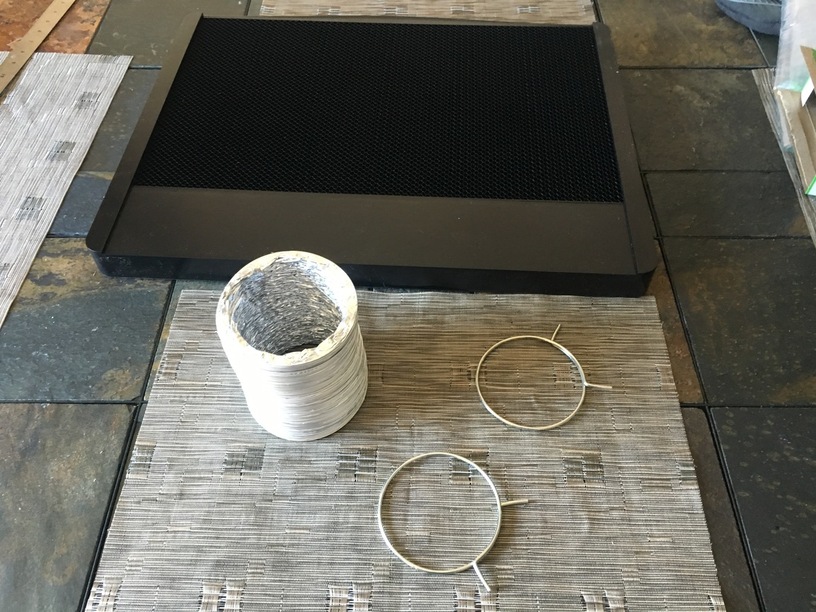
Update: the materials came in yesterday just as expected. I can see why Proofgrade material is on the spendy side, they work really hard to prevent warpage in shippment. In other news: Easel software has improved drastically with their introduction of Easel Pro. I hope it works as well for me in action as it seems it will. I use a v bit for almost everything on my x-carve and the software seems as though it will automatically do all the width/angle/depth calculations I’ve been doing by hand! Also they have made the carves significantly more efficient, which should save me ridiculous quantities. Of time babysitting the machine! Needless to say, I had a good birthday!
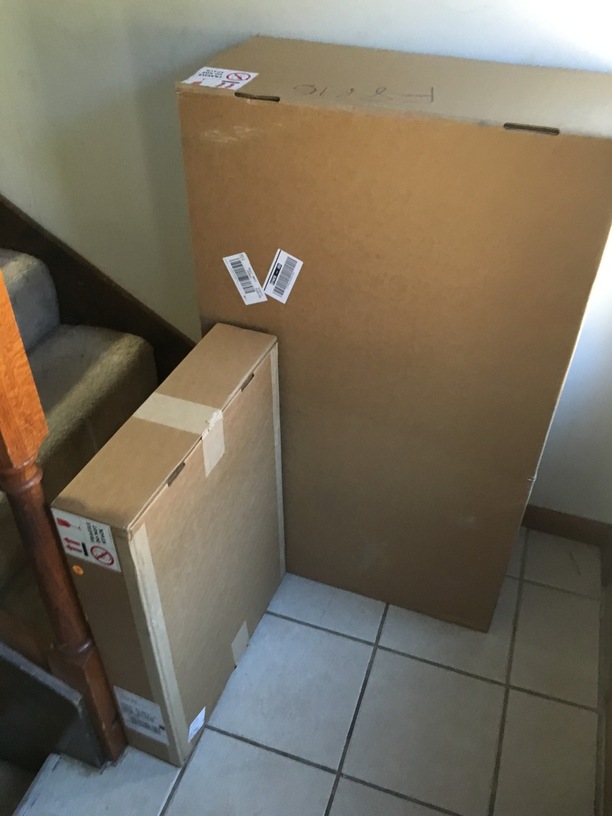
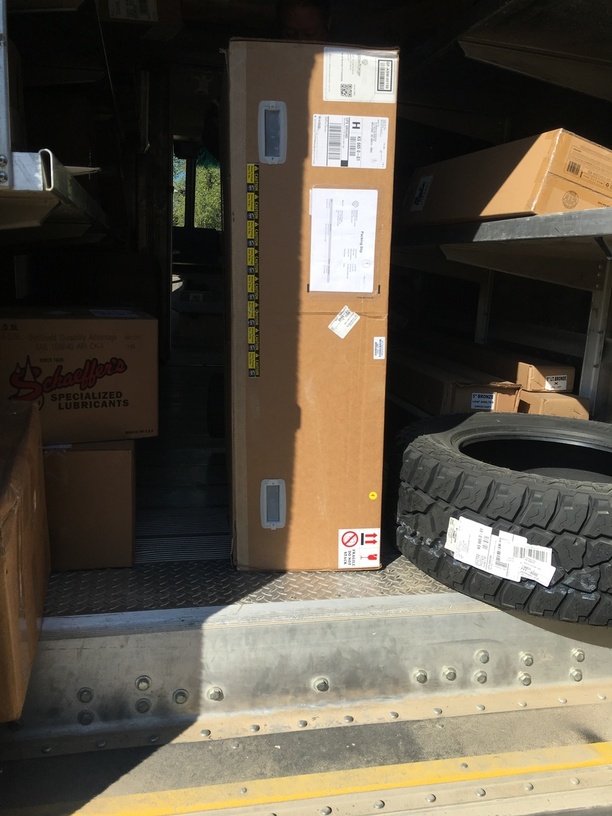
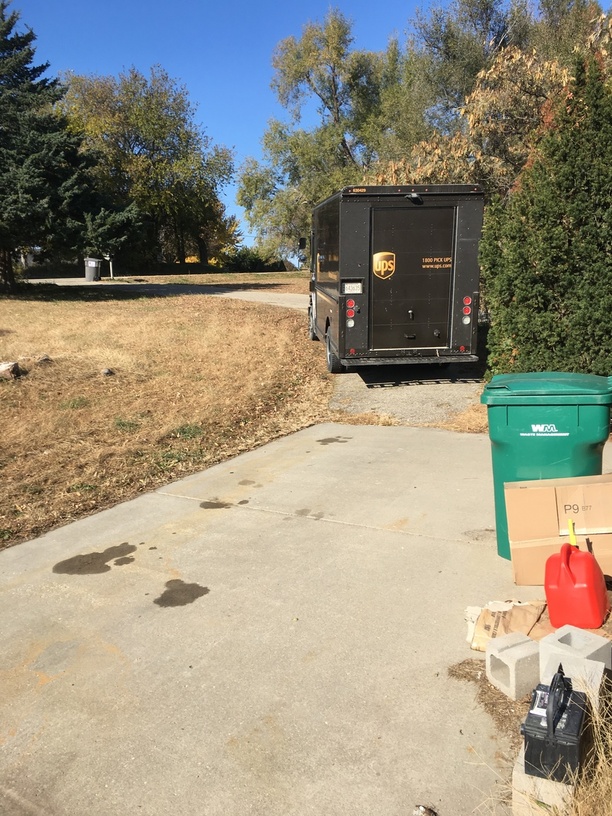
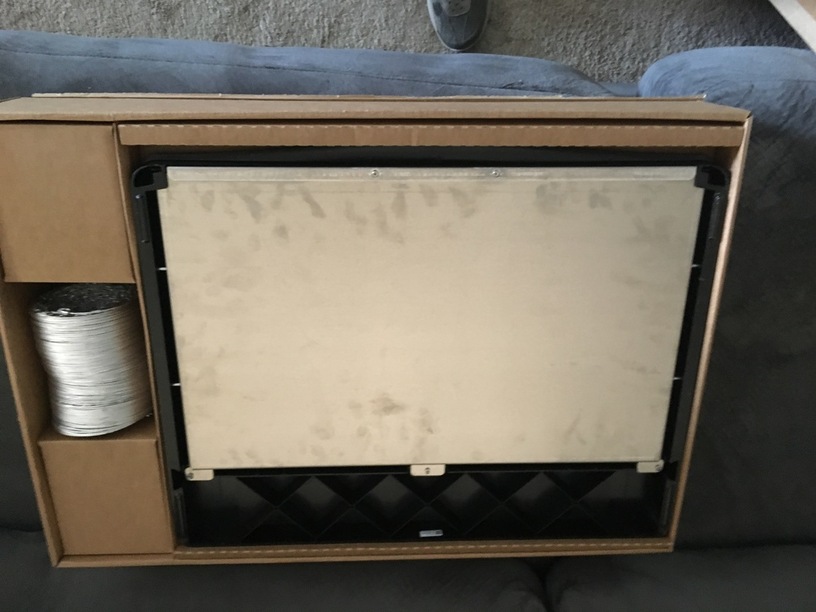
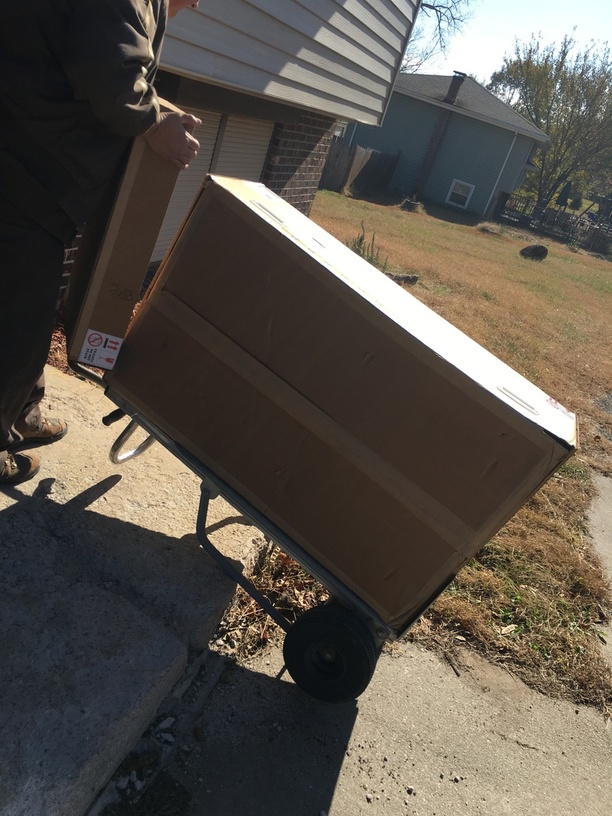
24 Days after I got the email… And it’s HERE!!! The packaging looks really good, all handles still present and only a couple dings in the box! I signed for it without actually opening the box, because I would have needed to have the Delivery guys help me bring it downstairs and he seemed in a big hurry.
 There are only 3 things I’m worried about now, the irrational worry that I may have submitted the form wrong and they don’t know that I want it now. The worry that the grayscale depth translation didn’t make it into the software, and the worry that the offset error that has been happening will make many of the projects I want to do very difficult. I feel like I’ll probably be just fine, and it will be far less of a learning curve than my x-carve was. Optimism has returned to me.
 , they won’t overlap unless they also overlap on the screen.
 ️
️