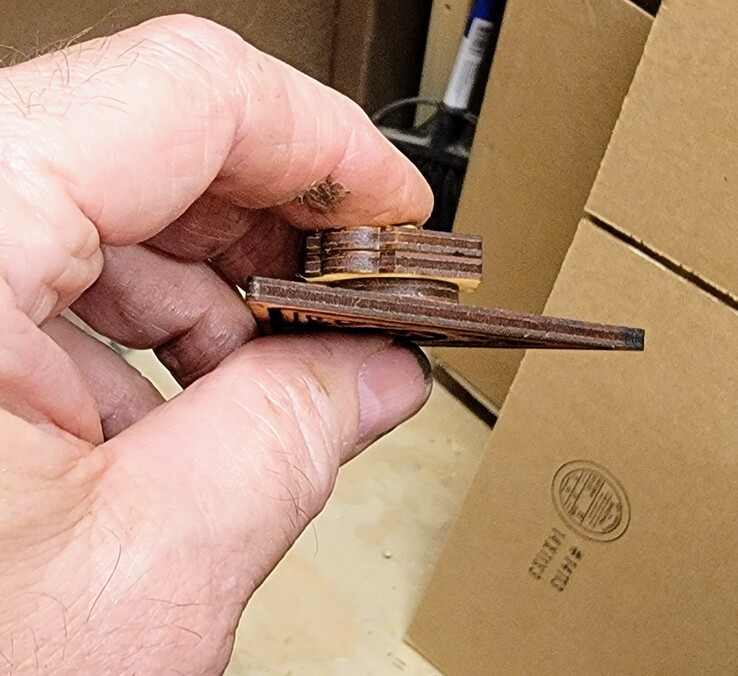
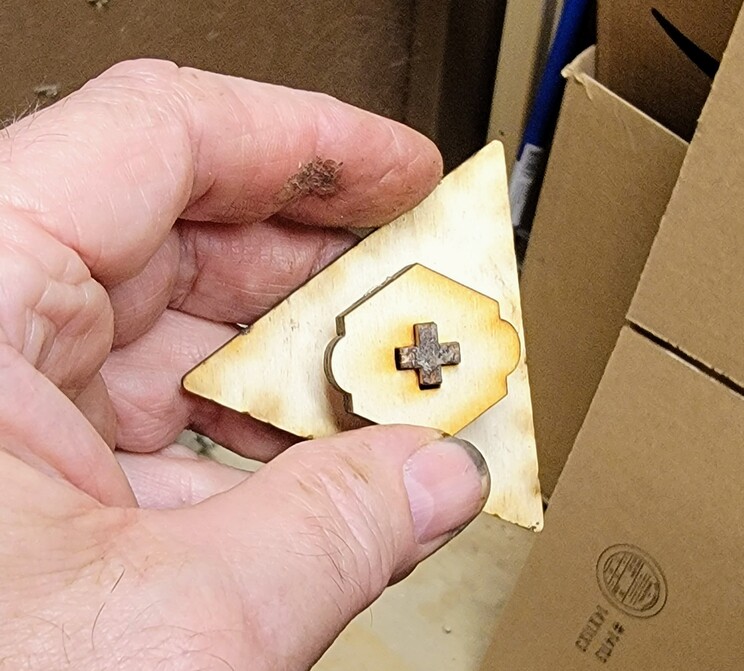
well… using it as a template to glue the PLUS in the right spot, it does work. You turn it to lock in place, and it is flush with the others.
2 Likes
There you go. That’s how I would have approached it.
If you have any trouble getting it to start to turn, just file/sand the edges of the 5 piece.
An emory board makes a nice file if you don’t have small tools.
Well, actually, this one is a tad loose, but fixable (the number 20 piece).
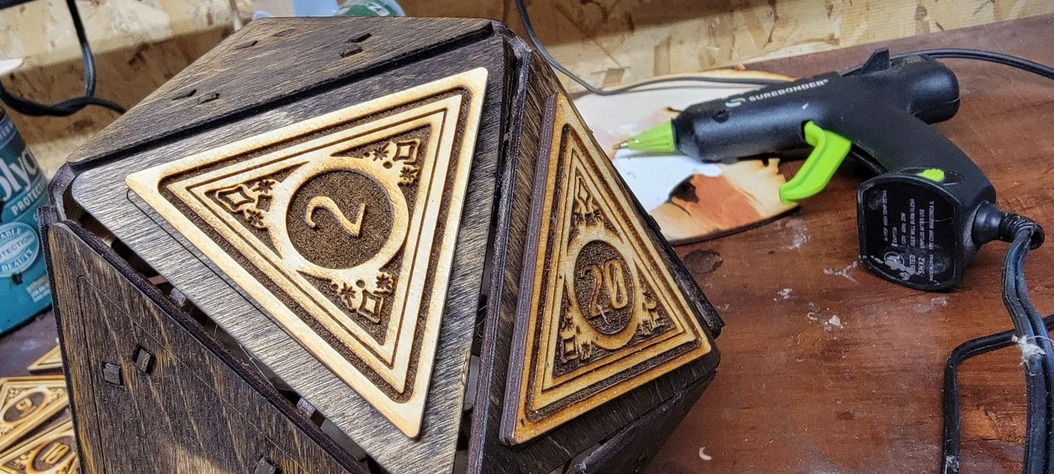
Now that I figured out how to put it all together, I think I will recut all this with nicer looking wood. It goes together pretty easily until the last few triangles. I have fat fingers!. And dang… that last one is a pain! (I saved the one with the hole to stick my fingers in to get the last few to snap in)
4 Likes
and THANKS for the help. I messed with it for an hour it seems trying to figure out how to put the removable triangle in. Your numbering saved the day!
1 Like
If you’re going to remake it, what wood and glue?
Do not use “superglue”, it won’t hold up. Regular wood glue would be best.
I just used a glue gun since I knew this was just going to be a test one to see how it all goes together. I didn’t care how it looked. I just used up a bunch of scrap Baltic birch for this one.
I haven’t decided what wood to use yet, but I love the Rustic Hickory (from Craft Closet) with a dark walnut stain for the triangles, and a lighter wood and natural stain for the numbers.
This is very nice. Thank you for sharing
Good. My concern would be using GF Proofgrade materials because it’s finished and glue won’t penetrate the finish like a raw wood surface. You can apply a finish once it’s assembled.
edit - although thinking about it, it’s the mating surfaces between the back of the visible plate and 4, plus the sides of 2 and 3 that really matter. The rest would be cut surfaces.
2 Likes
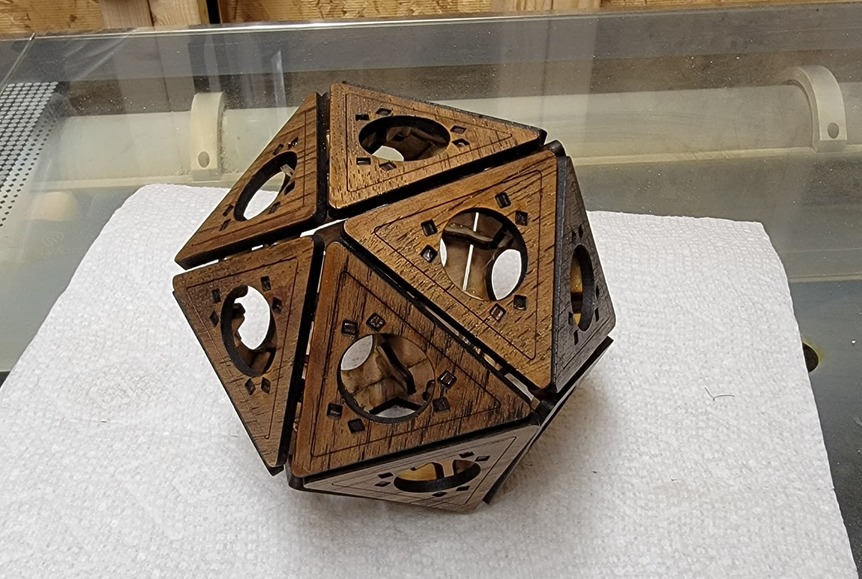
Well… I made a slight modification to the triangles to make it easier to put together. I added large holes in the center of each one to be able to use your fingers and actually see inside the ball as you put it together. The holes will be covered up with the numbers anyway. I am going to glue the round circles cut out of each triangle to the backside of the number pieces to assist lining them up as well (basically “plugging the hole”).
My Glowforge is currently engraving and cutting out a new set of numbers (3hours!).
9 Likes
that’s a great modification, assembly was quite the challenge before, especially for my evidently fat fingers 
Getting the last triangle in was still a royal pain, even with the added holes.
Once you get down to the last 6 or so (for me), things get a bit crowded. There is probably a better “order” to use as far as the steps… like… do you put the connectors on one edge of the piece you are holding and the other connectors on the main piece you are inserting into?
But I don’t know what that order is… 
maybe someone will come across a good order and share it here. I have still not connected the last couple of pieces. It seemed like I was getting into a rhythm at the beginning, but it got a lot harder about halfway through.
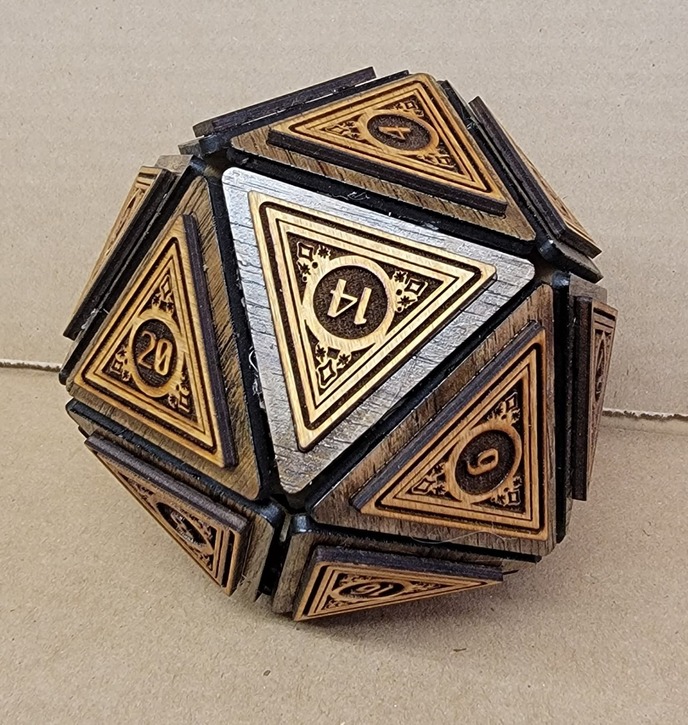
My finished product. It’s about 6" diameter. I decided not to use the tile that opens like in the plans, since I wasn’t going to use it like that.
Thanks to Holly Brown for posting those files. This was a challenging project (putting together), but it was fun and satisfying!
The larger triangles are made with Rustic Hickory with a Dark Walnut stain. The numbered triangles are made with Baltic Birch with Golden Oak stain.
I tried to put all the numbers in the “official” positions, but it seems there were several differences depending on what website you looked at. I don’t have an actual d20 die, so I couldn’t use it as a reference,
14 Likes
Wow! Seriously cool!
1 Like
So cool of you to share. I know someone who’s going to love this. Possibly more than I do.
2 Likes
very smart. thanks