Pictures!
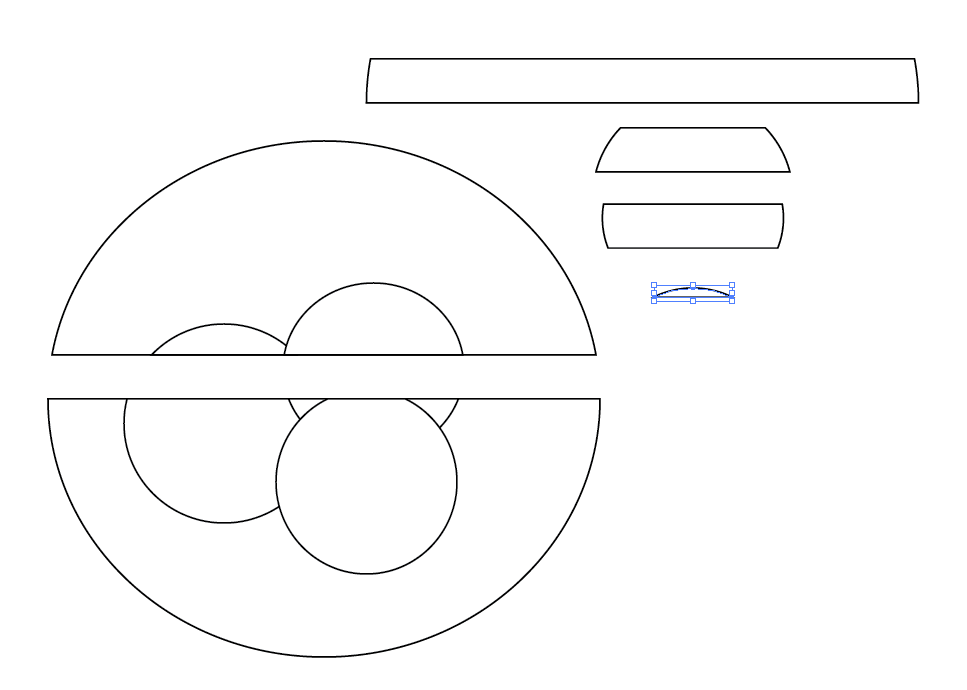
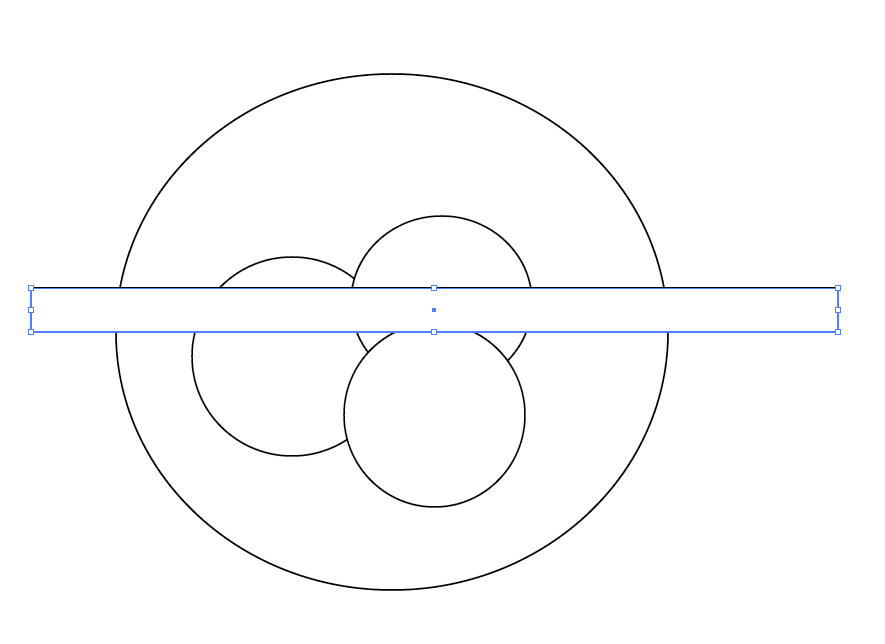
Rectangle on top:
Object -> Path -> Divide Objects Below
Moving the new pieces out:
Shhhhhh! You’ll give me away! 
(Yeah the Divide tool is another option.)
Ha! Deleted my response to your deletion.
It neeeeeeeeever happened.

Just what I was going to suggest - pathfinder, make sure there’s no groups, and make sure the cutter is on top of the cut-ee. That is, rectangle on top of the E.
Okay… So I know it’s been forever, but I’m just getting around to trying this. Not getting the results I’m expecting.
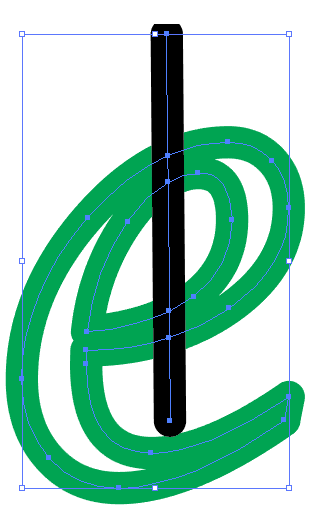
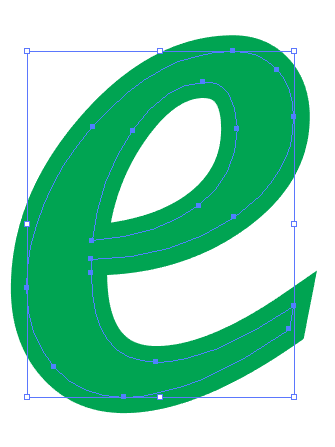
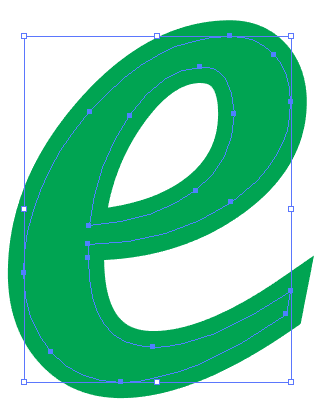
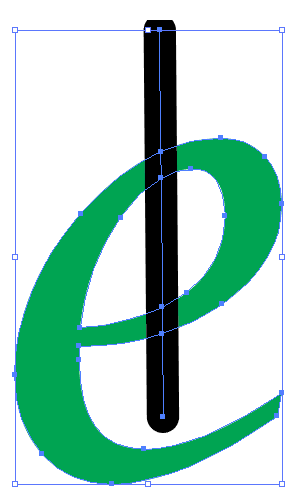
Here is my “e”. It’s nothing special. It’s an expanded, ungrouped e with a green fill, and no stroke.
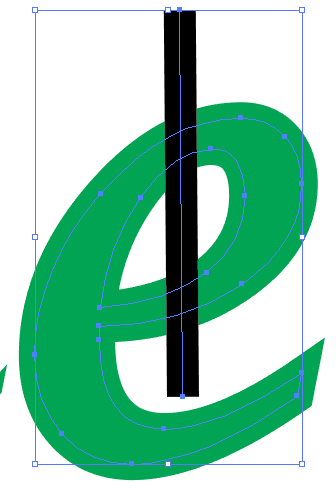
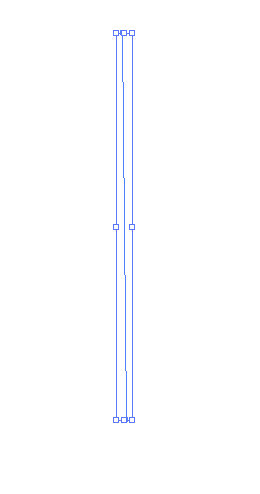
Here is a line segment. It is also nothing special. It’s got no fill and a 1pt black stroke.

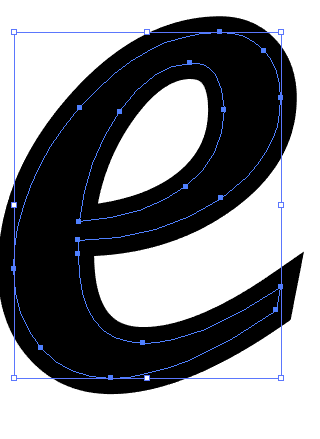
Together they look like this… The line is on top of the e.
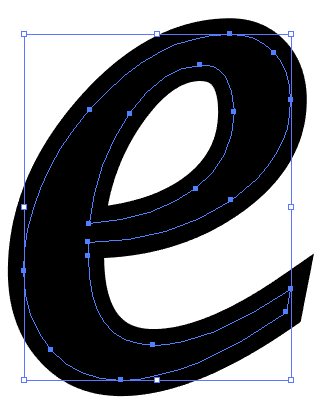
Okay… Let’s use our Pathfinder…
Unite
Minus Front
Exclude
Divide
Trim
Merge
Crop
Outline
So… What the heck am I doing wrong here. Driving me nuts!
Thanks for any help! 
couple of issues here.
that first E looks like it has both a stroke and fill. if it was just fill, you wouldn’t see any color outside of the blue outline.
if you want to use pathfinder, you will always get more complicated results when you mix fills and strokes. the simplest way to do this is to create a letter that is just filled, no stroke. then create a box with fill, no stroke. that will create a more predictable result.
Expand the stroke first on that single line. Select it > Object > Expand.
That turns it into a filled shape, which will then punch down through correctly in the Pathfinder Menu.
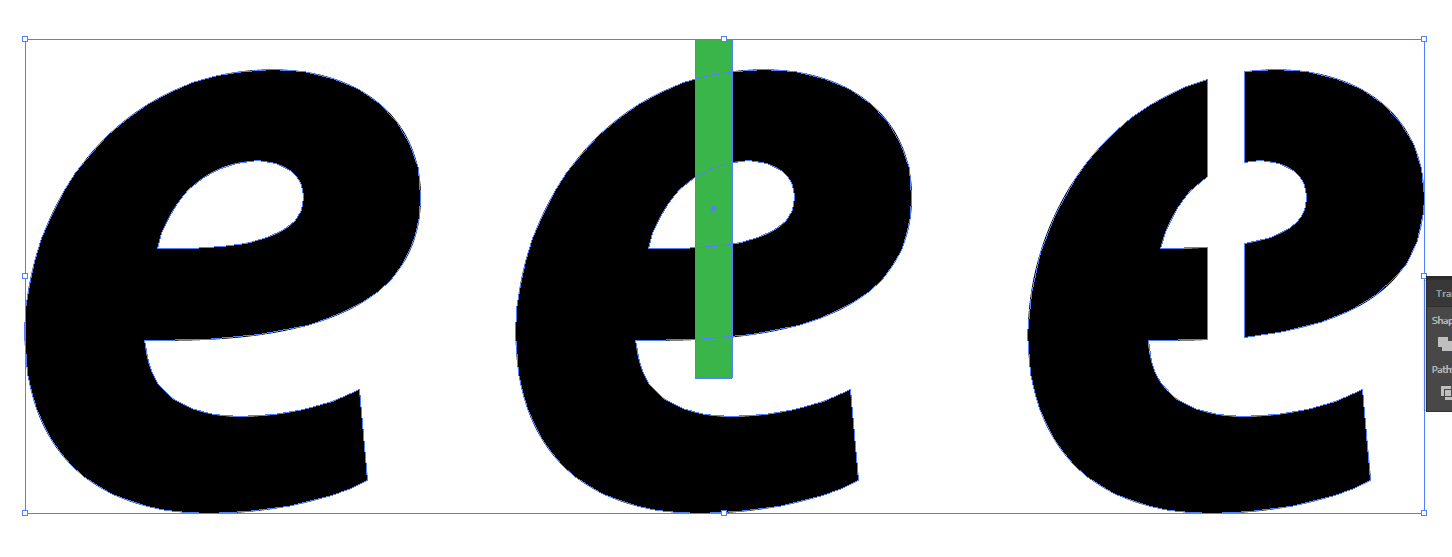
here’s an example.
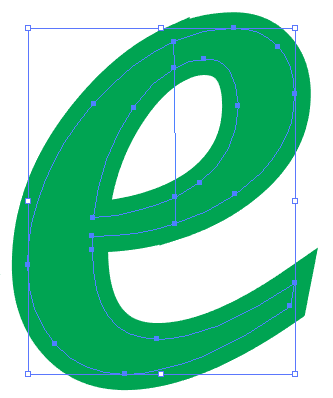
same “e”, only fill with no stroke (notice the blue selection outline).
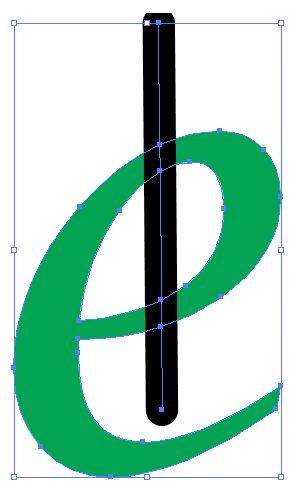
next e with a box with fill only over top of it.
next is after minus front has been applied.
You’re an effing angel! I honestly feel like a weight was lifted!!!

Thank you!!!
No problem!