Incorporating GF materials into a 3d print, literally

@High_Latitude - I have made several of them. I love those little crates! I also made a couple of the stackable small milk crates hanging stands from the catalog, although I use one of them to hold all my ribbons for sewing. :slight_smile: But I use the other for the crates.

@linefeed - love it! I’ve looked at Thingiverse, but I don’t have a 3D printer and don’t know how to convert .stl files to .svg. That would be great to hang on our chicken coop door! (And we just added 8 more little chickens to our flock, which are now out in the coop and run with our older chickens. Such fun!

3 Likes

@linefeed - Pretty slick. Converting SVG to 3d (at exact scale) is so satisfying.

@ellencadwell - Very fun!

One more little experiment - I call it the Cookie - Just a little thumbwheel to help choose your dessert. :wink:

I used Premium subscription ‘Add Artwork’ and engraved on a scrap piece of Aura friendly 3mm Light Maple Plywood, at about 40mm diameter.

Banged out a Tinkercad sandwich housing for it.

And Bling -

Cupcakes are good

Mmmm, cookies…

I didn’t put any effort into smoothing the surface or anything, as it’s just for fun. This could be made amazingly thin now that I know it works. And you could even do it two sided I suppose.

A fun afternoon project would be to make the disk look more like a cookie, with bites out of the sides to spin the wheel, and some multi color sprinkles on top of course. :wink:

HL

4 Likes

It doesn’t work with EVERY model, but things like this are pretty simple. After you import the .stl into TinkerCad, you can slice the model to a specific level by adding a “hole” that will erase any unused parts they cover. When you merge those “holes” with the model, you end up with a new part that you can then export as .svg. You can easily make a stacked model by creating TWO “holes” spaced 1/8" apart, then moving those two “holes” up or down 1/8" at a time over the original model.

5 Likes

Thanks @linefeed. I’ll have to play around with it.

@High_Latitude - you’re just having a great time with this stuff, aren’t you! I’m so jealous!! Maybe next year I’ll check into getting a 3D printer. Can’t swing it this year.

1 Like

Totally, these experiments are quite enjoyable. Due to the start of school, and other obligations over the last few weeks, I’ve not been in a position to start a ‘large’ project. So adding some techniques and materials options to my tool belt is what I’ve had time for. Plus I’m still in the Honeymoon phase with the 3d printer. :slight_smile:

Next week my schedule clears for a couple weeks, and the next big project could begin. I’m still not exactly sure what it will be, but I have a fairly solid idea on design and materials. I may start a Post for assistance in hashing out some options for technique and aesthetic detail. And chronicle the project as it progresses, instead of waiting until it’s done, like my previous ones. Might prove interesting?

In the meantime, I’m now working on a sample of the technique, component construction, and materials, I’m thinking of using in order to get some feedback. So could be interesting, overly ambitious, or just not practical - the jury is still out. But I am pretty sure it’ll be different, as that’s what I seem to be good at. :wink:

Thx.

3 Likes

Well it will certainly be fun for us to see what you do, whether during or after you do it!

1 Like

Greetings -

Thought I’d do an update for the latest ‘experiment’, along the same lines inserting acrylic into a print. This time, I wanted to see if I could print ‘on’ fabric. I figure Felt has probably the best shot as it’s basically a kind of plastic, and mabey the 3d print filament will melt into the surface and stick. One way to find out.

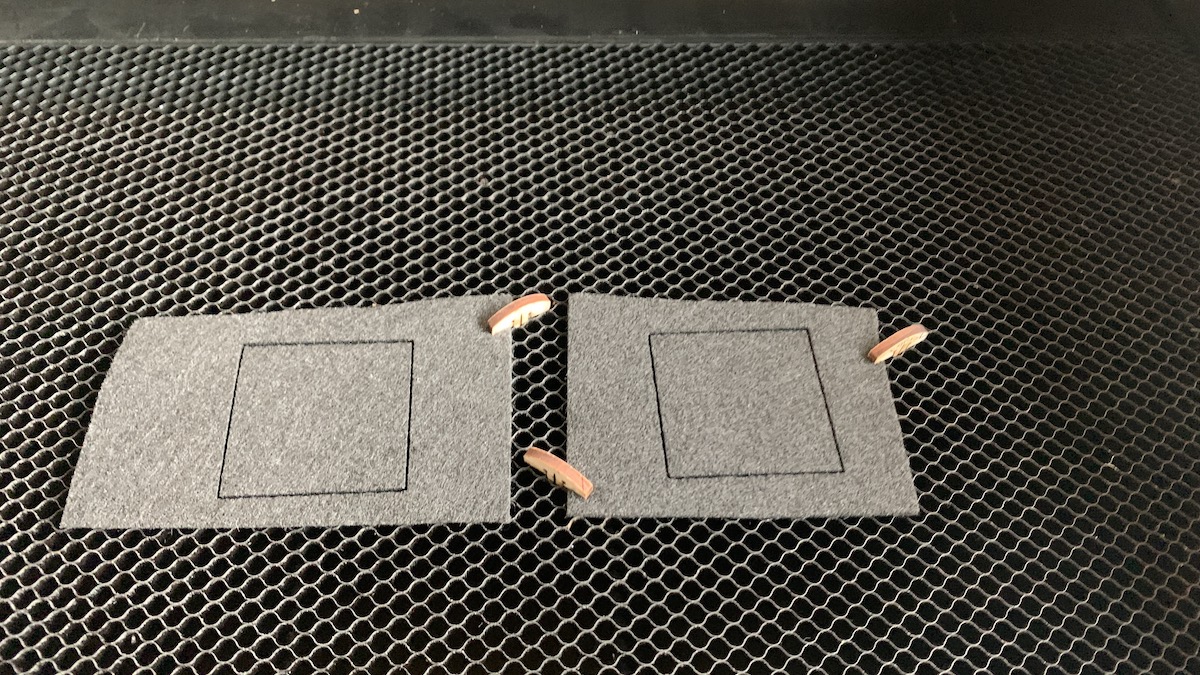
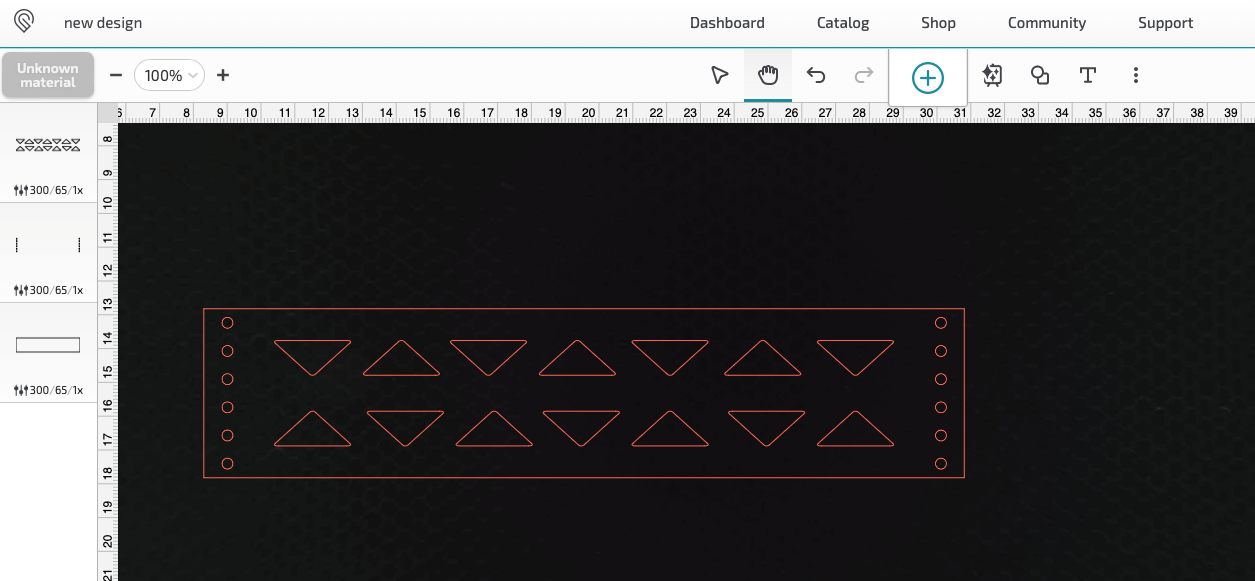
I GF cut a 50mm square of felt to be the test piece.

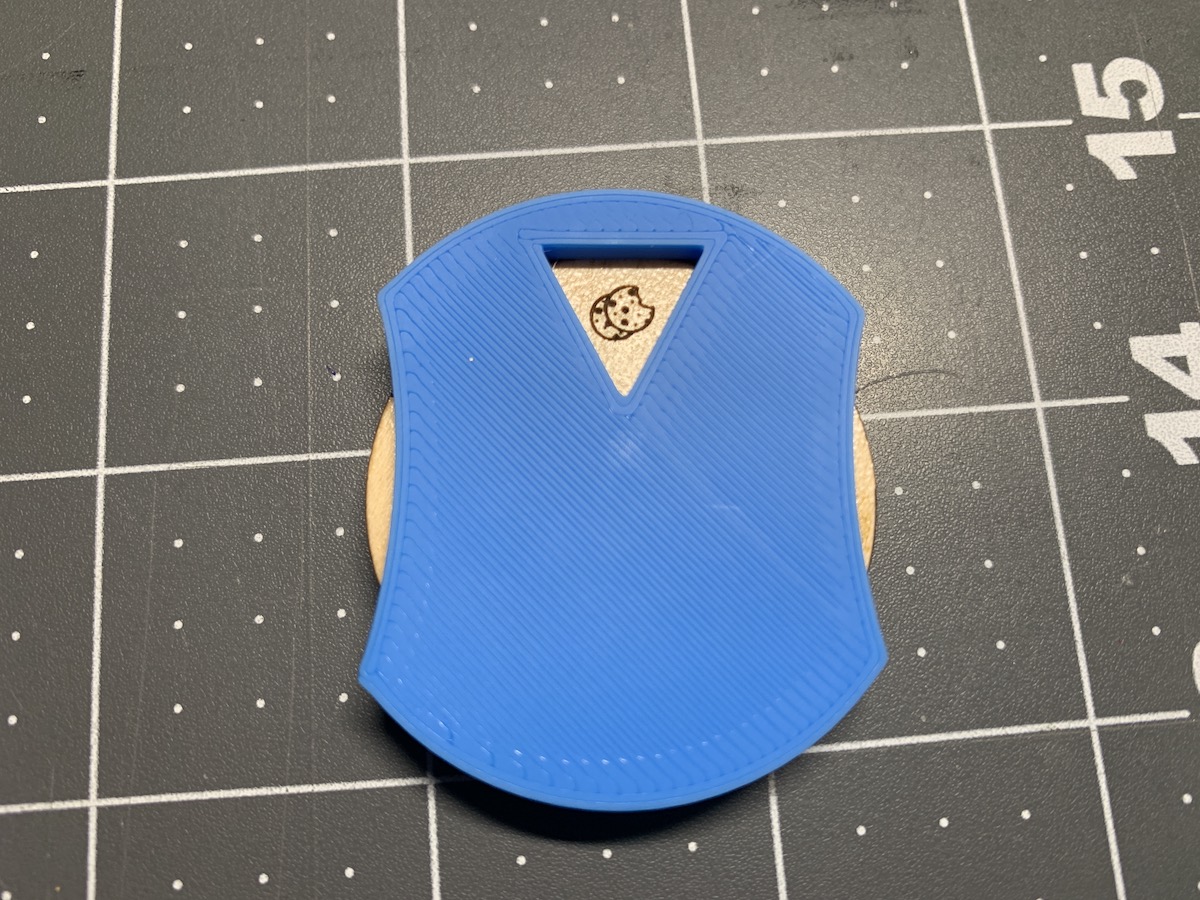
I put some 2-sided tape on the back to stick it into the ‘mold’ and get it to stay in place long enough to print on.

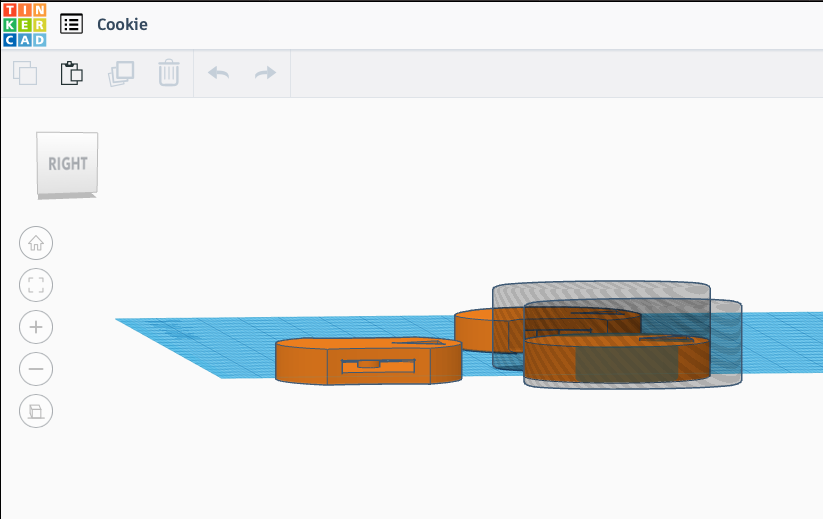
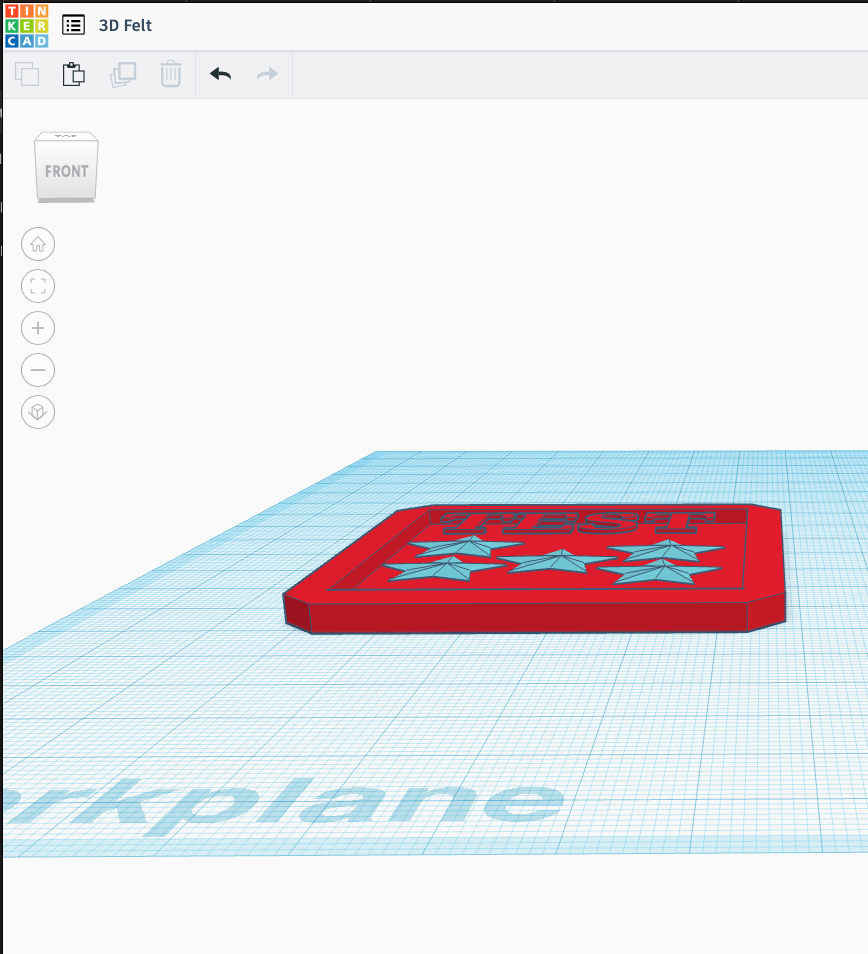
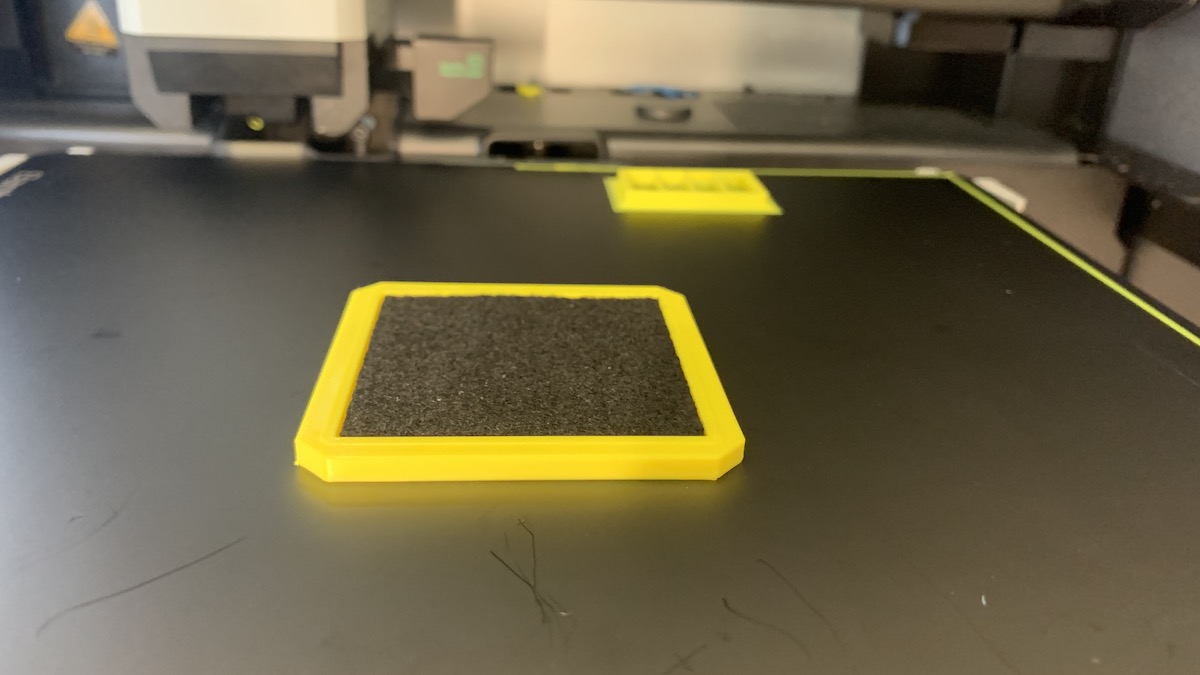
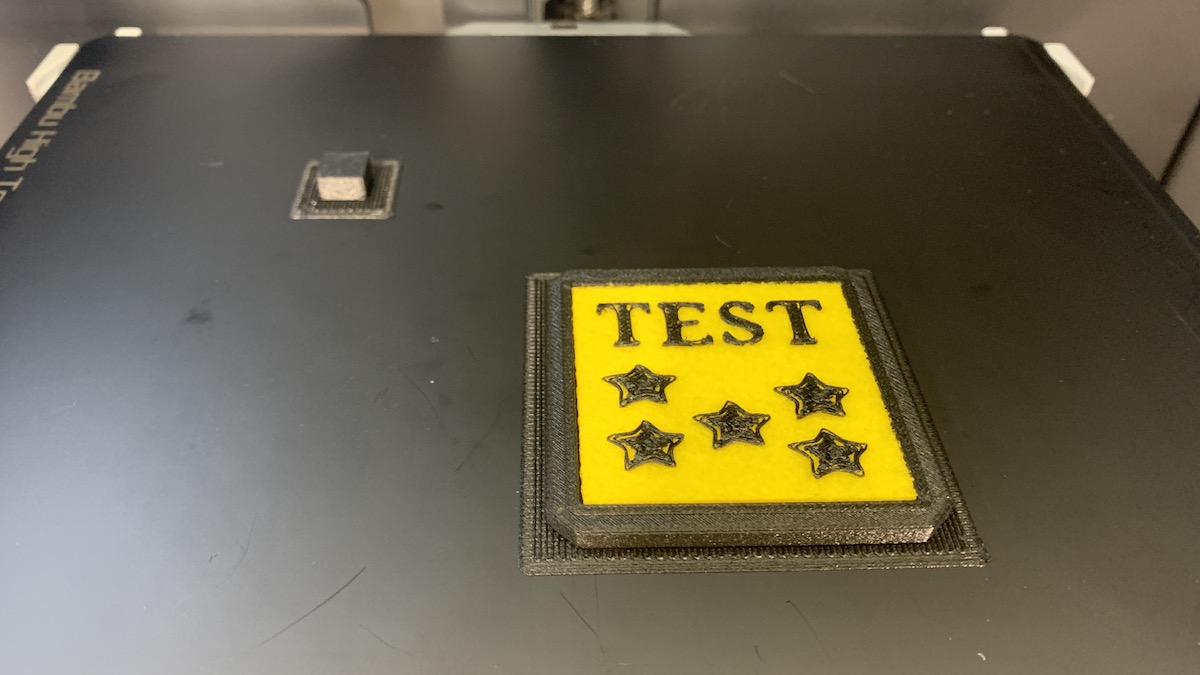
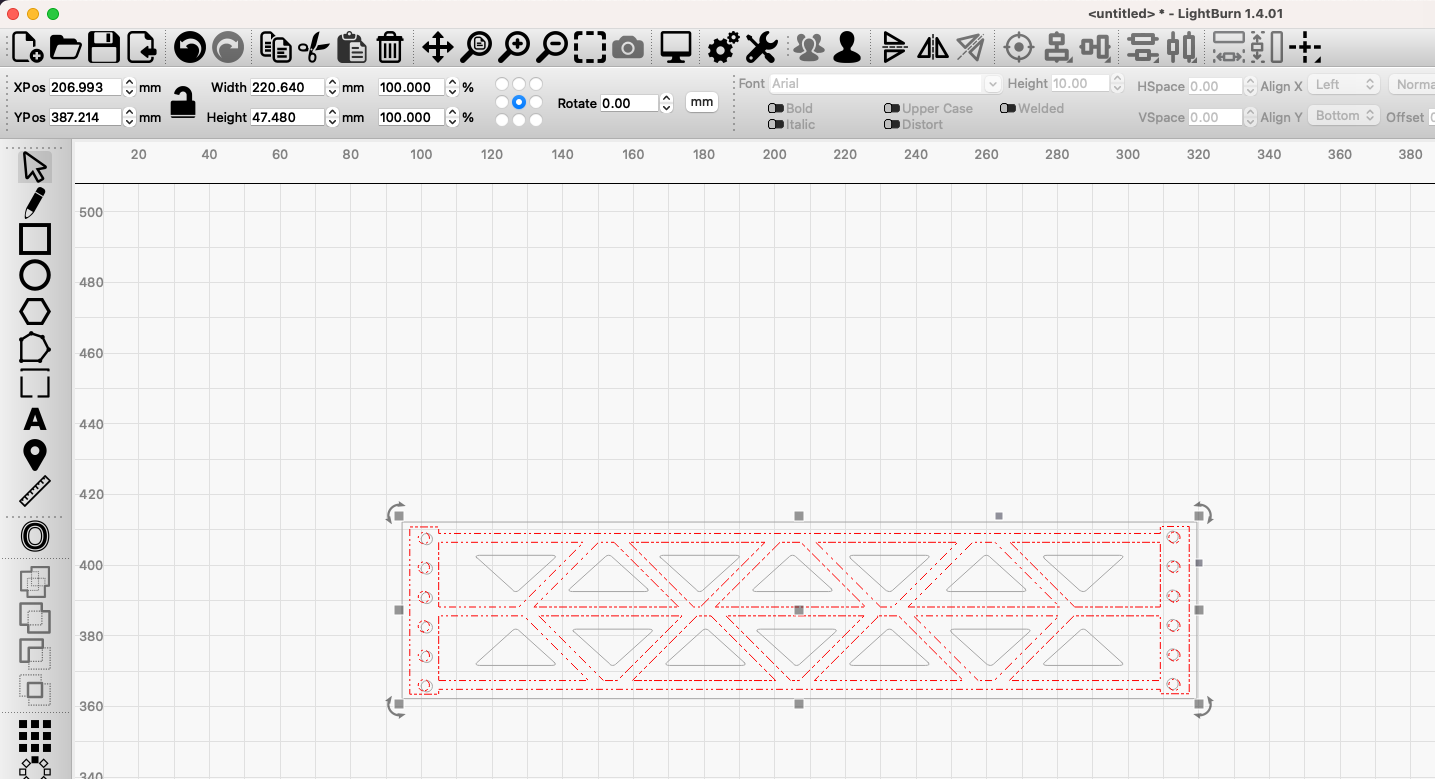
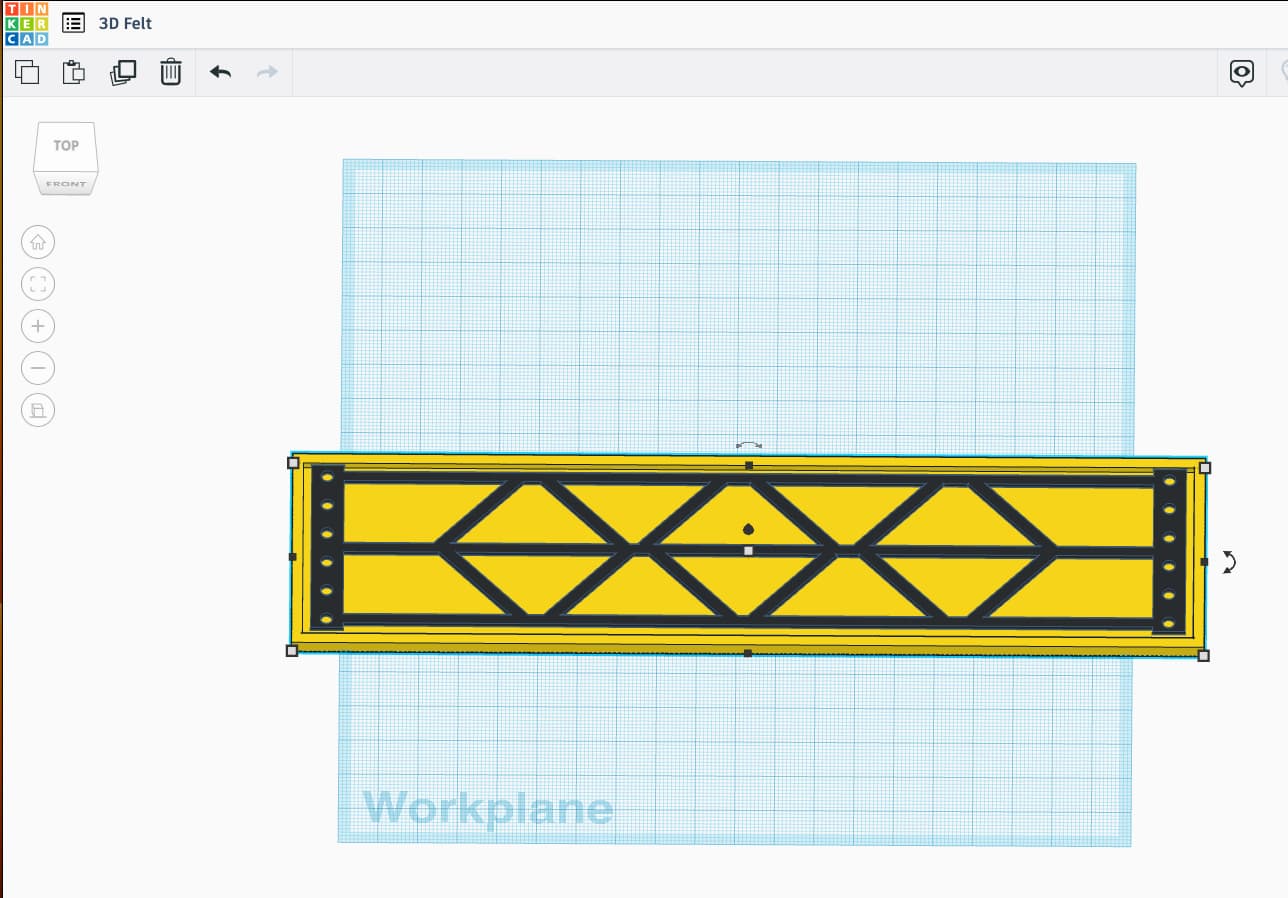
I made a short ‘tray’, with now floating elements on the first layer above the support base, and on top of the felt. Hit print.

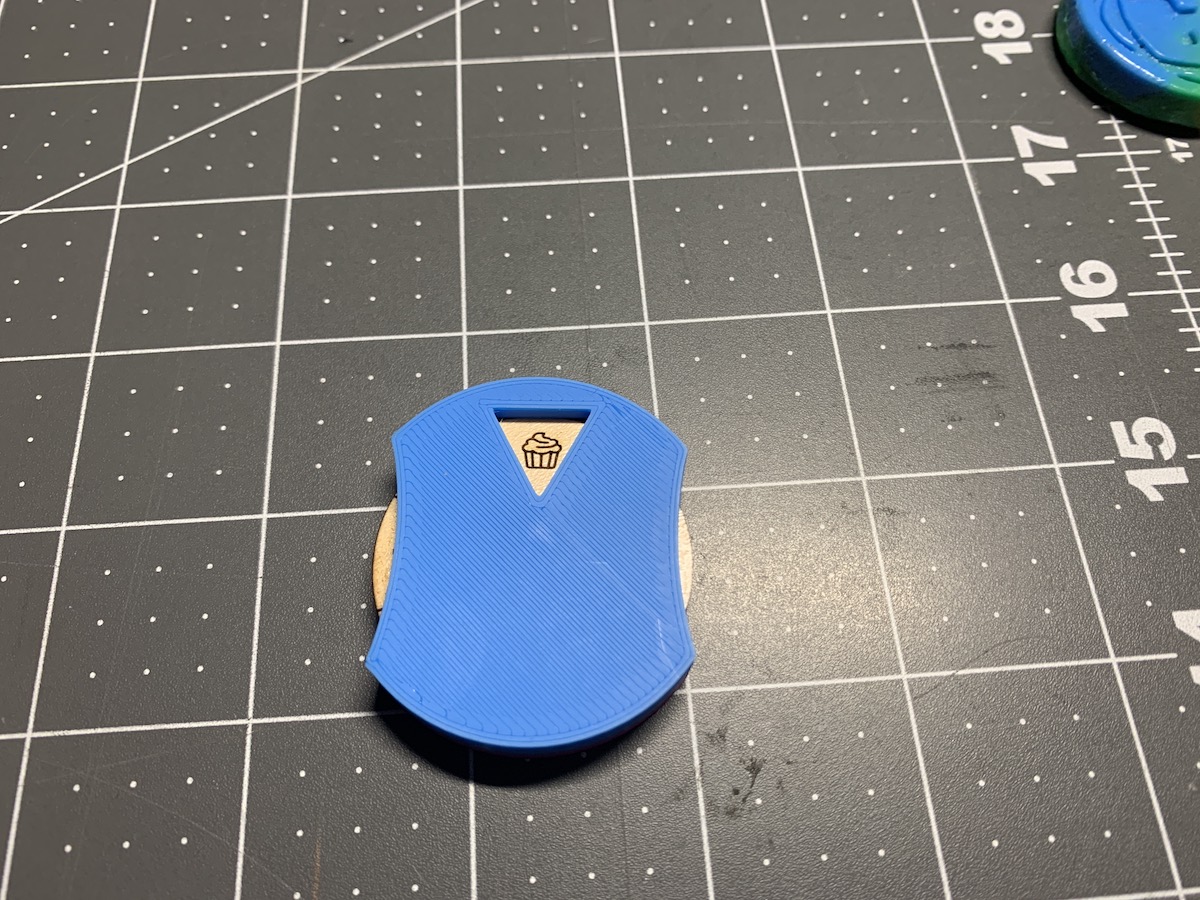
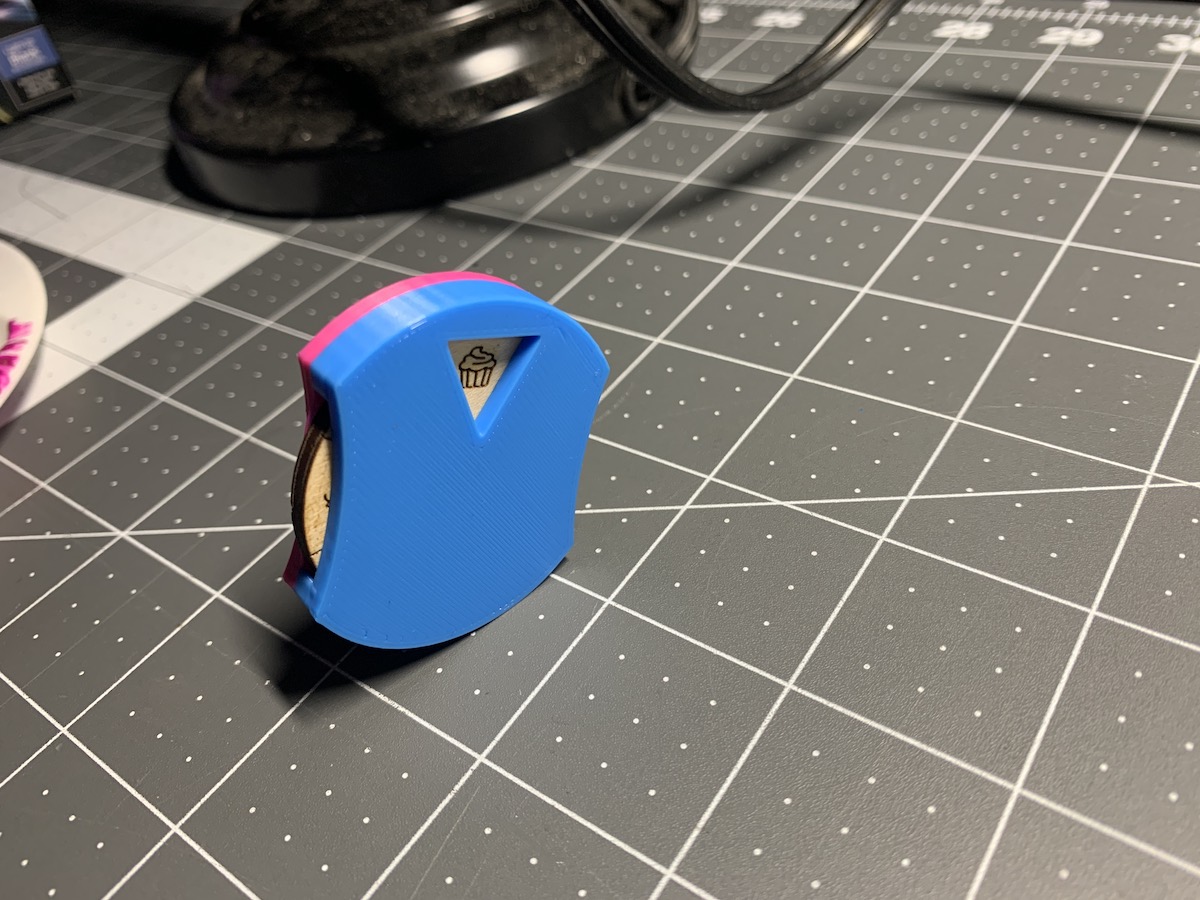
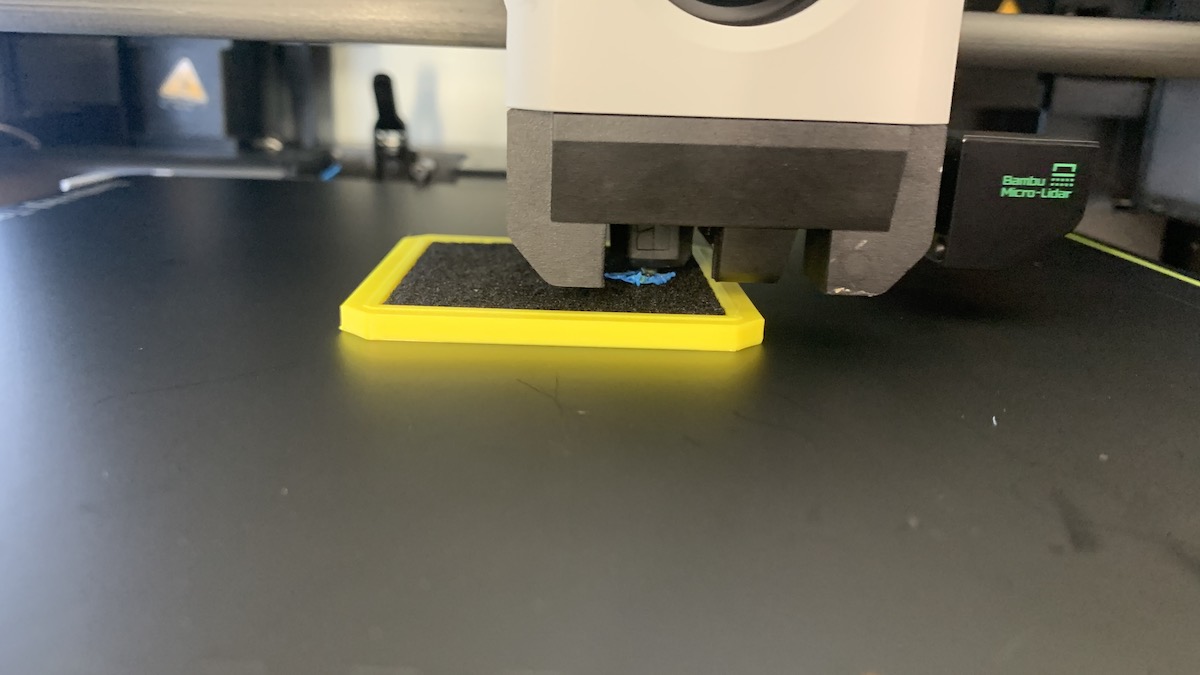
So as before, once the filament change starts, I inserted the felt

And the printhead comes back in blue to start the graphics on top of the felt.

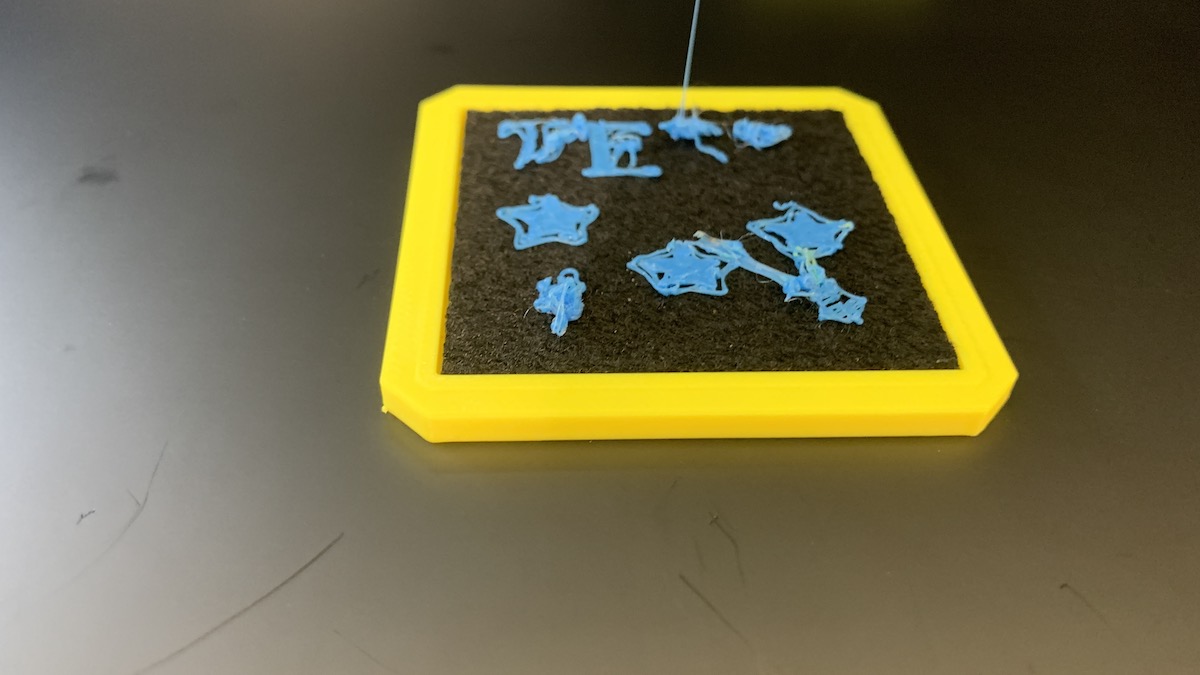
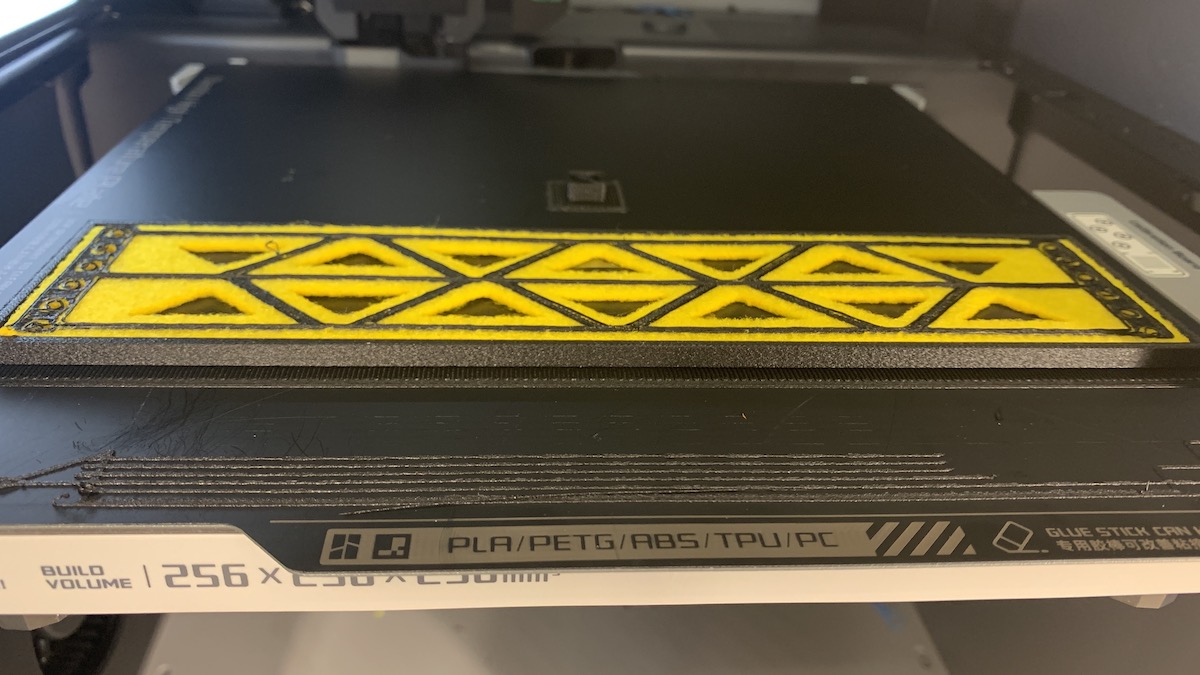
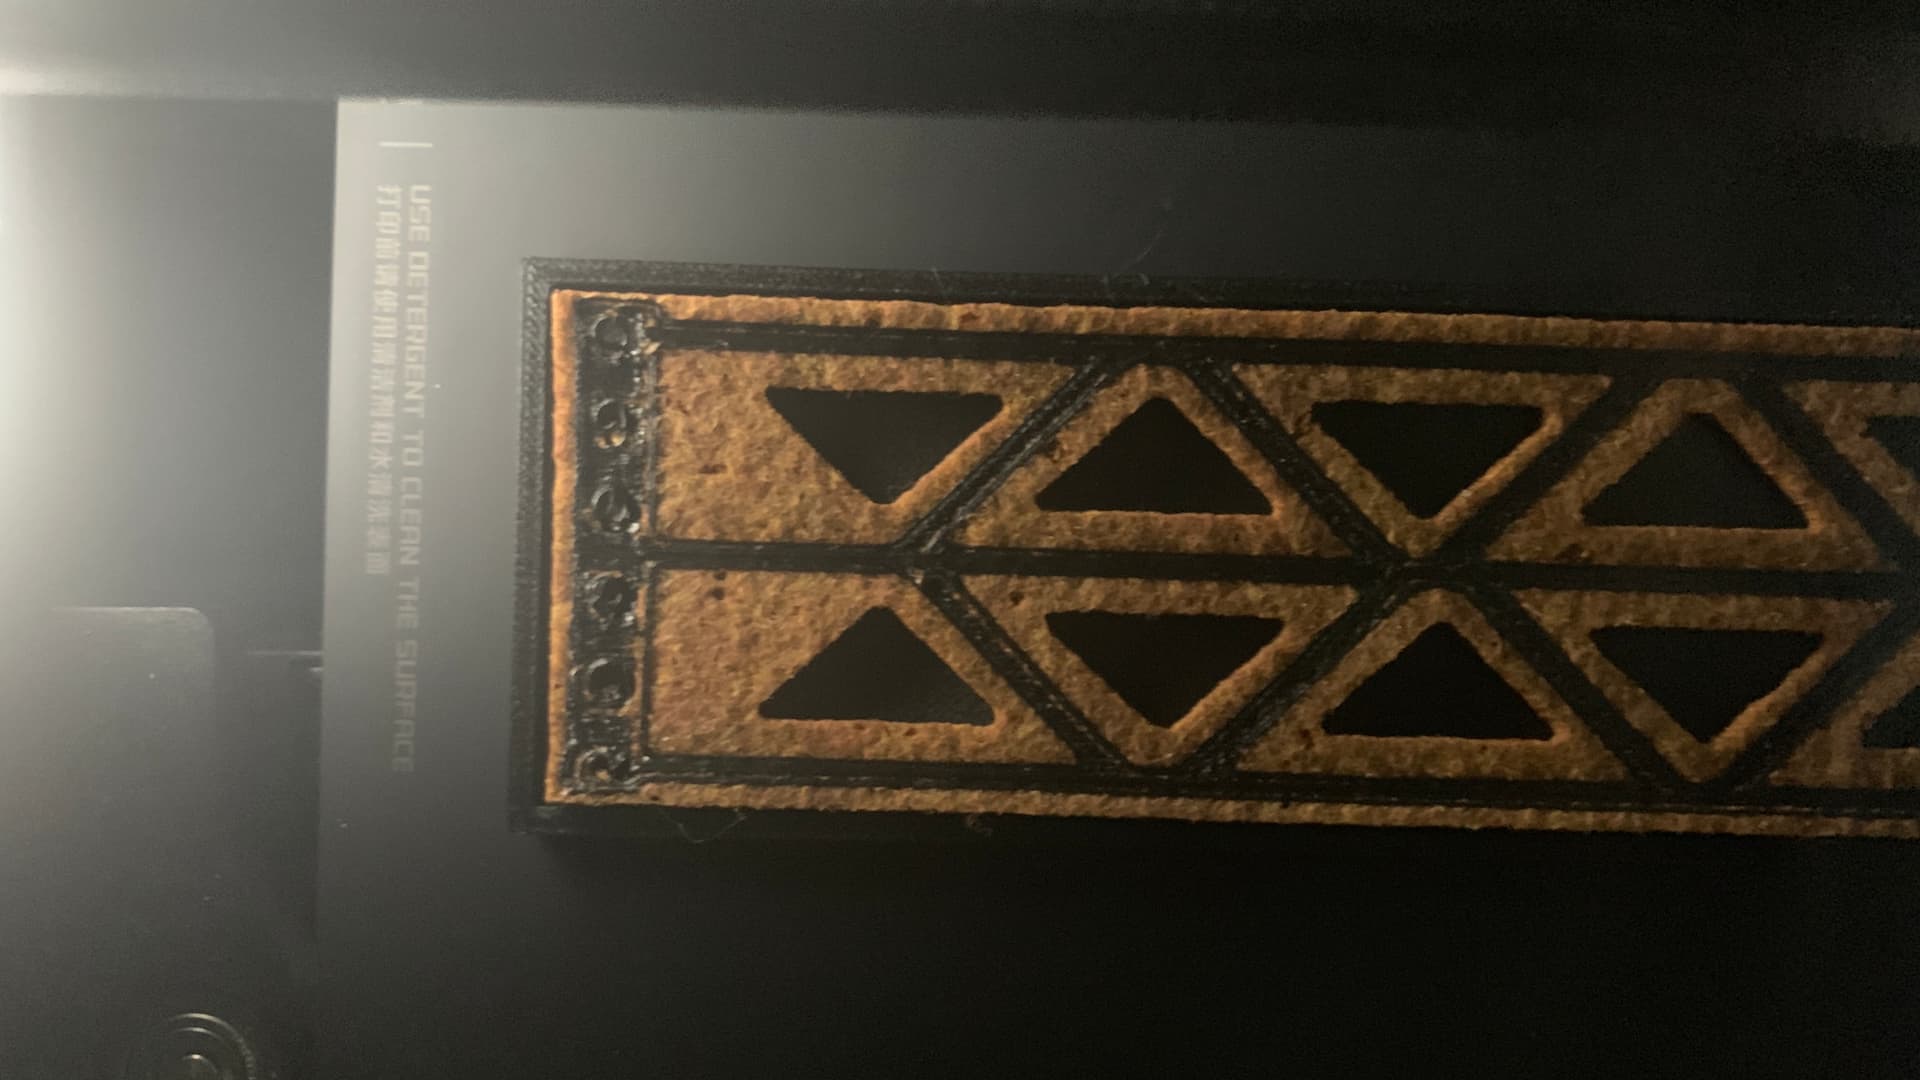
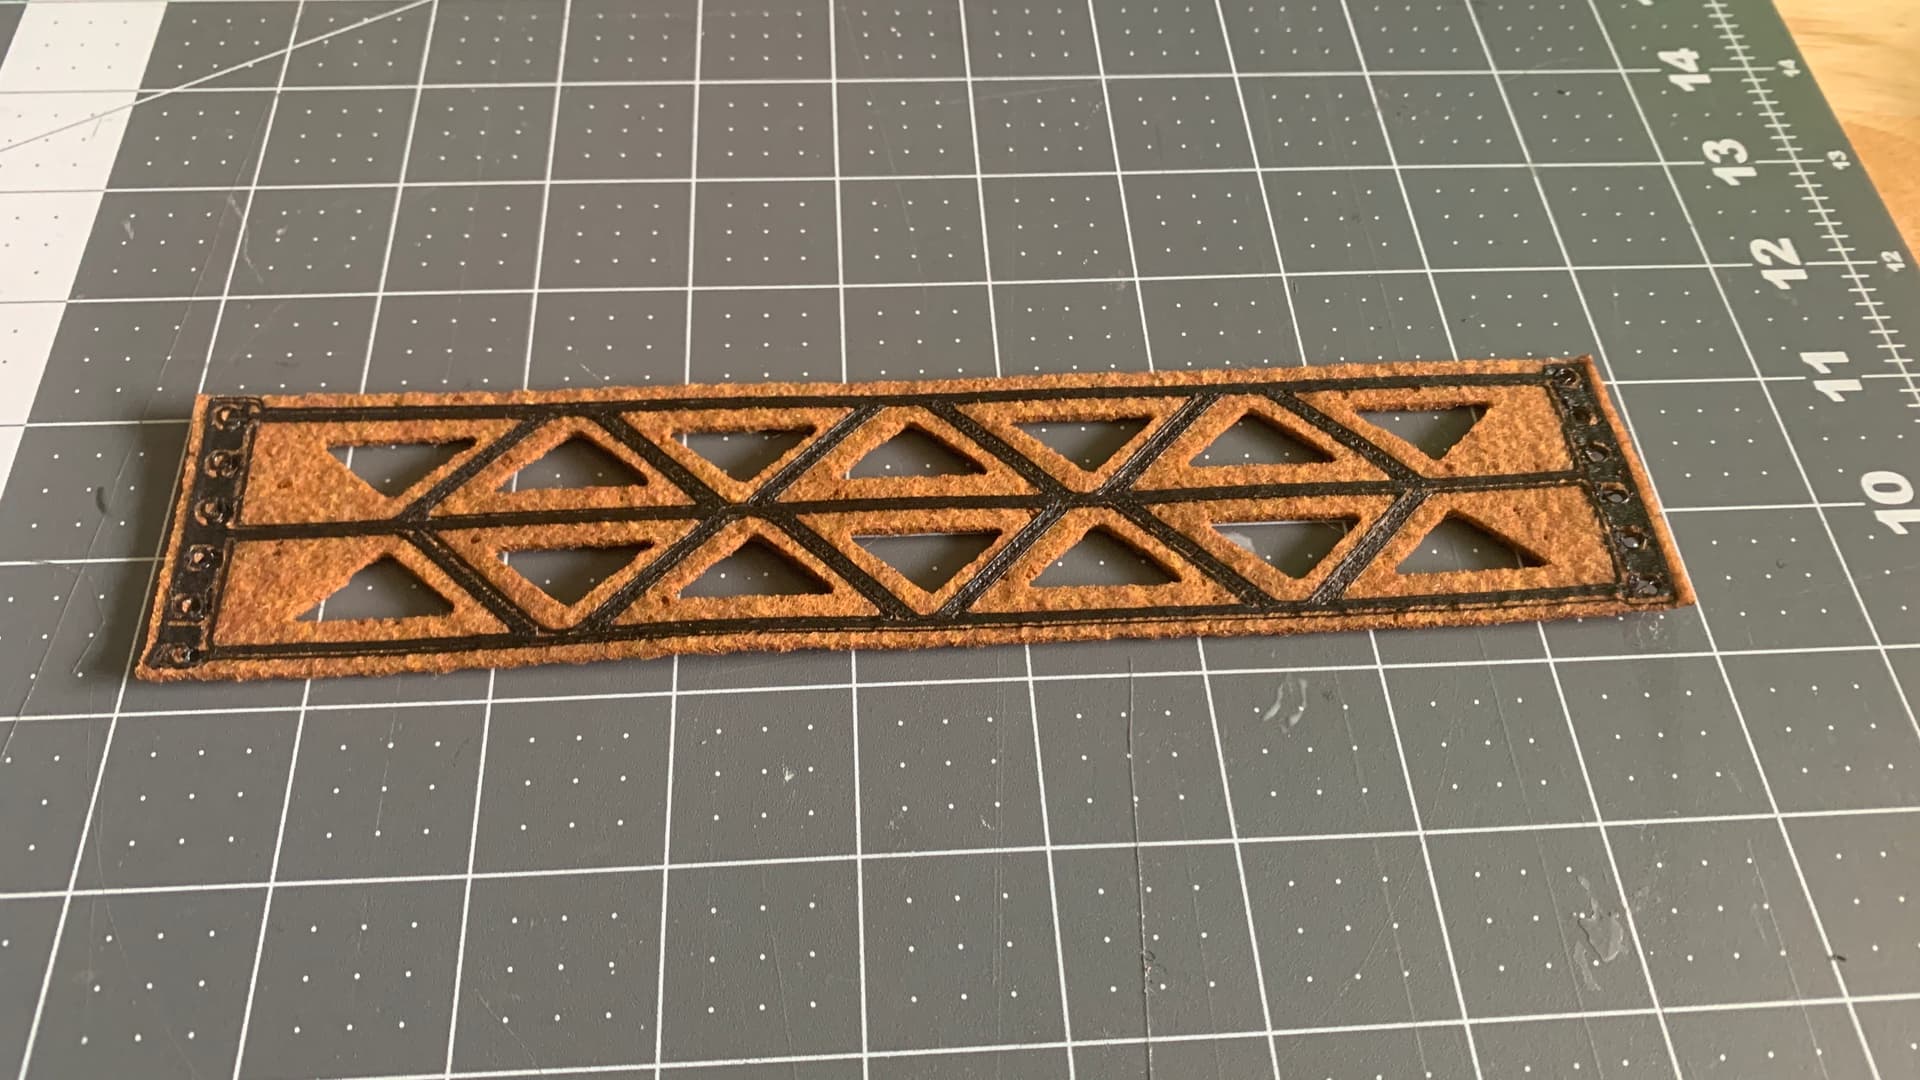
I was using PLA, the standard (low melting temp) filament, and it was clearly not hot enough to melt INTO the felt. I didn’t even let it finish because after just the second layer, well, the photo speaks for itself.

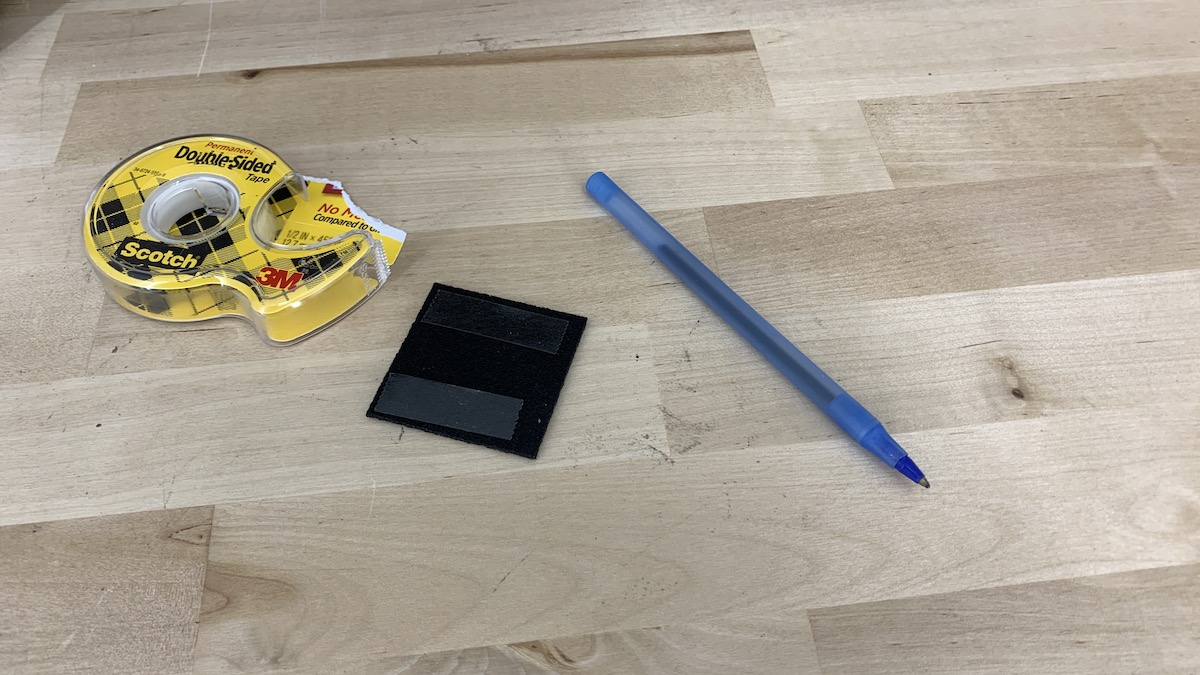
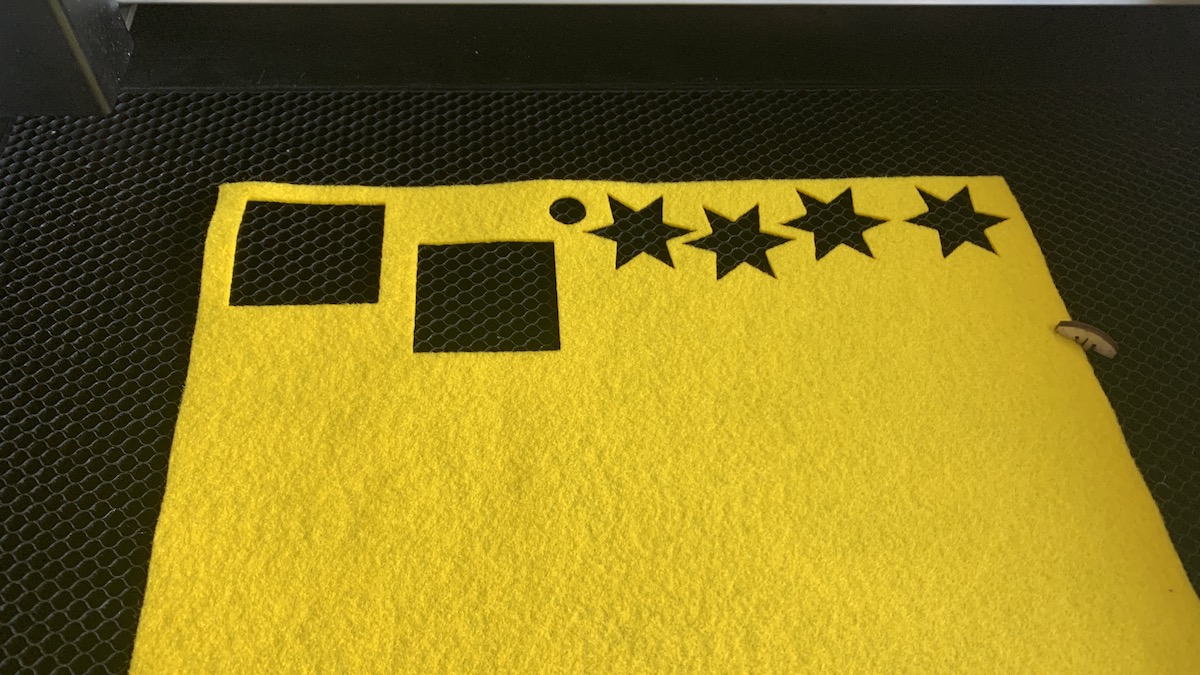
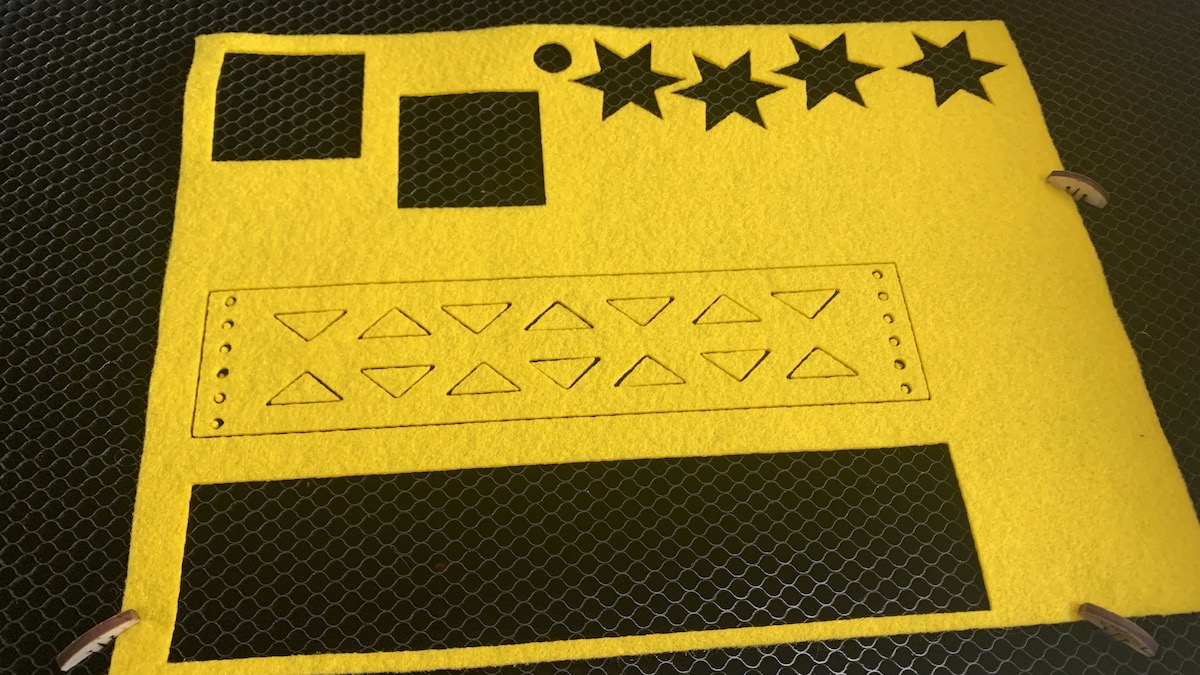
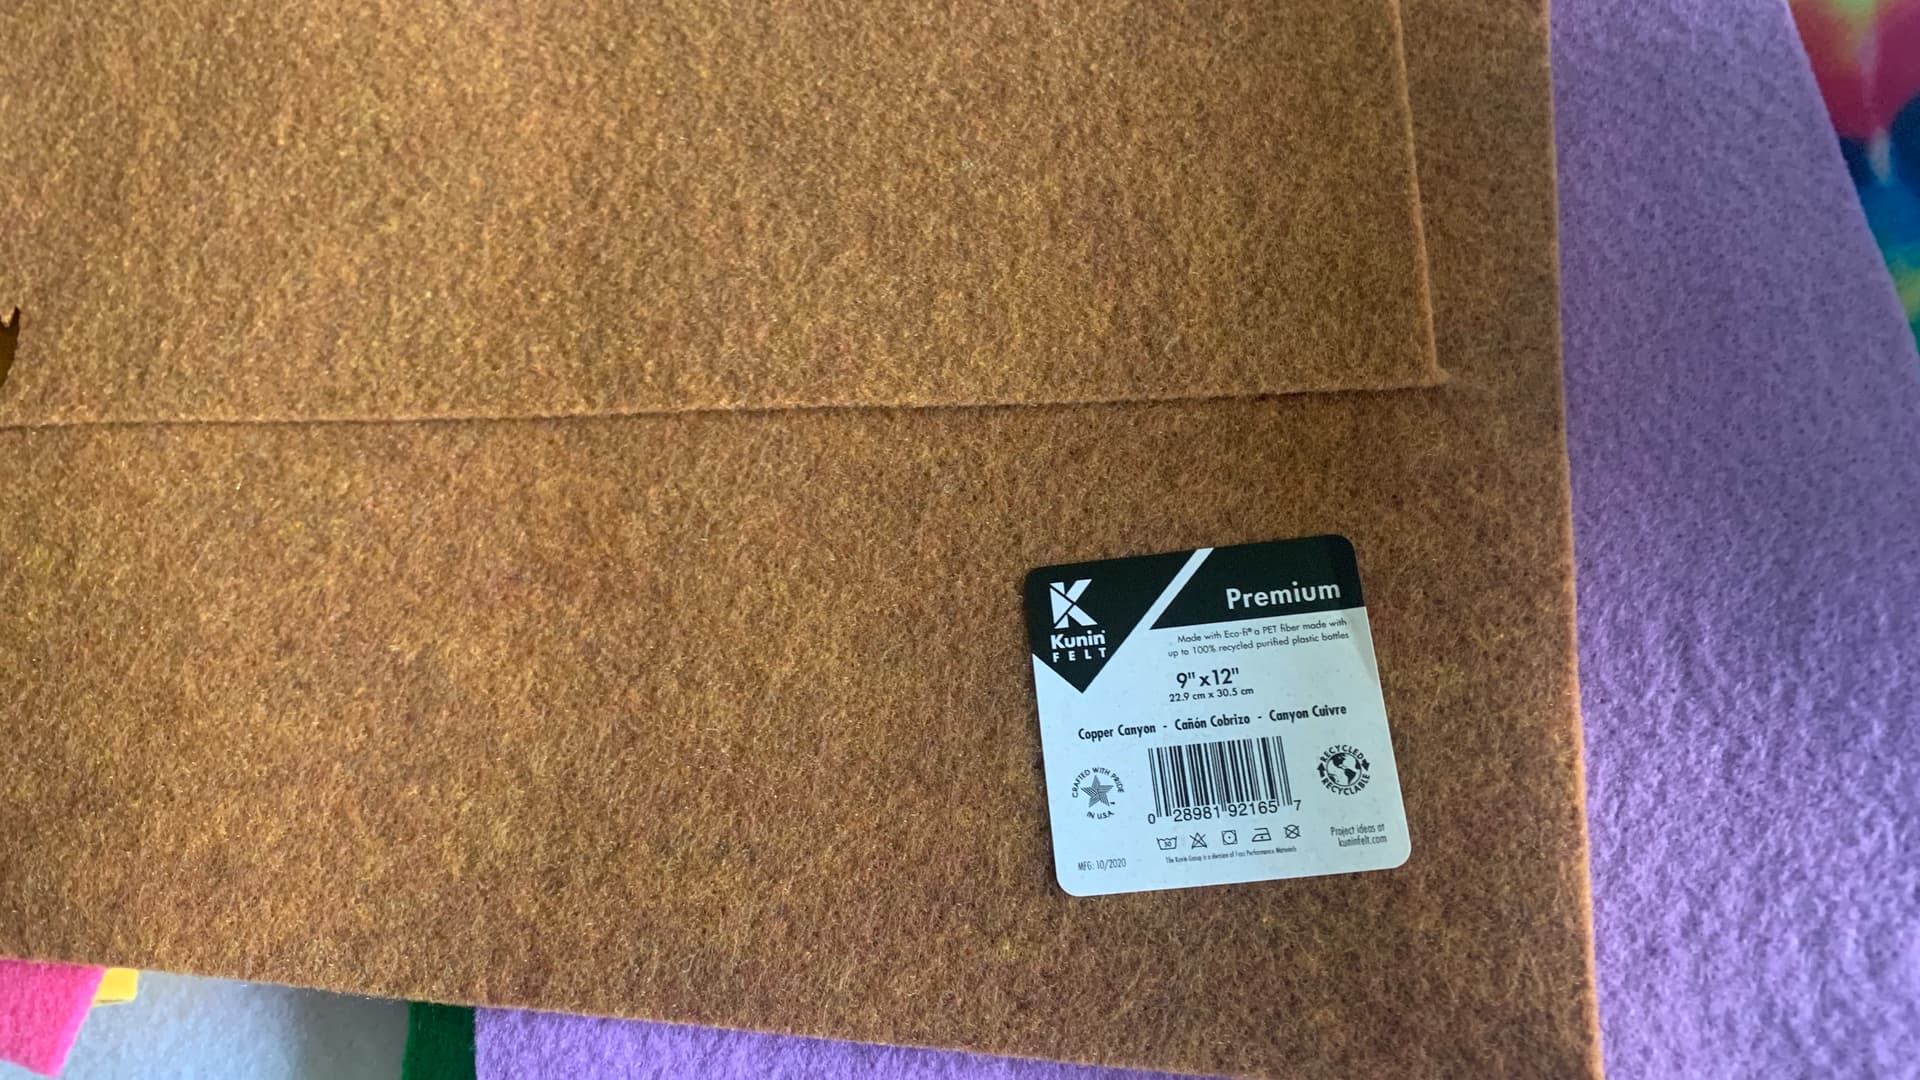
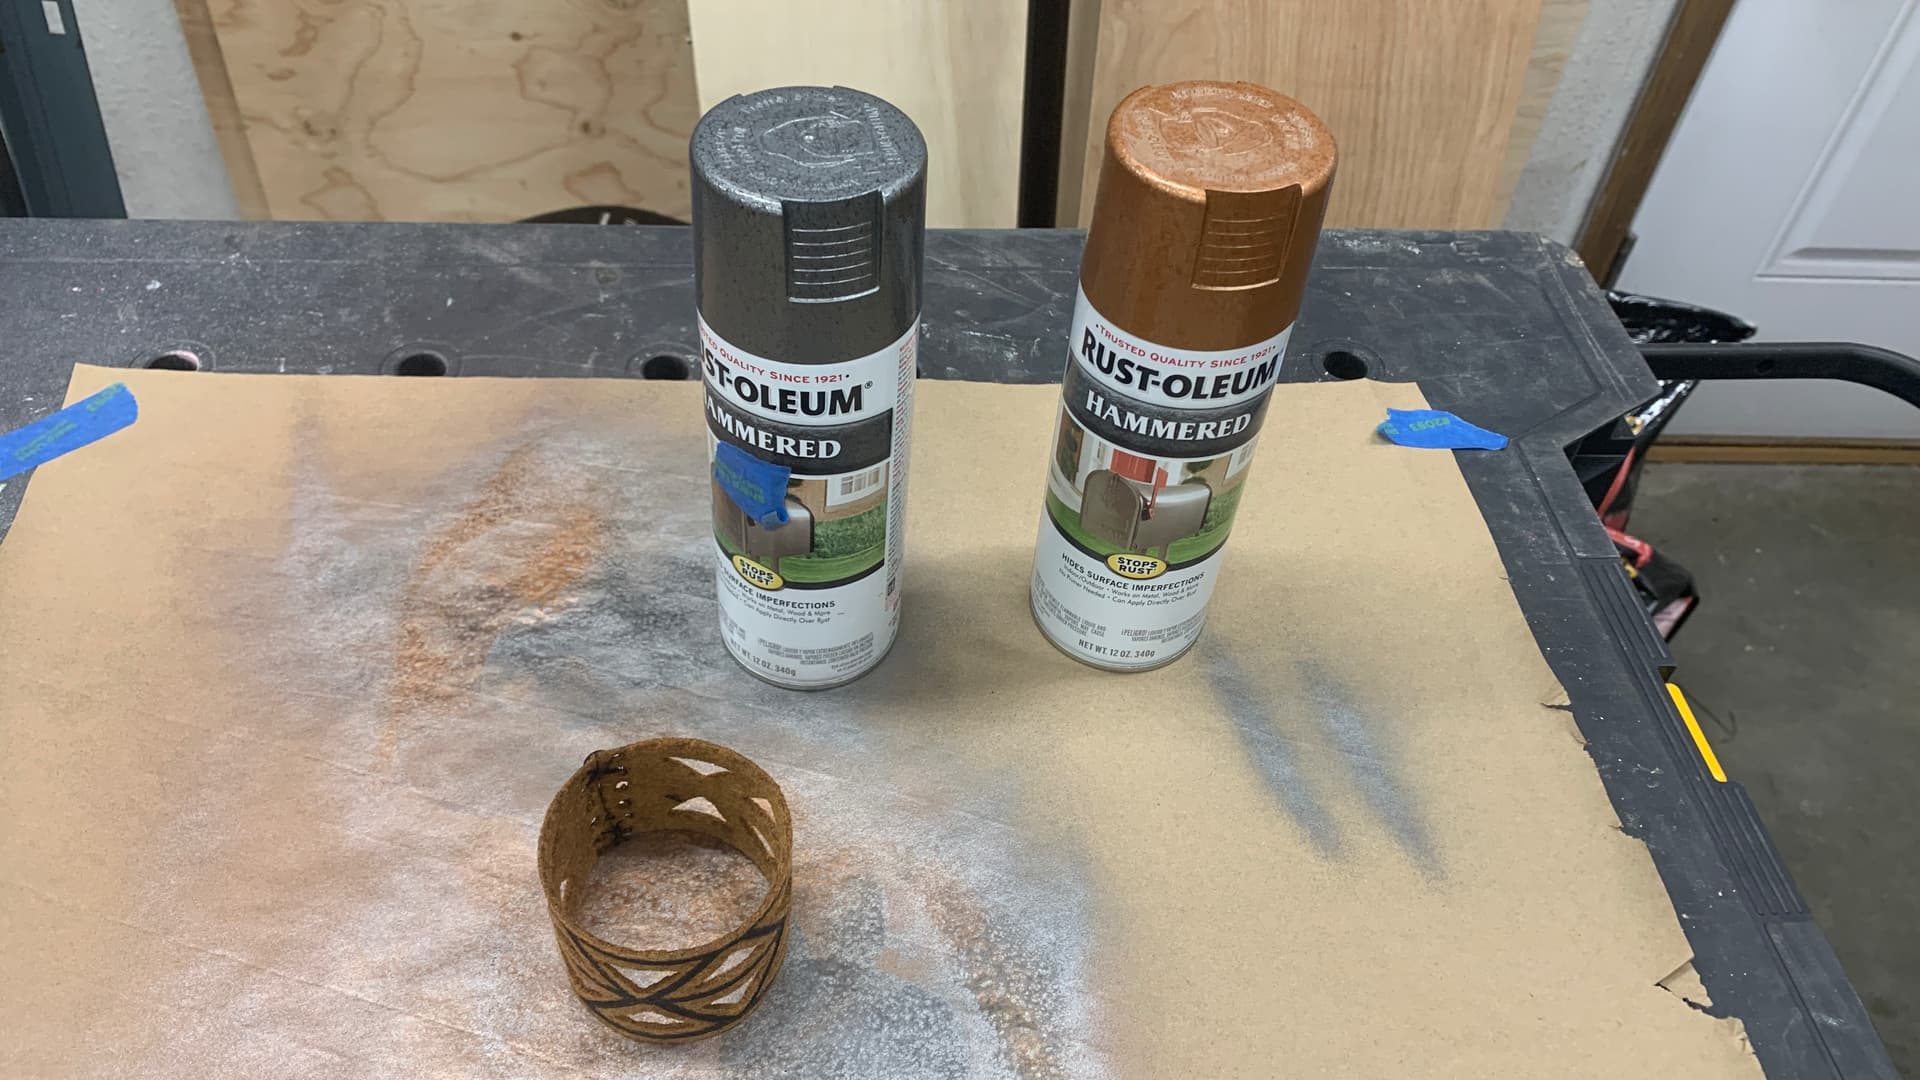
I have some PAHT-CF filament (hotter melting temp) already open and on-hand so let’s give that a shot. These hotter melting temp filaments are far more limited in colors, and I only have black, so I cut new squares in yellow felt.

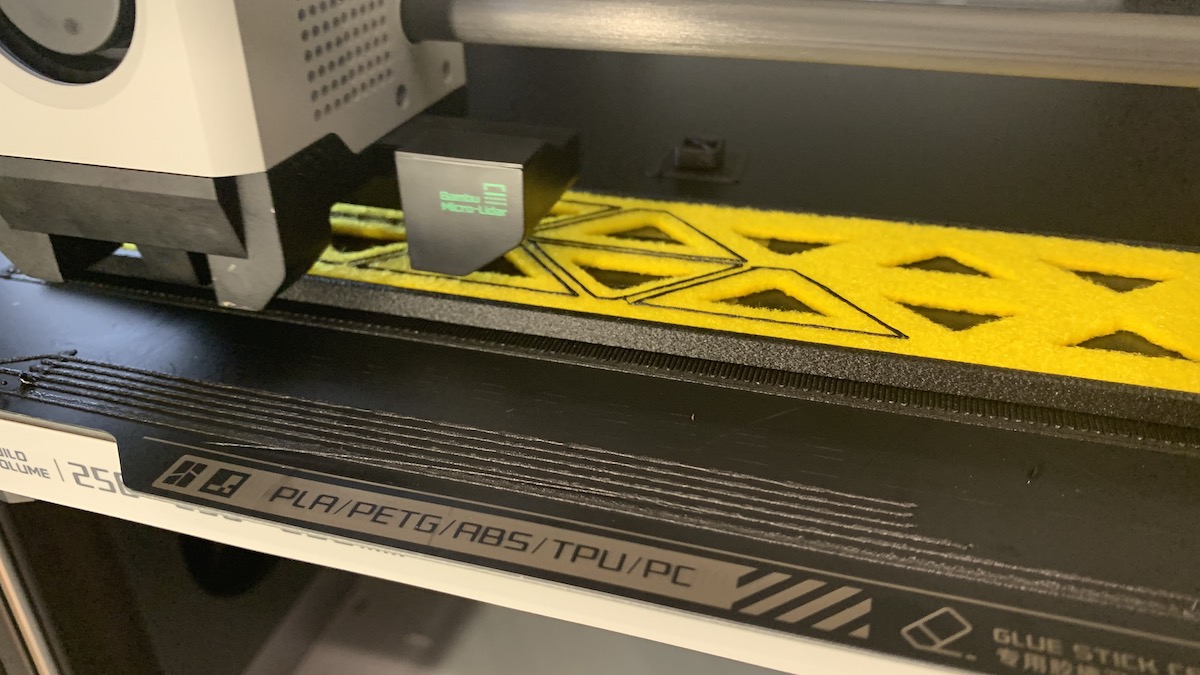
And here we go. Wait until the tray is printed to the right level, insert the felt, and see what happens.

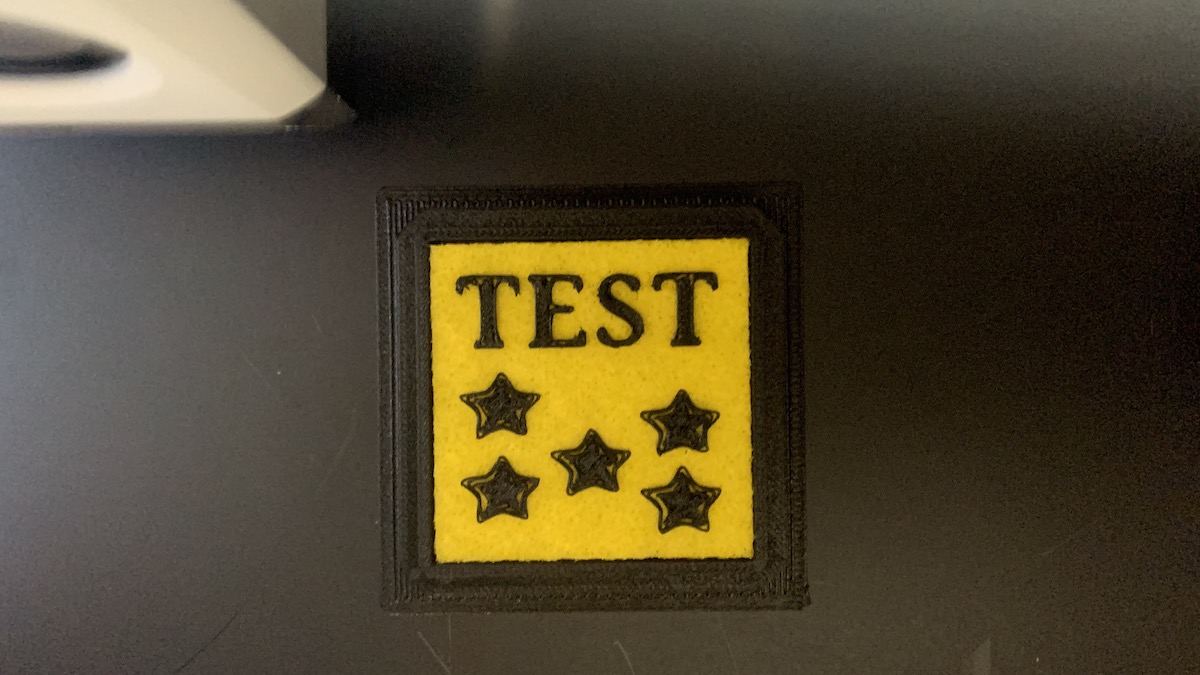
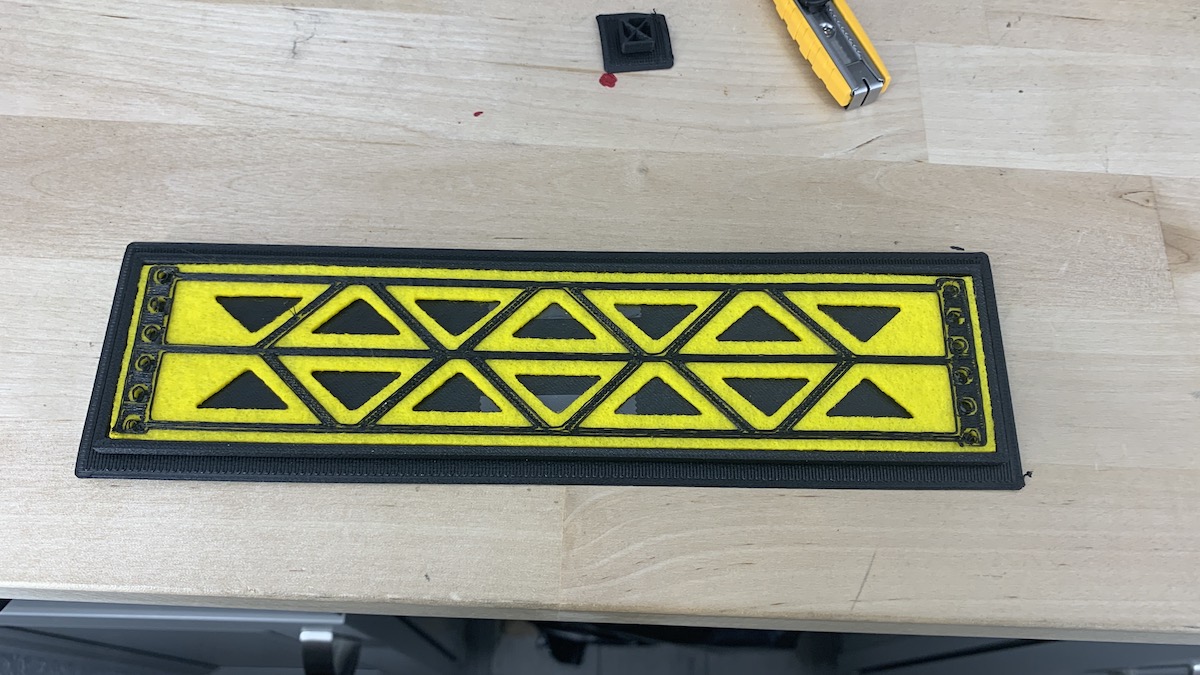
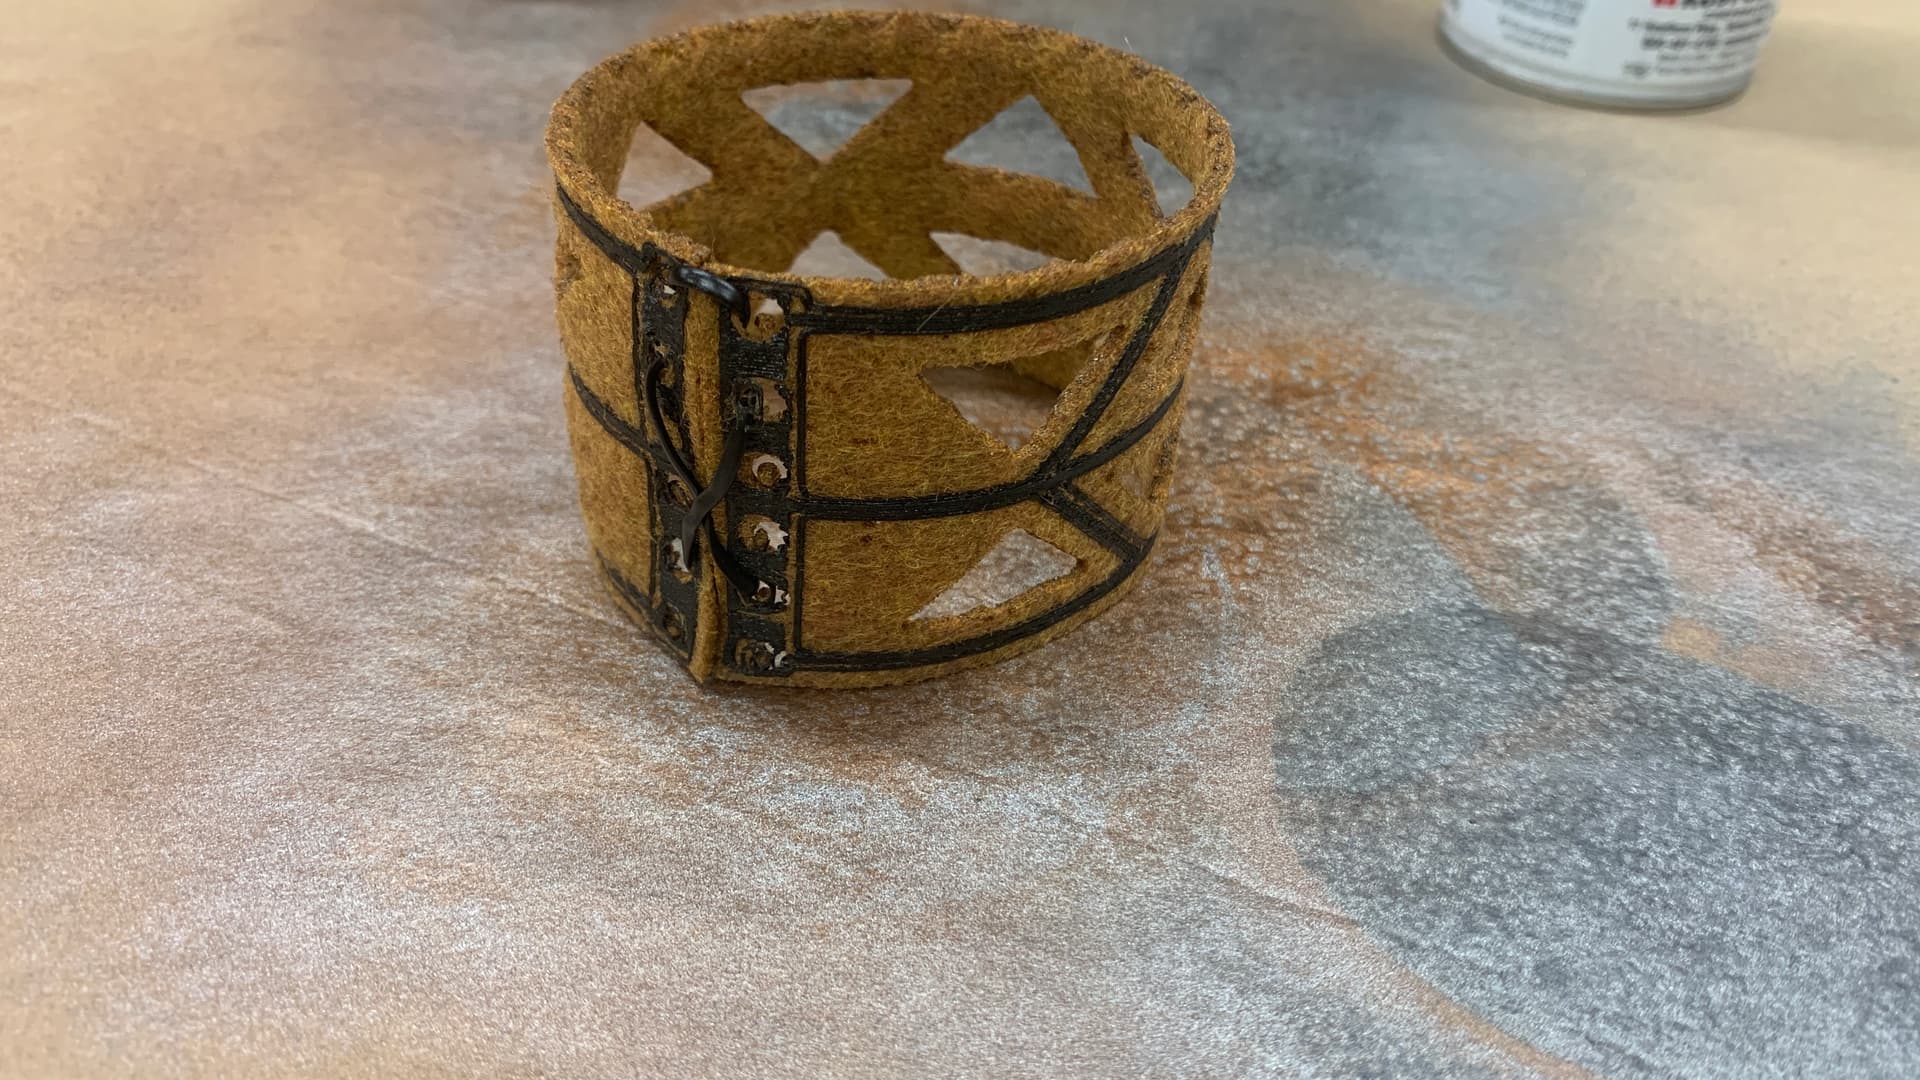
This looks promising. The stars were ‘pointed’ and super thin, which is causing them to not be filled in all the way. But the letters look pretty good.

It’s done, and let’s see if the graphics melted in and stuck.

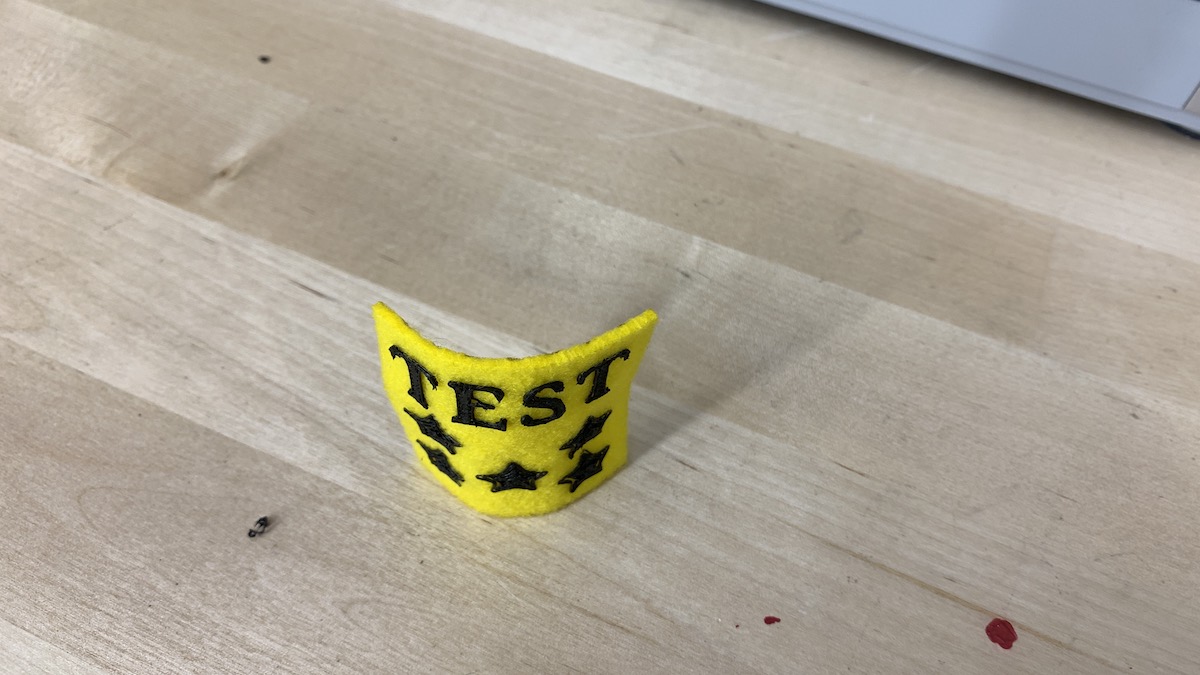
Not perfect, but not bad either. The letters were .7mm high, so only a few layers. But they did stick, which was the point of the test.

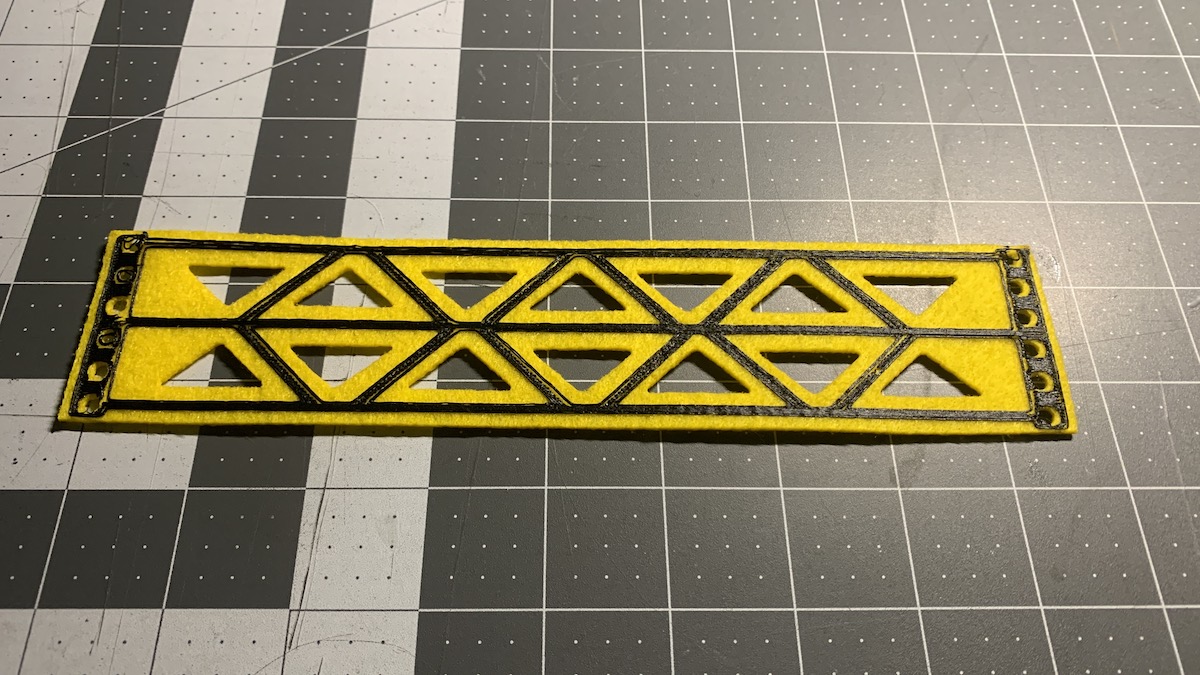
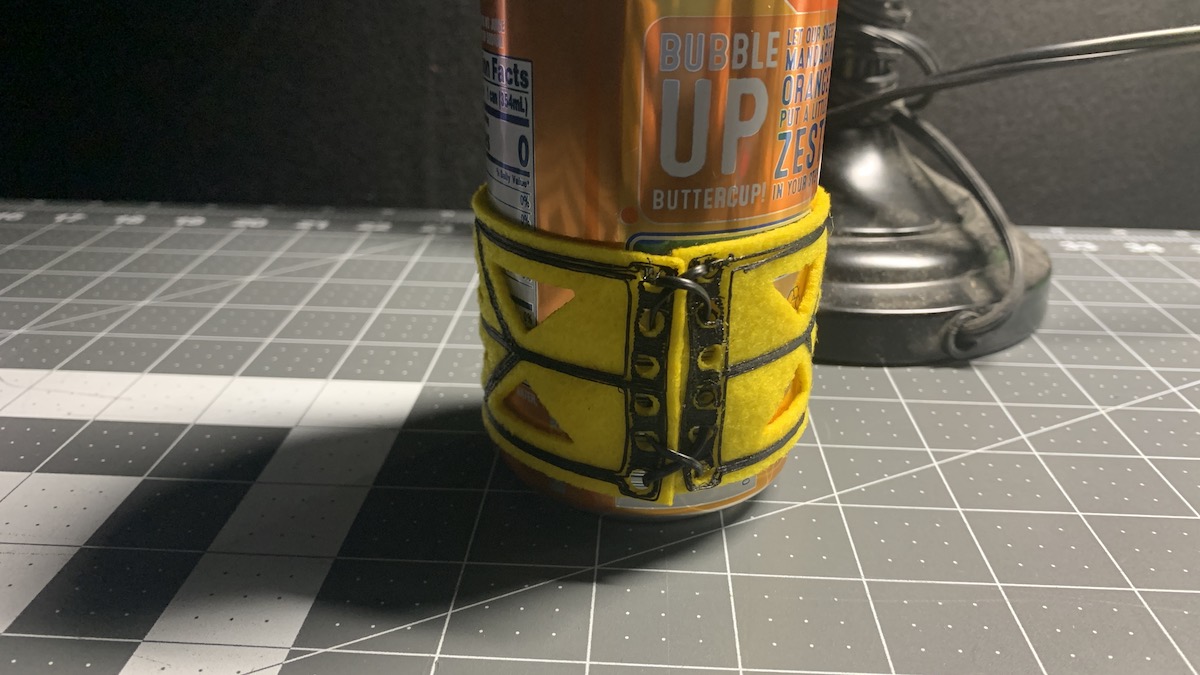
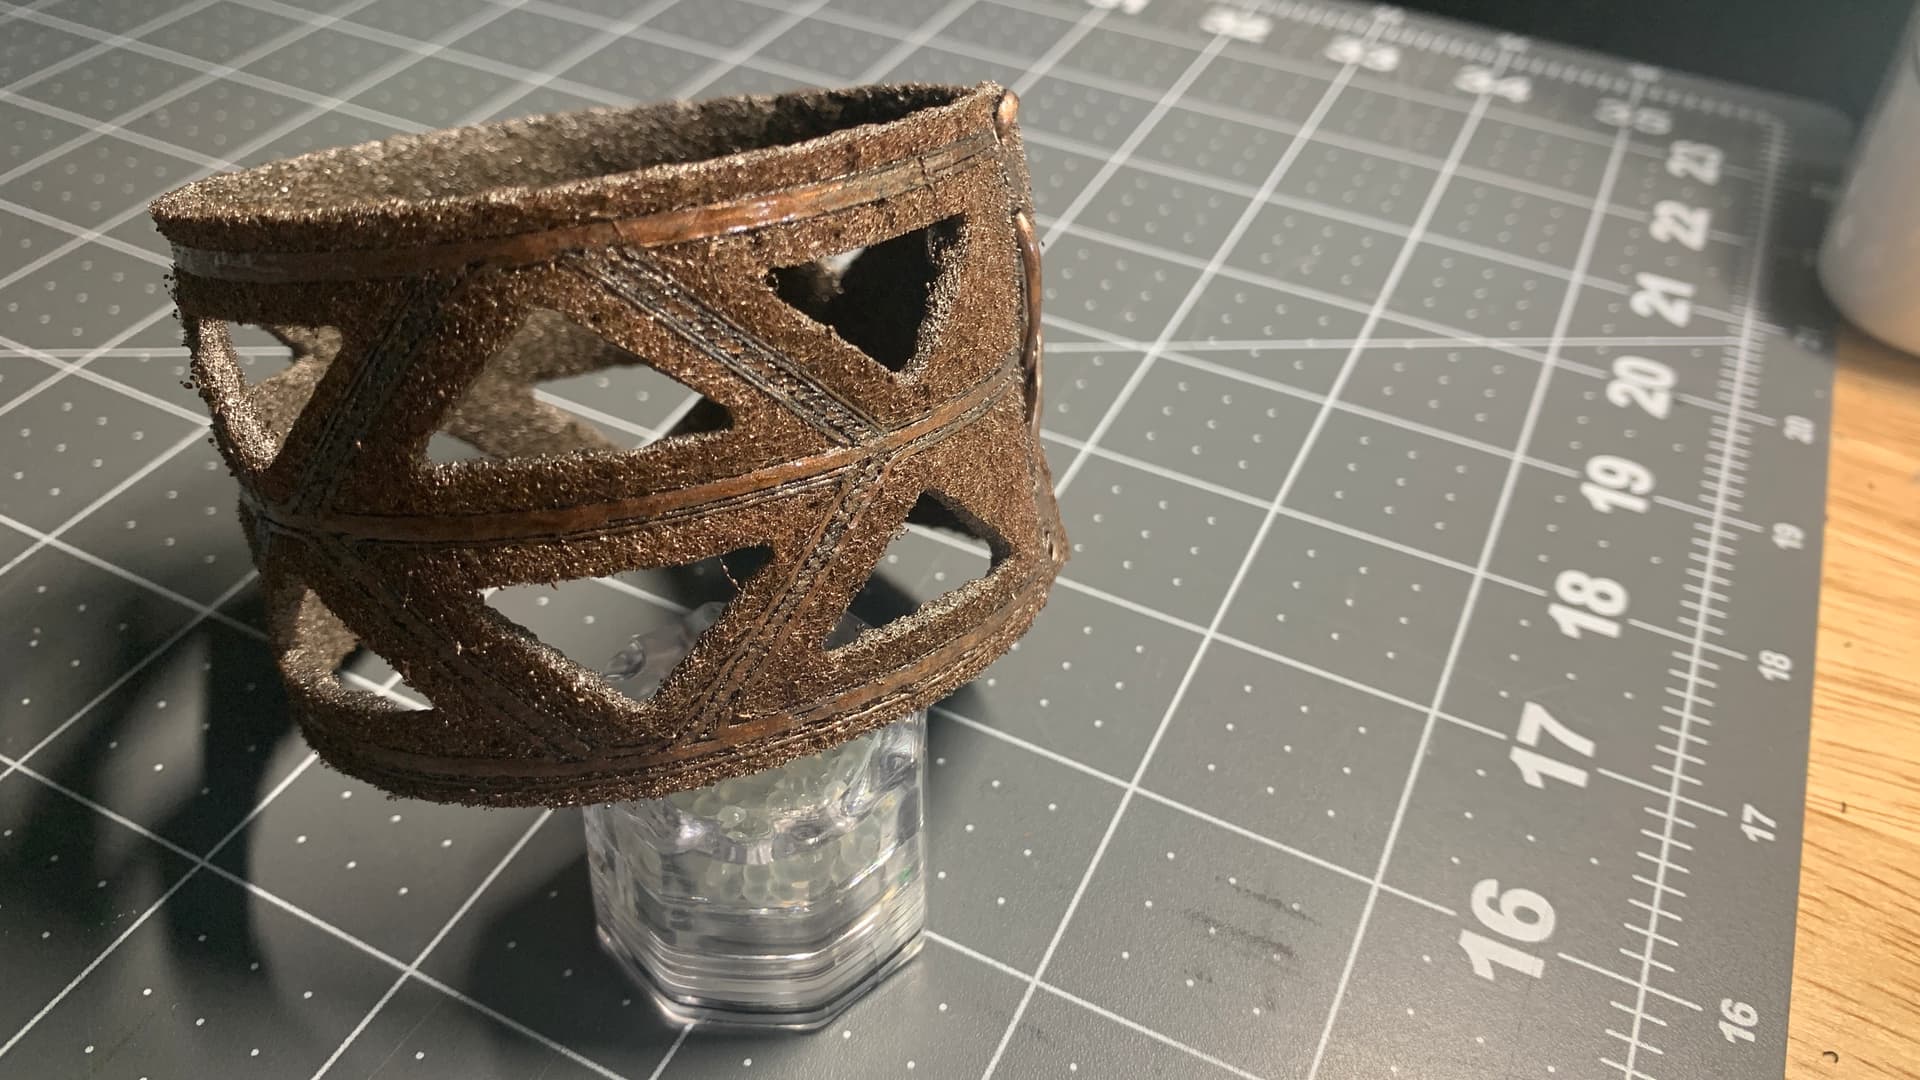
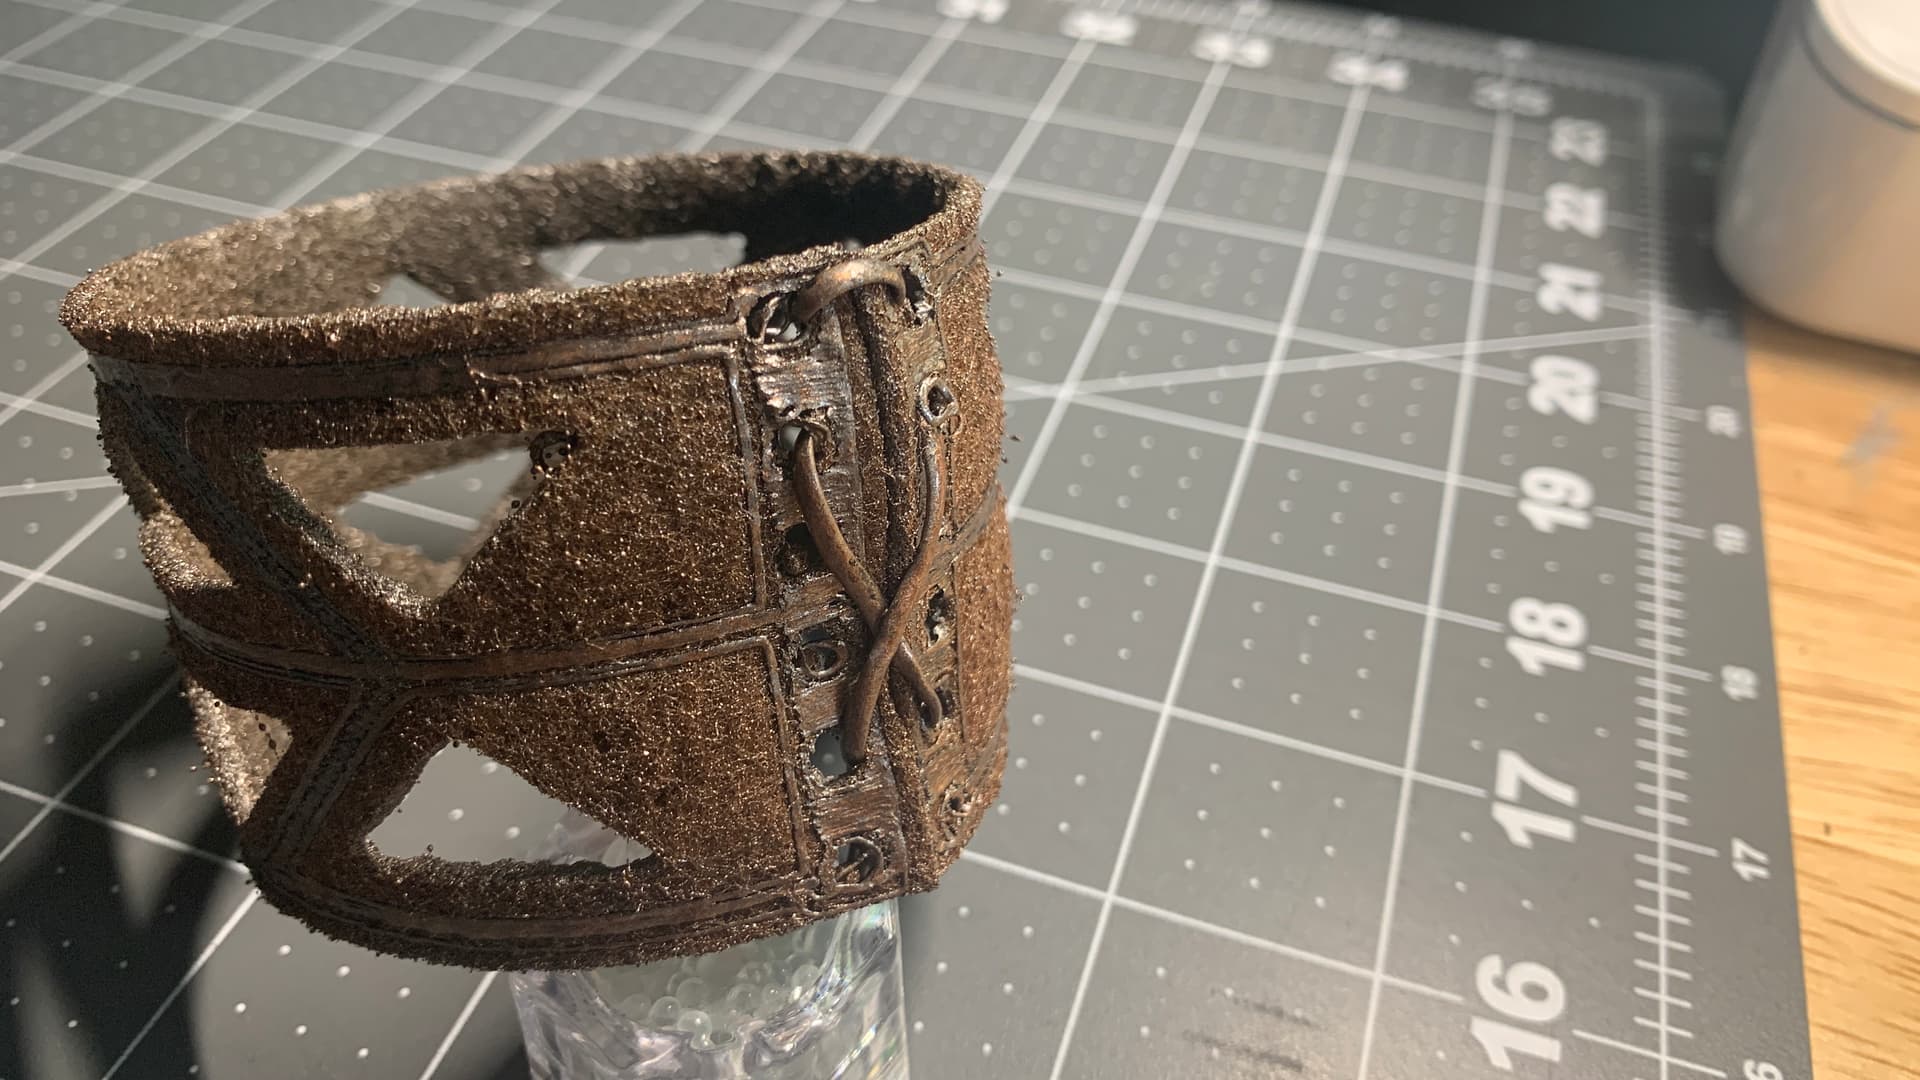
I would call this experiment mostly a success. I think the felt was a little thinner than the gap I made for it, so the letters and stars were more deposited onto the felt, as opposed to being extruding into the felt. And they peel off fairly easy. But I believe with just a little more trial and error, it only gets better.

HL

5 Likes

Hmm, Just thinking of applications, doing some kind of wrap comes to mind.

Now make a surface mesh of 3D Printed plastic -

Export SVG, import into Tinkercad for 3D, and build a jig for it.

Let’s print and insert at the right layer as before.

I modeled it at 1mm thick. But this PAHT is really stiff at even 1mm. So I stopped after just the first (.2mm) layer.

So it’s a little thin, but I designed this one with the felt just a touch proud of the top of the last layer. So the filament is really getting extruded into the material.

It’s adhered pretty well this time. Although the little circles around the holes didn’t stick on target. But I’ll just clip them off. there’s plenty of the plastic still there to hold it together.

And what does it ‘wrap’?

I didn’t overthink the overall length, so lacing wasn’t the best. But again, just practicing something new.

It’s different anyway. You could probably even get away with a single .2mm bead of plastic in a web, or mesh pattern, over the felt. Might be fun.

HL

6 Likes

Very interesting thought and process. I haven’t heard of anyone else injecting into felt!

I am really wanting a 3d printer, but just haven’t pulled the trigger yet… Just ordered a CNC so my wife might hate me if I bought another “toy” before it even arrives…

3 Likes

So, I wanted to try this wrist band thing again. Decided to go with Brown felt and spray paint to see what happens.

I tried adding some ‘speckles’ engraved for texture. But was unimpressed. Probably just use a soldering iron on it after 3d printing into it for texture and character.

Here we go again, insert felt, and resume.

I’m going with just one layer again, although, probably two layers, and then ironing would ultimately give the best effect.

Interesting, looks like cork.

Just a regular black twist tie works pretty good to hold it together while painting. And the PAHT-CF 3d print filament gives it a great springy wire structure.

My favorite part, Hammered Grey Inside and Hammered Copper outside. Let Us Spray -

About 8 coats of each total. flipping half way and alternating inside and out with the two colors.

If I was going to use it, I’d lace it with twine of course.

Very interesting technique. The 3D print mold is the slowest part, but I could definately cut down its size to speed it up. but it’s still relatively fast, super easy, and super cheap to make these. Size of felt rectangle was 50mm x 225mm.

HL

4 Likes