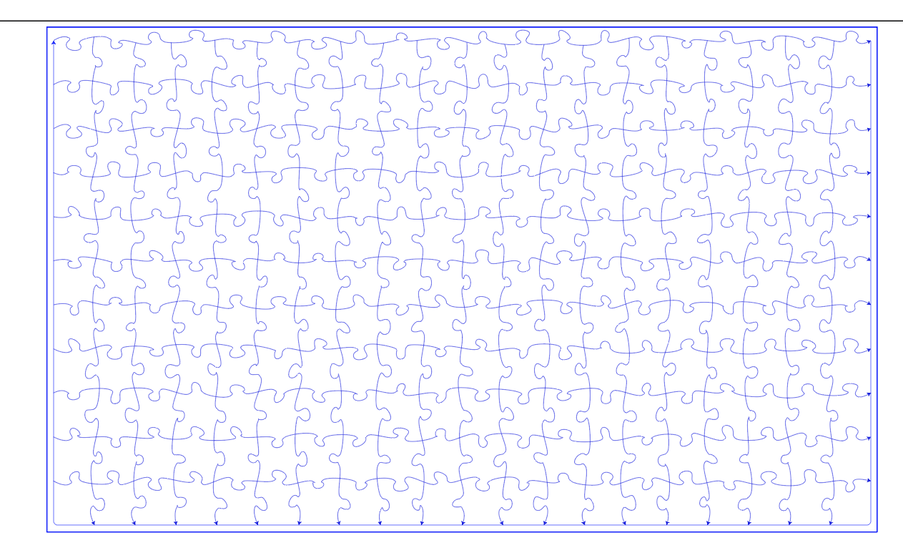
If you’ve ever cut a large number of parallel lines, you might notice that the laser cuts, for example, left-to-right and when it ends, it travels across the bed to start the next line rather than just dropping down and running the next line right-to-left. The reason is that all vectors have a path direction (a beginning and an end).
In this screenshot, I added arrowheads specified to the end of each path, which shows the direction. As you can see, all of the arrowheads are either on the right or the bottom, meaning the paths run left-to-right or Top-to-bottom.
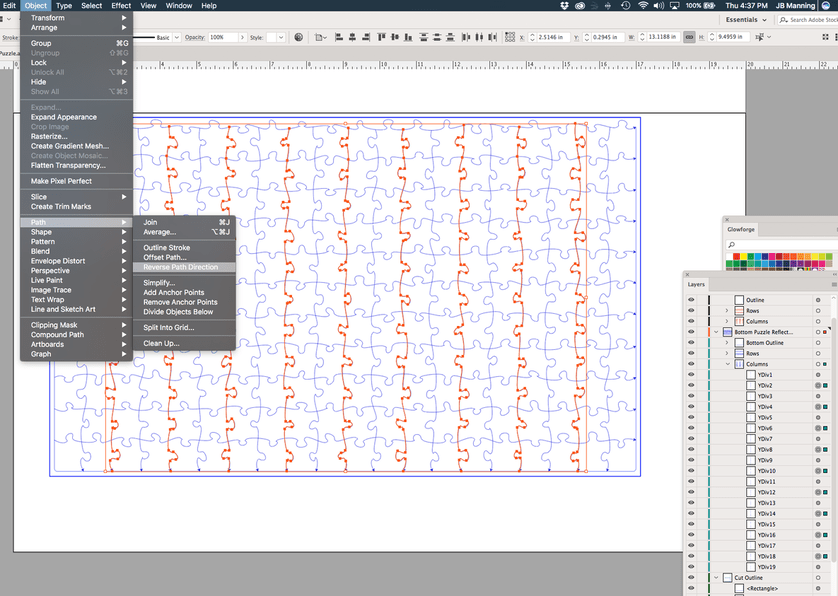
To increase the efficiency of cuts, you can select every other path your layers palette and then go to Object > Path > Reverse Path Direction (in Illustrator – Inkscape should also have a reverse option under it’s Path menu), as indicated in this screenshot:
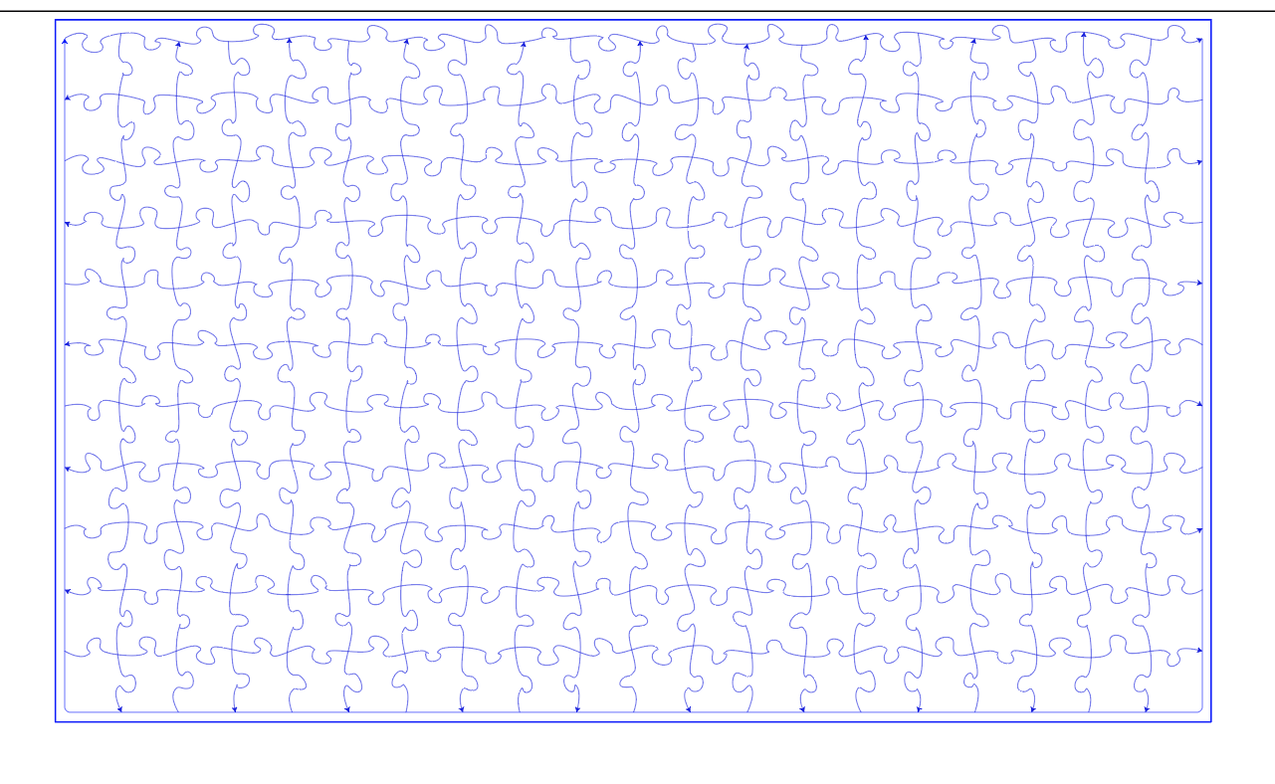
After the appropriate paths are reversed, you’ll notice that the arrowheads now create a path for the laser to cut down, then the next one up. Or, cut to the right and the next line to the left.
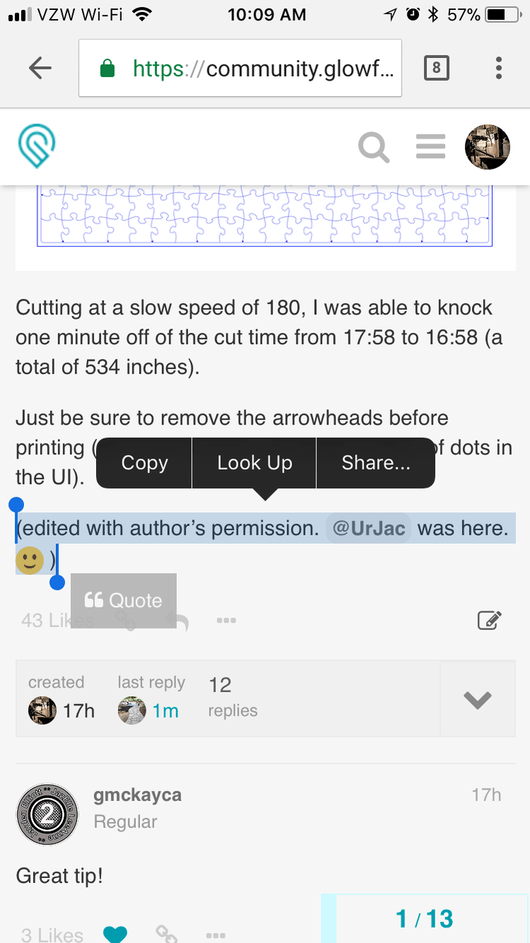
Cutting at a slow speed of 180, I was able to knock one minute off of the cut time from 17:58 to 16:58 (a total of 534 inches).
Just be sure to remove the arrowheads before printing (they show up as a separate option of dots in the UI).
(edited with author’s permission. @UrJac was here. )
While it would probably take me longer to manually plan a lot of lines than the time it would save to do it normally, this could be very useful on batch engraves.
Yeah, for a one off, it saves about the same amount of time as clicking through and reversing the paths. For batch/repeat jobs, it will add up over time. Plus you don’t have that feeling of watching the head go all the way across the bed
Side question: Why am I being given an option to Edit this person’s post? I don’t think I’ve ever seen such a thing before and I’m on the boards a LOT.
Given my anxiety issues I’m feeling rude and uncomfortable just having the option. (to the all the Normals out there: yes, this is the fun kind of thing anxiety problems do to you)
(There’s a time limit on editing posts here on Discourse of about a week or two…if he wants to make a correction or change to it later, he needs to Wikify it. We do that with a lot of the tutorials because things change.)
I noticed that it was a Wiki. Actually, I think it did that all on its own. Maybe it’s the default for this category? First time I’ve started a thread here, I think. I always just depended on you to move stuff here
Sorry, @UrJac! You should sneak a, UrJac was here, in there and we can see if people are actually reading it.
if your item is square enough wouldn’t it be fastest to do alternating horizontal paths rotate 90 degrees then do the other half alternating?
Yes it would. This really comes into play in commercial production lasers for cut sequencing, as well as tool path direction, and something we call slug-destruct, where additional cut paths, which aren’t related to the final part, but instead are to cut the waste into small enough parts that they don’t flip up and present a collision hazard to the laser head.
In the case of the GF, the crumb tray has a small enough honey comb and such low air pressure that it won’t cause a slug to flip into the head, and it doesn’t have a $500 ceramic nozzle & cone to destroy either.
So, in short, YES path sequencing to reduce wasted & pointless transit/rapid movements across the work piece in X & Y directions will work in your favor. This is how I used to cram 21hours of billable laser time into a 13 hour shift (60% above 100% production goal), of course cranking it up to 11 (max power, 3.5kw :D) and bumping the gas pressure, cut speed, and reducing reposition lift off distance, and increasing the low-lift nozzle rapid distance really helped too, but then the GF doesn’t have most of these settings).
This may be minimal for most GF users, unless you’re doing large volume production runs, partly because the bridge/laser carriage doesn’t move as fast as a $200k unit, and doesn’t weigh as much, so you don’t have to fight oscillations in cut profile vs programmed profile… however it still is a “Best Practices” habit to get into, and will save run time.


 did not meet the GF nose standards.