I am an Inkscape newbie, and even after looking up tutorials online I still am stumped. Can someone help me solve this riddle?
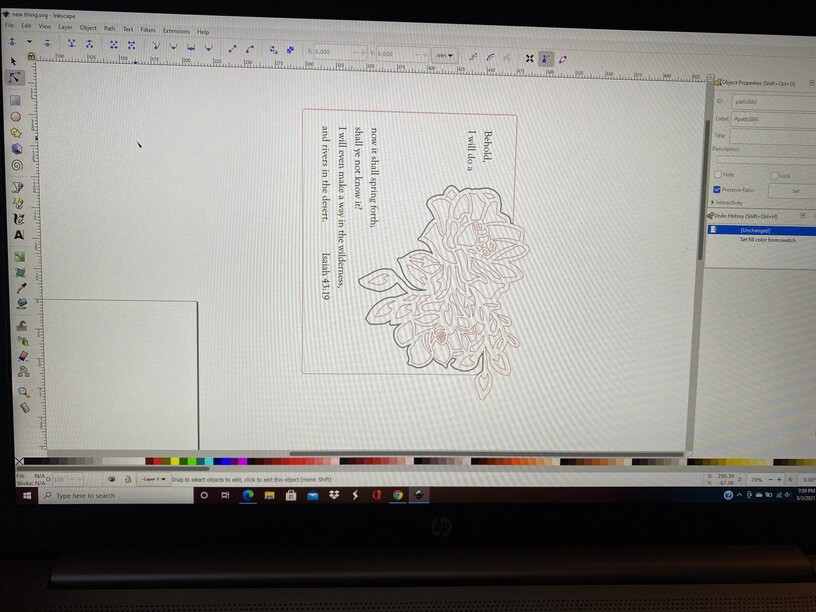
The border of the flowers (inside the square) should be engraved or scored, so as not to cut the flowered section completely off. (See the black border in Inkscape photo below.) However, the GF app keeps changing the border to be the same color as the rest of the flower to be “cut” (red).
How can I get GF to just engrave the black border?
picture 1 is what it looks like in Inkscape,
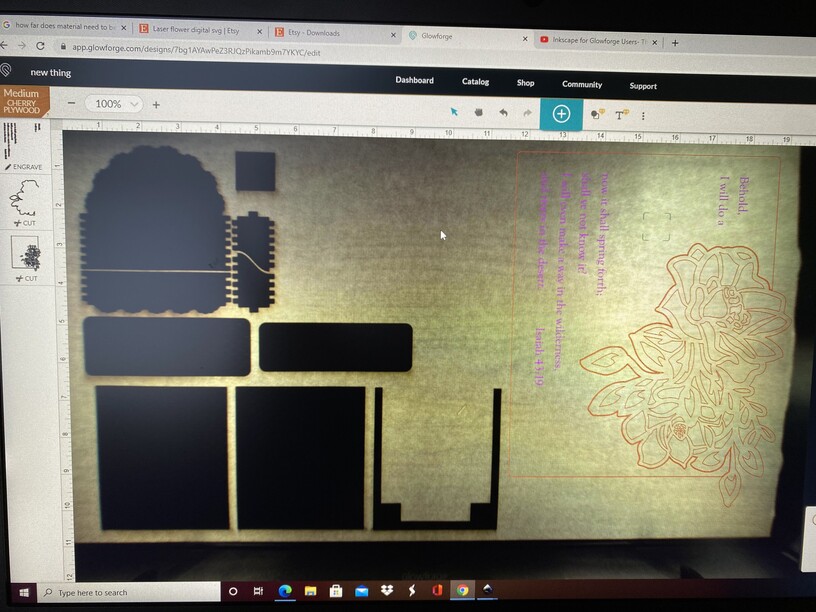
picture 2 is what it looks like in GF
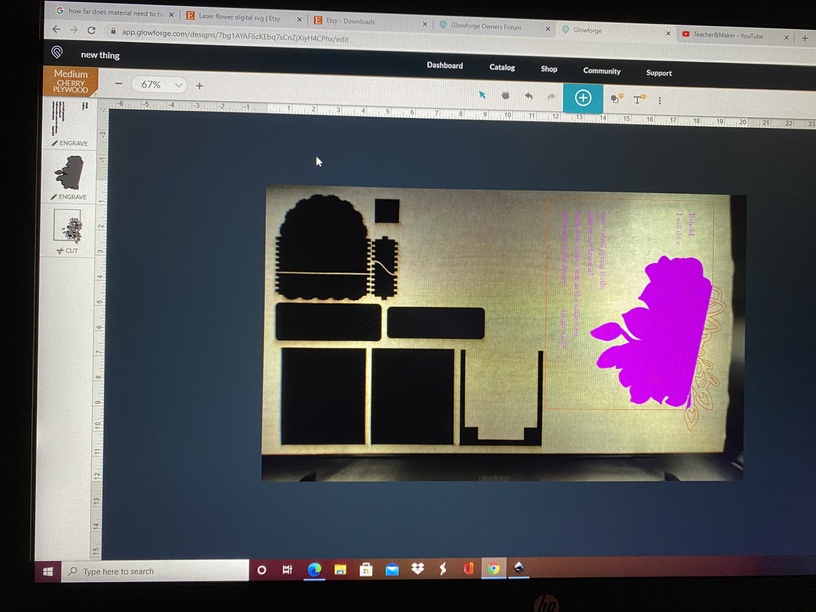
Picture 3 is what happens when I tell GF to engrave the border instead of cut it (it fills in a whole area?)
You should be able to change the settings once it’s loaded into GF. If it’s set to cut, just click on the box and change it to score or engrave if it’s a vector image. Raster images are a bit different.
They won’t be the same color in the Glowforge app that they were in Inkscape. They’ll either show up as cut or engrave, based on whether they’re vector outlines or filled shapes (or raster images). Scores always have to be set manually.
The “red to cut, black to engrave” rule is for some other brand of laser – Glowforge doesn’t work that way.
You can only engrave filled shapes (and white is a fill color). But if you want the border to look like it’s engraved, set the operation to Score and adjust the power/speed to get the depth you want. If you want a wider line after you try it once, just set the focus for the Score operation to .5" and it will do a defocused score which will be wider since the beam will be focused above the material and spread out by the time it hits the bed.
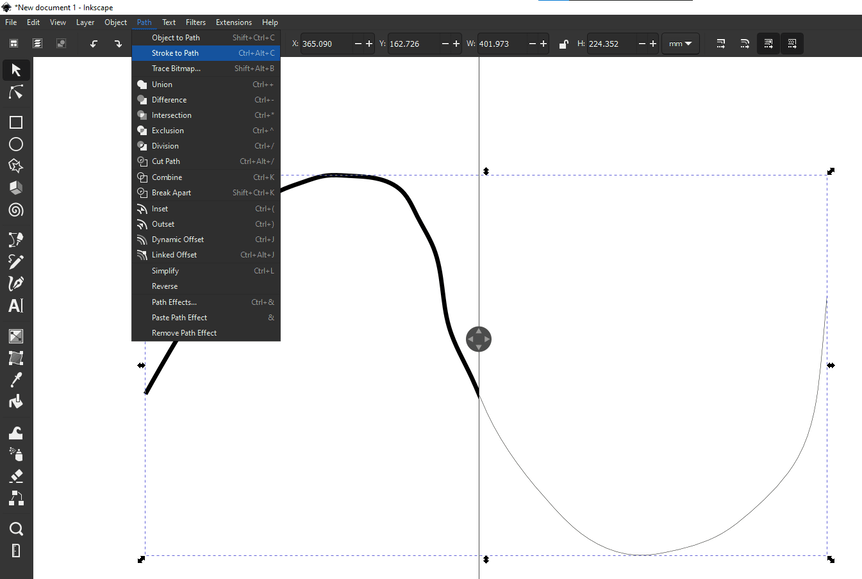
My guess without having the file would be that the black line in the image is still a stroke. All though on inkscape it will appear to have width the glowforge does not see that. If you want it to engrave as seen on the inkscape view select just that stroke, select path on the top bar and select stroke to path and it will change the stroke into an object which can then be engraved by changing it from a single line to a box around the width of the stroke as seen on the screen.
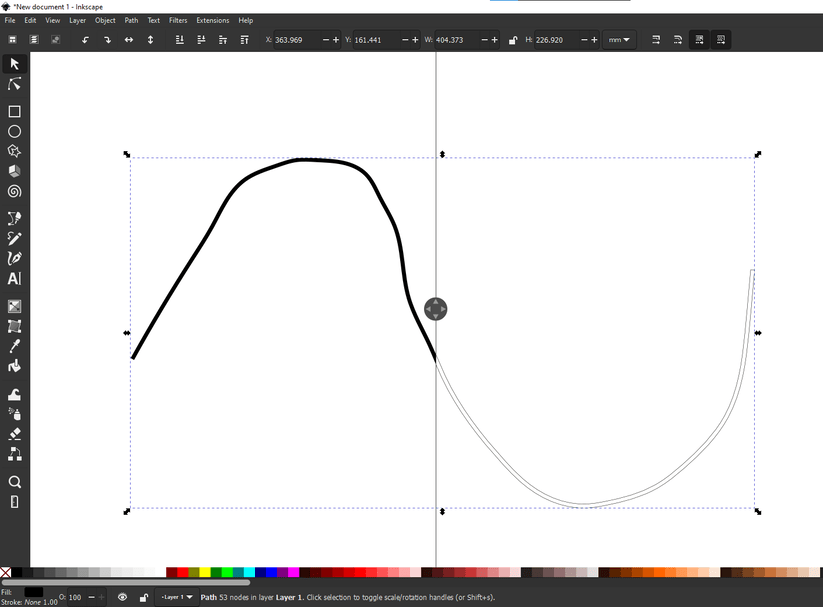
Left side is what you see on inkscape and right is how the glowforge will see it before doing stroke to path. To see this split view Press Ctrl + 6
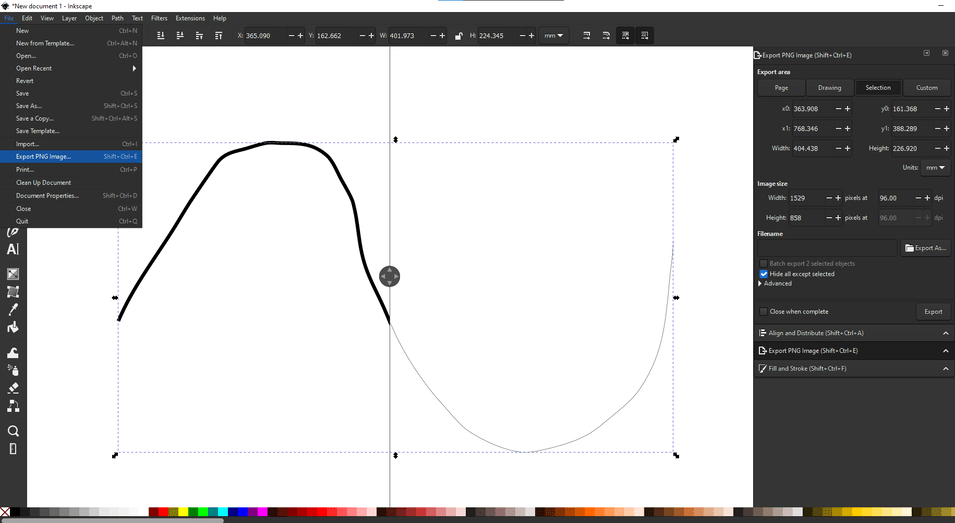
After doing stroke to path
Another option is to export the same black like you want to engrave as an image and placing it back into the design replacing the existing one usually called rasterizing.