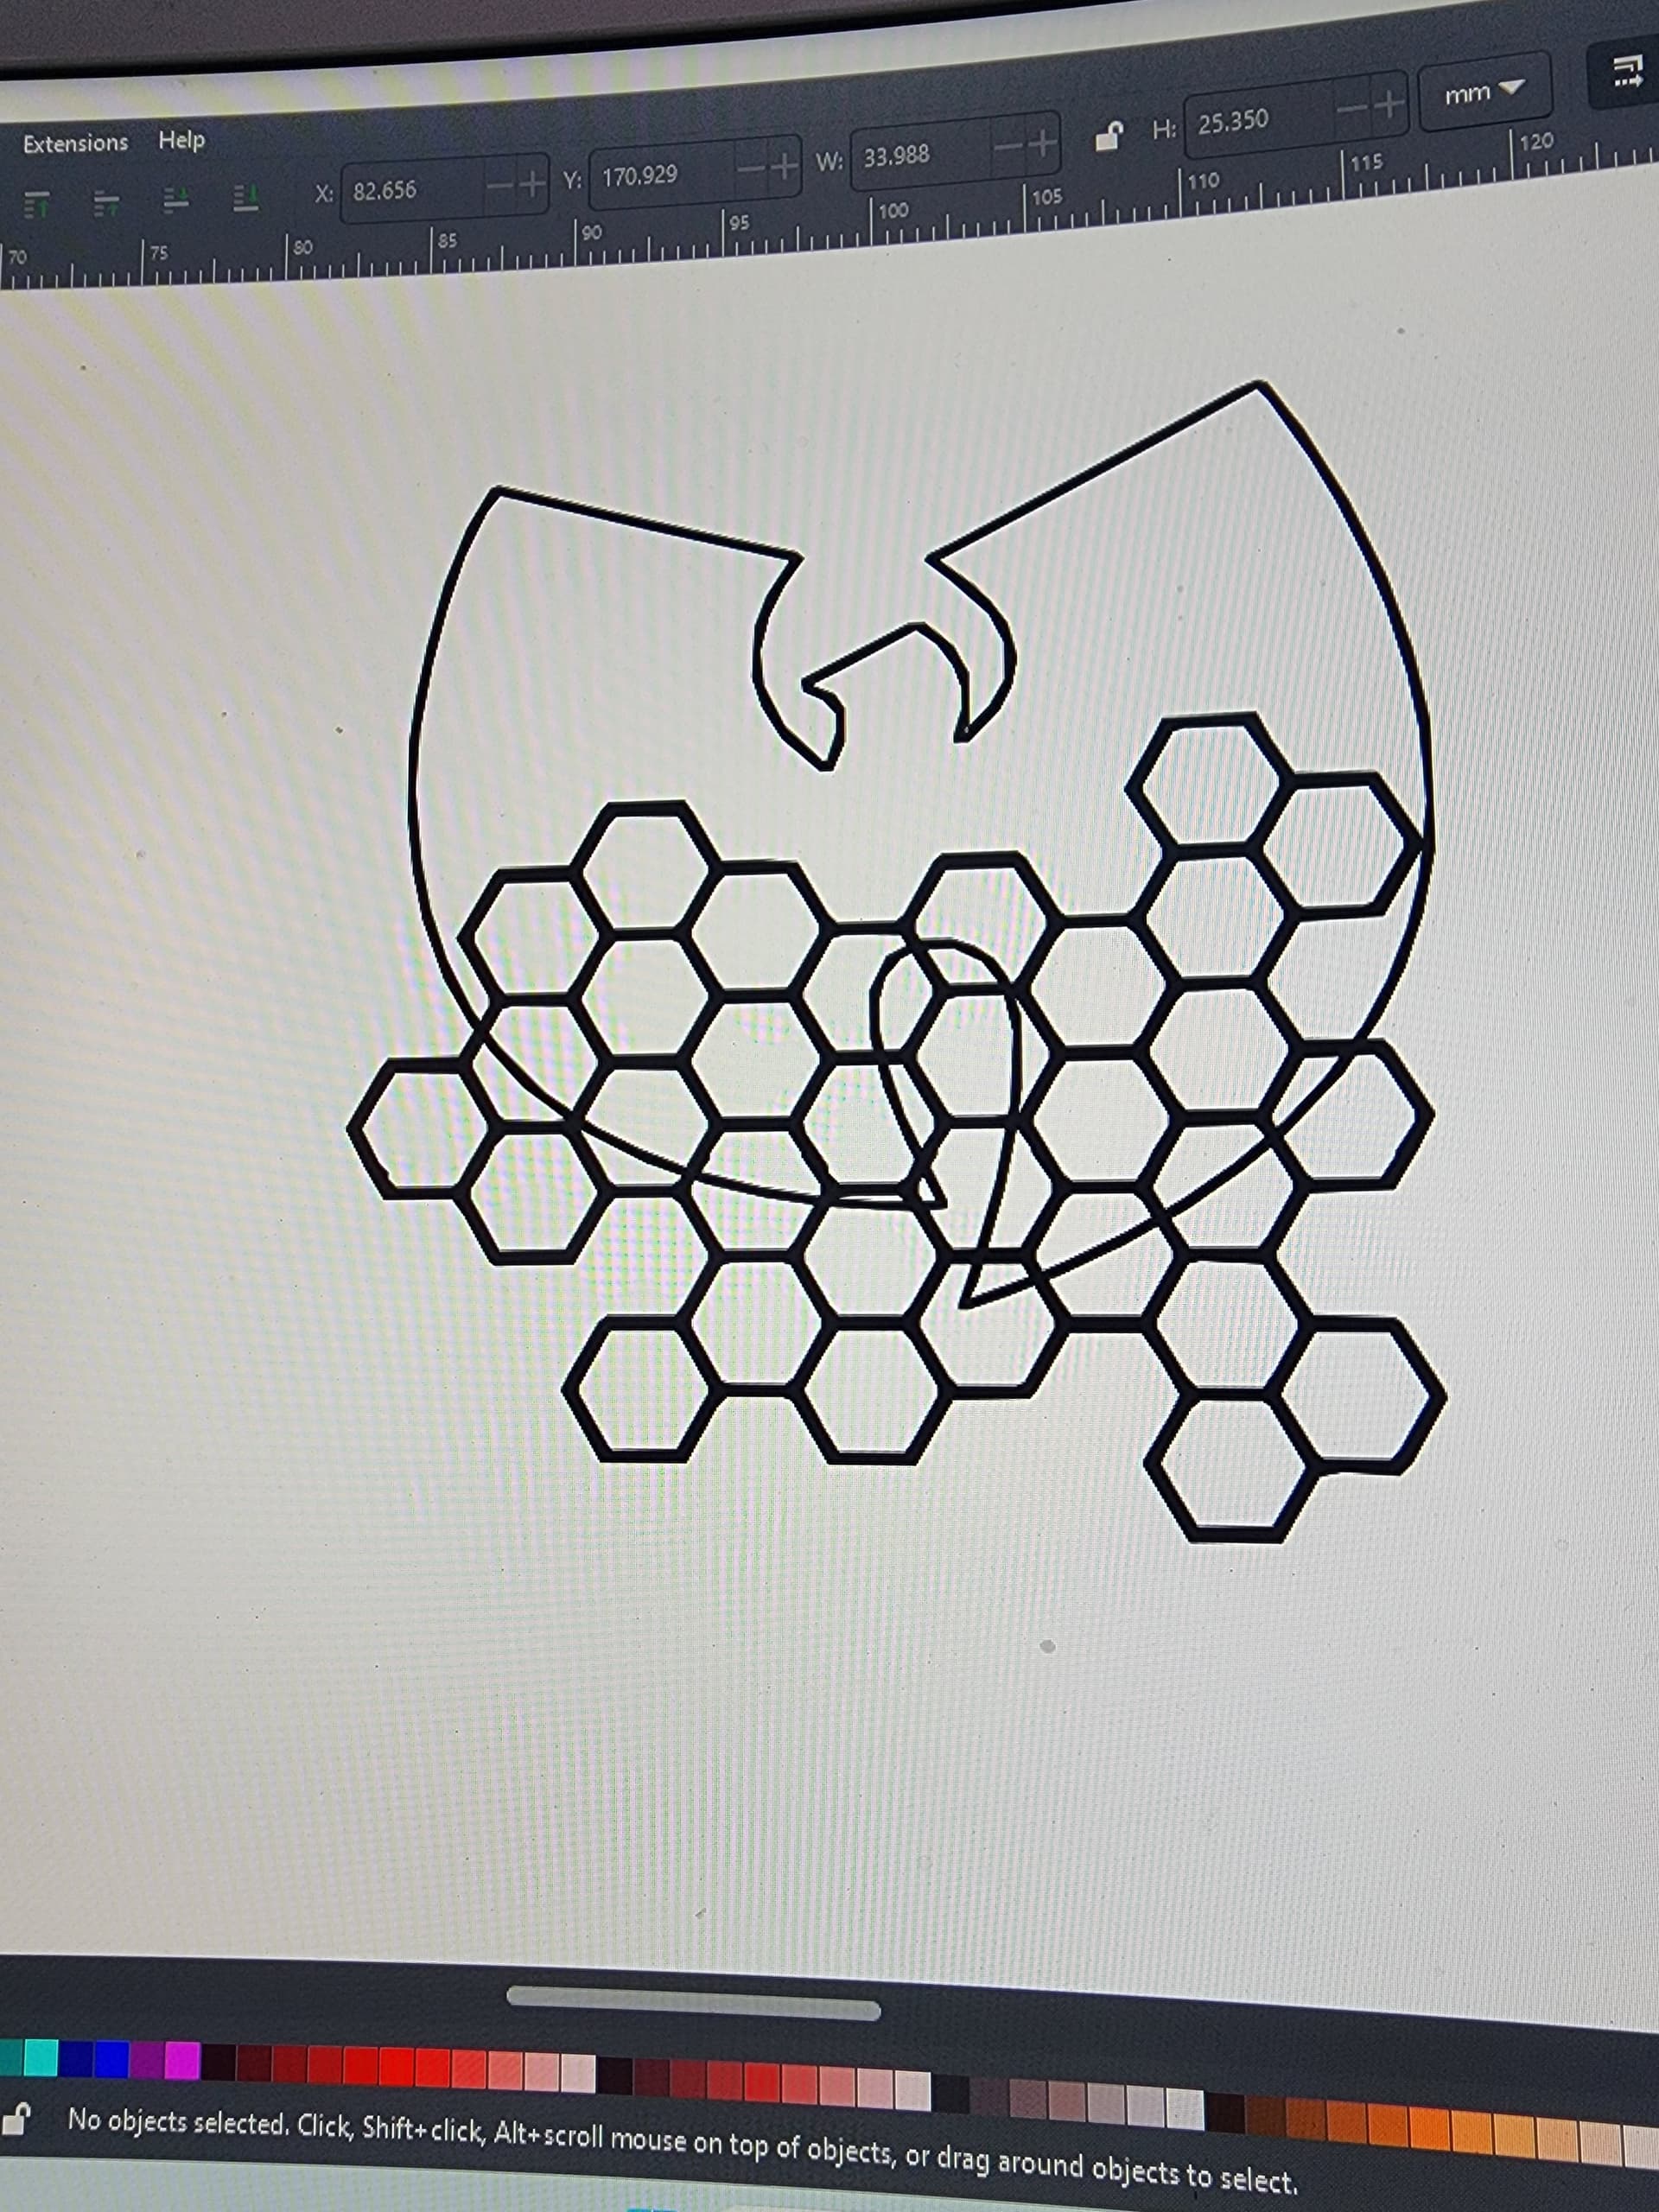
So your original SVG has quite a few things that I’ll collectively call “jankiness”. I assume you got the shapes from somewhere on the web, and I hope I am not offending you. That said, here we go:
It starts like this.
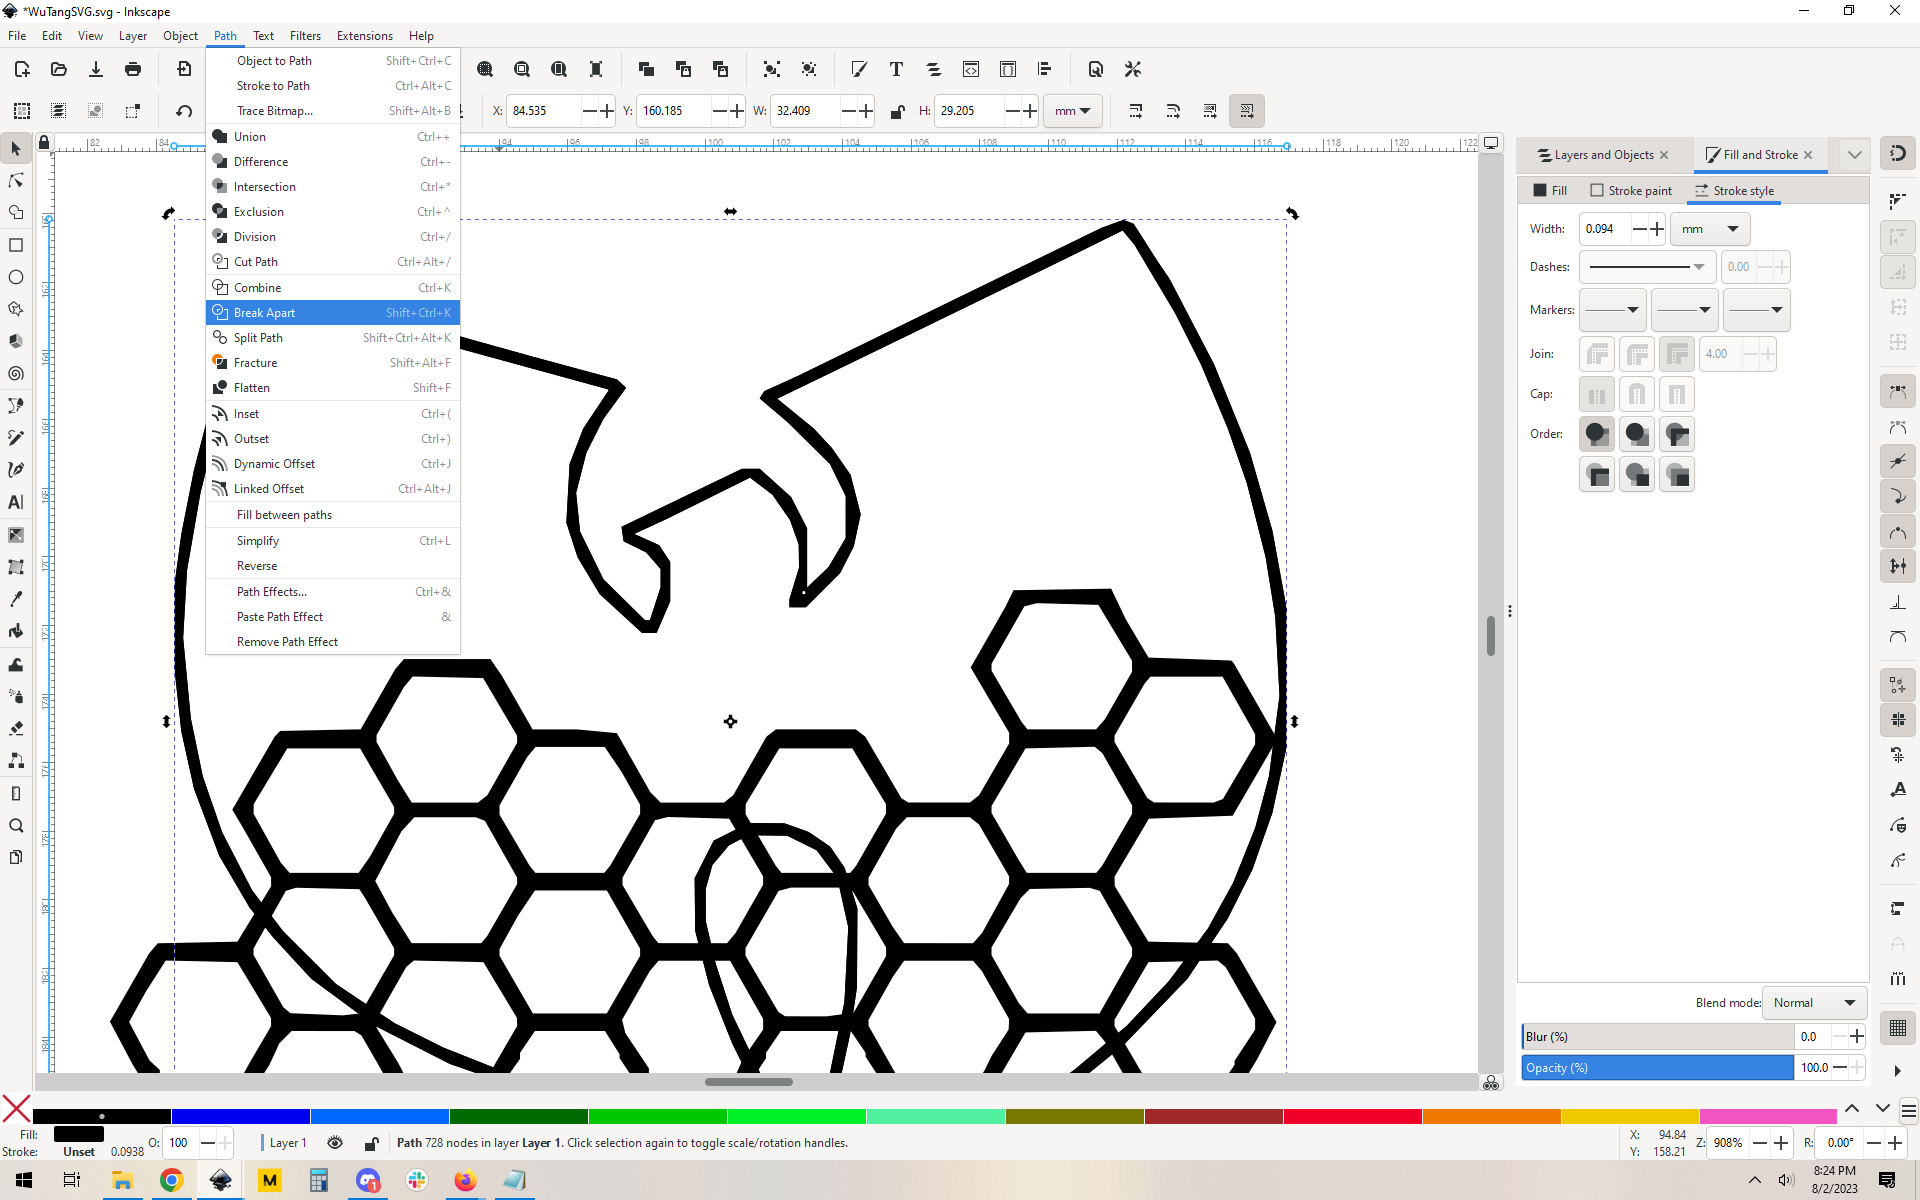
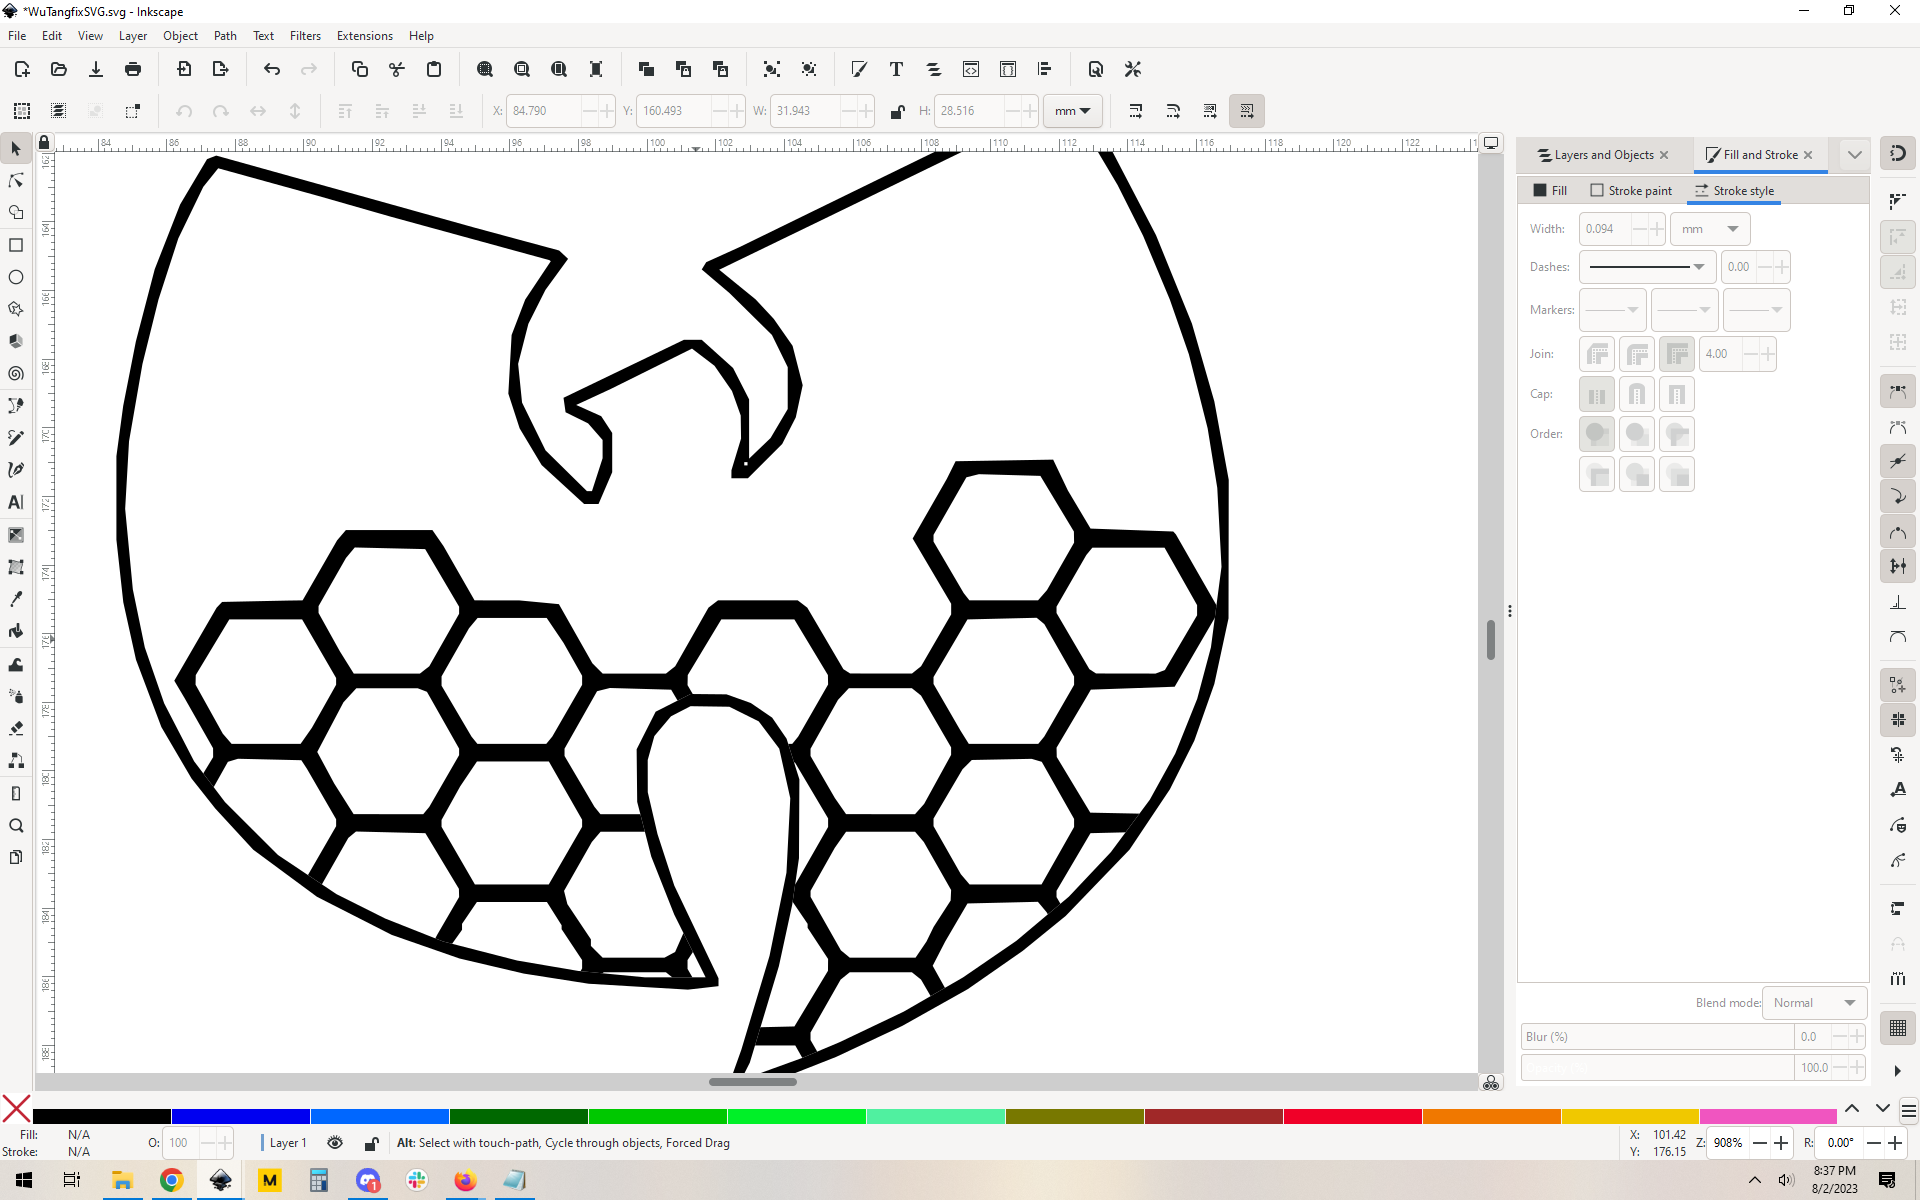
You can see that the lines in your wu tang logo and the honeycomb hex pattern are “uneven” and have flat sides. It’s probably the result of a trace that didn’t go very well, or a bad translation between file types at some point.
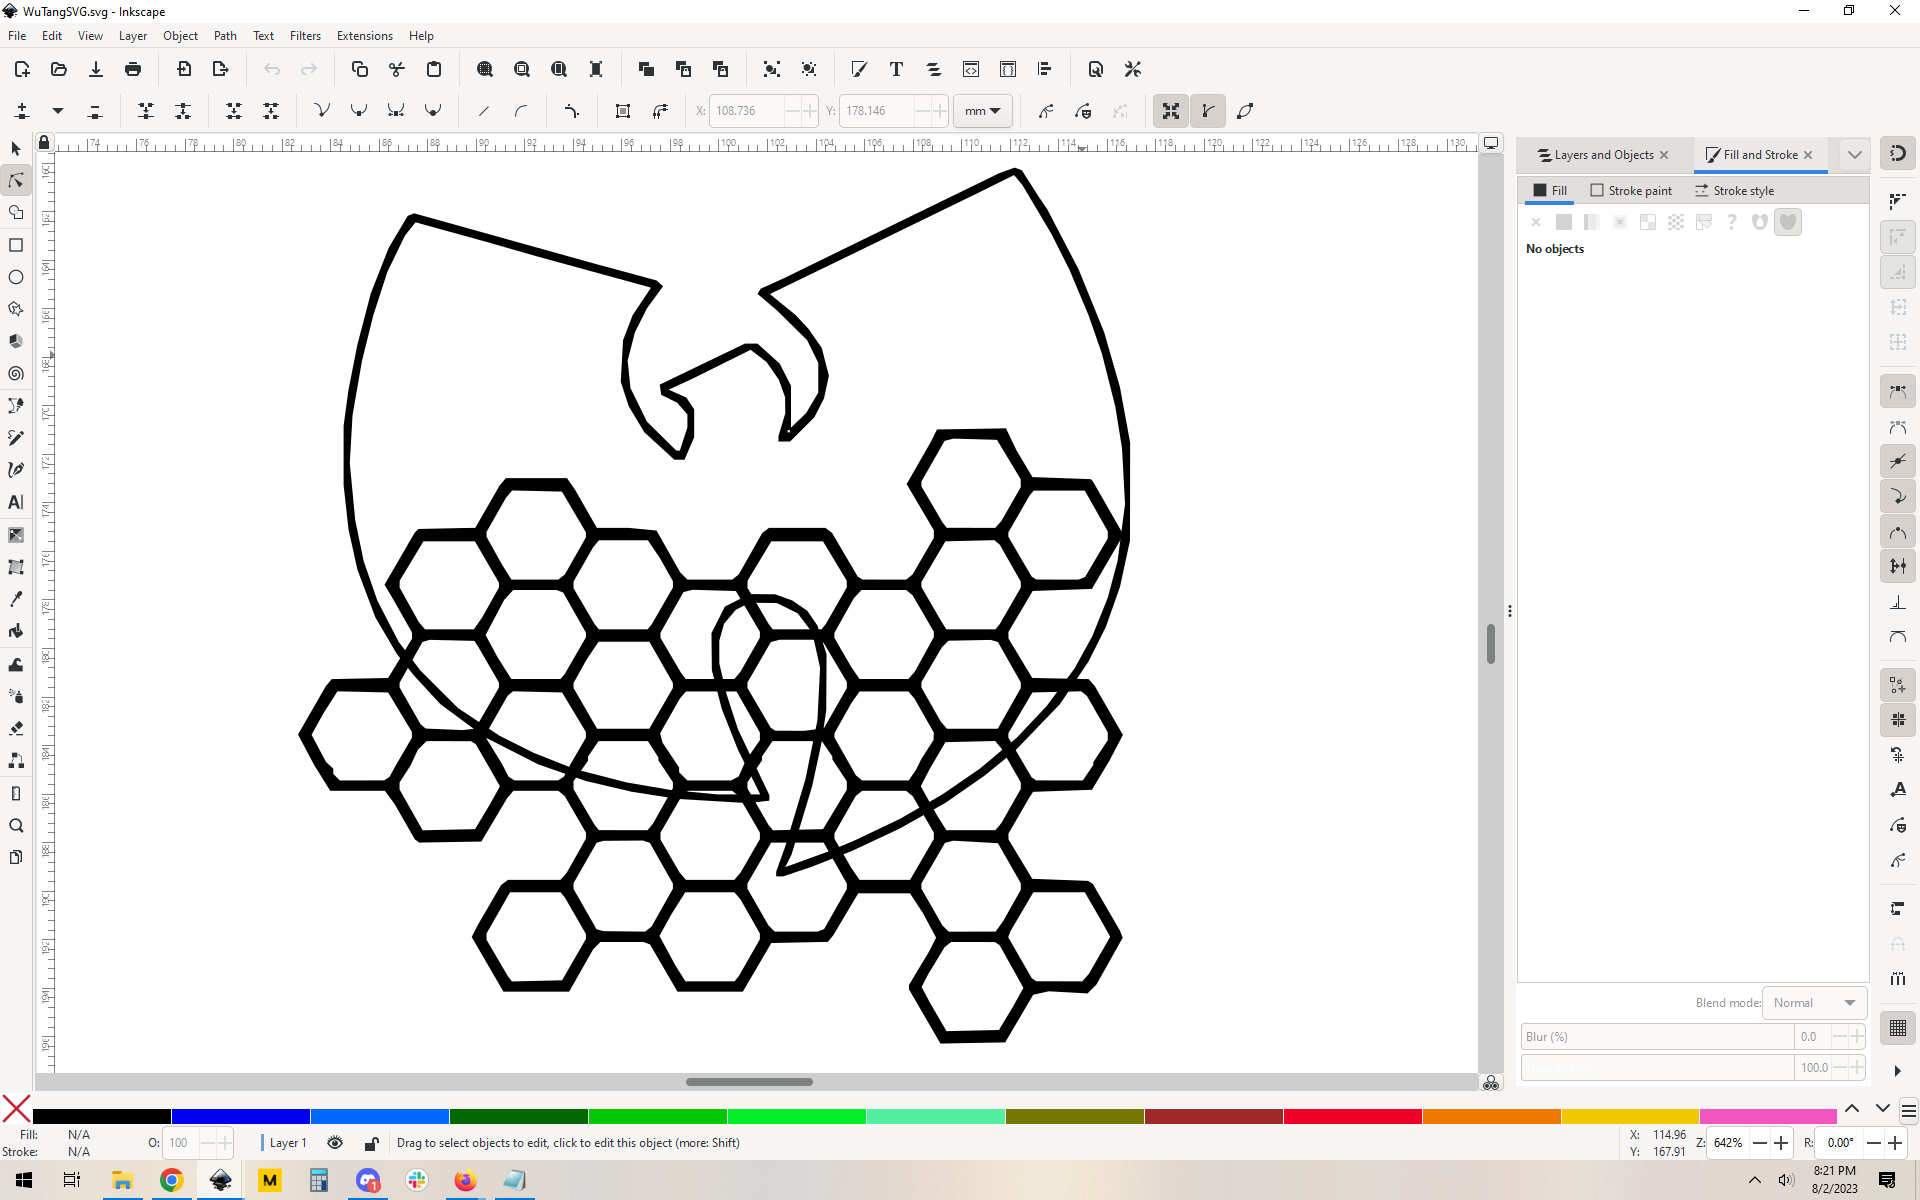
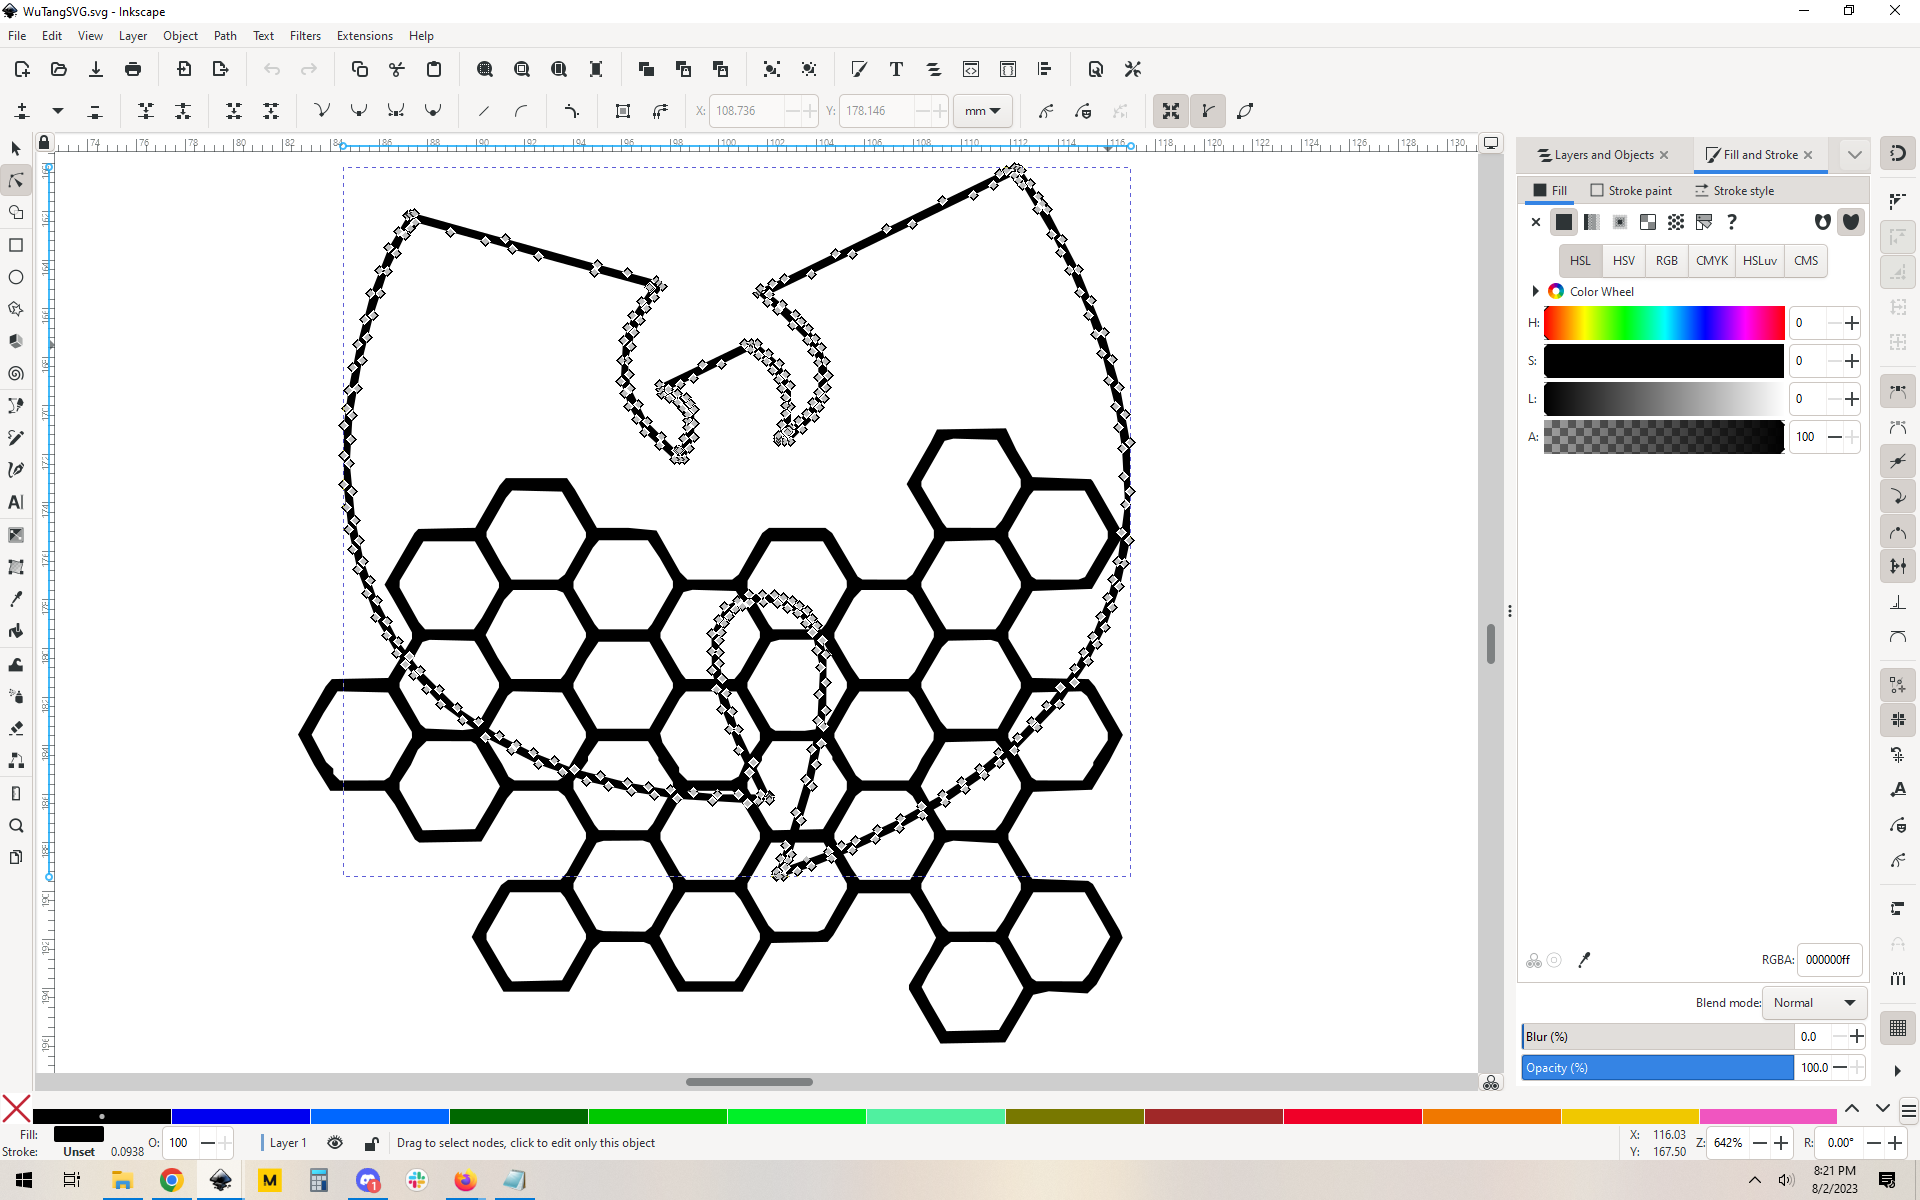
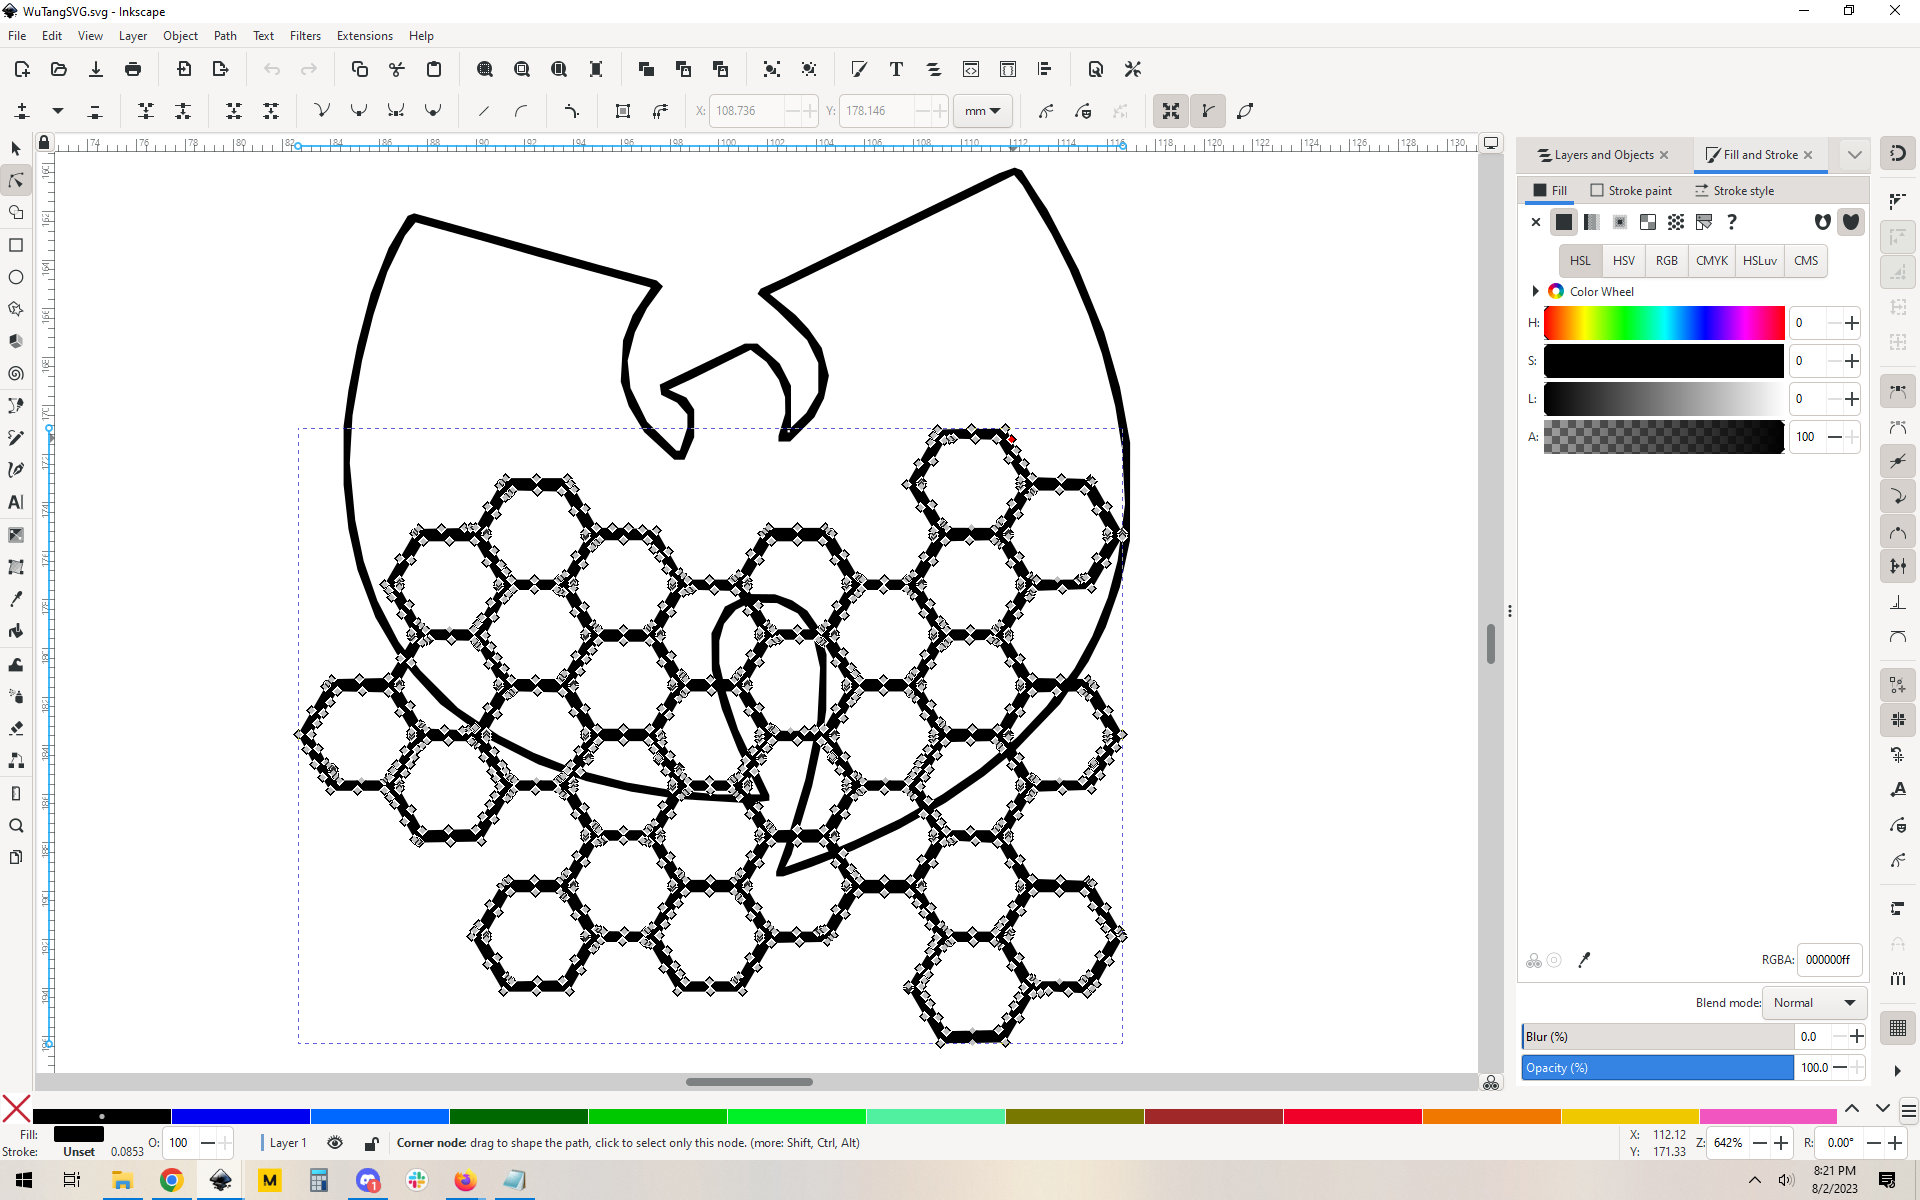
That aside, it comes in as 2 paths, which is what we need. You can see that it’s two paths by isolating each one in node view:
So far so good.
Now what we want is the part of the honeycomb that is fully inside the Wu Tang, and in order to do that we need to take a few steps. First up, make a copy of the wu tang logo. You’ll want to place it right on top of your existing, so I tend to do a copy/paste-in-place. it’ll look like nothing happened, but that’s normal – you have two copies right on top of each other.
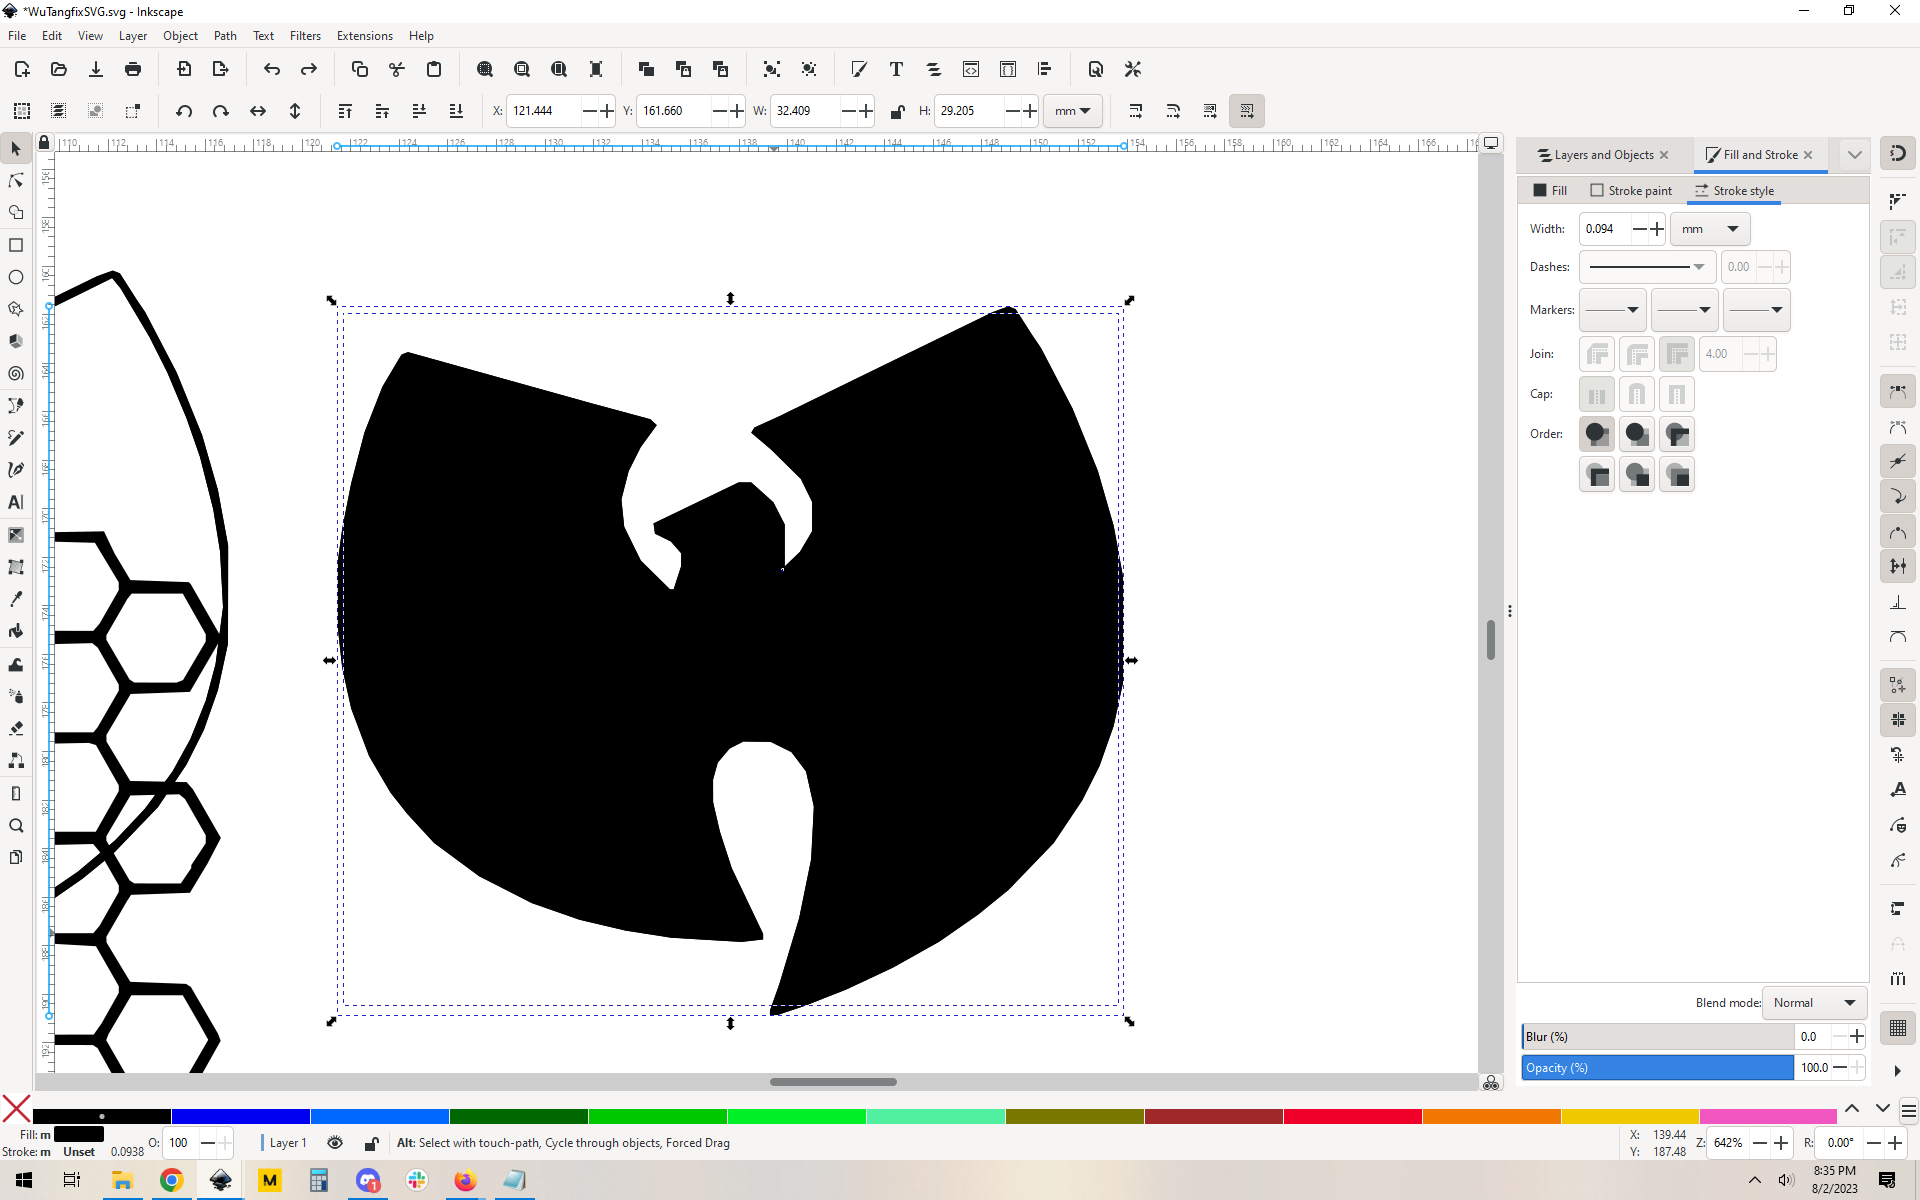
Next up, we need to get just the inside track of that Wu, so we select the W and doPath->break apart. This will take the inner and outer paths and separate them into independent paths. It also sets the fill to be black, so it looks really bad:
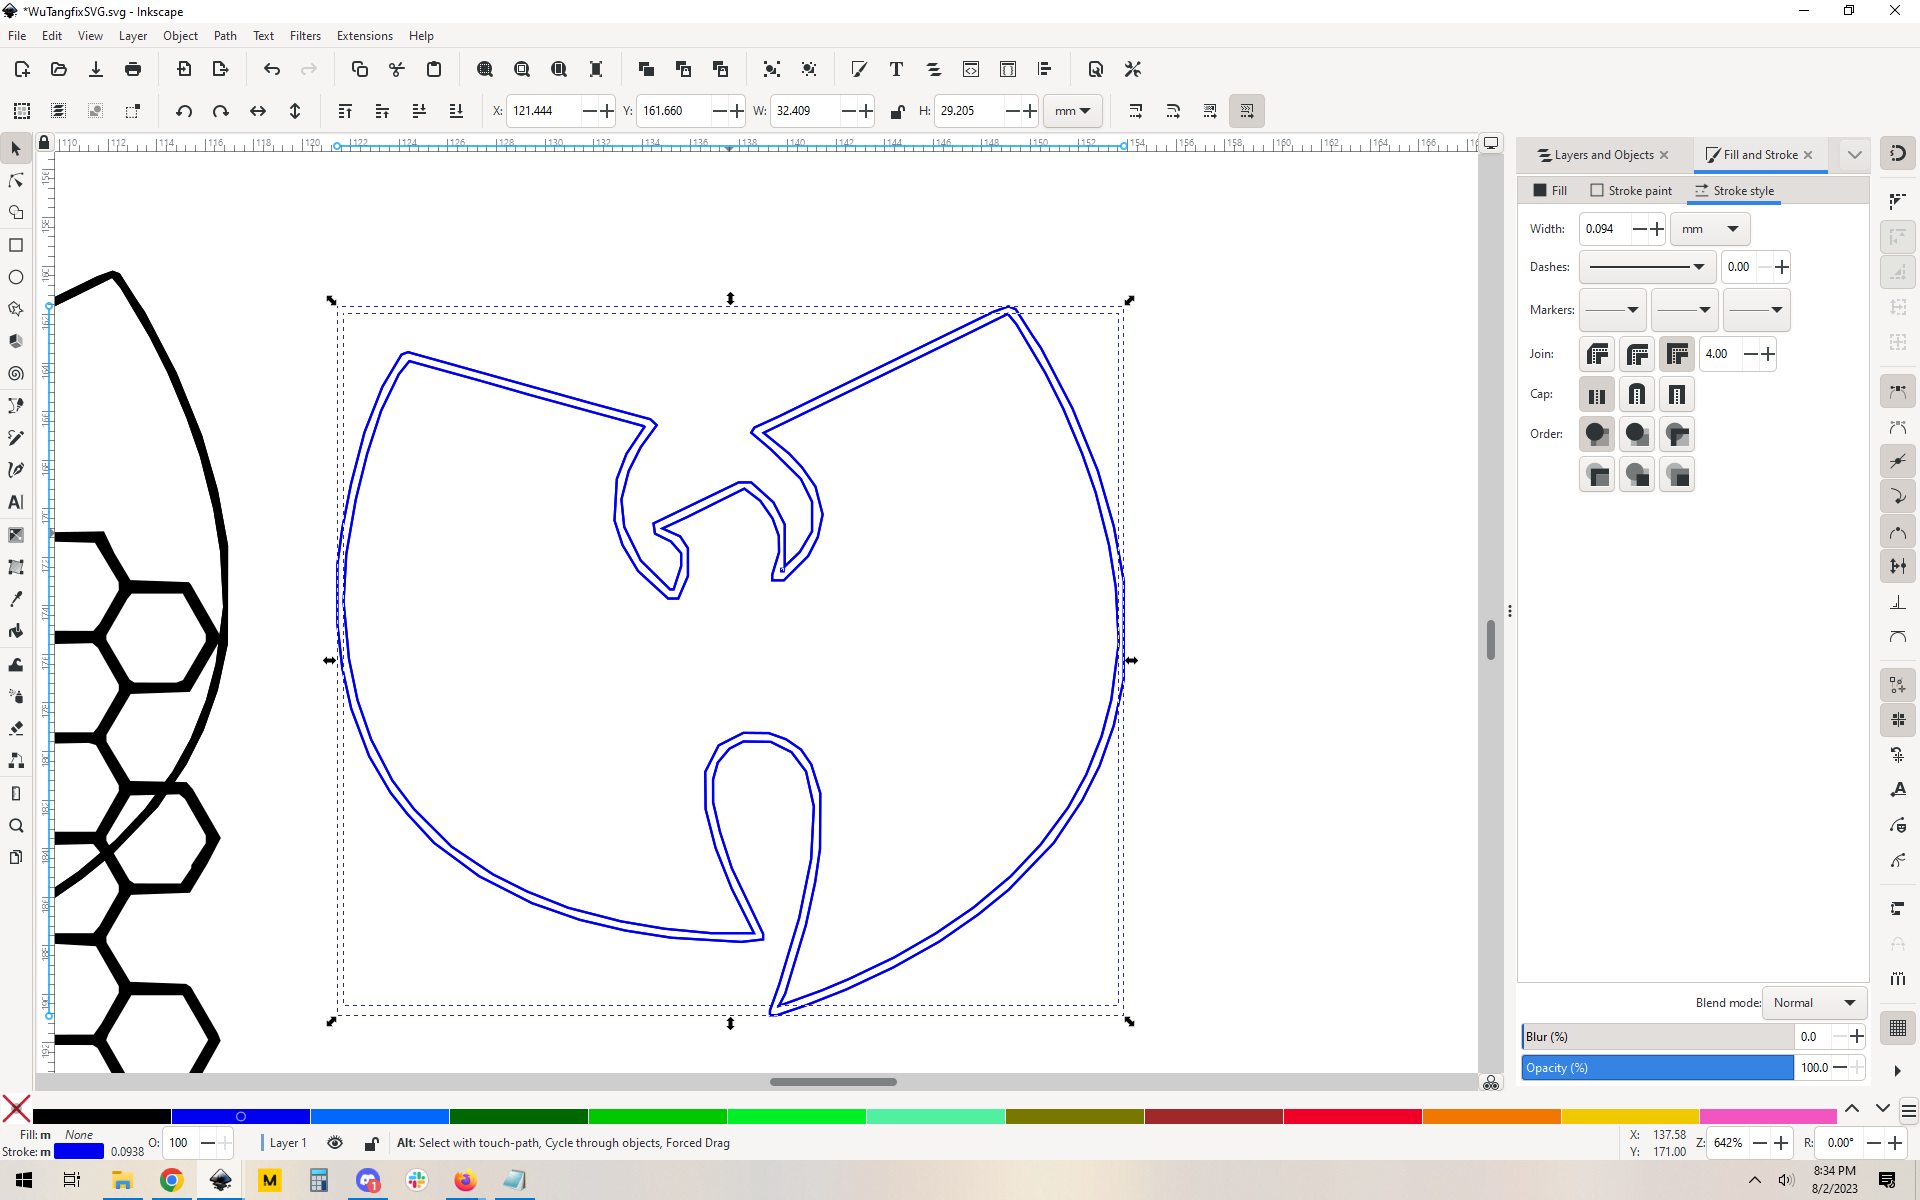
You only want the interior path, so first things first I tend to set the stroke to a color and turn off the fill so you can see both paths:
I’ll do it here separate from your main drawing so you can see what I mean:
break apart →
Ugly, right? set the path stroke and fill →
Aha, you can see now that we have 2 paths. Cool.
What we want is only the inner path so we end up looking like this:
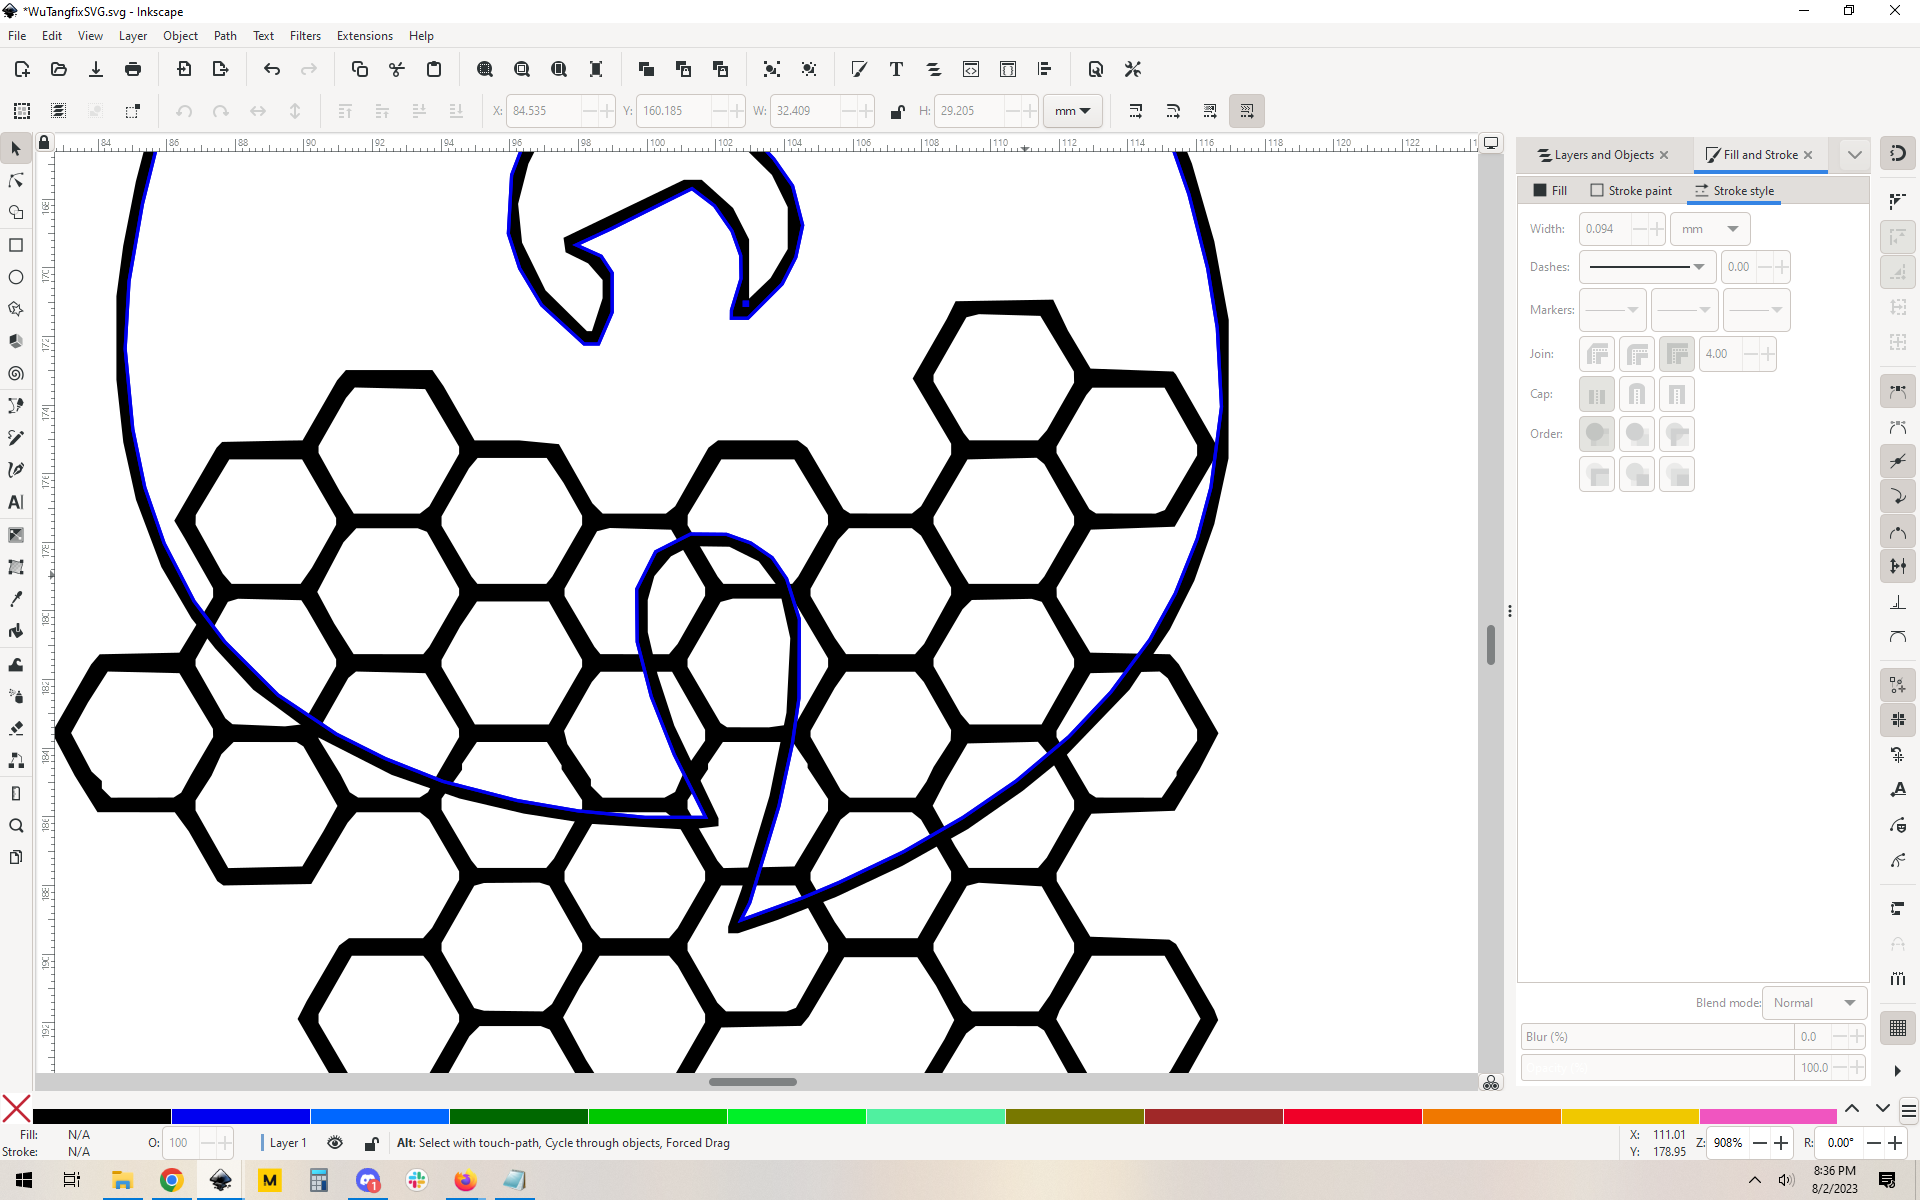
So now you select that inner path and your honeycomb and do Path->Intersection. This will only show where the two things overlap, and you get a nice clean honeycomb insert:
And you’re basically done.
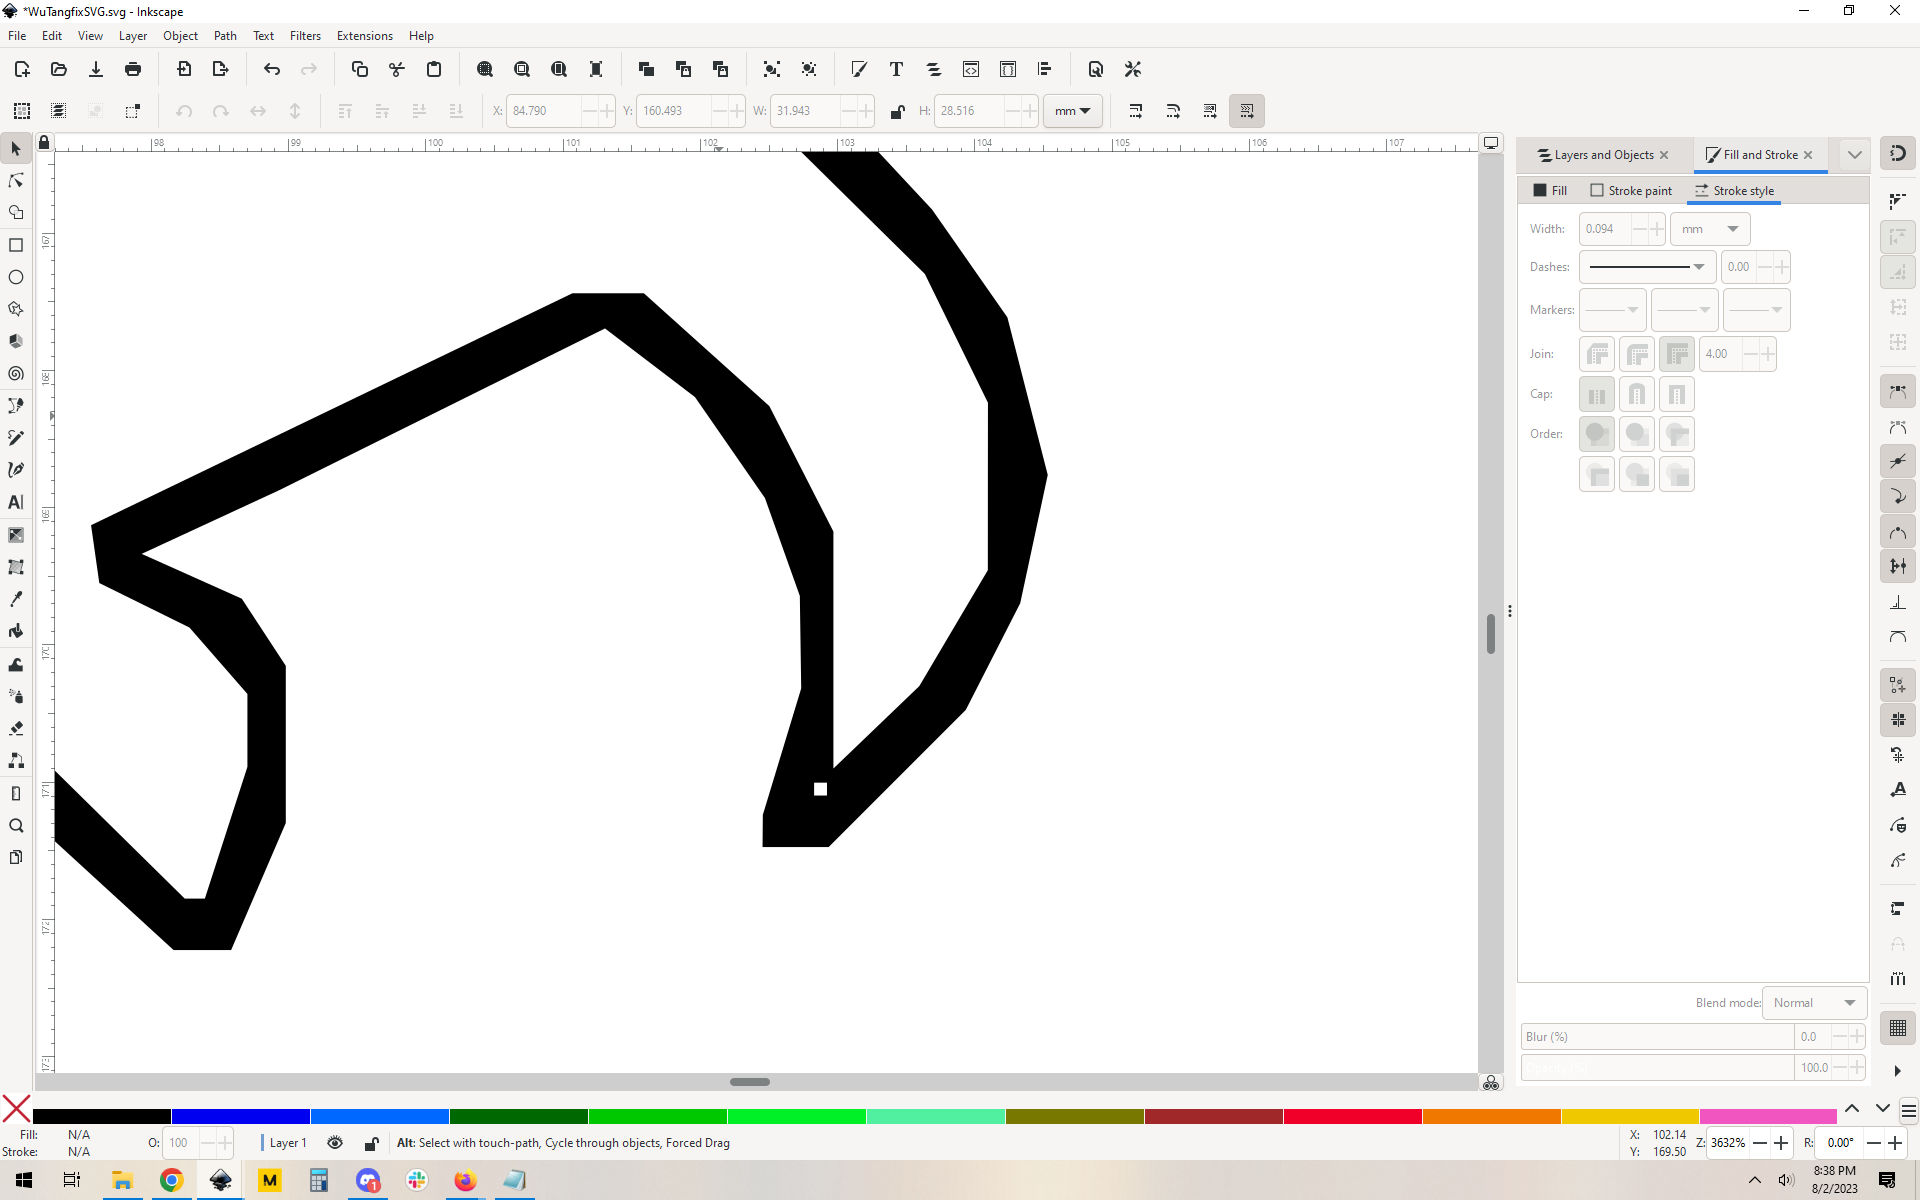
The thing is, as I said, this file has some imperfections. That may be by design, but if it’s not I might be tempted to try to source cleaner vectors before going much further. You can see it when you zoom in:
If you’re making something on a small scale you might not be able to notice it, or like I said, if it’s by design, sometimes rustic is good. Your call! 
Anyway, let me know if any of it was unclear.