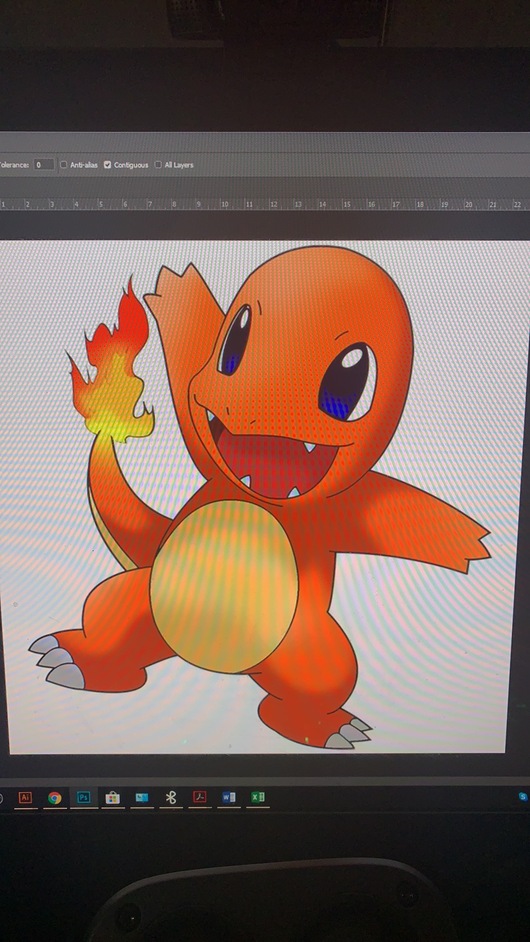
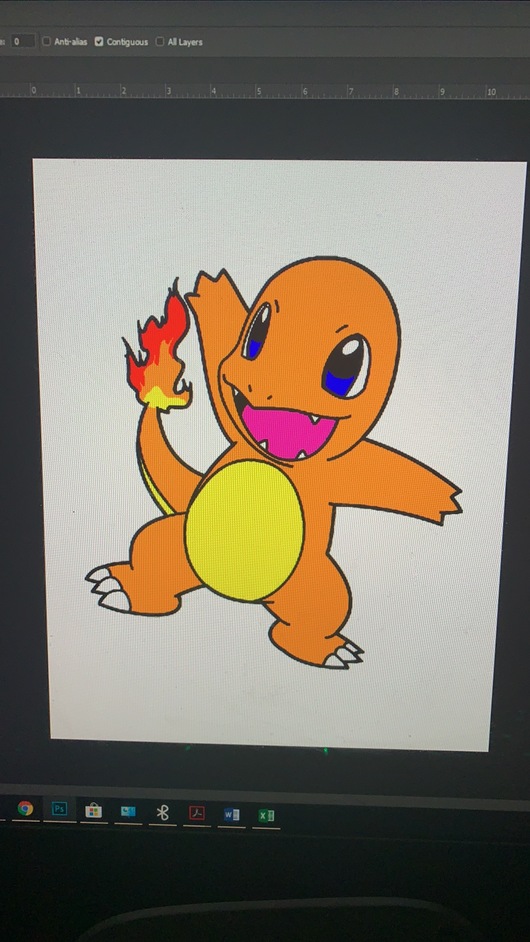
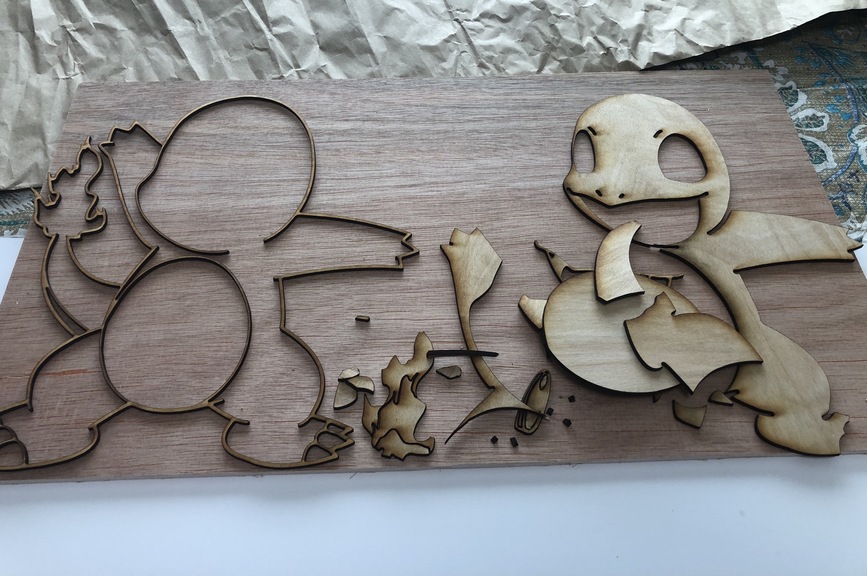
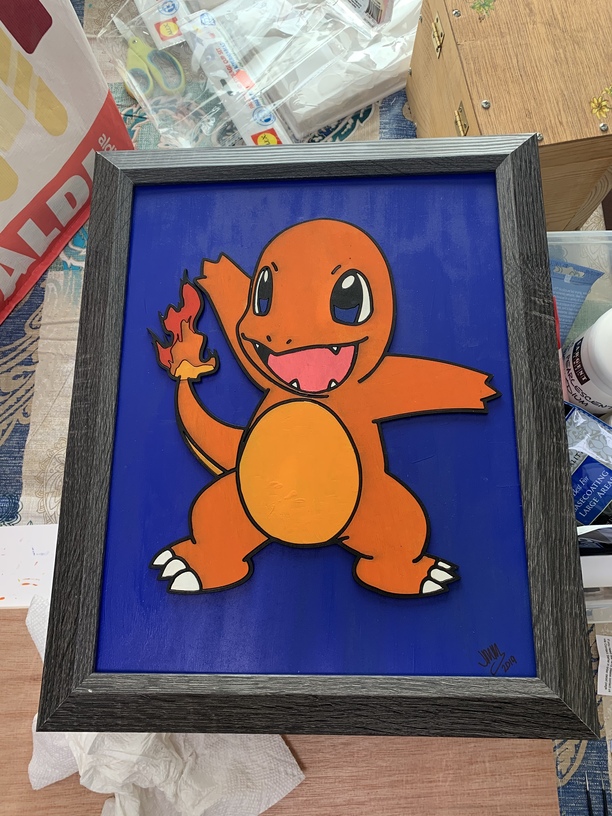
So normally I don’t work in design work that I don’t own. But as I’m not selling it (I’m not) and it for personal use (it is) I figured I might show you the evolution…
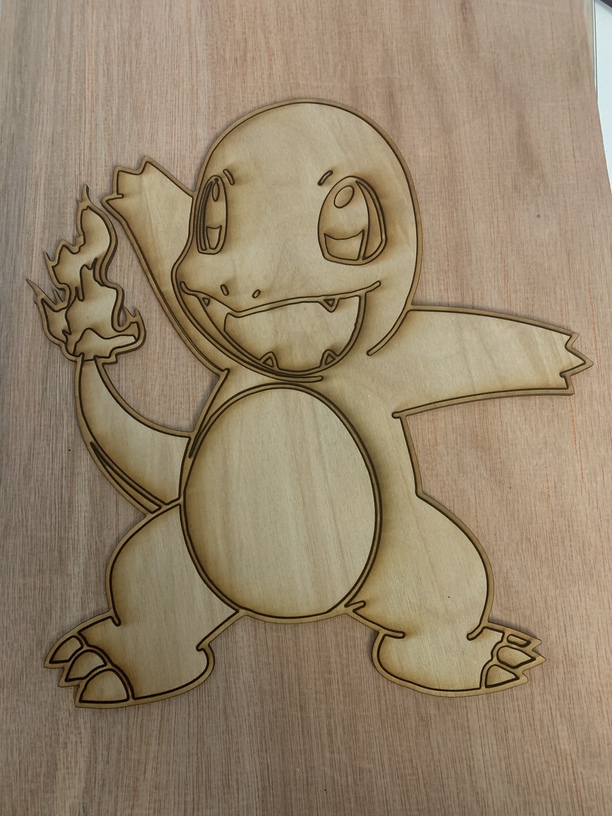
That looks great! I haven’t figured out how to compensate for kerf to make inlays yet, but I will work more on it and figure it out. I want to make stuff like this!
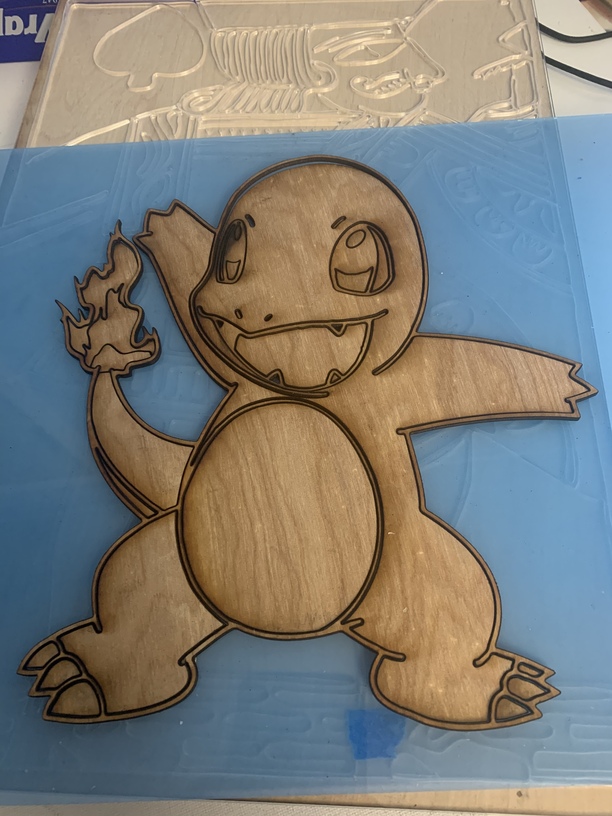
One trick is that I have a good understanding of what my minimum width is for a givens materials thickness and design for it. Also I often make mistakes which means my first test is bound to have something to small to find in the crumb tray or too delicate to hold up to handling.
This was the first cut before things got bigger and shifted.
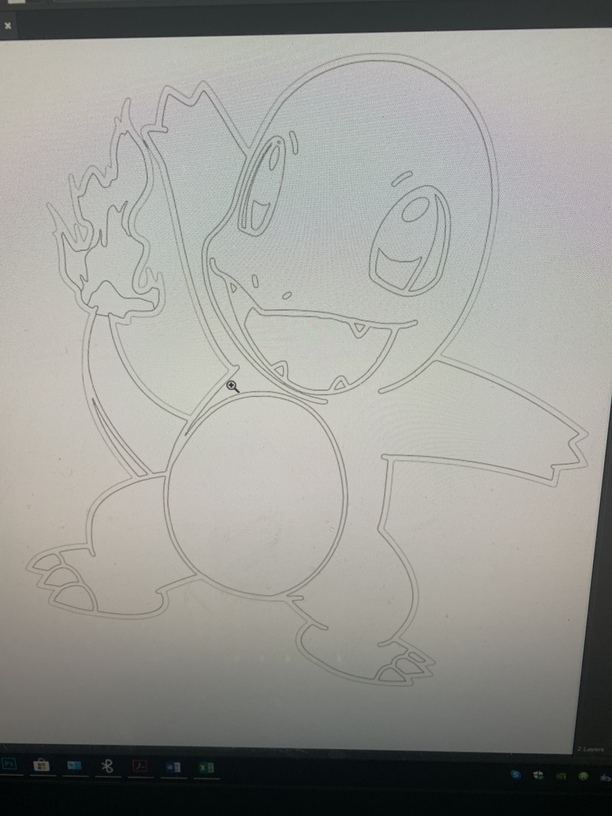
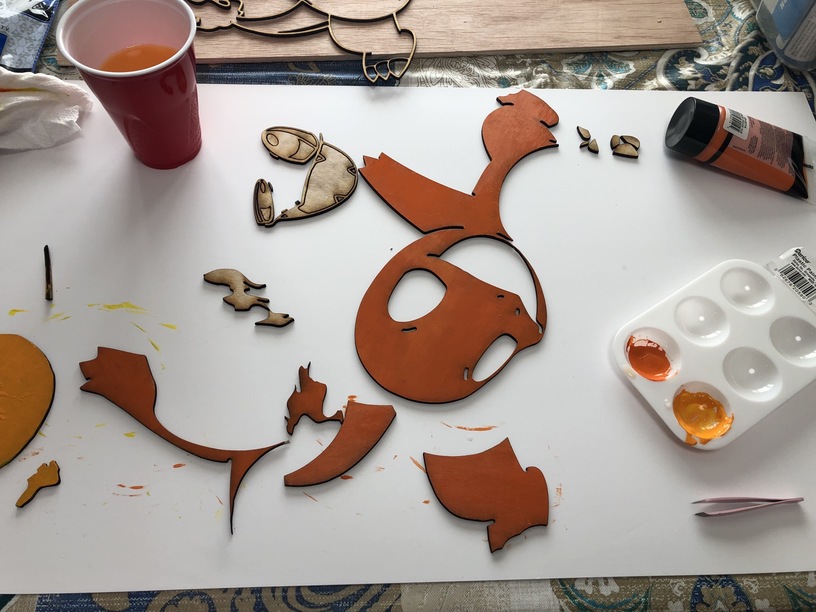
Also it’s a lot of work In illustrator if I do another I might film myself working.
I would love to have a video tutorial of how to design for kerf honestly. I’ve had lots of people send me to articles and such, but, seeing someone do it in illustrator would be great
That’s really great! I am just getting into inlay. I did some tests with just straight cuts and the only thing I see is that with a cutout I normally lose about .005 material around the interior of the cut. Still playing with adding .005 evenly around the object - seems straight forward until you have interior curves.