Sister-in-law wanted a custom wedding present for some friends and sent me some pinterest pics of things she liked. I thought to myself, “I bet this would work as an inlay project!”
I’m glad I did an experiment first to figure out which side of the walnut ply to put the engraving on, or this wouldn’t have worked at all. The engraving had to be on the “down-facing” of the inlay while rings were on the “up-facing” side due to the light scoring to make the rings look like they were interlocked.
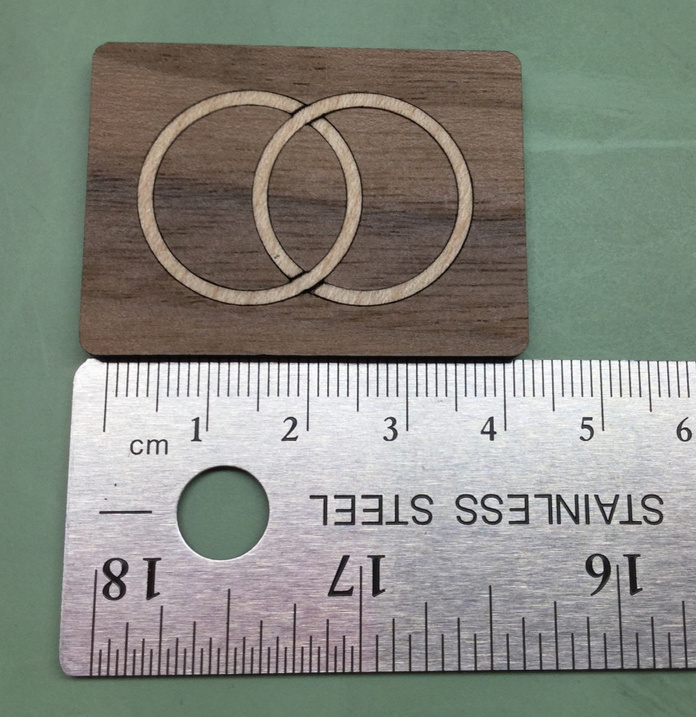
First I engraved & cut out the entire ornament shape.
Then, using the Cardboard Trick taught to me by @Livi , I flipped it & cut the holes for the rings.
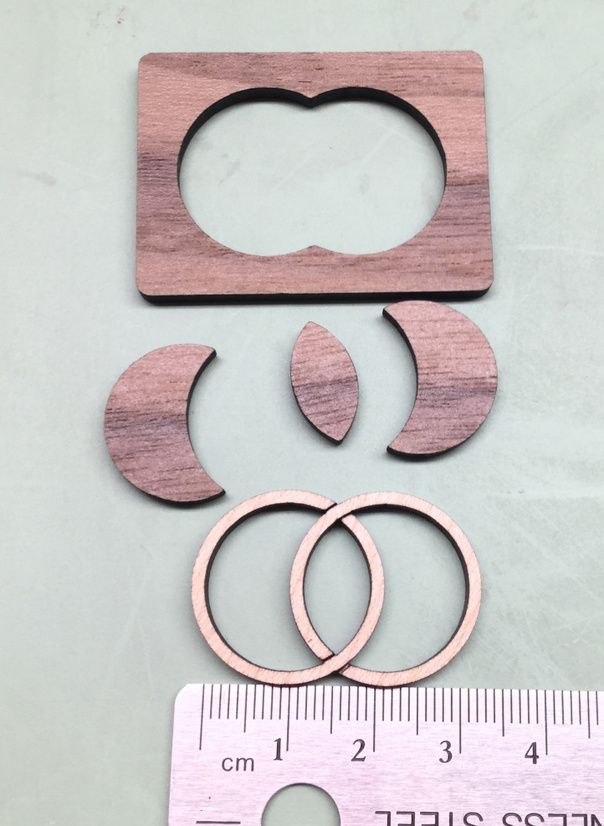
For assembly, I wiped down as much of the charred edges as possible with windex wipes to get rid of the goo, then used a basting pin?(one of those pins for sticking fabric together before sewing) to apply tiny bits of super glue to the edges of the pieces before smooshing them all together.
Great idea to make those interlocking rings one piece with a score! I would probably have just made separate pieces but your way looks like it gives more consistent results.
You lucked out that their names are good and short and the same length. GENEVIEVE & SEBASTIAN’s might not look as good! Even worse if it was JEN & SEBASTIAN.
There’s probably some topics about it in here somewhere, but the Cardboard Trick is useful when you need to flip a piece over and need it perfectly centered(due to the kerf of the beam there will be some wiggle room if you just put it back in the spot where it was cut out) or if you need to paint something and then cut it later. You could use this to engrave a bunch of random pieces, take them out of the GF, paint them, then put them back in and cut the final bits out.
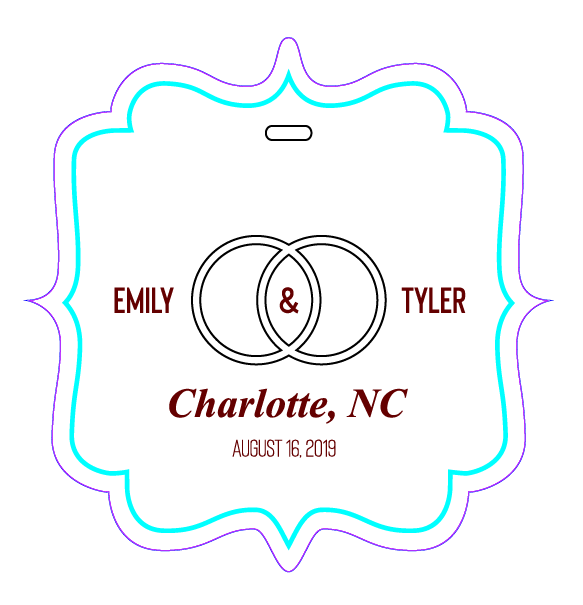
In the case of this ornament, the file looks like this:
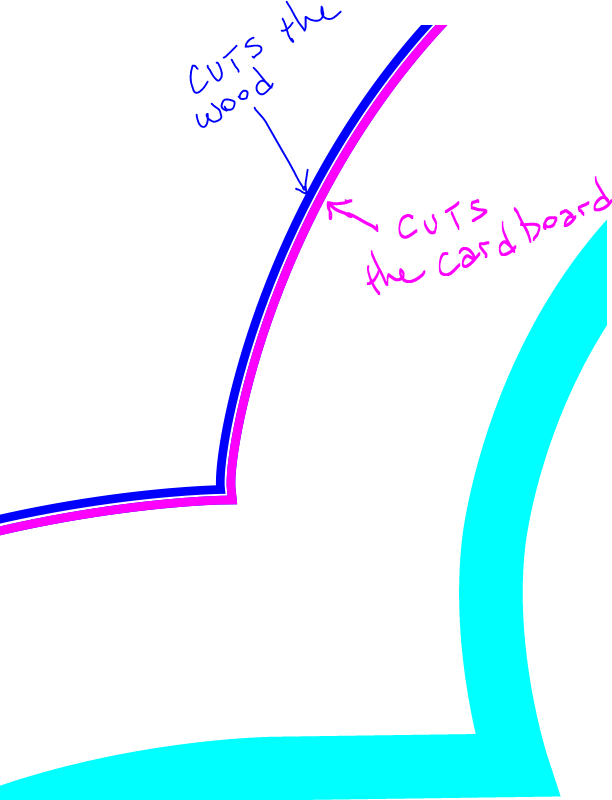
When you make your outer cut line, use the path offset tool in whichever program you have to shrink that outer cut line by about 0.11mm to 0.13mm(I’ve been using 0.13 mm because it gives a more snug pocket).
After doing the first part of whatever project you are working on and you need to flip it, paint it, something-or-other with it, you take all the bits out of the GF and put in some nice, flat, fresh cardboard.
Hold it down with magnets or tape so it doesn’t move.
Cut the inner/smaller outline out of the cardboard and you have a tight-fitting pocket to stick your piece into so the rest of the design can be cut/engraved.
Usually the big amazon boxes have nice flat areas to use, been saving the good bits of 'em.
As long as you don’t move the cardboard, you can do a big batch of engraves or double-sided engraves that are so close to perfectly centered that you’d have to measure 'em to see the difference.
Once I learned that trick I was able to make some nice double-sided game tokens for my brother-in-law with almost perfect centering on both sides!