evansd2 asked for internal photos on my latest clock. While this is a smaller model, the design is very close in terms of structure. So, here a bit on how these clocks go together. While the designs are in different sizes, the concept is the same for many of them.
My original design was a roundedbox from boxes.py. I cut holes for the letters on one side and openings for the clock brain and power jack on the back. The challenges included keeping the led matrix pressed against the front and holding the clock brain in place despite the forces of the buttons being pushed.
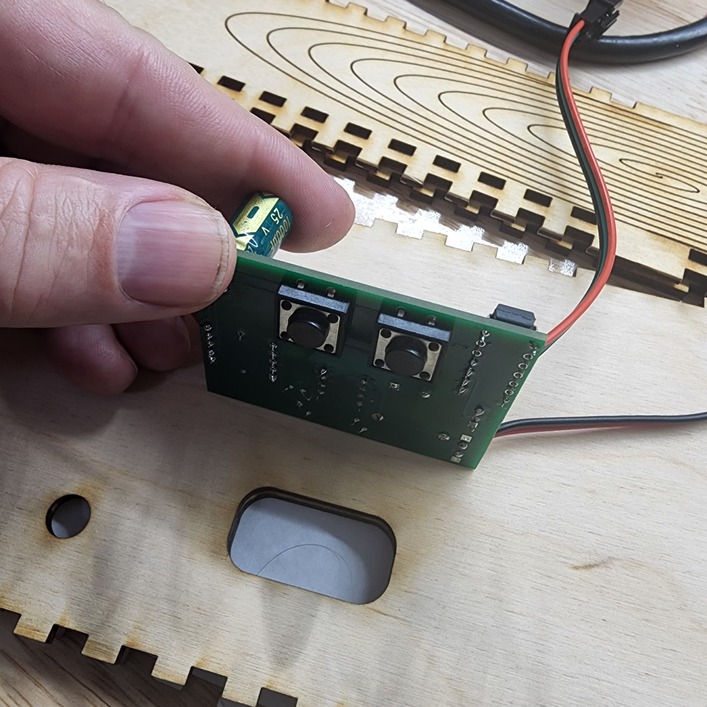
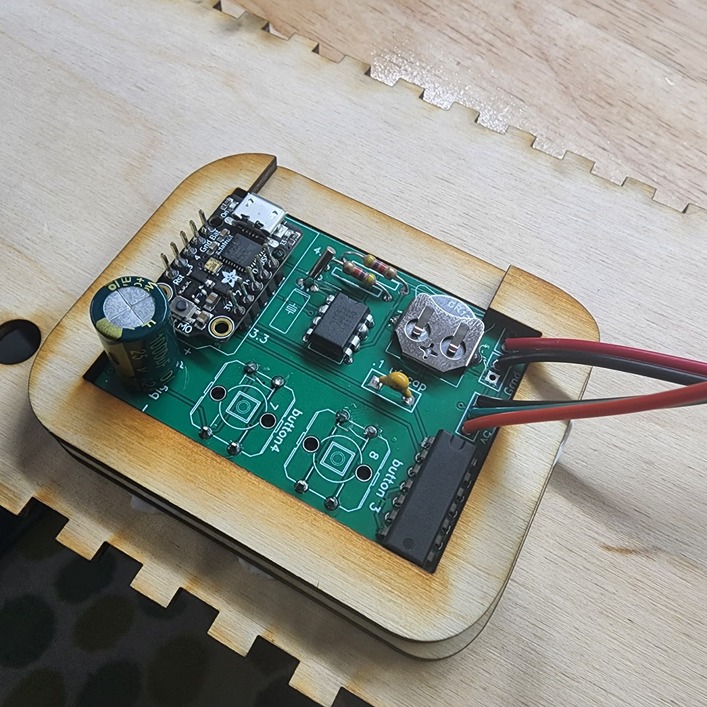
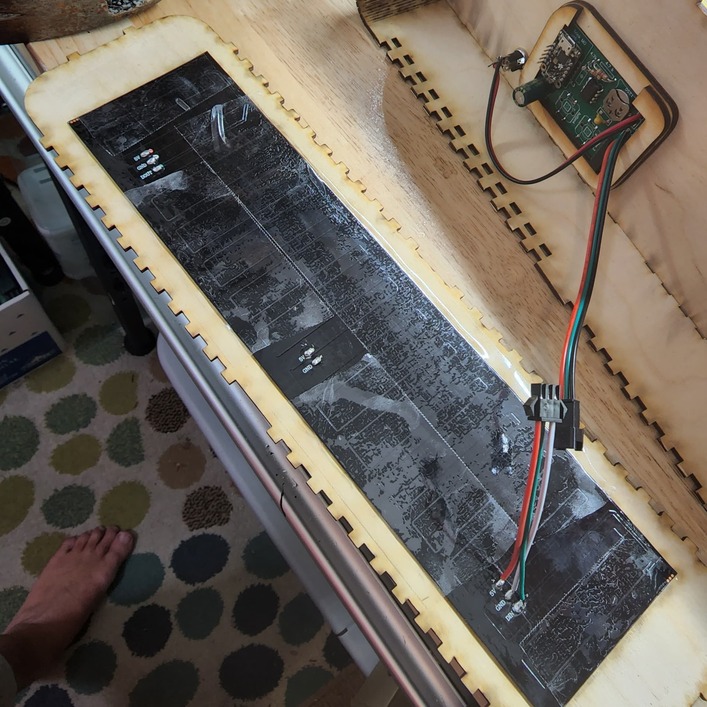
To address the later, I added a board mount cut from scrap that is a snug rectangle shape with an inner rectangular hole that hugs the brain board. I glue this down with the brain in position and then add a similar a u shape piece that has an inner rectangular space that is slightly smaller. i.e. small enough to not allow the brain board to escape. The u shape allows the programming port to be used post mounting. These are glued in.
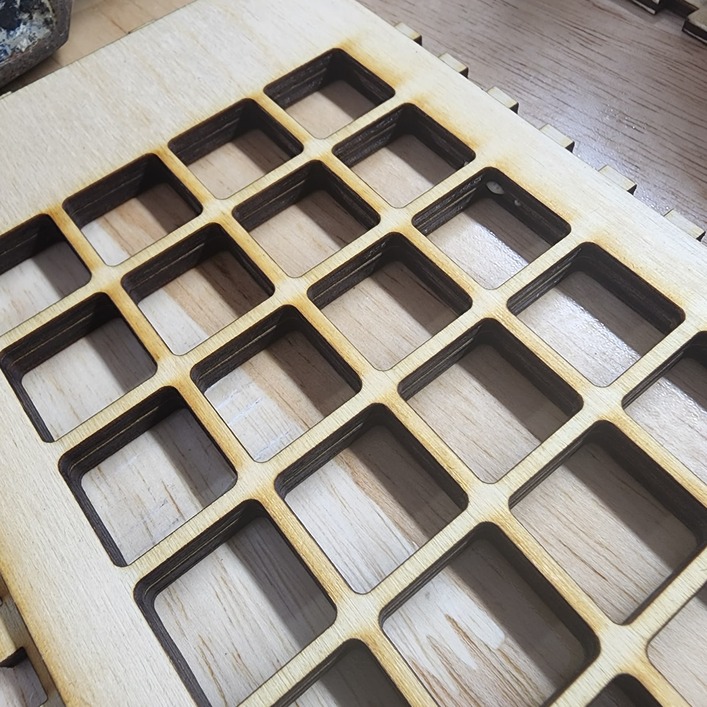
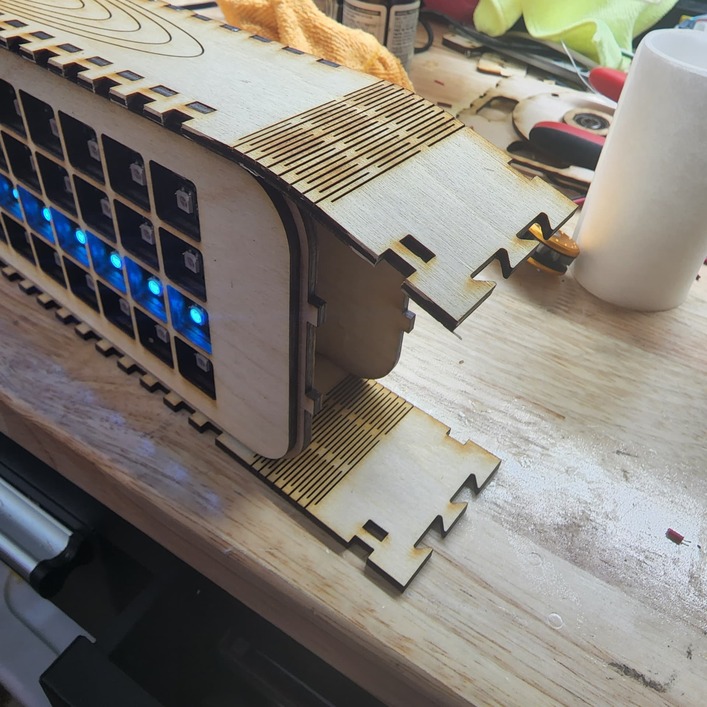
The issue of holding the leds in place was solved by making an internal wall to hold he leds in place, provide a gap between the leds and the diffuser for more even light, and isolates the different letters. This inner wall is a duplicate of the top or bottom of the box but with squarish holes cut in a grid pattern that allow select leds to fit inside. That is the lower layer in the image below. you can also see the slots where this part fits into the side of the clock in the upper, shaded part of the photo.
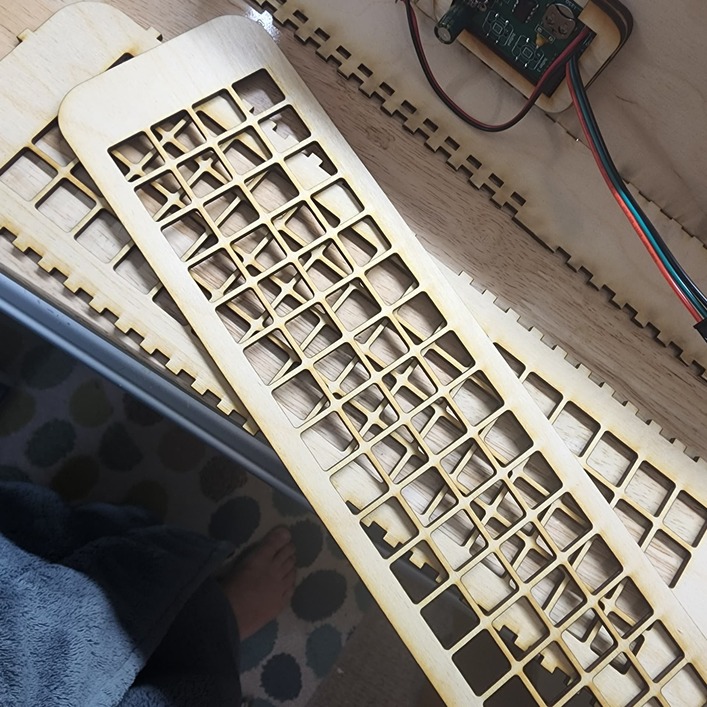
I added a 2nd grid layer to this wall to provide some additional space between the leds and the diffuser. This 2nd layer is cut from an overall shape that matches the face dimensions of the clock but has an inner cut that provides a trim ring out of the same cut. So, it is slightly smaller on the OD than the inner wall. The grids are the same. This is a glue operation as well.
With the led taped in place behind the inner grid, the back and grid are assembled with the sides. This is a friction fit for most of the clocks. In a few, a dab of glue is sometimes needed to make sure they hold tight. The sides can be 2 or 4 parts depending on the clock. The sides have a row of slots added to hold the grid in place. These are based on the same finger joints that hold the box frame together.

Once the sides are on, it is a matter of adding the letters, diffuser, and face. There are lots of options there. In some cases, the letters are cut directly into the face material. In others, the letters are cut from thin paper and the face is a clear lens over top of the letters and diffuser. Really cheap printer paper works well for a diffuser but I also use rice paper.
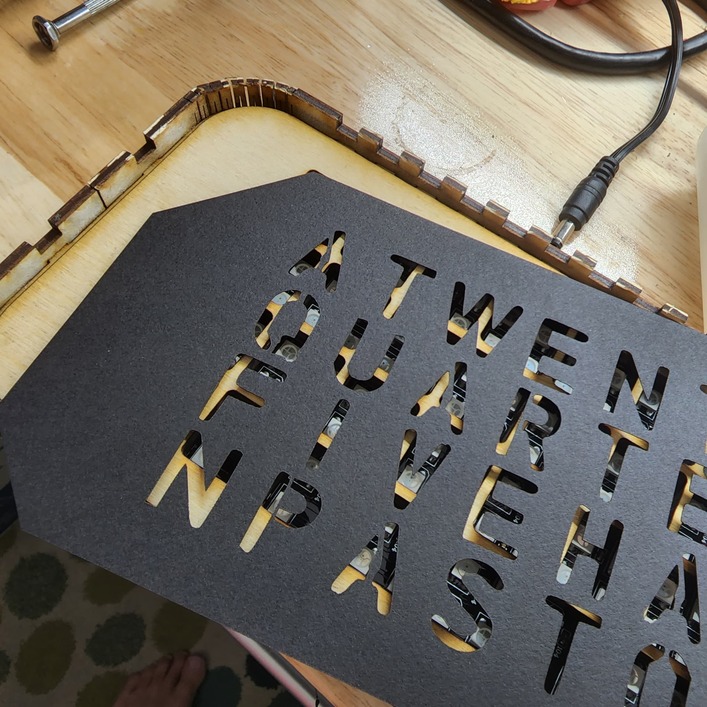
in this case, black paper for the letter shapes, rice paper for the diffuser and some clear acrylic for he front. Since I am using a solid diffuser over top of this, I was able to use a less-than-wide-enough piece of black paper for the letters layer by laying is diagonally in the forge.