Hey, don’t reply to ME, I didn’t make Snapmarks! 
2 Likes
I noticed that as well, and gave the machine a THOROUGH cleaning. That may very well have been my issue also.
I really think these two windows should be mentioned in the “cleaning” section of the manual. I have followed all the instructions I could find, but wiping these windows is not in the manual. I am glad your Snapmarks work now.
2 Likes
I’m willing to bet this is the issue. I’ll give it a thorough cleaning tomorrow and let everyone know how it turned out. Thanks!
@Jules as promised. Inkscape was set for Geometric Bounding Box for both templates when cut.
The top template is the beta from Bonnie and the bottom is one I cut from that template and just added two additional slots and adjusted to make sure the pencils fit and made the Snapmarks larger based in the previous information…
I tested the Snapmarks of .332 and .405 as you can see the snapping was not aligned properly on the pencils. I have also had this issue on other items so i had to just adjust the image to fit myself not using the Snapmarks.
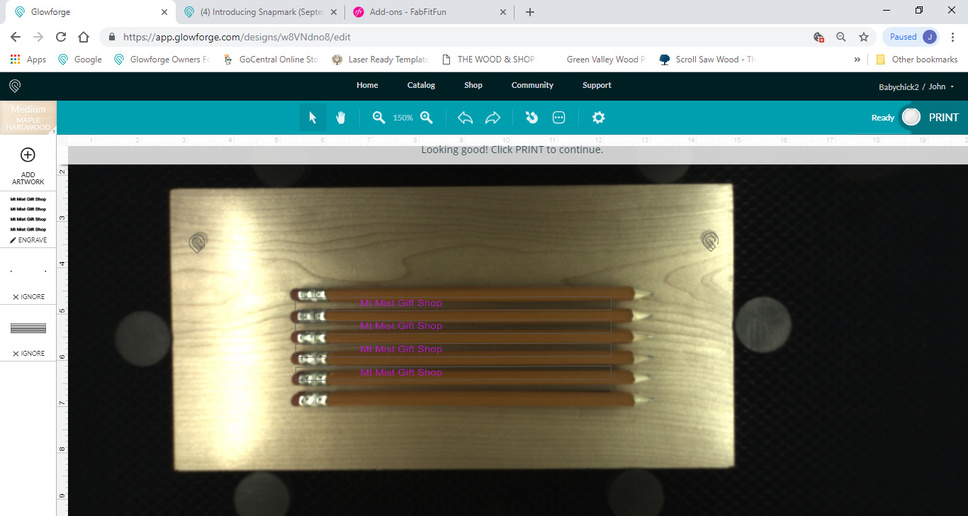
Now with the somewhat larger Snapmarks .343 and .417 they snapped right into place with no adjustment needed.
Okay, when you actually print the first one, does the text line up on the pencils properly? Even though it doesn’t appear to visually on the screen?
what @Jules said. this is why a lot of us say, “run a light score on the snapmarks and ignore the design if you’re worried.” because the preview is not accurate for snapmarks. but you can score the snapmarks on the material and see if things are lined up properly.
1 Like
No, the text never aligned on the material properly even on the other projects i tried it on. Now since i changed the size i have no issues…
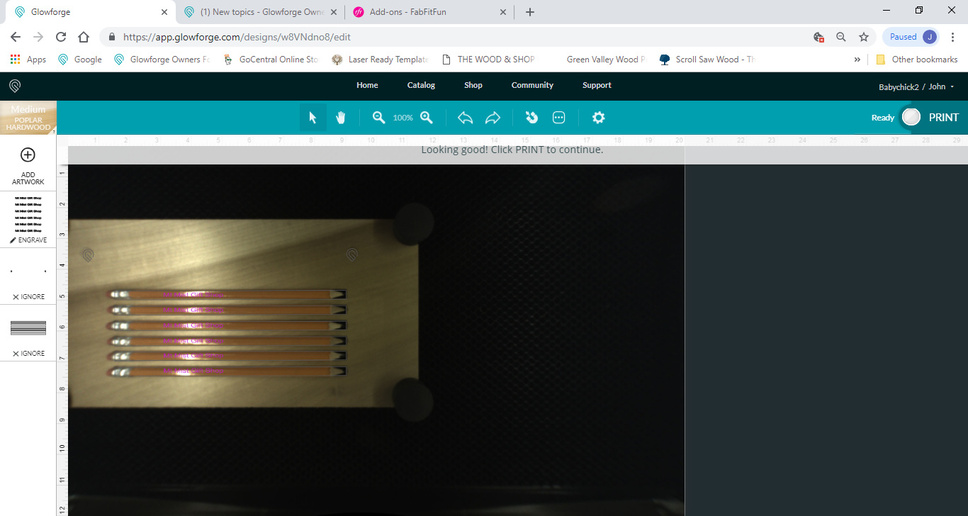
Also, as you can see the Snapmarks didn’t even align
can’t really see from the camera image. that’s never going to align. need to see the actual engrave/cut/score. that’s why i mentioned lightly scoring the snapmarks to see if they hit the same spot.
2 Likes
Mine looks like that (first one) visually, and the actual burning is 100% accurate. Results are not off by even a tenth of a mm. 
Something might be going on with this behind the scenes that we don’t know about - they might be testing different versions on different people. (We don’t know who has what, but I do know it’s possible for them to do that.)
You might be on a further along version. (Or you have stumbled onto the answer for the Inkscape alignment issues. 
 )
)
Of course, I’m now going to have to test the larger marks to see what happens myself. (There goes that good book I was hoping to read tonight.) 
Keep testing, and keep the team informed of progress/problems. Did you tell @bonny that you were using marks that size and what it did? They might be able to tell from looking at the data, but they might not have been looking specifically for that.
1 Like
Like I stated I had engraved prior projects just based on the GF stating it was good to go and the engraving was way off on the material. So then I just started adjusting the file myself. When I seen the post with the increase in size I tried it and haven’t had an issue since.
@Jules I’ll keep testing in between projects I have some orders that i needed to complete and another big project starting Saturday…
1 Like
Just in case anyone is interested, I did run a few tests using the original sized Snapmarks, and the new sized ones, and there wasn’t any difference in results. They even snapped to each other just fine. 
So I pulled out the calipers and started looking at how much difference in size there actually is between them. It’s .01" or about the thickness of a hair. I don’t know why using one over the other would make such a dramatic difference in the visual display on your machine @gamn1958, but if it works, go for it. (Mine saw no improvement in visual alignment with the larger marks, more’s the pity. But the snapping was fine as usual, and I’m used to it, so no worries.)
1 Like
I just tried them again on some Dog Tags I made for my Husky and they worked better than the others. It would be nice to know why the difference but i’m with whatever works. I knew there wasn’t much of a difference but they do seem to work better on my machine.
I did have one issue, after starting the snap my machine went into sleep mode and then the background in the UI darkened and they wouldn’t snap. Got the error message that no snapmarks were visible.
Yeah, I think I saw something similar the other day. Just had to walk over and open the lid, then resend the Snap command.
1 Like
That’s what I did just thought is was strange until I remembered the sleep mode.
1 Like
so how are you making small text in these posts, Jules? another super power that you got but none of us others have?
I could say I’m magycle,  , but it’s as easy as typing this sequence of characters together:
< small > Text. < / small >
And for big text, you just use big.
It took me 3 tries to get things right, but made a registration board and am really pleased. Thanks!
So unfortunately the cleaning had no effect on my problem. The head still hovered over each snapmark before failing to return home and giving no error message and no snapping. Looks like I’m at the mercy of @bonny