Thanks for the reply, but how do you mean? Currently I’ve tried moving it to every corner and centering it as well
Is the head not returning all the way to the home position after the Snapmark scan?
You might have better luck turning off the machine for a few minutes but leave the head in the home position when you turn the machine back on…parking the head under the lid camera to turn it back on hasn’t been needed in a long time.
Make sure that when the red dot falls on the jig, that it is not landing off of the jig. If you have an edge close to the snapmark on the jig it can cause it to fail. (Stick a sheet of paper under it if that is the case.)
It has no problem going there to begin with, but after hitting snapmark and letting it do its thing, it returns to a position 5 inches right of home.
I think I’ve already tried the home position as well, but let me try that right now and report back.
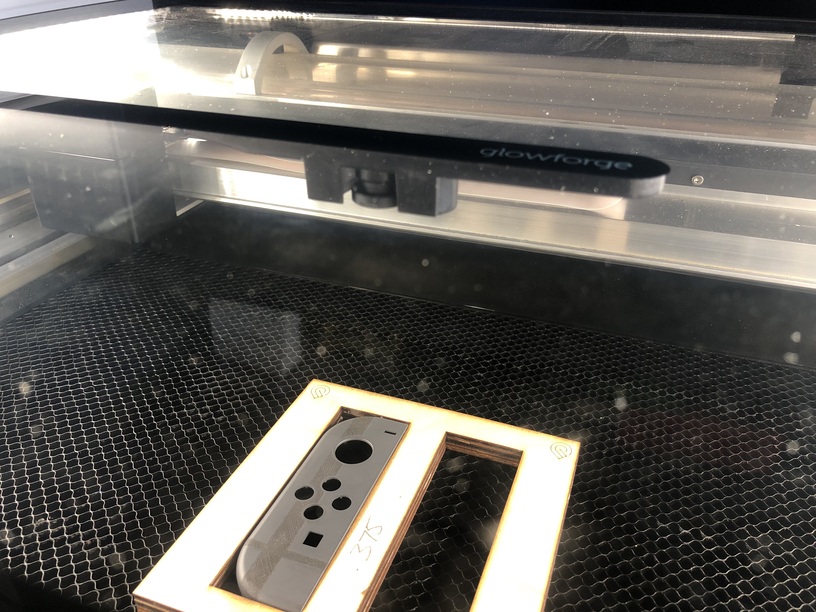
Also, this is a jig that has worked tons of times before so I’m quite positive it’s not the design file or jig. I also tried using another jig that has worked a bunch as well. Same results every time.
1 Like
Yeah, that’s not good. 
When I had a problem similar to this, I resolved it by cleaning the windows on either side of the lens. I suggest making sure the windows are clean and watching to see where the red laser marks after the Snapmarks are found. Also maybe try a simple file with just the Snapmark template. If Snapmark works on another file, perhaps you could make a new jig. I know this is grasping at straws, but you have an order to fill so it is worth a try. Good luck.
2 Likes
Just saw you already tried a different file, so scratch that suggestion. Sorry.
Yeah, so same thing happened. I did try one thing different though. After hitting the snapmark the first time I tried it again. It went through the same process but this time it thinks the entire snapmark has moved five inches as well. SO the first registering point is now the right mark, and the second is now five inches to the right of that mark. But what’s interesting is the home point is still the same at five inches to the right of home.
At this point cleaning the mirrors a bit might be a good idea. At worst the machine will simply be cleaner lol. 
1 Like
One more quick thing to try: Would you be able to run it with your jig sitting on the crumb tray in the machine?
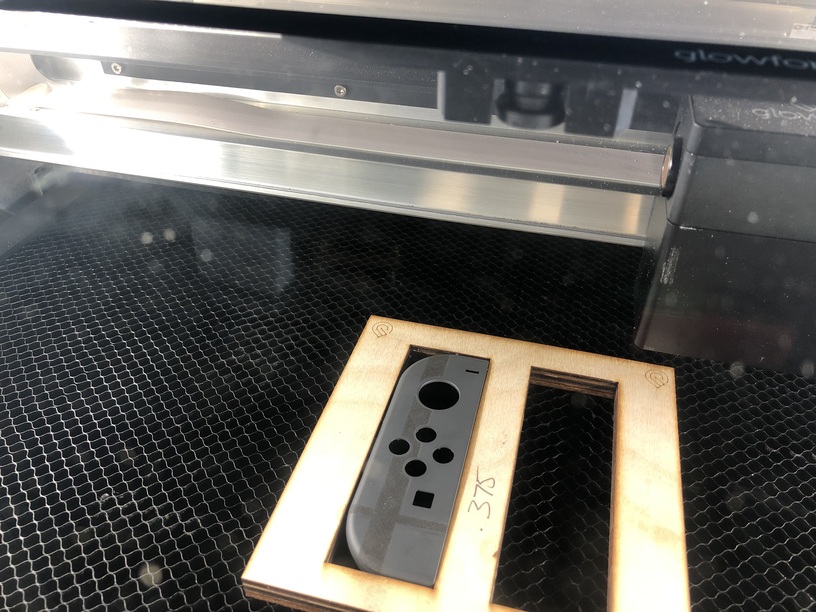
I have two different jigs I’ve been trying, one that’s too large for the crumb tray and the main one that I’ve been more concerned with getting to work that fits perfectly on the crumb tray. This last attempt was done with the crumb tray and that jig. Still the same results 
When you do have the jig on the crumb tray, can you check that the red dot is landing on your material? Sometimes when Snapmarks are placed too close to the edge of the material, the autofocuser can end up landing off of the material. What you were describing sounds like something that can happen if the autofocuser was not able to measure the height correctly.
Yes the red dot does land on the material, and again this is a jig that has worked for me a ton of times before with little to no problems.
Did you try putting a sheet of paper underneath it to see what happens?
I did, unfortunately it’s the same result
Okay, did you check the file? Is it possible that the snapmarks were slightly moved in the file?
Fortunately they haven’t moved. I locked the layer and have another not visible locked layer underneath JUST in case lol. I just compared the two and they are still perfect
Hmmmmn. Well I know you’re in a time crunch, so the only thing I can suggest is to cut a new jig. Just cut it in cardboard, make sure that you have it pinned down, and you can use that relationship to align your engraving on the parts. It’s good until you unpin the jig and move it.
(And Discourse is telling me that I need to talk to other people now. ROFL!) 
3 Likes
That’s an excellent idea @Jules, a short term fix but at least one that will work for the time being. Thanks so much!
Now we just need to have the gf team figure out what is going on with this snapmark alignment 
2 Likes
Update, the temporary jig was successful so I was able to get my order finished. However now I’ve put my shop on hold until I can get this resolved. I also found out that this is not just happening for snapmark, but for anything. When printing the order I had to shift everything over by five inches or so. At least it’s consistent…