Ok. I give… Tried to figure this out, but didn’t work. Maybe you GF experts can make suggestions?
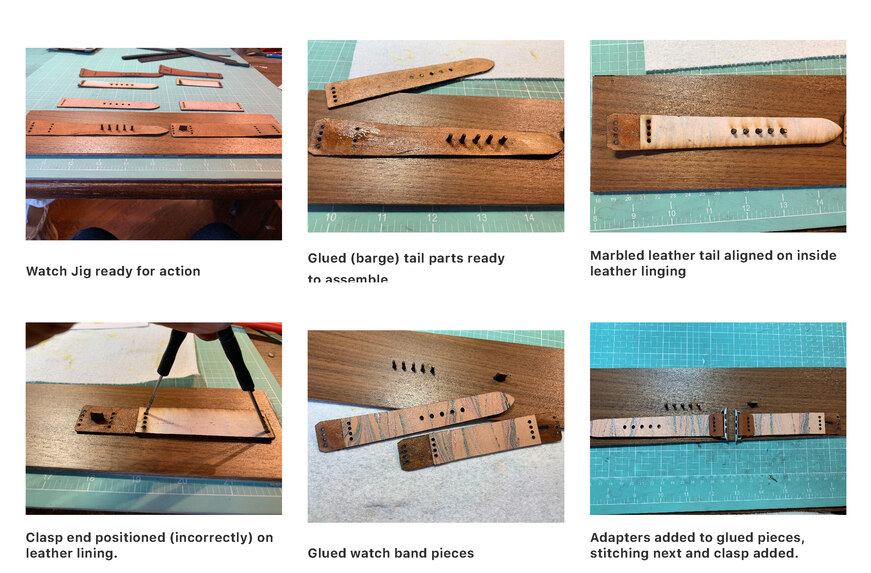
I’m trying to make a jig with GF that will help me position both pieces of leather (outer marbled leather, and inner leather) for watch bands AFTER I cut them on the GF (I tried for days to cut the composite on the GF, but it just burns up (sandwiched strap is apx. 6mm thick).
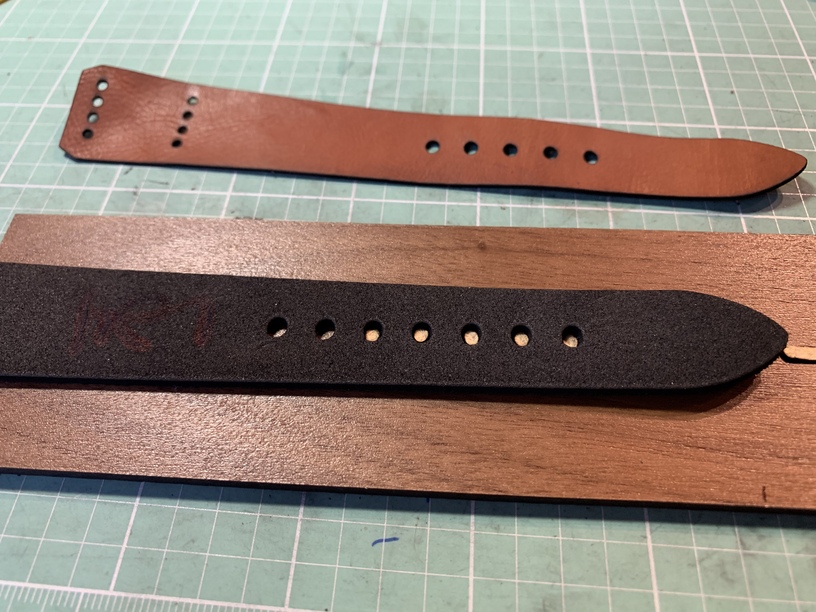
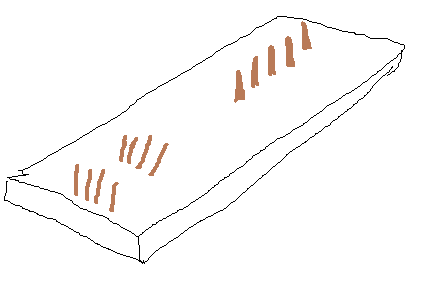
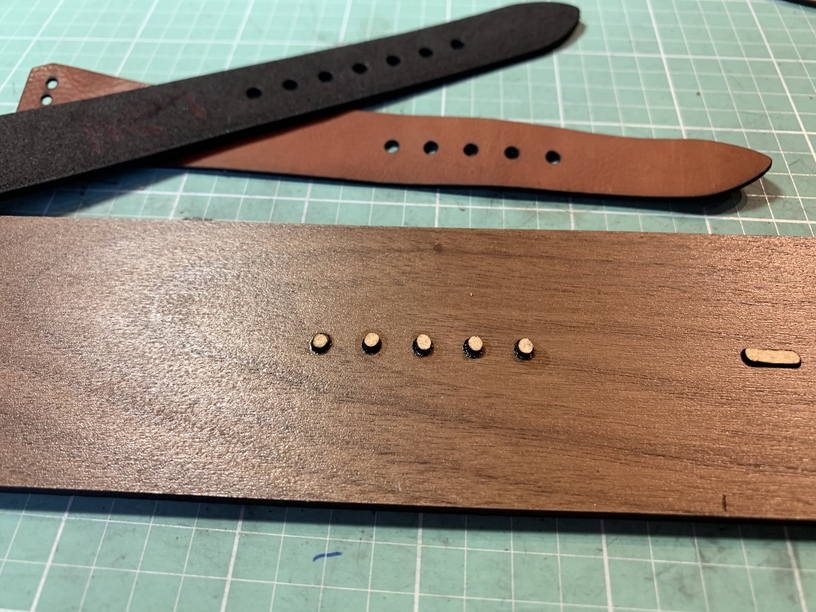
Here’s what I attempted: I engraved the hole pattern at half the thickness of the maple board to create the indention where the cut-outs of the hole models would go (see attachments). I needed thicker cutouts of the models so they would stand up when glued more than 6mm, so I cut them out with plywood. Then, I glued them in the engraved holes, but they easily broke. Idk…maybe they weakened with the settings I had to use to cut them out.
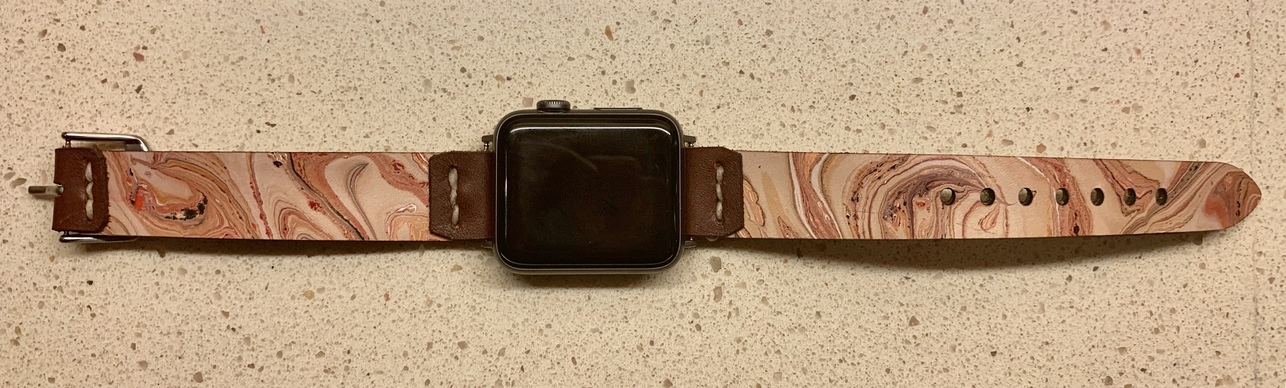
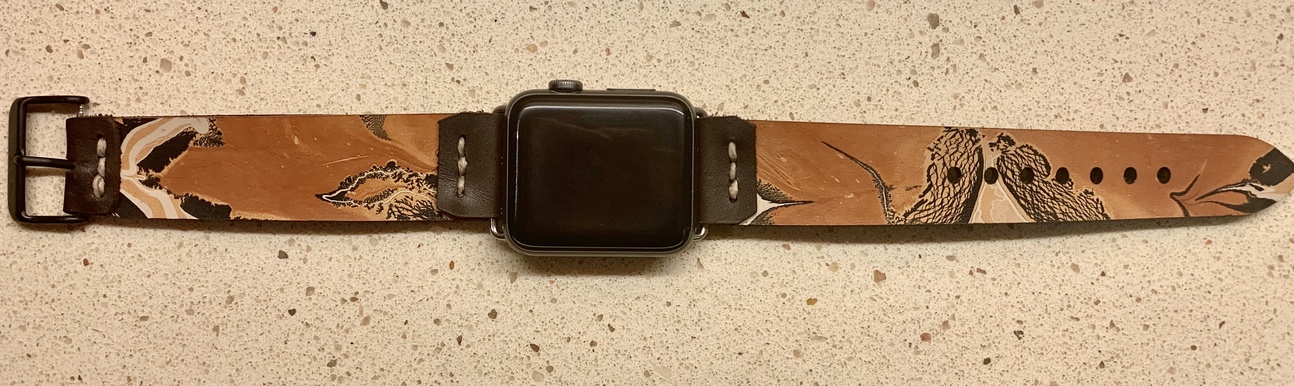
I need the two layers of leather to perfectly line up when I glue them together, and have different sizes, but the holes are all the same - so that’s why I was trying to do this. I’ve included some pics of two of the watches, but they don’t line up perfectly…
How about instead of plywood use something significantly longer like toothpicks or skewers (depending on the size of your holes) and cut holes into the base wood and glue those in the holes. You’d have the advantage of the strength of the material being along the long axis instead of pulling against the weaker material of plywood…
Thanks for the suggestion, but for the two pieces of leather to glue perfectly aligned, the holes have to be exactly the same size and shape as the cut prices of leather.
I suspect that everyone will have different suggestions.
Here’s mine: cardboard and blue painters tape.
Make your pattern.
Put down some cardboard and use magnets to hold it in place.
Score the pattern (very lightly) on cardboard. Now you know exactly where to put the leather. (At this point, ignore the alignment in the web interface. Just don’t move the cardboard.)
Tape the leather down right on top of the cardboard scores. You know exactly where it will cut, score, and engrave.
Switch from cardboard score to leather cut/score/engrave (whatever you want).
Push the glowing button and let the magic begin. (Since it’s leather, you’ll know it finishes when you can smell bacon.)
Thank you for your suggestion, but what I’m after is making a jig (with the GF) for gluing the two watch band pieces of leather together AFTER I have cut the two pieces on the GF, so they will align perfectly when glued.
I’m with deirdrebeth, why wouldn’t making a board with five, or seven, pegs in it work? As long as the diameter of the pegs and the diameter of the holes in the leather are the same you should get great alignment. You can make the board with the holes for the pegs using your glowforge. In order to find a dowel you can use for the pegs you may have to slightly alter the diameter of the holes in the leather, but not so much as to wreck the bands. I’m guessing that you’re using barge, or similar, contact cement for the leather? For the other piece you can cement and stitch before the cement sets up so you should get good alignment there.
I don’t think there is any practical jig you can make that won’t require touch up with a rotary tool and sanding attachment. But you should have great hole alignment.
Pins are used to align precision machine parts down to fractions of a mm, I can’t understand why you can’t use them to align two halves of a watch band.
The holes for the clasp to go through are 2.7mm x 3mm - tiny and oval. And, the holes and their position are the only elements that stay the same in the different sizes and styles of watch bands. That’s why I was trying to get this to work on the GF (one alignment jig).
So to verify I understand. this is about aligning the outer and “inner” bands of leather togeter at the point at which you put the clasp in place.
two options
make the hole round and use pins, that of course has been suggested before, but I would make the hole round as that should present a significant assembly problem right?
add 2 arbitrary holes incorporated into the design to produced a 6 point registration for alignment. in other words ADD 2 holes between the two rows of 4 so that the keep the sewn non round holes in proper alignment.
well that’s all I got from 2 years in a machine shop
You may not like my idea–get a good hole punch set and add the holes for the strap adjustment yourself after you have the upper and lining glued together–still use the GF to mark the location on the top layer of the leather. (Recommend a punch set use with a mallet or rawhide hammer (never steel), but there are also rotary types available for smaller holes as you need for this. And a small slot punch for the buckle, too.
And since you need to glue the two layers together, to get a good clean edge, the best way is to cut them to final size after they are glued together with a good sharp blade, else you’ll always have messier looking edges from the cutting and gluing of the layers cut on the GF first–unless you want to sand and edge coat.
(I find certain things really just take longer to do in the GF than by hand, especially after you factor in the cleaning to remove the soot from the edges of the leather and also a higher scrap rate with the GF for pinning down and/or misalignments).
Otherwise, set up a jig based on the widest width and holes, and lay the artwork files over each other for the jig width and and smaller width you want, and after aligned with the jig, ignore the wide file so only the narrower strap is cut.
Another option is to just take a piece of wood and hammer some nails into it. If they are just for alignment, then you slide the leather over the nails and glue and clamp. – No laser needed.
Is there any reason you wouldn’t want to glue the two pieces together first (rough cut to size) and then cut out on GF? Then there wouldn’t be any alignment to worry about.
Thank you for all the suggestions! You all are great!
I ended up trying my “pegs” with thick pine wood, and it worked out great!
I need to hammer in some nail holes in the clasp side of the band since there is actually nothing to align with (only the leather lining has to cut out for the clasp pin).
But, this will help immensely in production. Again…thanks so much!
