Jig to aid engraving on leather wallets

Hi all, I’ve had a rummage through the forum to find a jig that could help with the engraving of a bi-fold wallet and was happy to find a few ideas and references, however, the jigs referred to were made for engraving the inside of the wallet but I want to engrave the outsides of the wallet as featured in an early Glowforge promo (Dan’s Map wallet).

My biggest issue is that the fold creates a problem with focussing and the only other way is to simply keep the wallet folded ‘as-is’ and get it as flat as possible by ‘eyeing’ it.


I just wondered if anyone had come across a jig that was made for the exact purpose of engraving the outsides of a bi-fold wallet.

Jigs are jigs, doesn’t matter what they’re made for. in the end you just cut out or mark the exact shape you’re trying to engrave, then lay your material into it and go.

There are lots of ways to do this, each of which have varying degrees of effort and accuracy. If I were you, I’d start by working out how accurate is accurate enough? “exact”? +/-1mm? 2mm? more? How much rotational accuracy do you need?

If the answers to this are “exact exact” then it can be done but it’s more effort and tricky with “squishy” shapes like a wallet.

The second question is “how thick is the wallet when folded?” If it’s more than 0.5" then you’ll need to work without the crumb tray.

Let us know your requirements, and I’m sure we’ll have more direct suggestions.

7 Likes

Perhaps my question was a little vague in retrospect! I think I can get away with ‘eyeing’ it - as i’ve seen others do that on videos but I wondered if it was perhaps something someone had addressed before and maybe there was a file I could buy from them that would suit my needs.
I can picture it in my head but I’m not sure if I’m experienced enough to turn into a reality - perhaps I could just try with some cardboard and draw some sketches!

regardless, thanks for your feedback.

1 Like

I’m pretty sure Dan’s wallet was engraved before stitching. If you are engraving finished wallets, I don’t think it’s possible to achieve the same effect. I suppose you could rip out the stitching and engrave, then re-stitch. But I’m guessing that’s not something you’d want to do. Might as well make the wallet from scratch.

Best of luck, whatever you decide.

9 Likes

So if I have a weird shape like that, I tend to use a photo. It’s a highly one off system, but it goes like this:

I lay my thing out on the floor, sometimes on a piece of paper to enhance contrast.

I stand directly above it and take a photo from standing height. This reduces the phone camera distortion.

I take that photo into inkscape. I trace it either with the trace bitmap (if it’s a nice clean image) or just manually with the pen tool.

Ditch the photo.

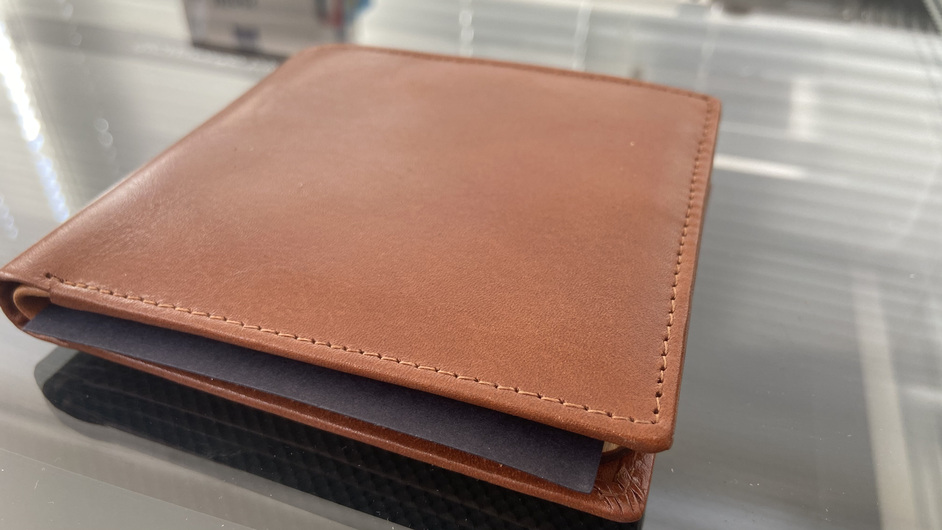
Now, measure your thing (wallet) very carefully with calipers. Scale your outline to match that size.

Now you have a perfect scale vector outline of your odd object.

Overlay your engraving art on the outline so that it’s placed just how you want it.

Save that whole mess and throw it in the UI.

Tahdah, jig plus art.

If alignment isn’t super critical (like 1-2 mm accuracy is ok) I tend to simply lay down a piece of cardstock (or paper, or even stick blue painters tape directly to the bed) and lightly score it with the outline. then I lay the wallet exactly in the resulting scored area.

Now, it’s important to ignore any and all GF camera images from this point on. Trust your jig line. The camera will lie to you, don’t be fooled. Do not move the art or the cardstock.

Turn off the score line in the UI, turn on the engrave, set the material thickness as appropriate, and go for it.

That’s it.

- Be careful when doing “edge to edge” engraves. If your alignment is off by a little then you’ll notice it. Better to design it so your engraved image is larger than your actual wallet, so the engrave goes truly edge to edge.

Also @cynd11 has a solid point.

10 Likes

Indeed, I merely referred to Dan’s wallet to emphasise the location of the engraving as opposed to the process so to speak.

I’ll get there - thank you!

Great advice thank you - I was aware of some of those points but certainly not all so yet again I learnt something new! I’m designing a medieval Wolf and Dragon design but I’ll have a background that i’ll make bigger than the actual wallet so I’ve got that bit right! It’s actually an experimental piece for my brother so if it goes wrong it’s not a big deal but I do like to get things right first time if possible so I appreciate your tips! Thanks for taking the time to help me.

1 Like

Oh one last thing:

Be super sure it’s real leather. Fake leathers are often made of PVC, and (as you probably know) lasering PVC will potentially kill your glowforge.

If it’s fake leather, don’t laser it unless you’re sure you know that it’s not made of PVC.

5 Likes

Thank you - yes I’ve looked into that and the wallets I have are real leather - although I’m not sure if it’s Veg or Chrome tanned and I’m also aware that apparently, it stinks to cut/engrave real leather so I’m prepared for that - lots of scented candles and ventilation with my 6" Cloudline Fan on Max!

As I’m in the UK I’m struggling to find laser material resources so I’m going to create a post that will hopefully reach fellow UK Forgers that may have some recommended leather suppliers.

1 Like

There are some threads here about suppliers, I assume you’ve seen them? If not try searching for “UK suppliers” and “EU suppliers” and whatnot.

Might be a different landscape now that we’re post brexit though. Who knew that might have consequences?

4 Likes

Indeed, I think the biggest issue is the lack of choice so the pricing isn’t competitive from my experience. Hoping to find somewhere cheap and cheerful (or at least reasonable) while I start out.

I’ve checked though a few posts but as you say, post brexit it will possibly be a different picture. i’ll double check before posting though. Thanks again.

I’m wondering if it wouldn’t help with making it flatter and getting a better focus to open it up rather than keeping it folded?

1 Like

Yes, and therein lies the issue as the crease/fold sticks up and creates a tented position! Hence why I thought there may be a jig or something someone had designed to deal with this issue. I’m going to work on making my own one just purely out of interest now!

1 Like

This was worthy of being bookmarked.

3 Likes

Use the hold down pins (in free laser designs)–and these may really help with keeping it flat & from moving on the bed. If you try laying it open, place it so the bend is parallel to the front of the bed (bottom in the GFUI), and less likely the head will impact it if it’s a bit high–especially if the etching is kept away from that area. (You can exceed 0.5" height of material as long as it’s out of the travel path of the head, toward the front of the machine. Anything left of and “behind” on the bed, or at the top in the GFUI view, expect the head to pass over).

A jig is only helpful if you’ll be doing quite a few of these–otherwise, the time spent creating a good jig, you’d have your job done per the great approach @evansd2 outlined!

But hope you have at least one spare wallet to test on–if not, start with power very low & speed high, and as long as you don’t move the wallet, you can repeat without moving image in the GFUI, and just increase power a bit/lower speed a tad, and etch again until you get the result you like.

It’ll be very very thin leather used for the outer of this type of wallet, so will be really easy if you have too much power to power right thru it and into the interlining (often a card stock or thin plastic stiffener, then the lining).

Don’t etch over any of the stitching!

2 Likes

Some brilliant tips there thank you so much! And I already have those pins too! Why didn’t I think of something so simple! I’ll test how it lays and will go from there with, like you say, very low settings at first!

This topic was automatically closed 32 days after the last reply. New replies are no longer allowed.