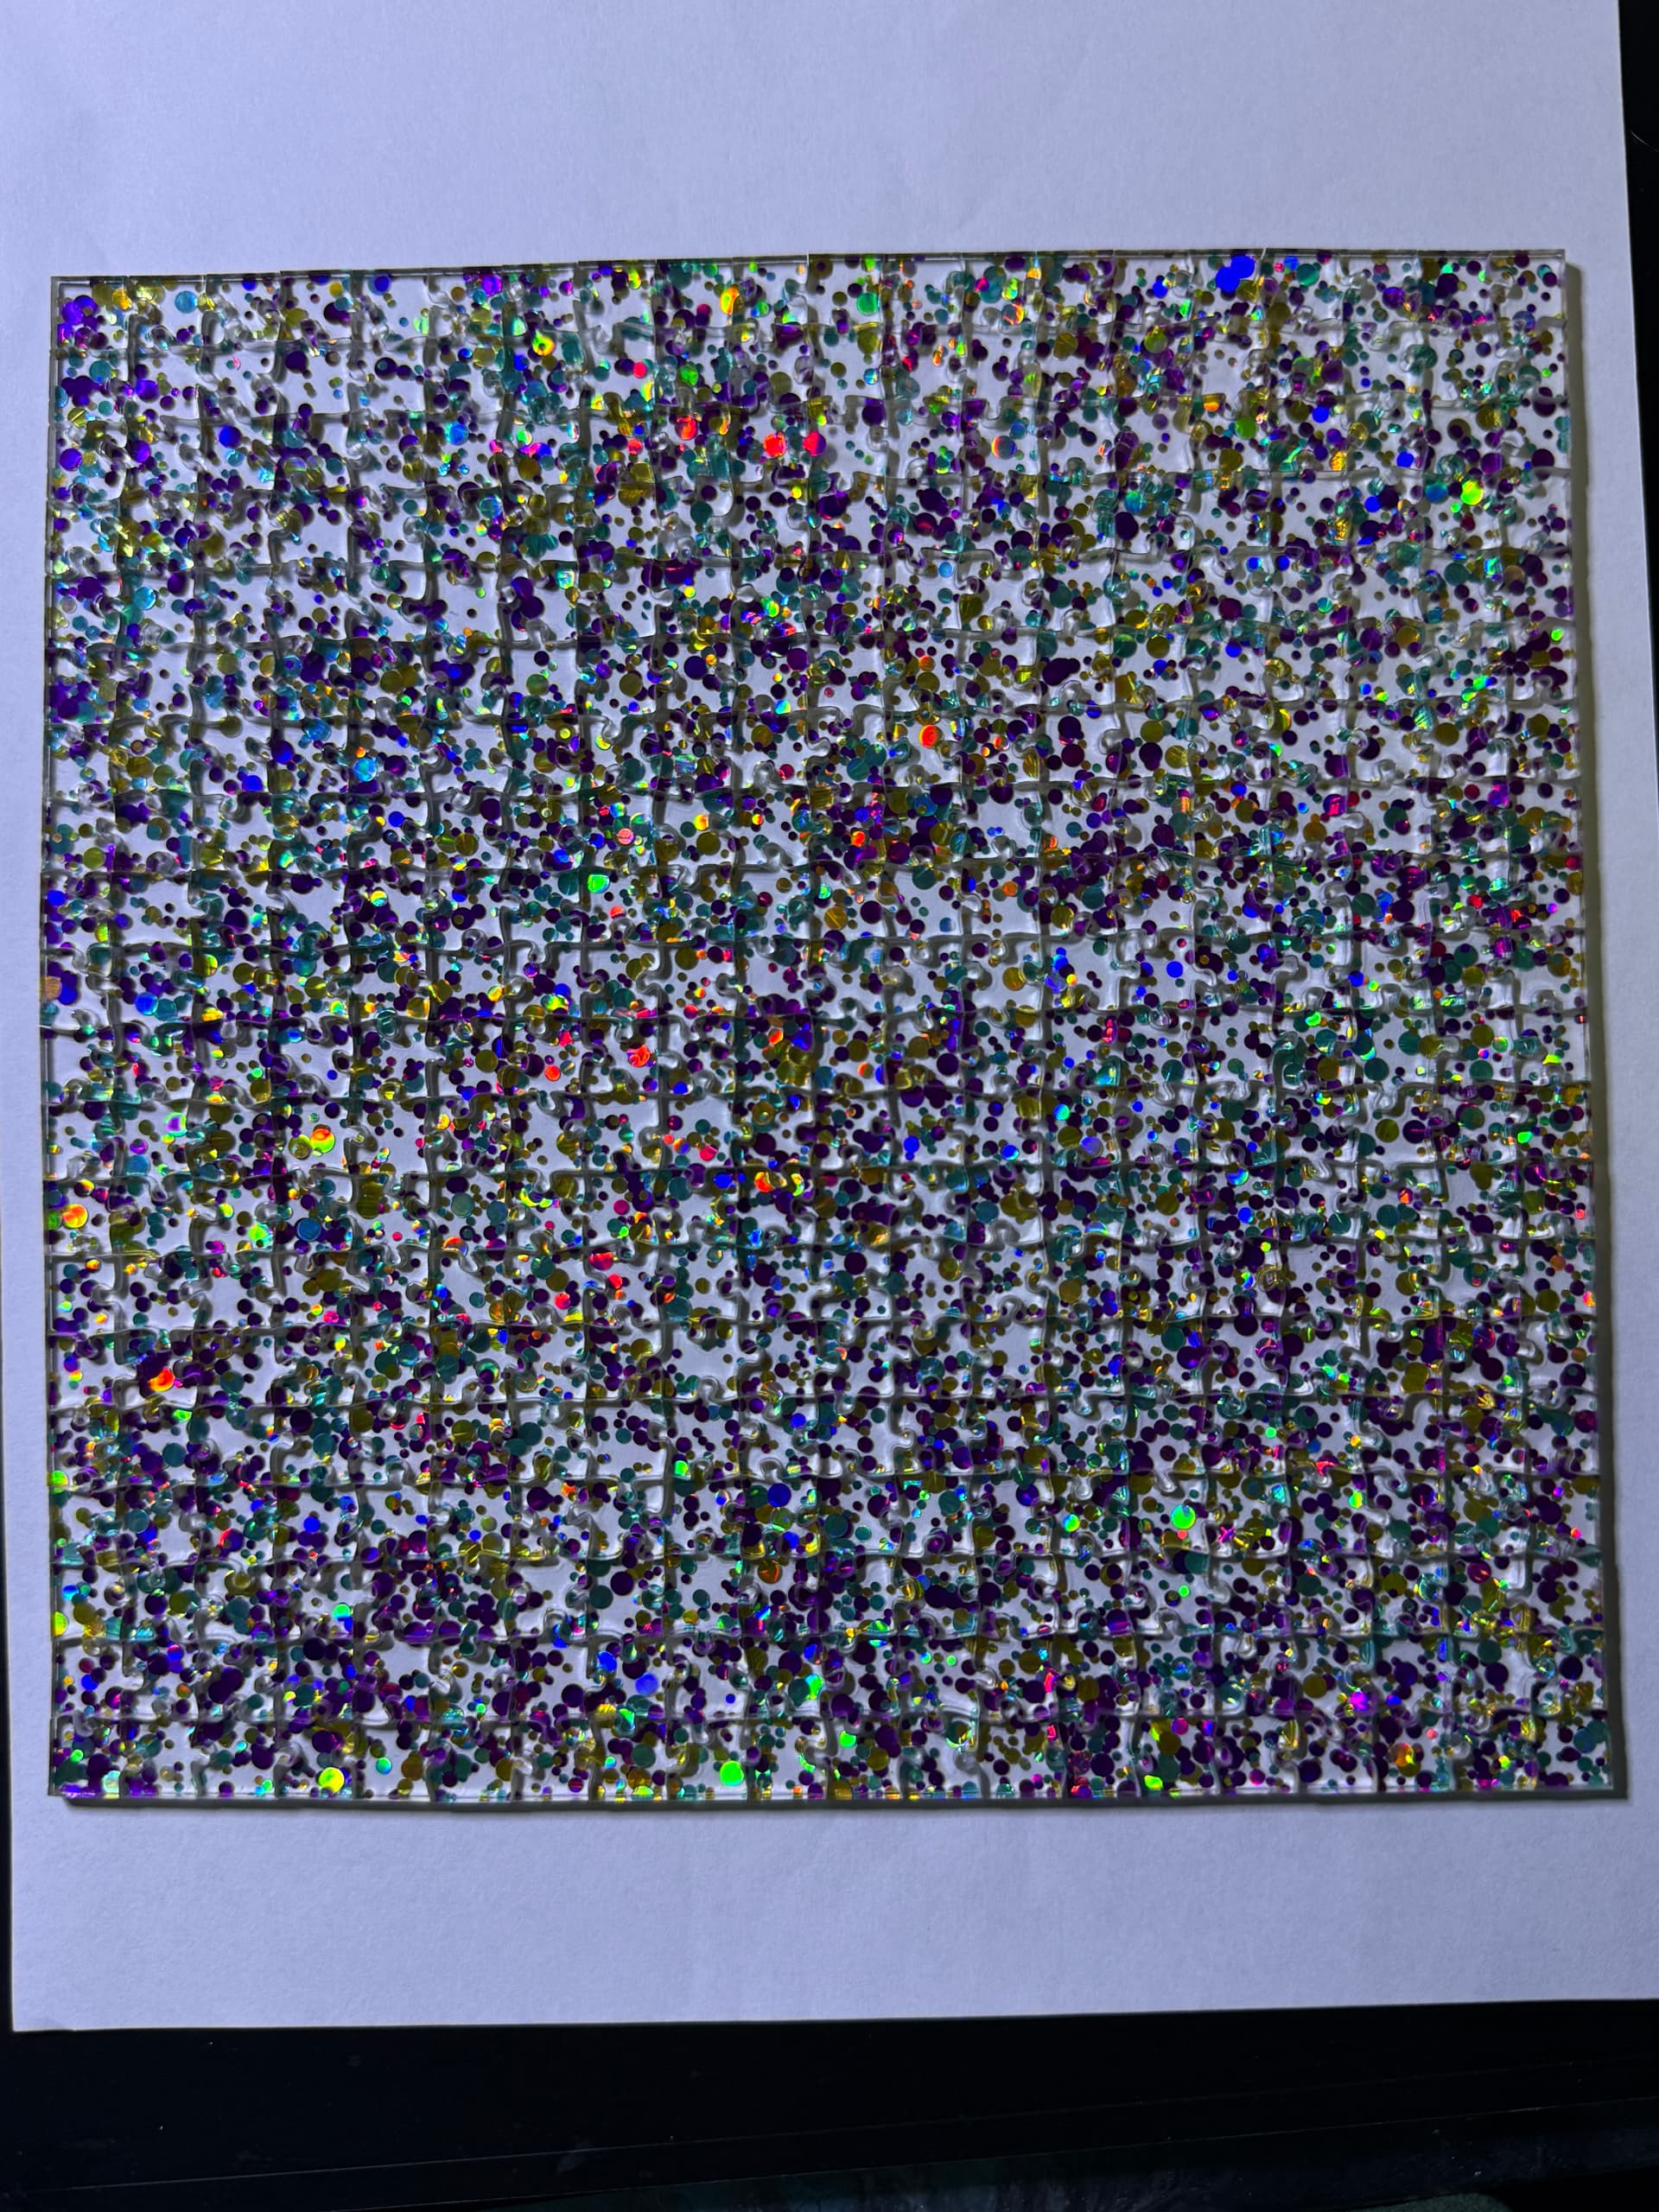
I made this “impossible” puzzle out of a designed acrylic for a friend. It is 20cmx20cm and each piece is 1cmx1cm. So 400 pieces. It looks great BUT the puzzle pieces seem to be looser than I was expected when fitting them together. The tolerance isn’t great. I understand how to calculate kerf using the jigs and how it is different between materials but how do I apply the kerf to the design and compensate for the kerf on such an intricate design as this puzzle? TIA

9 Likes
I haven’t made any puzzles of that type, but others here have. They may have other suggestions.
You aren’t going to be able to change the kerf significantly. You would need to separate the pieces and kerf adjust each piece.
I would provide a link to a kerf correction tutorial, but search is grindingly slow for me right now. You should be able to find it searching on “kerf correction.”
Update: Search is working again, but I can’t find a concise summary. The general approach I use is to set each object’s stroke width to the desired kerf correction (usually somewhere between .12mm and .2mm or .005” and .006” but varies by material thickness, type, and amount of energy applied – do some tests to get a fit you like). Then, I use stroke-to-path (which may be named something else, depending on what vector image editor you are using), and preserve the outer line.
9 Likes
what @evermorian said. making the puzzle the way you have it laid out doesn’t give much leeway for kerf adjustment. that looks like it was generated with horizontal and vertical lines instead of individual pieces. which is how i’ve always generated mine, but i make them in 1/8 or 1/4" baltic birch and the kerf isn’t an issue. i’m guessing it burns off more of the acrylic than it does of the plywood.
so you’d probably have to either recreate it in individual pieces or figure out how to manipulate that file into individual pieces (i don’t have an easy suggestion of how to do that) and then adjust each piece with some sort of offset to accommodate the kerf.
9 Likes
You cant cut them out of a single source. If you try to cut a puzzle into a single board, there’s no way to not have the kerf-gap (at a minimum) between each piece. In practice, the best way to overcome this is to cut the pieces at a distance from one another. However, this makes it harder for you to position the image you’re cutting; you have to pre-separate the image (e.g. to include a built-in gap in the image for each piece, understanding that gap to be burned away by the kerf).
One other solution, though, would be to cut every other piece, with the laser outside the line, and do that as one cut. Then, using a new blank (i.e., a second copy of the image), cut the other half of the pieces the same way. This would require you to prepare your cuts carefully, but it avoids having to line up the printed image the same way.
9 Likes
@evansd2 taught me a way to adjust the kerf that I really love. He may or may not have posted a tutorial on it, but my quick search didn’t bring it up and I have to go do stuff, so here’s my quick take on it:
As @evermorian said, to tighten it up you’re going to have to print the pieces individually and not as a whole puzzle, so the first thing is to separate and spread them out a bit in your vector editor.
Now apply a stroke width to each piece that corresponds with the kerf width of your GF on that material. There are tools posted here in the forum for figuring that out precisely, or you can start with a few pieces and experiment until you get the fit you want, which is how I would do it. I usually start with a stroke width of 0.8 pt and go from there.
Next you need to expand the stroke on each piece. That’s called different things in different software, but what it does is replace your original vector line with two lines spaced apart the width of its stroke setting.
Now you have puzzle pieces with two vector outlines each. Go to your boolean operations (the ones that let you merge shapes, subtract shapes, etc.) and break them apart so that each outline is its own entity.
One puzzle piece at a time, select both outlines and merge (boolean add) them together. (Actually you can probably merge them all at once and then break them apart again into individual puzzle pieces.)
What you’ve just done is create new puzzle pieces that are each just a tiny bit (approximately half a kerf width) larger all the way around, to make them fit together more precisely.
10 Likes
Are you using standard or custom settings?
I’ve made white acrylic puzzles using the built in setting and found the kerf to be minimal, nice and tight.
If you are upping power or reducing speed to get through that glitter acrylic that would.maow the kerf bigger - two passes at lower power/higher speed (like the but in setting) would.take longer but result in a tighter kerf.
9 Likes
I’ll try to summize everything that was correctly stated above.
As the kerf can not be “reduced”, you are left with the “gap” as it is. So the only way to tighten it up is to not print the pieces as a whole, but individually, scaled up just enough to take up that gap.
And of course, if you’re cutting from some kind of print, that’s virtually impossible - although it can be achieved with multiple copies of the original artwork. Lots of waste, though.
8 Likes
As mentioned by others, you can’t totally get rid of kerf. There is a way but you have to make two versions. I see already you have seperated it to horizontal and vertical lines and that will make things easier.
Even if you have to extend the lines to close them and number each column and letter each row. When you do that, the even numbers will be “closed” and the odd numbers “open” (between closed colums) and the same with the letters.
Here is where it gets tricky. You set the width of the lines to your Kerf (~0.01 to 0.006) and in all the verticals you go to Path > Stroke to Path and then reset that line width to 0.003 and the fill to blank and where there was one line you now have two and the fill is the area between the lines.
Path > Break Apart will make each column two pieces with fill in each piece. You will need to go to each column and make the outside green and the inside purple and to make it easier use Path > Combine for just the green ones and again for just the purple ones. Then you do the same for the rows.
Then when you cut just the green you want to save the colums and the space between them is scrap. Then you cut just the purple and the columns are scrap. This may take some mental gymnastics but in the end half will be too small and the other half be very tight.
10 Likes
ooh, i discovered a quick and easy way to convert a puzzle of lines like that into individual shapes with a couple of click in illustrator.
i opened the SVG i created on this jigsaw puzzle generator. i released the compound path and it was individual horizontal and vertical lines surrounded by a box.
then, in the pathfinder menu, i chose “divide.”
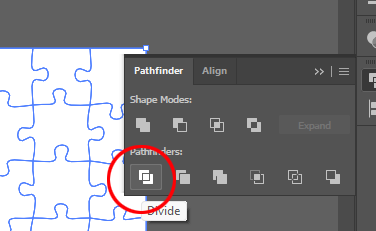
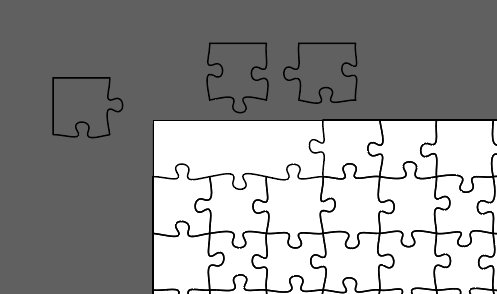
the puzzle is now individual pieces, although grouped together and with no stroke or fill. but you can ungroup and edit from there.
9 Likes
@Purplie did some crazy good work with aligning puzzle pieces to printed media. Part of his dome puzzle process.maybe he’ll dig up and share the link for us here?
4 Likes
The only success I’ve had with making a tight puzzle was by using the Offset (Outside) feature in LightBurn. You do have to have individual pieces and increase the Outside Offset by half you kerf cut size but it seems to work fairly well. I do a fair amount of text inlay work and this LightBurn feature has been a life saver.
5 Likes