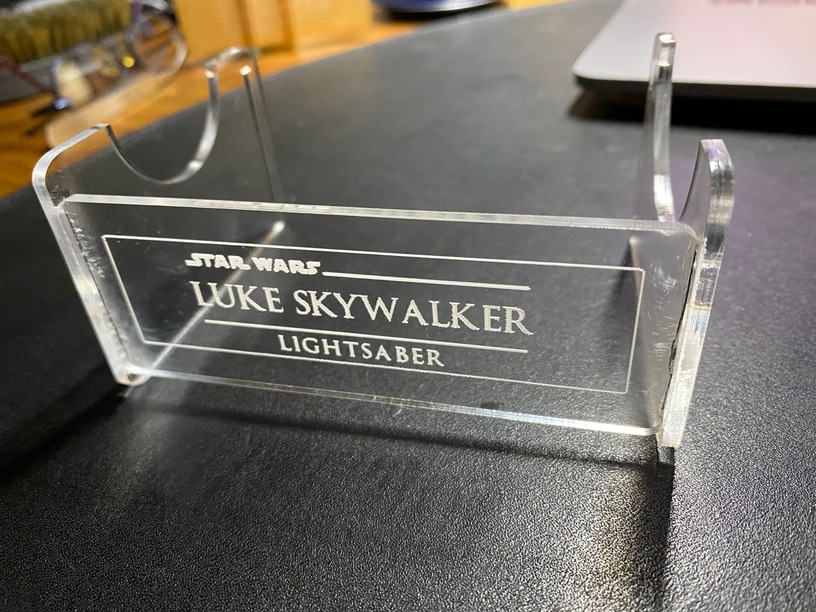
Okay. Been working on a non-Glowforge “side project” (An ANH Graflex Lightsaber)and decided to use my Glowforge to make a stand for it. After I figured out all the dimensions I cut it all out, but because of the Kerf, there was too much play for the stand to hold together. (Not wanting to waste anything and having nothing better to hold the lightsaber, I used the opposite ends and some glue, but… That just isn’t the “right” look.)
Better, but even with the masking still in place, there’s too much play.
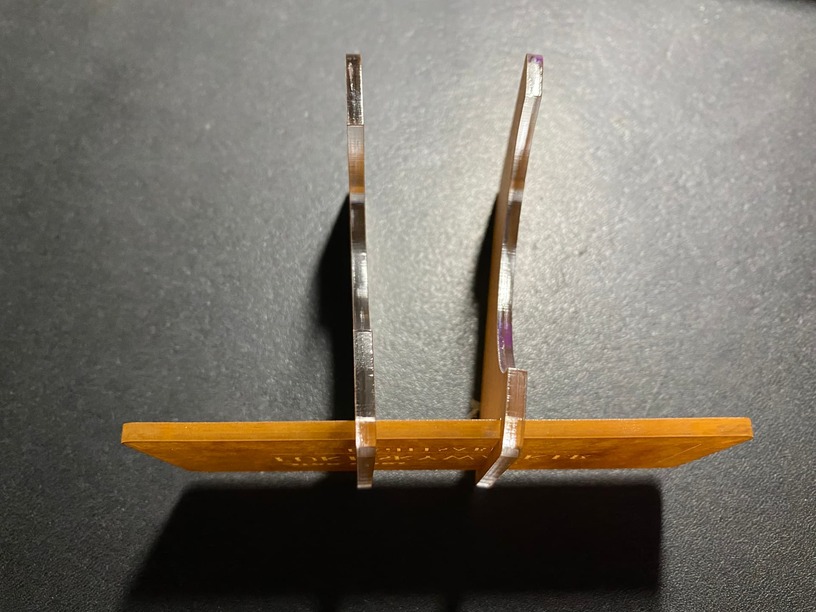
(And right about HERE I realized that the crosspiece ALSO has a kerf…)
But I think even if I adjust for THAT, the thickness of the material itself may not be exactly .125"…
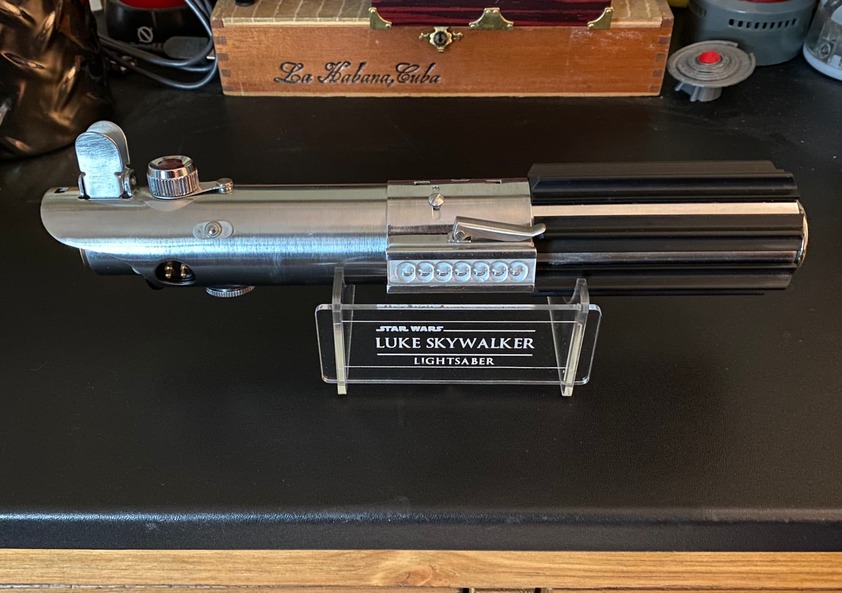
Anyway - before I burn through even more acrylic experimenting, anybody got any tips? I’d prefer not to have to glue the crosspiece in because there’s a left and right side and it depends on which movie the lightsaber is configured for as to which side the “activation box” is on… (Continuity? What’s that?)
You want to talk about a rabbit hole? Try the history of lightsabers in the Star Wars movies… ESPECIALLY Luke’s (Although Obi-Wan’s is a pretty good story, too…)
And now we return to your usually scheduled Glowforge comments.
Acrylic requires measuring every time with good calipers if you are going to get a press fit. One is that thick acrylic has a good sized draft from bottom to top and what is tight at top might be loose at bottom. Also acrylic sheets can vary in thickness depending on where in the sheet you measure. I always cut some tab and slot coupons out to test and then adjust for kerf.
This is a deep rabbit hole and there is lots of lore on this, but exact measurements and testing is important.
I’m with @marmak3261 here. If I’m not sure about the slot width I need I just cut a couple of quick kerf gauges. Here’s a link to a couple of examples:
Although I STILL might want to go in and tweak some things. (If I add a wooden base, it would help lock in the position of the uprights and make it more stable…)