good job, getting outta that doghouse!  i’m sure she loved the gift and the sentiment!
1 Like
I made the box, but as soon as the GF cut the intricate top out, it warped. I hoped putting it all together would hold it straight. it didn’t. so i have a gorgeous box with a warped lid.  BUT, it is there to hold all the little pieces i’m gathering that i may want to make earrings from later.
  all good! thanks so much for a gorgeous piece!!
Rae
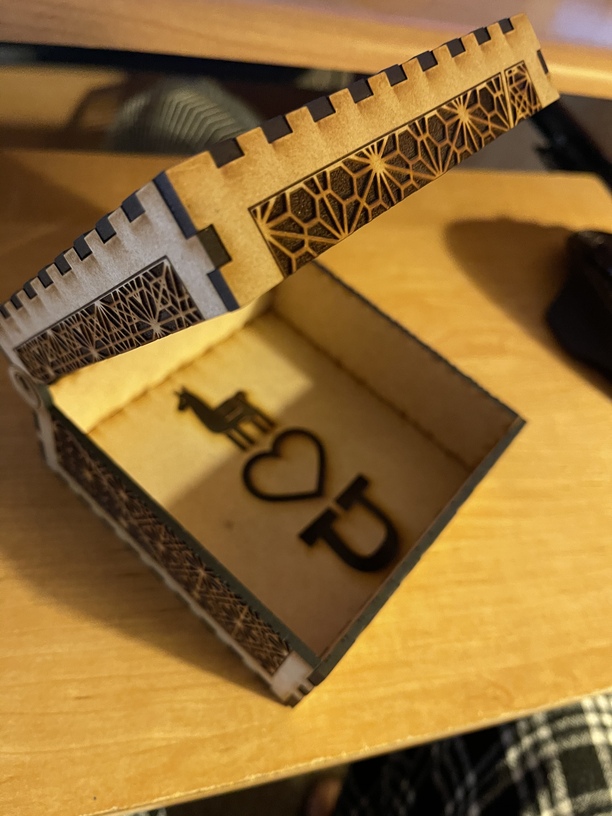
Hi @geek2nurse, You know I am a big fan of you and all the support that you give to the community. I have made several of these beautiful boxes. I did a little research and learned about the Kumiko style and how the practice is performed today. With all that being said, on my first box I made the mistake to cut the score lines. As it turns out, its my favorite box of all time. I love how detailed the pattern is, and that the open edges along the lid and box lines make the box seem even more fragile. You always love getting the most out of your projects and material. This was a great add for the community. I wish I had the skills to pull something like this of and post it in the Freee Laser Designs section. Maybe one day. Until then, THANK YOU… FROM ALL OF US!!!
Mike
14 Likes
Beautiful design!
1 Like
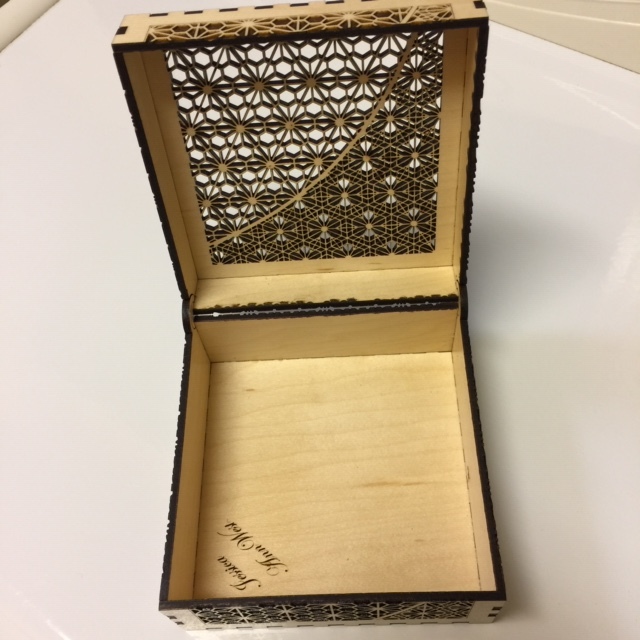
Thanks for a great project @geek2nurse! I’m new to the GF (Christmas present to myself), so this was a big project for me. Fortunately many other community members tried you box and documented their project, so I learned a lot from those who came before. The rubber mallet really help (thanks for the tip). I used Proofgrade Medium Maple Plywood. The kerf was tight enough for the box to hold together well, but I used very small dabs of wood glue every other tab on 1 side, just to add long term strength. Putting the hinge “rings” on was the hardest part; as soon as the hold found the pin, I used the rubber mallet to tap it on. The hinges were tight and squeaking, so a rubbed on a bit of beeswax and that helped immensely. The box is a gift for our daughter in law, so I engraved her name in the bottom of the box. That’s my report! Thanks again!

10 Likes
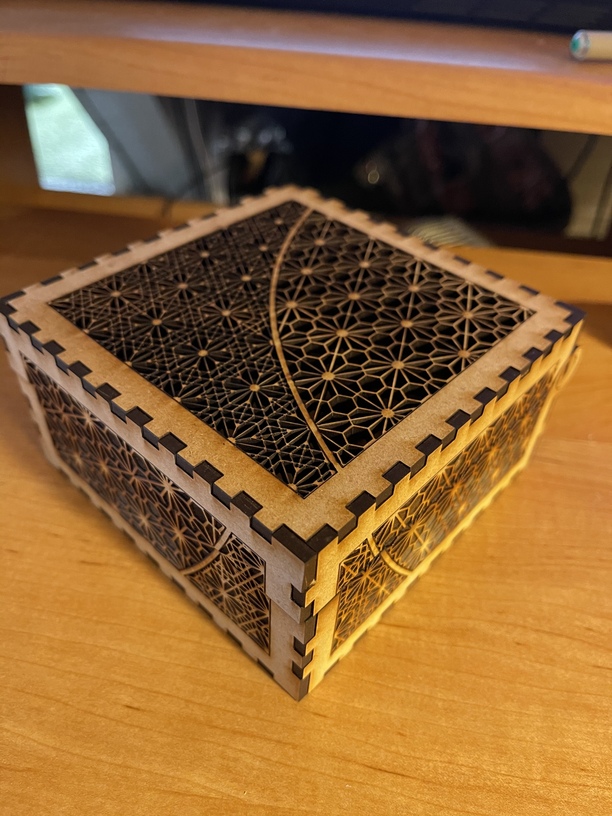
I just made this box yesterday. I too am new to the world of Glowforge so getting to do something like this was an honour. I have to say, your design is a work of art and I truly appreciate your willingness to share. I didn’t adjust anything and was amazed at how well it went together. I’m curious what you did use as your tolerance to get it that snug. Anyway, thank you again.
10 Likes
Can’t remember specifically for that box, but I usually use a kerf of something like 0.007 inches or so. 
2 Likes
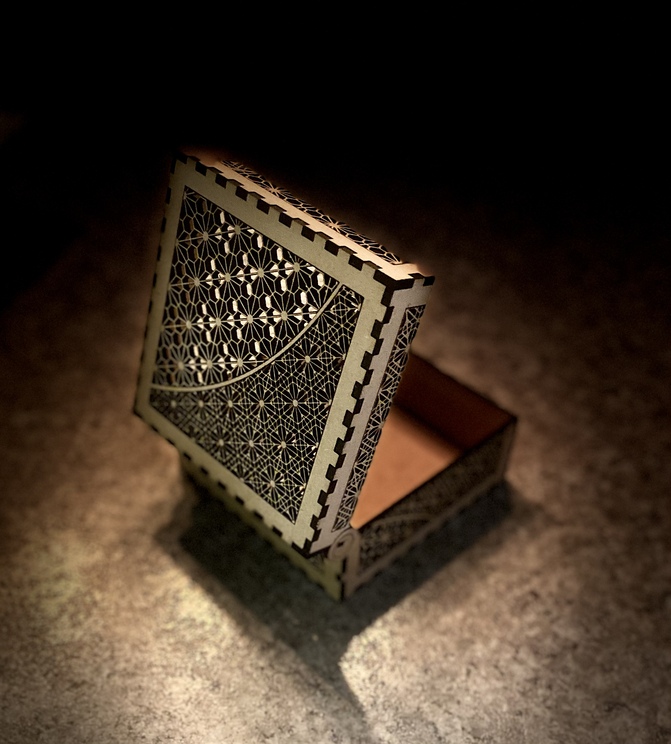
I can’t even see the seam when the box is closed.
1 Like
Nice photo; I love your combination of lights to make the box the focal point w/out the spotlight effect.
1 Like
Well all I know is it’s a fantastic design.
1 Like
Thanks but I have to give credit to my iPhone 11. Portrait mode with Stagelight. Shot the picture on my counter with the normal kitchen lights on. Incredible what these things can do.
3 Likes
Thanks! I just followed everyone’s suggestions and I was patient - more than usual. LOL!
1 Like
beautiful! Thanks for sharing
Thank you so much.
1 Like
wow that is AMAZING
1 Like
Thank you for sharing - great job!
1 Like
This has to be the most intricate box I have ever made on my GF. Thank you soo much for sharing. I am new to the GF family and sit in awe when I read all of your post throughout the community. I truly felt like a super star when I was able to cut this out. Again, thank you very much!!!
3 Likes
After contacting geek2nurse I have created a derivate design. It is a smaller version of the Kumiko Box. I have also had problems getting the lid to align properly on the original design and am working on a version of the origin box with a different hinge.

8 Likes
2 syllables… GOR GEOUS !!!
2 Likes