Laser exhaust with flap to close or open the air

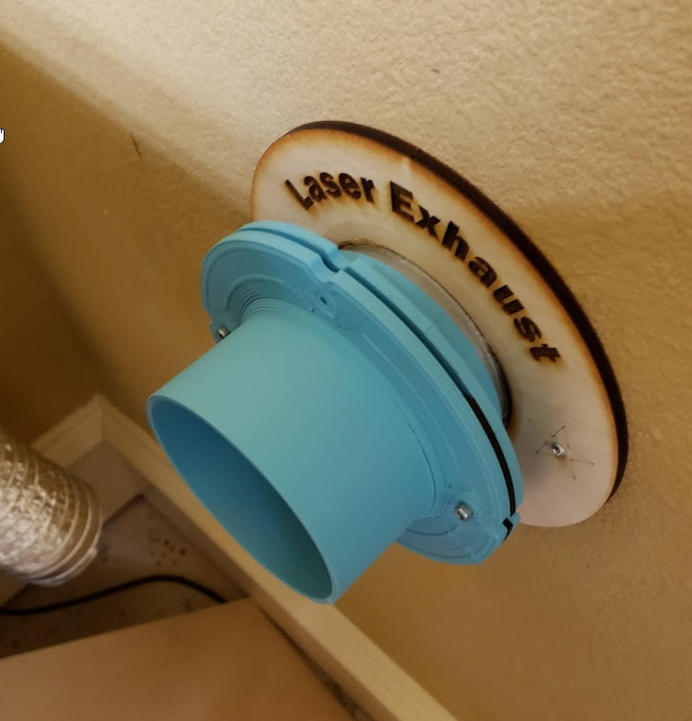
I have a 4" pipe to vent the laser exhaust through the wall. But I was getting tired of connecting and disconnecting the hose to protect the laser from the air outside when I was not using it.

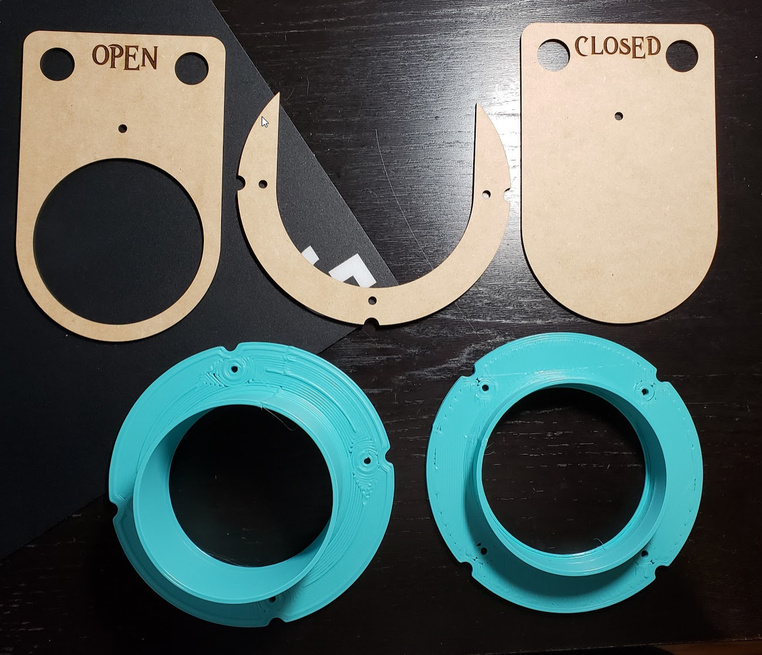
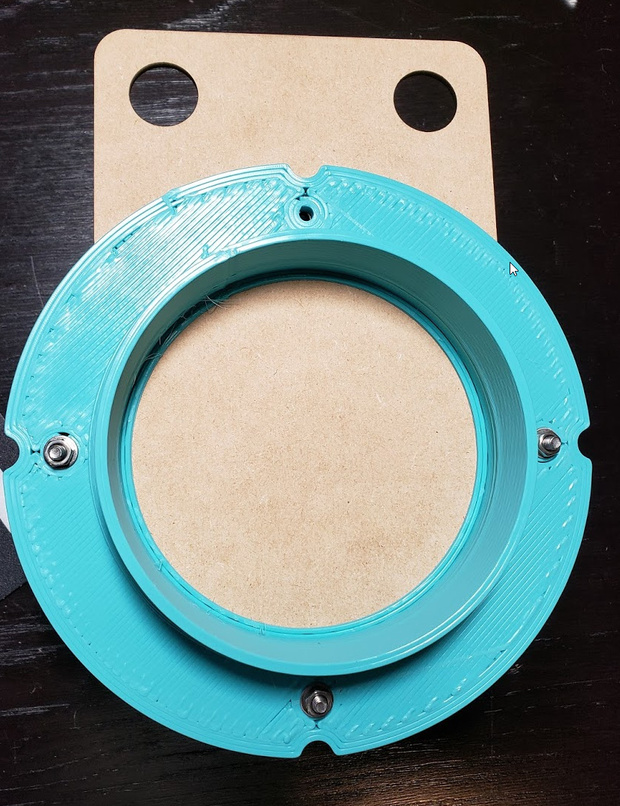
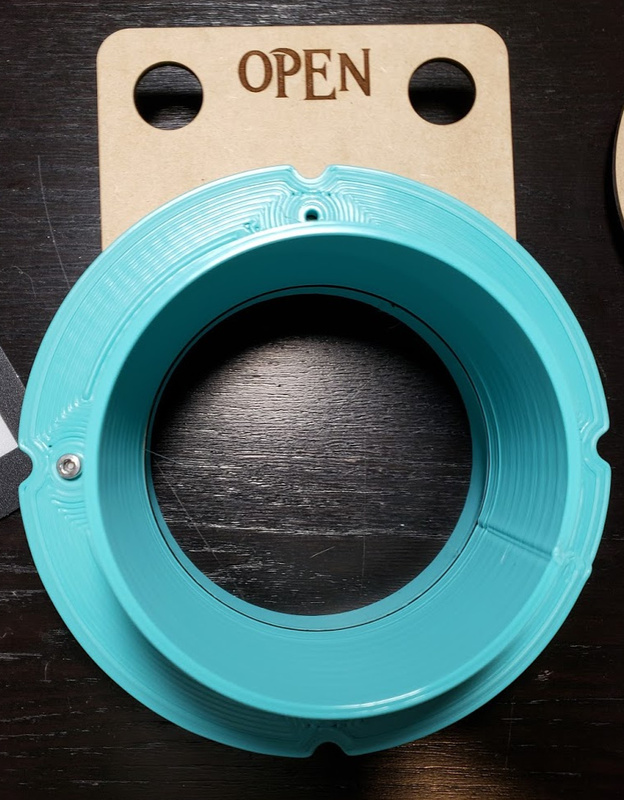
Here is a solution. It is a combination of 3D Printing and Glowforge laser.
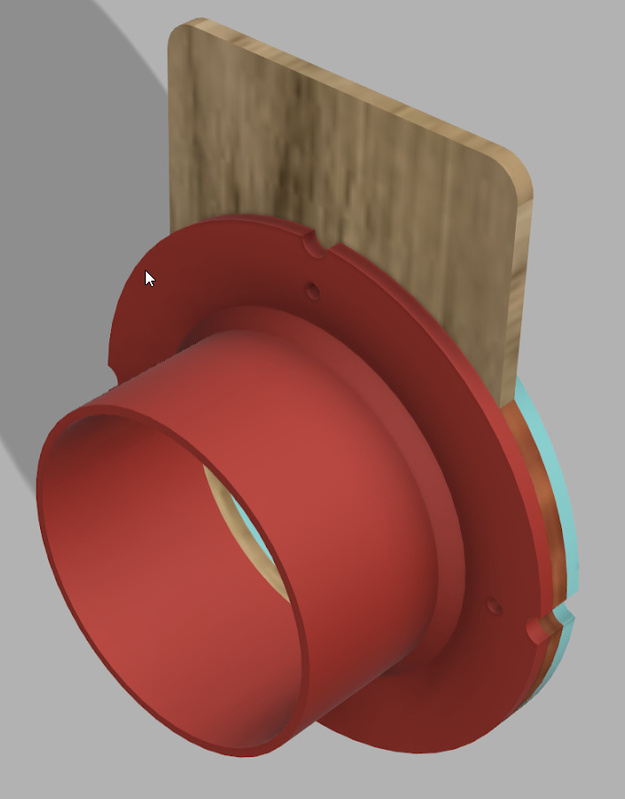
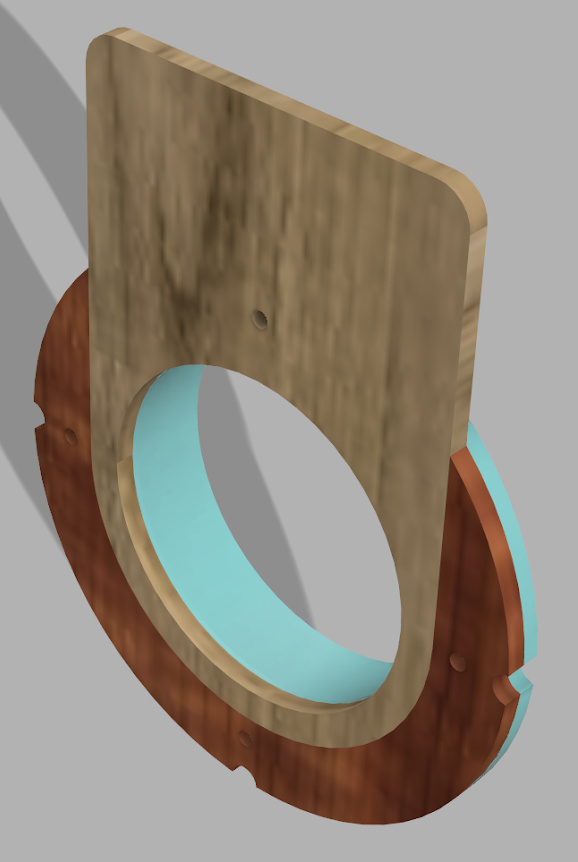
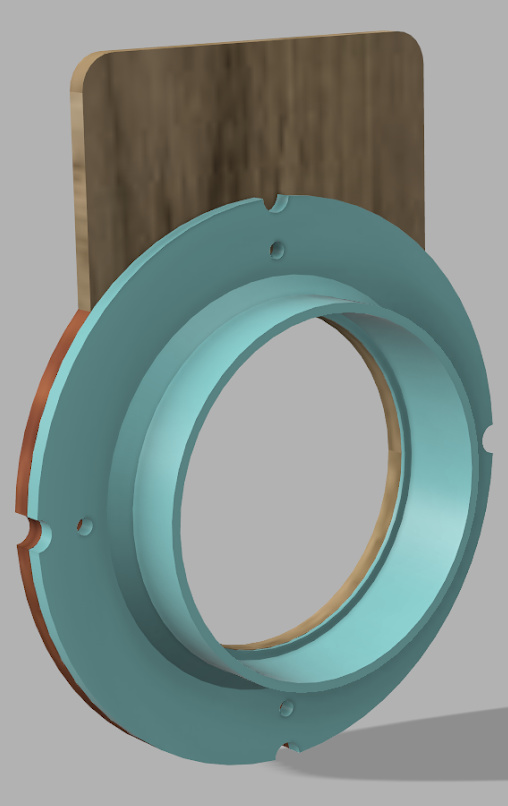
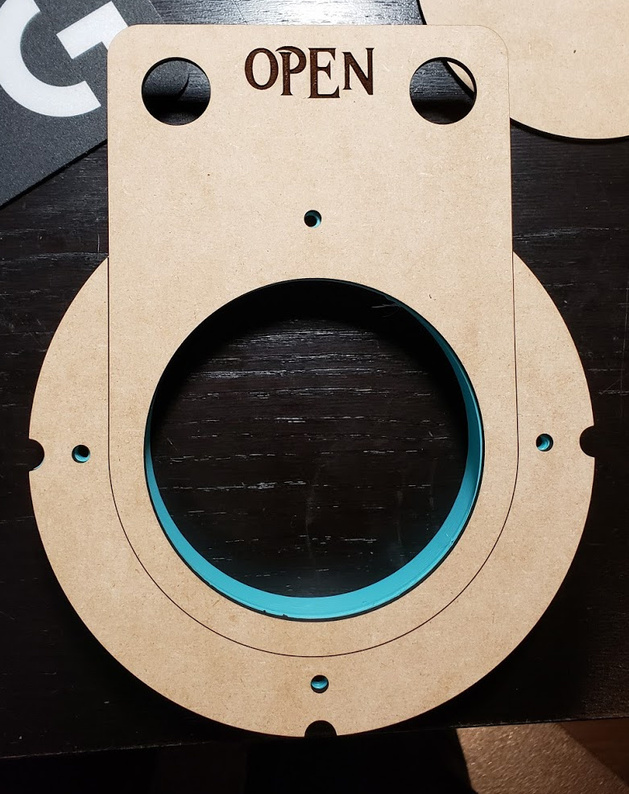
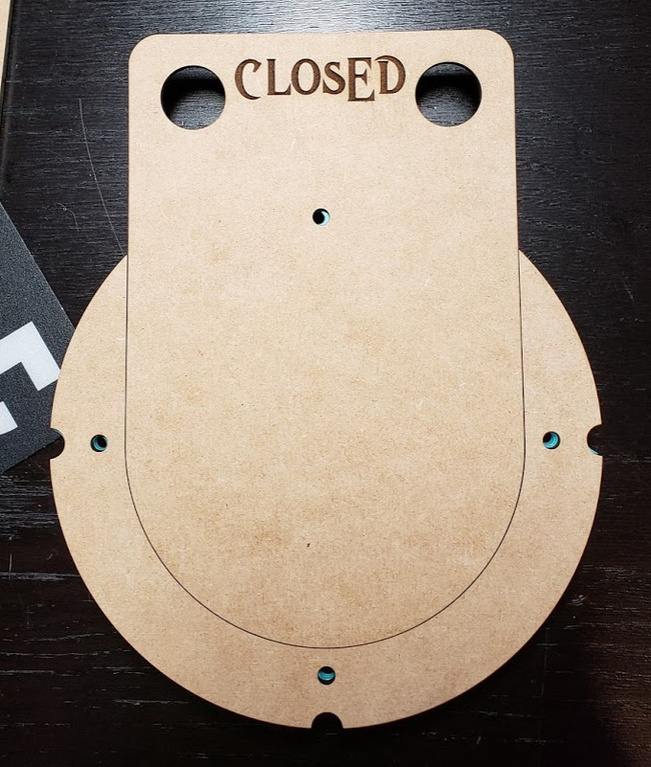
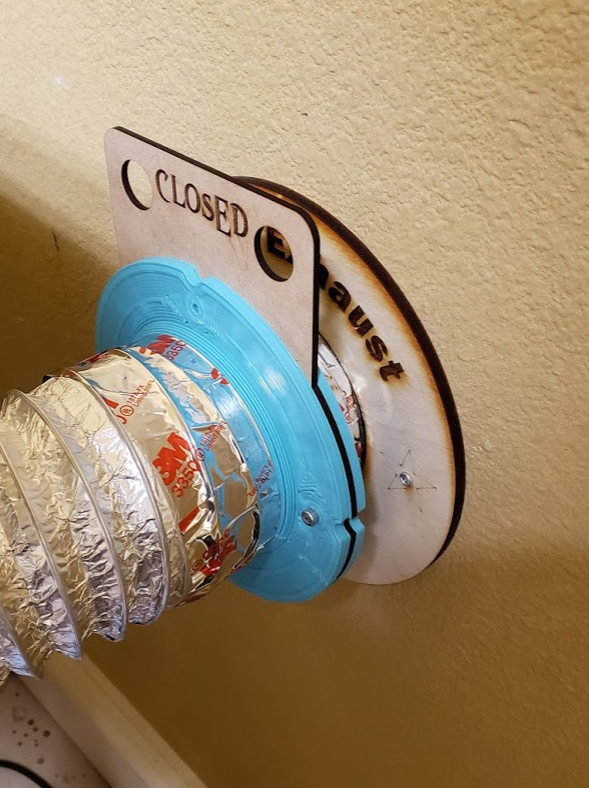
I needed it to be able to connect to 4" pipe extending from the wall, connect the flexible hose from laser and to be able to close/open the air without disconnecting anything.

Here is the solution I designed:

The wood pieces are laser cut from medium draft wood. The plastic pieces are printed.

The assembly design:


Flap inserted to open the air:

Flap inserted to close the air:

3 screws to put it together:


And connect to the wall and hose:


Now you can swap the flaps to close or open the air flow.

Fun project to make life easier.

37 Likes

Excellent solution! :grinning:

That is a great solution. Love how the Glowforge and a 3D printer can work together like this. Nice designs skills.

I love how this design works, and I needed to find a better solution that my current out the window setup. I unfortunately do not have a 3D printer, I however do have 2 4" closet flanges (toilet rings), so I may try to rig something up the same way. Thank you for sharing this.

You can buy these for around $10.

https://www.amazon.com/gp/product/B00LPPF0S6/ref=ppx_yo_dt_b_asin_title_o06__o00_s00?ie=UTF8&psc=1

Thanks!

Yep that should work too. Thanks.

Thanks.

Yeah … but where’s the fun in that?

4 Likes

That’s some really clever engineering. No leaks?

Nope. The flap insert is about 10 mm larger then the inner circle allowing for tight seal.

The spacing is determined by thickness of the flap material which is slightly compressed by the screws.

3 Likes