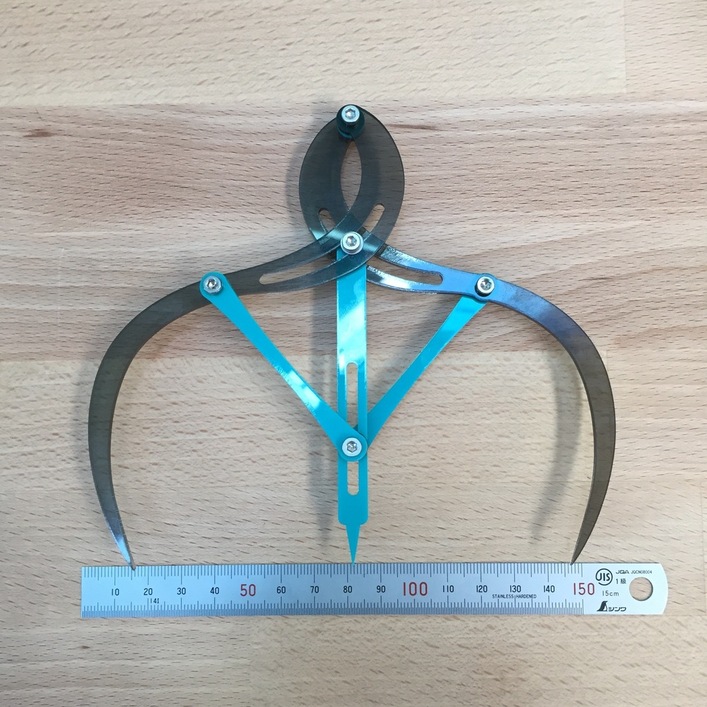
That central bead slotted into each arm is mechanical genius.
2 Likes
I’ve been using Illustrator for a long time David. If you have the time and reason to practice, you’ll be just as fast!
1 Like
… wacom tablet makes it pretty easy 


2 Likes
Thanks Nick!
I look forward to seeing how your tool design evolves! Looks like you pretty much have it nailed down.
At some point I’ll have to duplicate it!
@jbv - Thanks!
I had one years ago, practically wore a hole in the surface. It had a serial connection and the computer was ISA architecture- that’s how long ago.
I have been wanting another one… and justification is stacking up!
2 Likes
Those are pretty sexy 
1 Like
It’s one of those tools that’s kind of magical when you touch it!
3 Likes
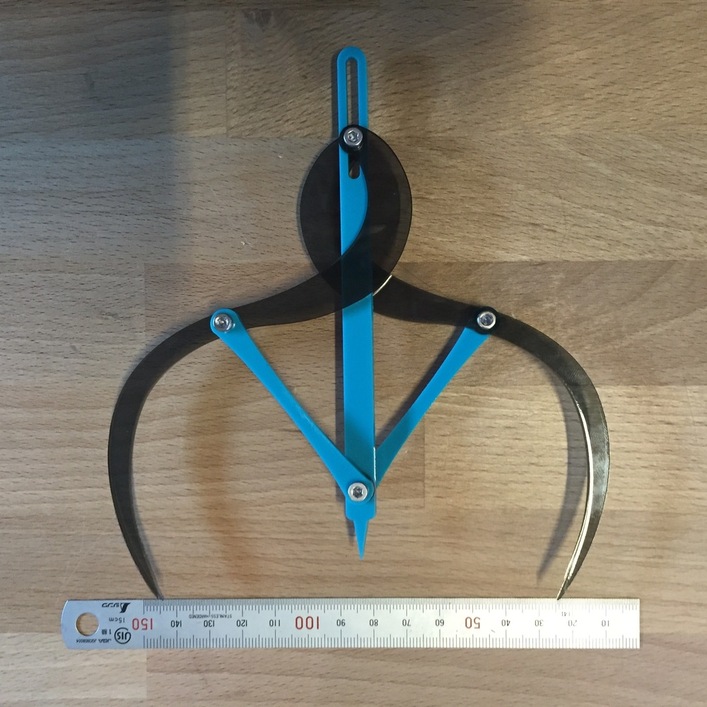
Days late to the party as usual but wouldn’t this do what you want by having the top hinge be in the slot, and the bottom point be fixed?
Somewhere in the 1700 linkages there is an optimal solution!
http://makezine.com/2015/04/20/understand-1700-mechanical-linkages-helpful-animations/
7 Likes
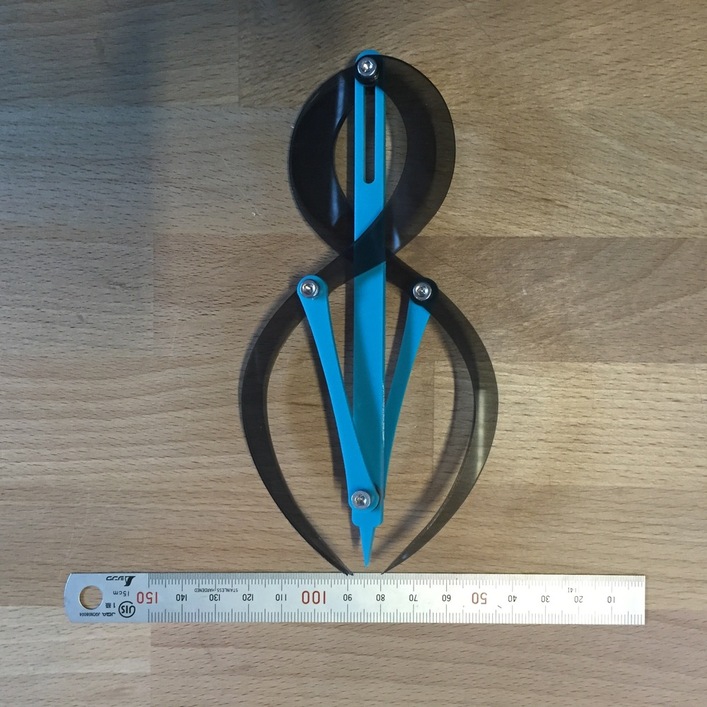
This iteration has a lot of potential I think. I need to fuss the curves a little (unless someone can explain the math behind them or knows a good Mac compatible simulator?) as the central pointer is not aligned with the tips of the arms throughout the full range of motion.
4 Likes
Thanks for that link, Marion! I’ll slowly work my way through and see if I can find my answer!
1 Like
I really thought you had it…
For me to explore it, I would have to model it in a flexible material that would allow manipulating the curves to explore and understand the relationships between the three across their range of movement.
Who doesn’t love a good puzzle?
This is where working in a “real” cad program versus Illustrator makes a huge difference. If I get a chance tonight I want to model this in OnShape with constraints. then you can tweak and test right in the model. 
My guess is that there is a set of curves which will translate to a perfect linear relationship between the points. I don’t think they are circles though, so you may need ellipses to get it right.
There are some really cool javascript motion simulators to play with here: http://www.mekanizmalar.com/menu-linkage.html
5 Likes
Wow, @jkopel. That is a great link. Hours and hours of time sinks. Somewhere in there is the answer. And @madebynick, cool development of an instrument showing prototyping skills!
That would be awesome, Josh!
I’ve got my OnShape account up and running but haven’t had chance to sit down and look at the program in detail yet.
I think you’re right about the ellipse. The curves in the current model are not uniform in radius. I simply drew them over layered drawings of the linkage in it’s various positions.
1 Like
Want to post (or email) your .ai file or an svg?
That would be a great starting point.
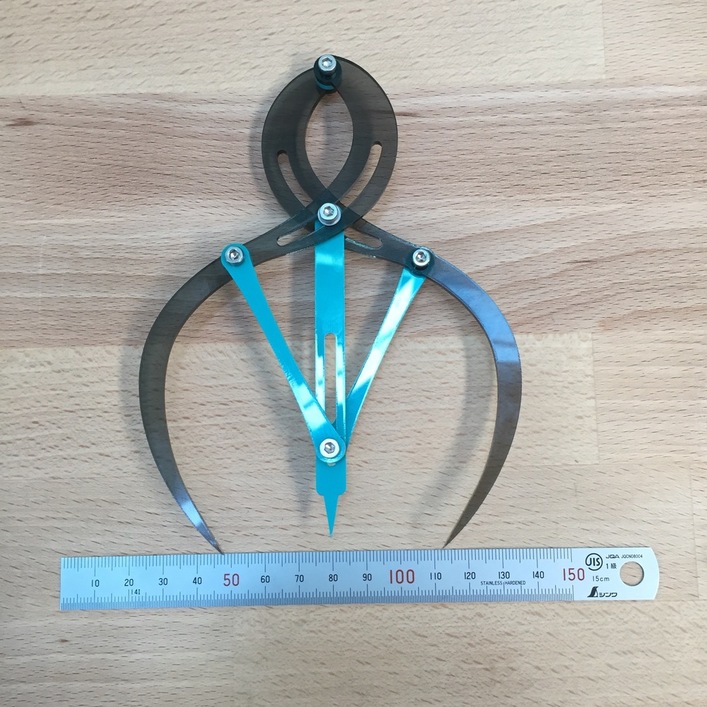
I suspect attachment points and curvature. All the symetrical and complementary angles look to work out if you have 3 pieces Identically lengthed to the center and then the two arms all straight. I think the design following mine will give you the widest range of motion though. Bringing the center post all the way up could possibly give you better ergonomics though
If I make one of these I would have to add this functionality into it. I would mainly use this for comparing two depth points on an object I sculpted, but the middle would have to change depth as these aren’t always flat objects…
1 Like
As, I’m sure, most of y’all know, there’s a spinoff thread dedicated to this tool. I bring it up because up until about 30 minutes ago, that’s the only thread I had seen. Here’s a link to the other thread in case anyone has missed it…
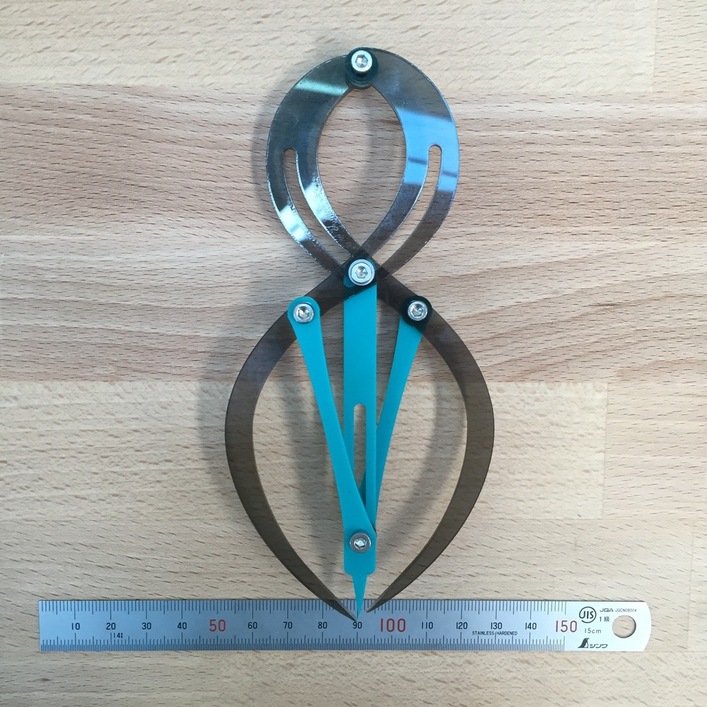
In that thread CAD was implemented to a larger degree which aided in the discovery of the exact shape necessary to maintain alignment between all three points at all times.
3 Likes