Hi everyone!
After getting many questions from the community about my process for making leather products on the Glowforge, I wanted to write a brief tutorial and go into some detail with tips and tricks I’ve learned along the way. I was hoping to post this in the "Glowforge Tips and Tricks" area of the forum, but I haven’t obtained the "regular" badge yet. As an example project, I’ll share a bifold card wallet that I made on the Glowforge and gave away as a gift.
Anyhow, here’s a tutorial on working with leather in the Glowforge!
1. Sourcing Leather
This is probably the most asked question that I get about my leather projects on the Glowforge forums. For many of you who have researched types of leather to use on your Glowforge, you’ve probably heard about the various tanning processes out there. To be brief, leather is tanned to remove the water molecules from the collagen of the skin and replace it with tannins. This prevents the leather from becoming stiff and inflexible among other things.
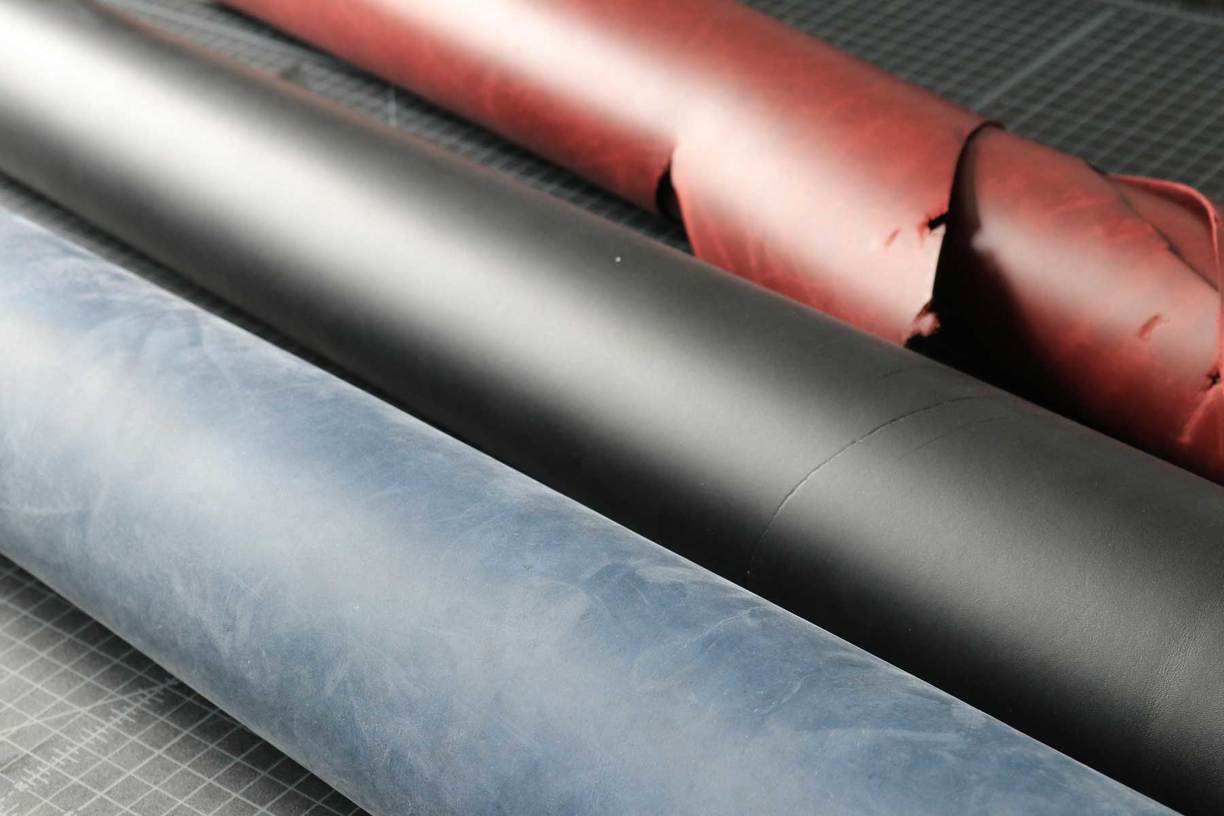
The most frequently used one is vegetable tanned leather which is a process that uses natural products such as tree bark and others to tan the leather. Vegetable tanned leathers generally come in a natural color that’s off-white and close to a beige. These leathers can be dyed and finished as desired. This process takes a long time for tanners to accomplish and are very high in quality. Generally speaking, vegetable tanned leather is typically more expensive than leathers that have gone through different tanning processes.
Then, there’s chrome tanned leather which uses chromium in the tanning process because it speeds up the tanning process. Chrome tanning leather can be achieved in about a day whereas vegetable tanned leather can take a few months. These leathers usually come in a variety of colors and finishes ready for cutting and assembling into a product. However, due to the use of chromium as one of the main ingredients in the tanning process, one has to take caution when laser cutting these types of leather.
Therefore, if any of you are contemplating the use of chrome tanned leather in your next Glowforge project, I urge you to reach out to the manufacturer and ask about their tanning process and whether it’s safe for laser cutting.
With that being said, if you’re planning to use vegetable tanned leather for your projects, you can find quality leather at Tandy Leather Factory and other places as well. You can also search these forums and find other places that carry good vegetable tanned leather.
Personally, I use both vegetable and chrome tanned leather for my projects (both hand cut and for prototyping new products on the Glowforge). After reaching out and having discussions with the distributor over at Acadia Leather, I’ve decided to take my chances with laser cutting leather from this company.
Make sure you understand the risks involved with laser cutting certain products and research them before putting them in your Glowforge.
2. Selecting the right leather weight

The next big question that I get here on the forums is my laser settings for cutting leather on the Glowforge. Generally speaking, this varies between the different types of leather out there and honestly, it’s best to have a test cut for any new leather. When purchasing leather for your project, you’ll see leather distributors provide different weights in ounces. A good rule of thumb is that every ounce of leather is 1/64 inches in thickness. Therefore, a piece of leather that’s 4 ounces is about 1/16 inch thick.
Why does this matter?
Depending on the leather project you’ll be making on your Glowforge, you will need to consider varying thicknesses that match the project. For example, a wallet generally uses thin leather whereas a tote bag will use thicker leather. As the leather gets thicker, the Glowforge’s cutting settings will need to be adjusted to accommodate the extra layers of flesh to cut through.
If you like a leather that you find, most companies will offer a splitting service for a small fee which means they can cut the leather down to a lower ounce. This is very helpful if you know you’ll be using a whole leather side to mass produce a specific product. If a company doesn’t offer splitting services, you can also learn to split leather on your own, but this generally requires purchasing a splitting machine.
3. Laser cutting tips and tricks
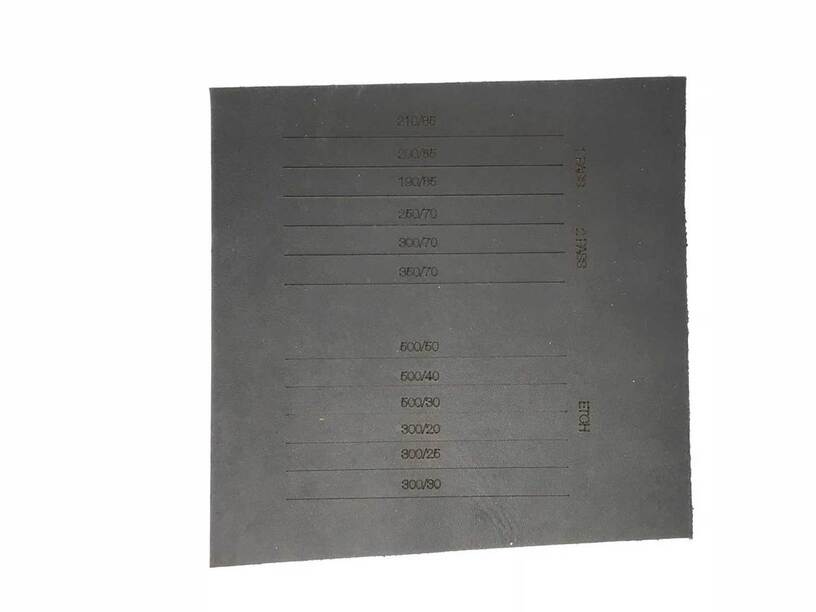
First and foremost, when you’re starting a project with a new leather, I highly recommend having a template with standard cutting settings as your first run. This will become a template for you to work from on this project and future ones. Eventually, you’ll find optimal settings that work well with different ounces of leather.
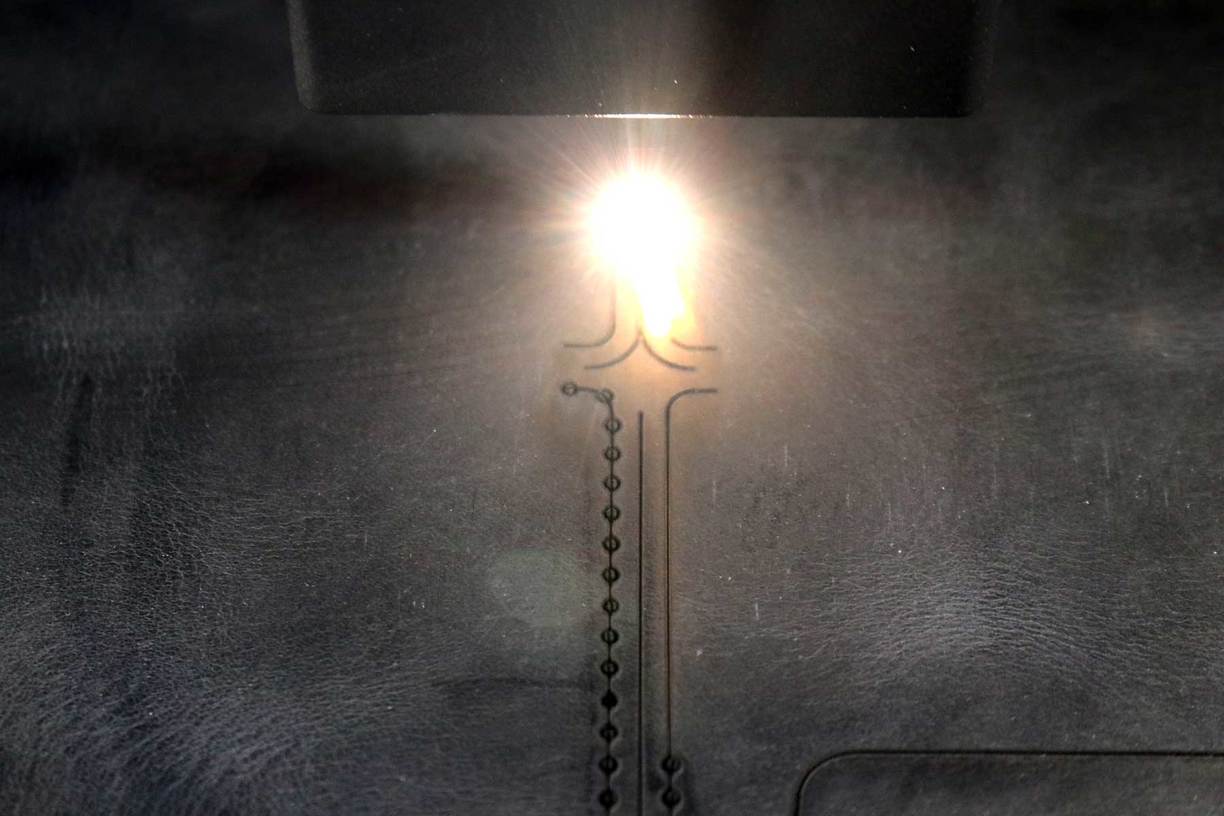
Second, avoid slow speeds and high power for cutting leather. The higher your cutting power and the slower your speed, the more charring you’re going to get at all of your cuts. In addition, this can also make your leather catch fire (especially at stitching holes if you’re laser cutting them) and it can also splatter the oils on leathers that have been prefinished with oil. Therefore, as you get thicker leather (higher ounces), you will want to consider multiple passes at higher speeds.
Third, use orange soap and a damp sponge or baby wipes (my preference) to clean soot off of the cut areas of the leather. Laser cutting any leather will result in charring at the cuts which is also known as soot. Unless you’ve somehow mastered some unknown technique on your Glowforge that I’d be thrilled to learn, don’t be surprised when you find a black line of soot when you run your finger along a laser cut piece of leather.
Fourth, use a cloth (can be slightly damp) and dab at etchings on the leather. Never wipe vigorously at etchings that you’ve put onto the surface of the leather because it’ll drag it around and discolor the surface of the leather. This can be difficult and sometimes impossible to complete remove – especially if you wiped the etching with a wet cloth or sponge.
Fifth, consider purchasing leather tools and mallet for stitching holes if you’re planning to do lots of leather projects on the Glowforge. As many of my fellow leather Glowforgers have learned, it’s difficult to clean the soot out of stitching holes. They’re generally small in diameter and difficult to get to with any cloth. It’ll take longer to clean each stitching hole than to simply etch a line and tool it with a diamond chisel, pricking prong, or round hole punch tool and mallet.
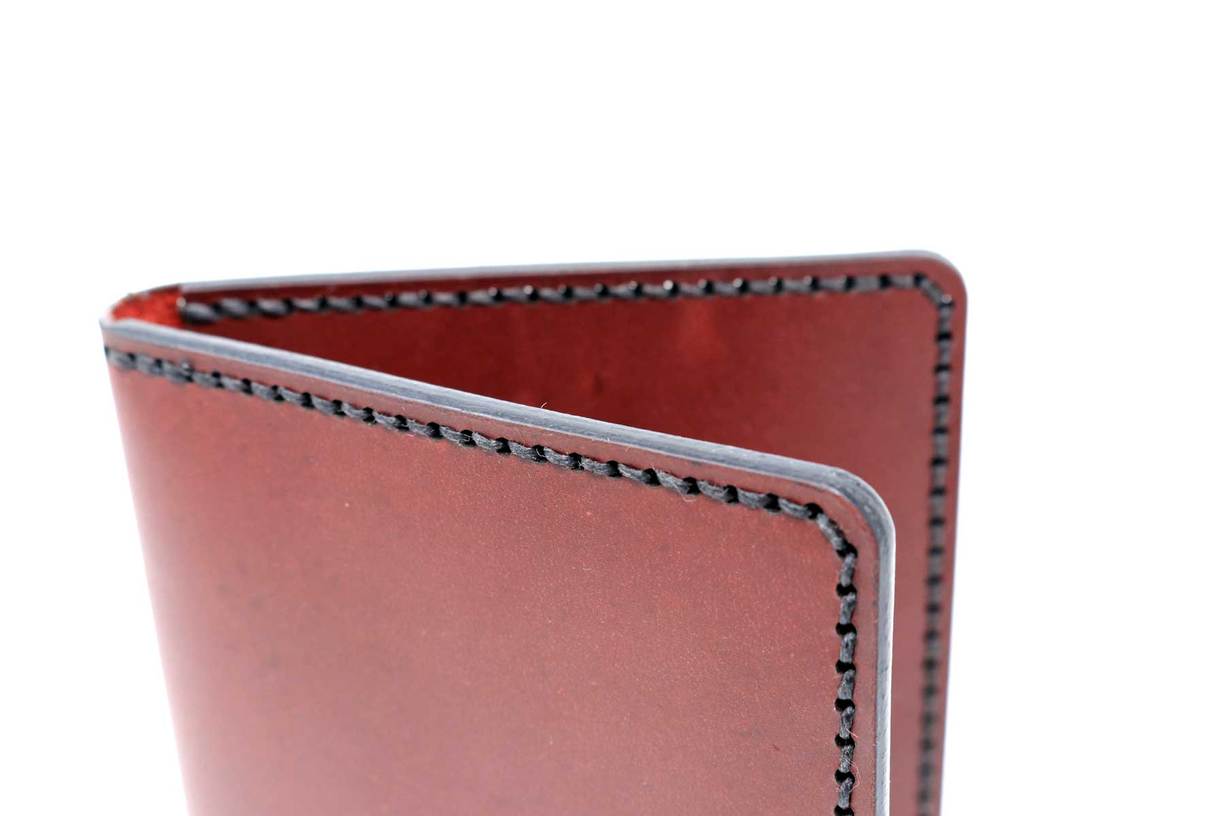
Sixth, laser cut edges will be near black in color. If you’re planning to finish the edges of your leather project and want the edge to have a natural finish that matches the color of the leather, you’ll need to either cut along the edge or sand it down. Sanding the edges of leather products before burnishing is typically done anyway. Personally, I like the black edge finish and it adds to the aesthetic of the product.
Bonus, leatherworking is about the assembly. If you’re new to leatherworking and you’re ready for a larger project, know that leatherworking is all about the assembly of various parts to create the whole. Sometimes, the parts are large and folds into itself with the edges stitched together. Other times, all sides are separate and pieced together.
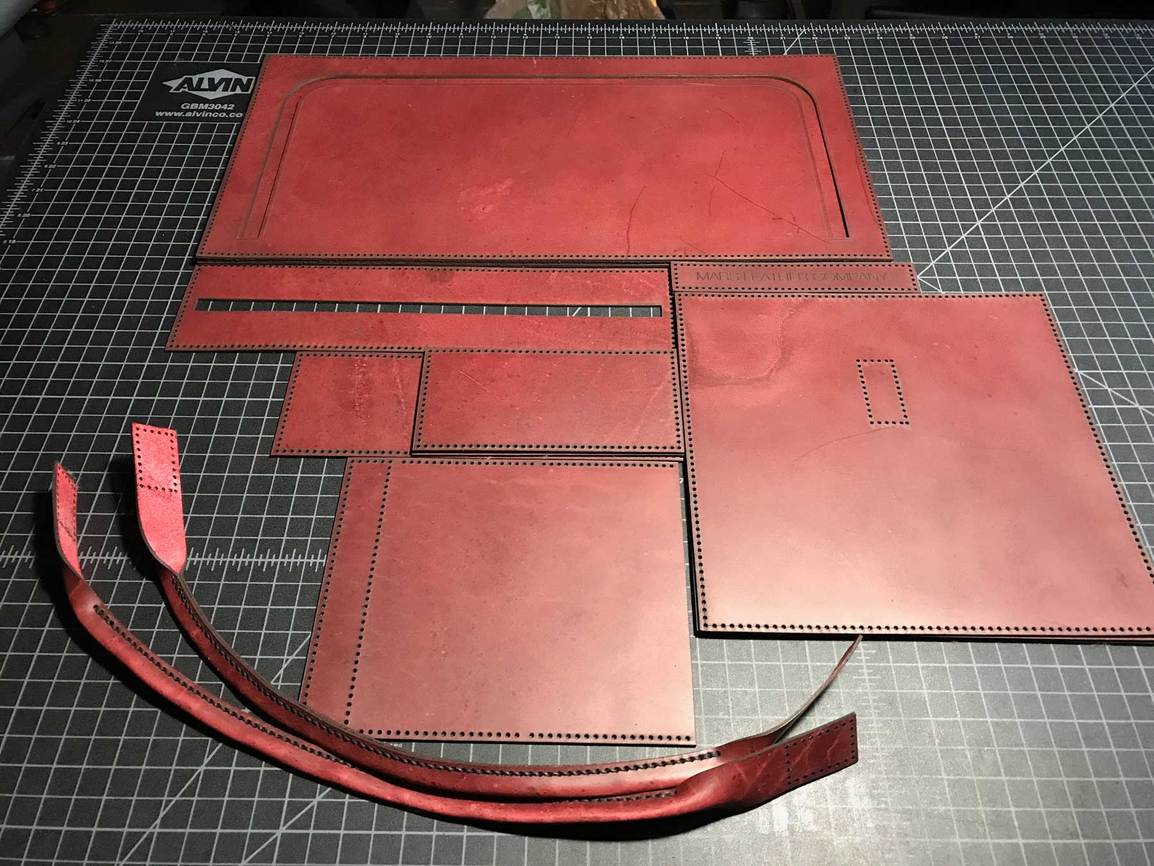
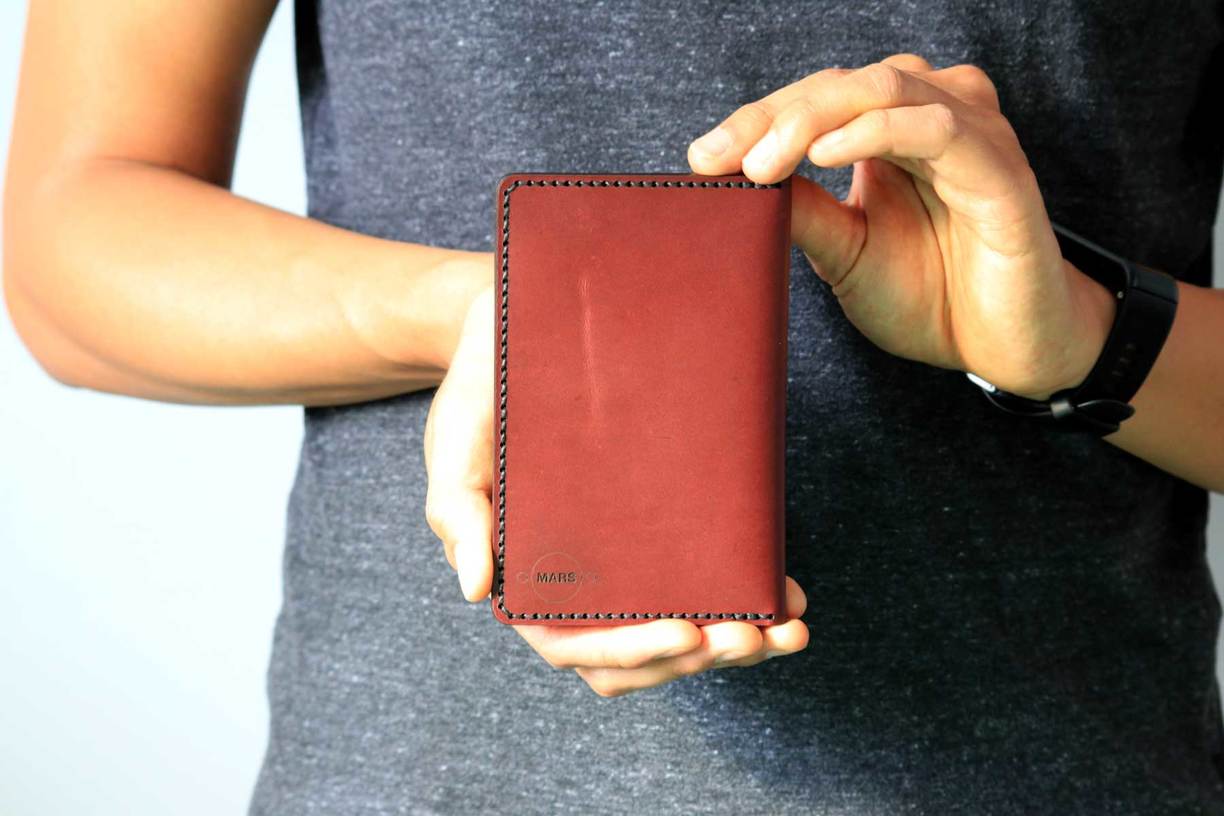
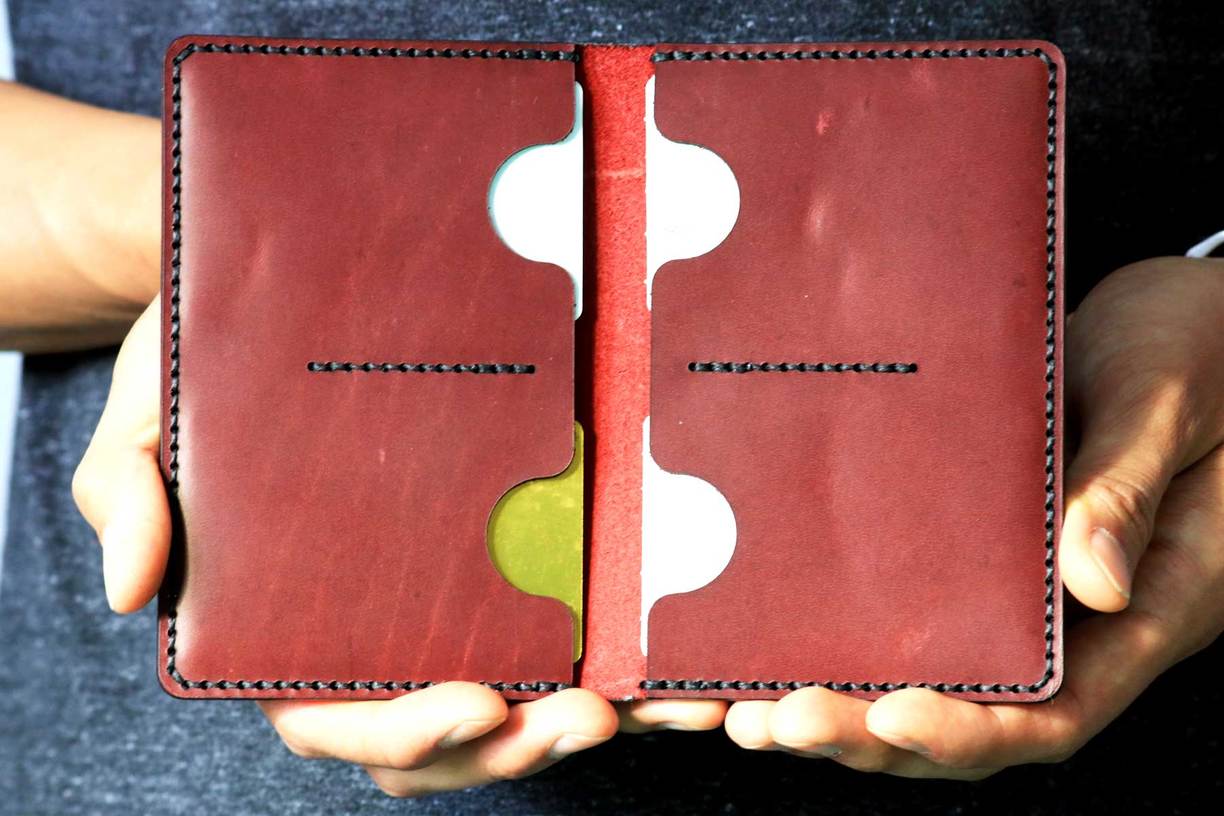
4. Bifold Card Wallet
Moving into an example project that incorporates the information from above, I’ll briefly talk about a bifold card wallet that I prototyped several months ago. For leather, I used a chrome tanned red leather that’s between 2.5 and 3oz in thickness. For laser cutting, I used my cheat sheet of settings that I cut for a previous project. Once all of the pieces were cut, I cleaned the edges using a baby wipe towel and hand stitched all of the pieces together. I liked the dark edges, so I incorporated it into the edge finishes.
Conclusion
There you have it! Some of my tips and tricks for working with leather and one of my smaller prototyping projects on the Glowforge. I hope this long post helps those of you out there who have wanted to work with leather, but couldn’t quite figure some of the minor things out. As always, if you have any questions or want to see what I’m up to, feel free to follow and message me on Instagram @marsleatherco.
I look forward to seeing your leather projects!
Tim Ung

