This is my second attempt at a leather field notes cover. My first can be found here. Scroll down for pictures, read to learn from my mistakes.
My first attempt was a baseline project to deep my toes into leather working. I snagged a design off of thingiverse, cut it, and stitched it. Overall I felt like it worked out better than I expected and I was very happy with the results, so I decided to wade in further. This time I started from File → New in Illustrator. Designing for leather provided some interesting challenges for an illustrator novice. I learned some awesome features of the program that will make future designing even easier.
This time around, I wanted to include slots to hold credit cards and cash so I could replace my wallet and field notes cover with one item. This, however, meant that I couldn’t use the same leather for the full piece. The veg tanned hides that I got are roughly 1/8" thick. Having enough layers of it to provide credit card slots would result in a wallet that would probably mess up my spine if I sat on it all day. Luckily my friend had given me some thinner leather that he had purchased and never used. I’m fairly confident that it is chrome tanned, and I’m aware of the potential dangers of lasering chrome tanned leather. But I didn’t want to waste the leather and figured I’d go ahead and do some short cuts (<5 minutes) on it. One of the pieces was a grey-blue, soft cowhide at .035" thick. The other was a greyish-brown lambskin that was insanely soft and very thin at .027" thick. I decided to use those for all the interior panels, while keeping the exterior leather the same as my first attempt to give the wallet some structural integrity.
I foolishly didn’t do any test cuts on the leather prior to trying to make the cuts. The result was some wasted material and duplicating all of the inserts at least once. I started out with the power way too high. I knew it’d need less power for thinner material, but had heard that chrome tanned didn’t cut very well. So I wanted to make sure I was cutting through. Full power at 170 made the leather curl up upon cutting. To make things worse, I couldn’t control all of the ordering to make the holes cut out first, so the holes were completely messed up as the leather bent upward midcut. The lambskin was the toughest. The first cut on the blue cowhide probably woulda been usable, but the holes were too close to the edge and I decided it’s better to cut again than to end up with a bad product at the end of a lot more material and work. I ended up going 100 power, 240 speed on the lambskin. It cut through almost perfectly with no curling. A couple of spots it seemed to not cut through all the way, but it was basically just the masking that hadn’t cut through, so it pulled apart easily. The blue cowhide i cut at 100/200. I couldn’t get the masking to adhere to this skin, so I cut it unmasked and it didn’t have any issues.
As I mentioned, the design phase also had its challenges. The first I ran into was in trying to round just 2 corners of a rectangle. Illustrator tries to do all 4. I had to use the scissor tool to cut the rectangle into 2 half rectangles. I then selected the side with the 2 corners I wanted to round and choose Effect → Stylize → Round Corner. This did split the rectangle though, so when Gary the forge cut it, it cut one piece, then some holes, then the other piece, then some holes. Nothing seemed to be wrong with the end result though, so it turned out ok.
I used the pen tool to add some curves into the panels so that they didn’t look too boring. I’m still getting the hang of the pen tool so it took a some playing around with handles. I drew half the curve and then copied it and clicked transform->reflect to make it symmetrical. After drawing the curves, I added anchor points to the rectangular path where it joined the curves, then direct selected the line segment that originally joined those anchor points and deleted it.I measured out the card slots so that they wouldn’t overlap and I could see all the top cards at once. This meant having to make the cover an extra inch in length (half inch folded), but I didn’t want the cards to feel too cramped.
Finally came part I wasn’t looking forward to. Adding the holes. I figured there must be some better way than manually copying and spacing things. A little google-fu later and I discovered this useful technique for placing objects evenly spaced along a path. The 4 minute watch may save you hours if you’re doing something similar.

I drew all the layers on top of each other so I could just place the holes once and make sure they all align. That said, not all the holes needed to be cut into all the pieces. I found when I tried to select a single hole (even with direct selection) it would select the entire path that the holes were on. If i tried to cut the path or delete segments from it, it completely messed up the spacing of the holes. A bit more googling and I found out about the Object → Blend → Expand command. This takes a blend like the one we created for the holes and tells illustrator to treat them all as individual paths like it would if you had created it manually. I was then able to delete holes for certain pieces and able to do a little tweaking to spacing around one spot where the stitch lines crossed.
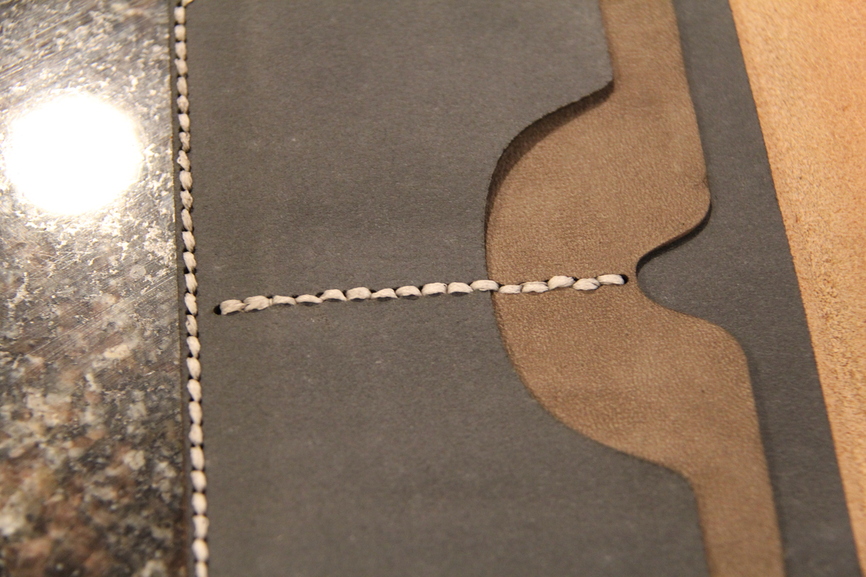
After splitting the file into individual SVG’s, and cutting them (several times) I continued on to the stitching phase. This time I decided to be brave and use my white thread for the added contrast. I wisely chose to stitch a line that would end up being completely hidden first. That was a very good call. I was sewing a piece of each of the thin leathers together. I had trouble keeping everything straight with the thin leather flopping all over the place. Plus the white thread got really dirty from the char on the inside of the holes. After seeing the struggle I was having with the thin leather, I almost reverted to black thread. The only one in white would be completely hidden. But I decided to forge on (pun intended) with the white.
My second line was a little better, but still pretty wobbly. It was while stitching this line however that I realized part of my problem. I wasn’t making sure the threads crossed the exact same way each time, so sometimes the thread would exit the hole high, sometimes low. Here’s the bad line. Don’t judge me too harshly :-).
After that I did the front panel and then the back. The back ended up looking the best as I had finally hit my rhythm on stitching. The tricky part of saddle stitching is the 2nd half of the stitch where you push the thread through the same hole that you just came through from the front side. You have to be careful to not split the existing thread and be mindful of how the threads are crossing to make sure the entrance/exiting of the thread through the hole remains consistent. To achieve this, I would take the thread that had just passed through from the front and pull it backwards and to the inside. This allowed me to push the 2nd half of the stitch through the front part of the hole, allowing it to be ready to jump through the next hole. Keeping the first half pulled tight also helped with keeping the stitches from loosening up as I went.
Overall, I’m again very happy with how things turned out. I’m improving my technique as I go. I forgot to also mention that I improved how I did the fold. Rather than clamping the leather directly, I put it between two half used pieces of plywood, and clamped those together instead. Having a hole in the plywood allowed me to situate the wallet so I could line up the edges as I clamped the fold. The plywood did a good job protected the leather from being marked by the clamps and ensured that I got an even fold this time. Thanks for making it through another lengthy post about my projects. Here are the pictures as promised:
Front:
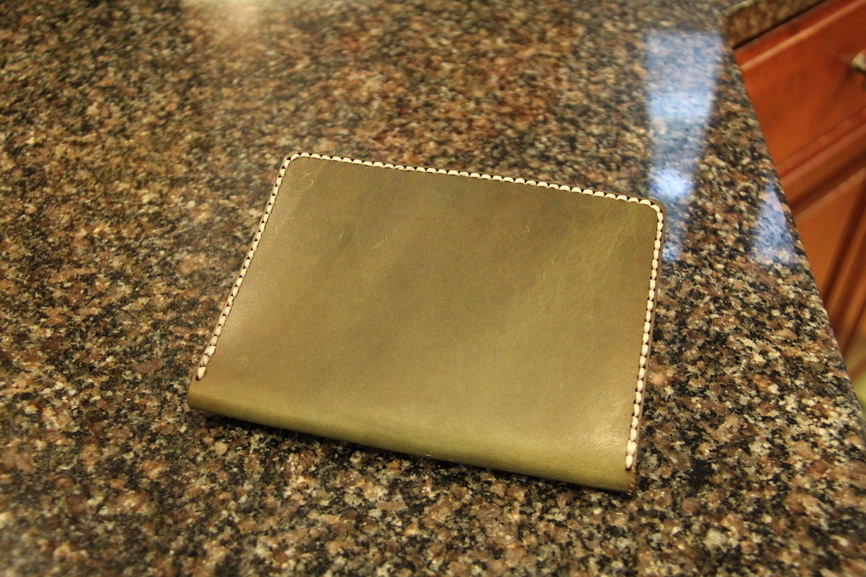
Back:
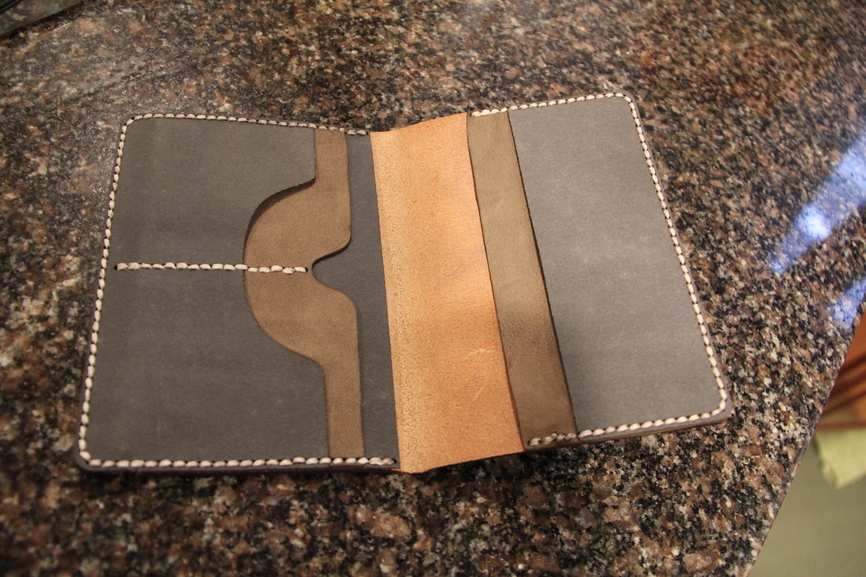
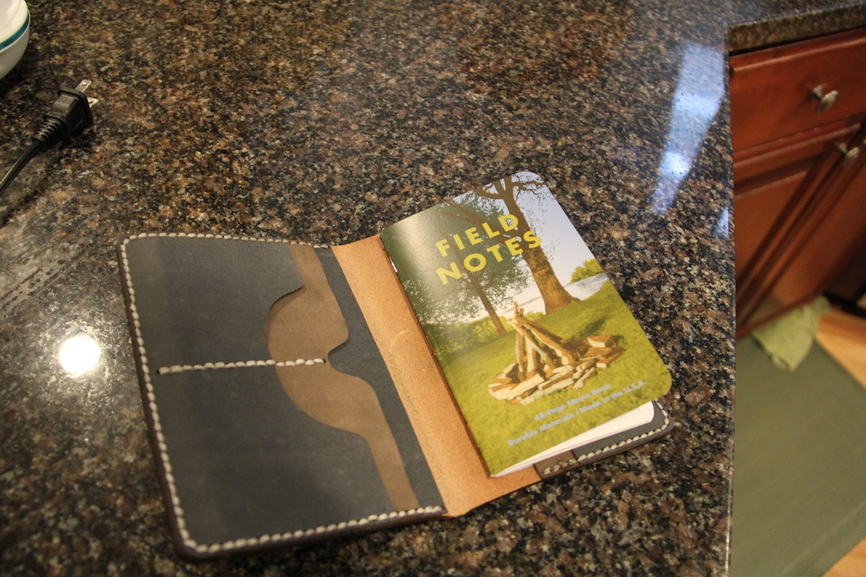
Open:
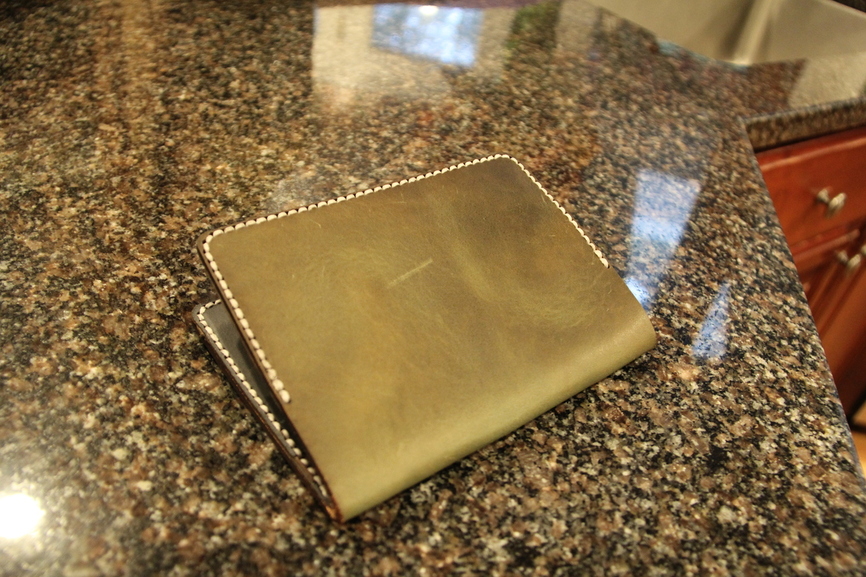
With Field Notes in:
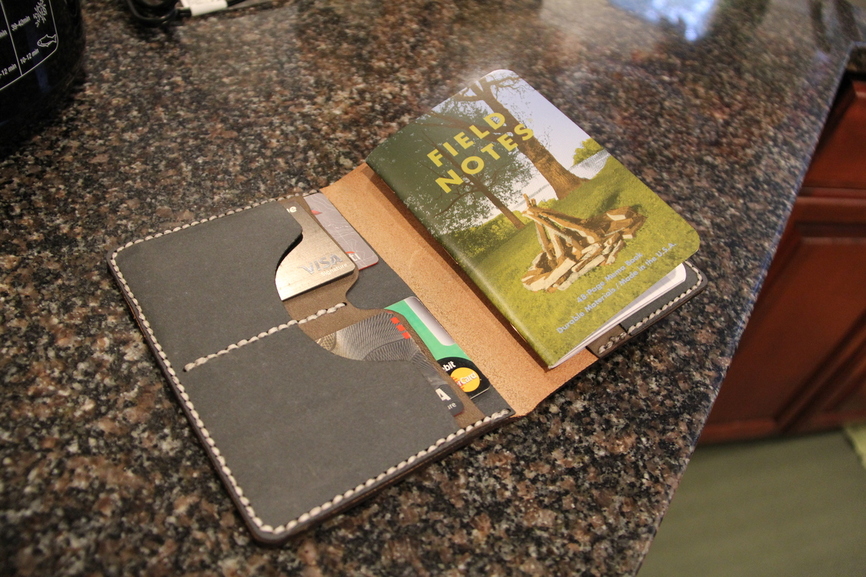
With cards:
Note: I’m planning on stamping the front instead of engraving this time. I’ll make another post on that when I do it. I was just excited to share this and wanted to come type it up.
