I am just curious what kind of leathers people are using out there for their Glowforge, and what you like to use as a setting. I like to use the Thick Natural Leather Proofgrade Engrave/Cut, except I slow the cut down by “5”. Are there better settings out there anyone has discovered?
Hello and welcome! Leathers can be pretty inconsistent in color, quality, and type, so I’m thinking that some people’s go-to settings might not work the same as others. I normally just go with the proofgrade settings. I’ve used proofgrade and Tandys and just have to test before committing.
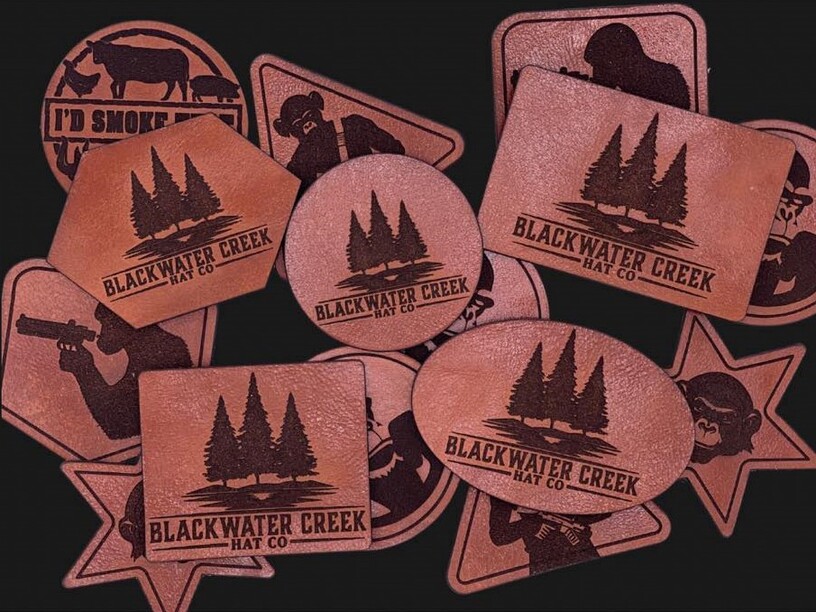
Welcome to the forum! Your patches look really nice. I’ve used the PG leather I got when I first received my Glowforge, and some 3-4 oz Tandy Leather, both with just PG settings.
Your patches came out great! While you are looking around the forum, be sure to check out some of the embossed leathers people have done—it’s a different technique that looks fabulous. Search for leather embossing or leather stamping.
I stick with the PG settings, but I get my leather from various sources (Tandy is popular, but I’ll pick it up whenever I see a good price )
If I’ve got a piece that regularly doesn’t cut through on the PG thick setting I drop the speed to 142 (from 168) and so far so good! I used to run a 2nd cut at a higher speed, but found this to be just as effective.
(I switched your post from Everything Else to Beyond the Manual as that’s the only place we’re supposed to talk about non-PG settings)
I generally find that 1-2oz veg tanned stuff does great on the medium setting. Things like goat or deer that’s quite thin despite its strength I’ll use the thin. Much of my stuff is 3-4oz plus and for that I use the thick. For something like 11-12oz stuff it required many many passes to get through, so instead I do one good cut and then pull out the eXacto to finish it
I have tried a lot of settings to cut leather and just cannot get clean cuts. I always end up with sections that do not cut all the way through. I know the hide has a lot to do with it but I am open to suggestions. I have even tried more than one pass…always has that strand that does not cut and then when I try to use a blade to cut it, the result looks really bad. I am still learning…
Hey Richard! I have done all of the patches you see in the picture above. Make sure your optics are clean is number 1. When they get dirty, it affects the cut. Number 2 is your settings. I use thin natural leather proof grade for the super thin stuff. Otherwise I use thick natural leather proof grade.
I highly recommend this leather. I also recommend purchasing the entire side.
Best tip— DO NOT MASK THIS LEATHER. Put the leather on the honeycomb tray, case the leather with water, carefully stack some heavy books on top the leather. 30 minutes later the leather is ready to be cut with the laser machine…