I have been wanting to do more than just cutting and engraving with leather, which Glowforge makes very simple! A few years ago I put several leather working tools and accessories on my Christmas list. This year I finally got to put them to use. I hope this post encourages anyone that is on the fence wondering about getting started with leather to take the plunge. It’s a lot of fun and I’m looking forward to making a few more gifts this holiday season (wood coasters have been my go to for the last few years…)
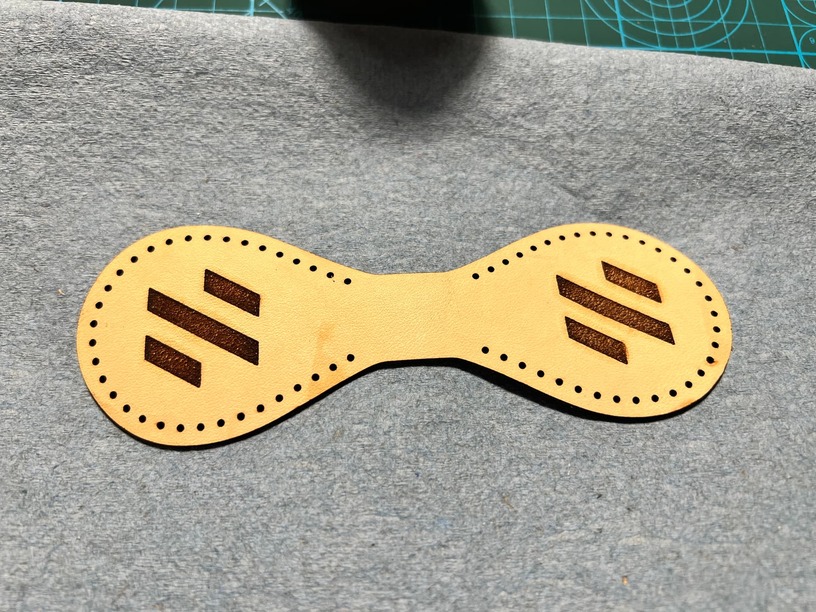
Here is a stitched key fob design. I purchased this design on Etsy, from “MAKESUPPLY”. I think it’s a great starting point. I also found a free design for a wallet on Make Supply’s YT channel that I am going to do soon.
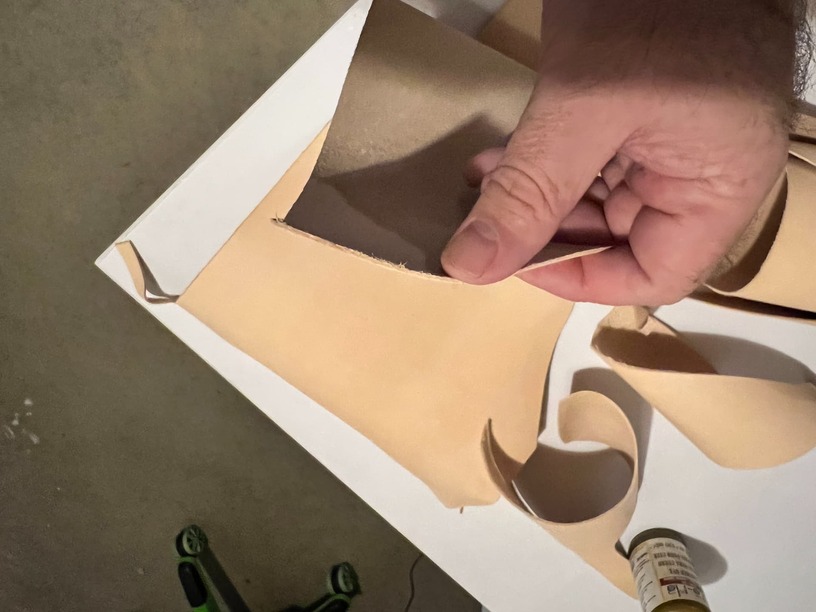
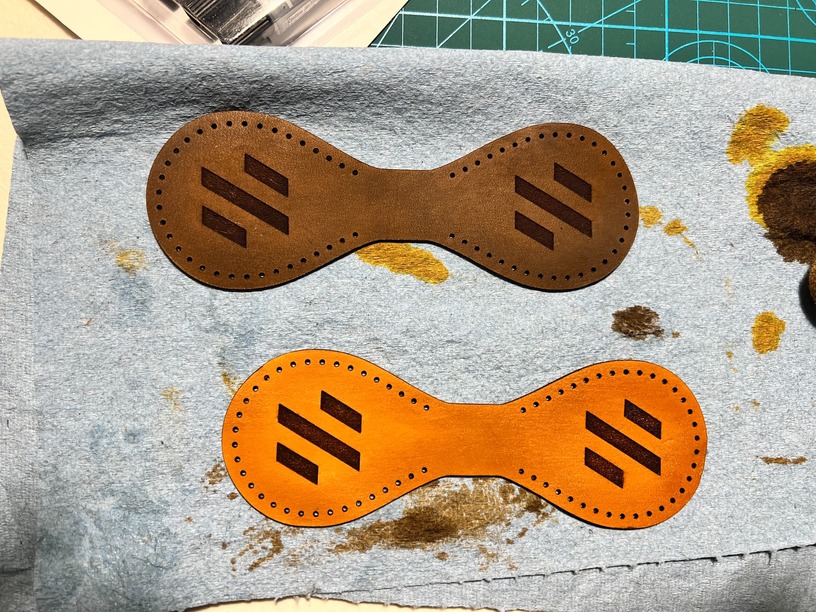
For the Key Fob design, you want 3-4 oz leather (or around 1mm thickness). I used some scrap veg tanned leather, but I’m sure Glowforge Medium Leather would work fine also. I masked the leather and cut it using the Glowforge Medium Leather settings.
A few of the things that I learned about on this project:
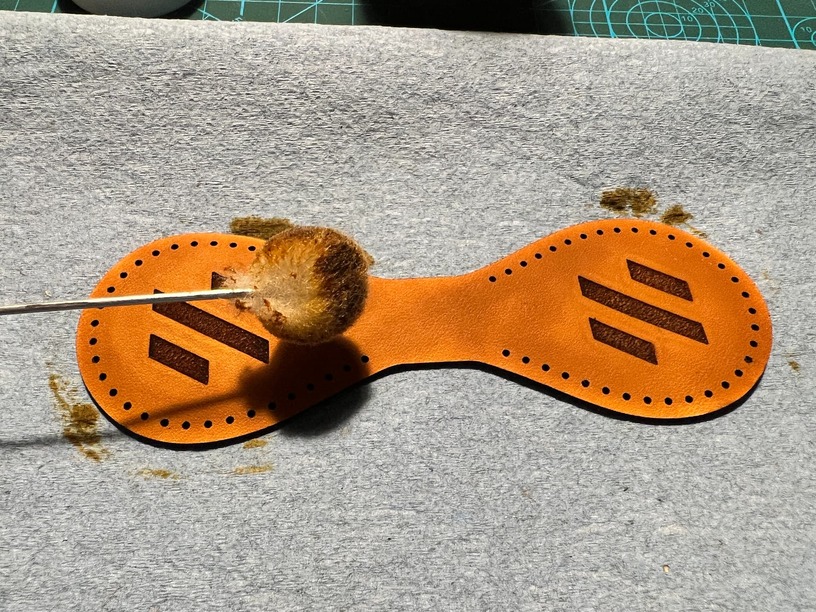
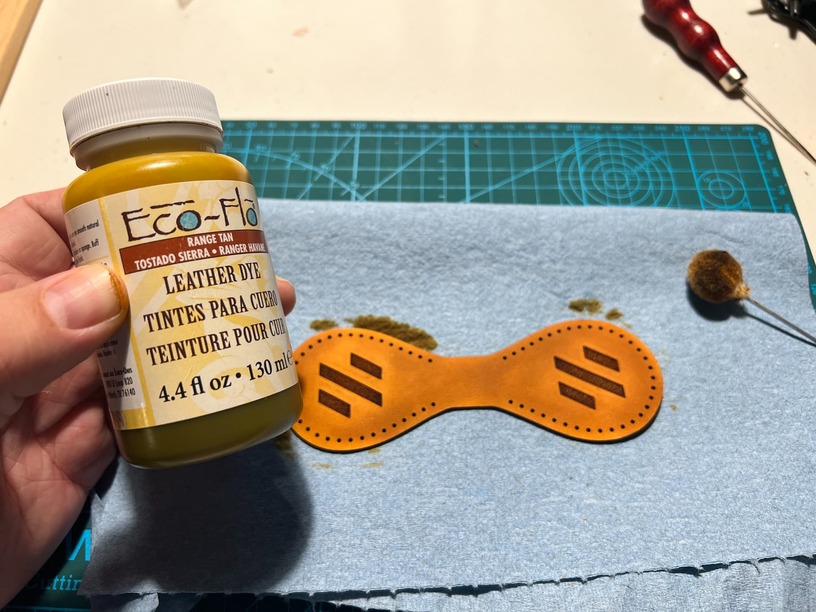
- Leather dyes - I like the Eco Flow brand. They seem to really work well with veg tanned leather. I used a “dauber” to apply the dye all in one setting, with about 3 coats.
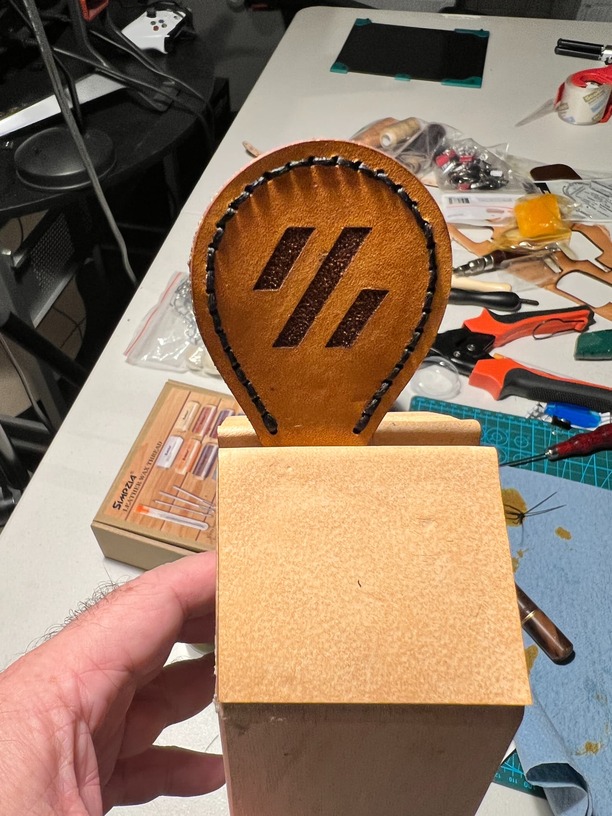
- Saddle Stitching was intimidating to me at first. I have never done much sewing, but I found a video (also by MAKESupply, the Etsy Seller) that showed the process. I used a fairly cheap stitching pony from Amazon (under $30 for a kit). It was pretty easy to get the hang of.
- It took a few tries before I figured out the right thread weight. I went with a .06mm “tiger thread” that I think looks great.
- Not pictured: I used some rubber cement to glue the back together.
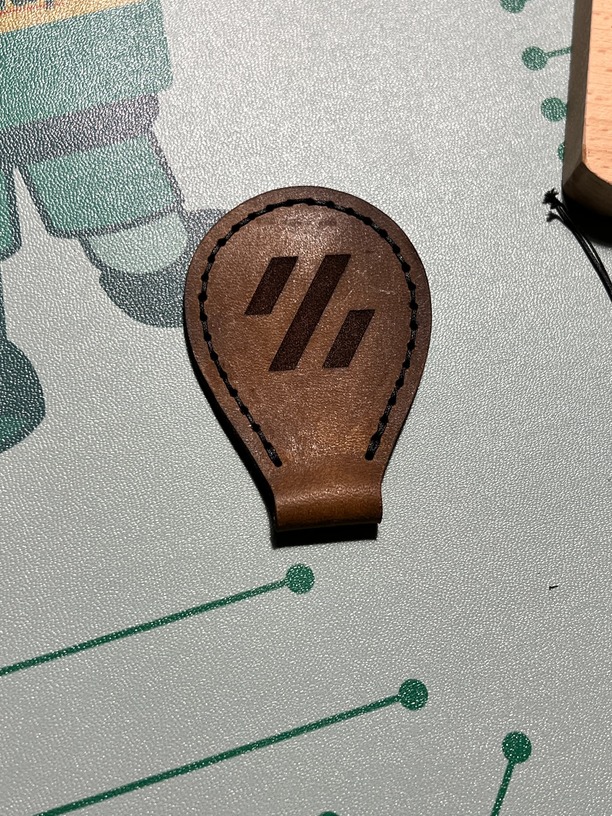
Bonus points if anyone recognizes the logo! Also, the final picture below is a different dye (java brown) with the proper .06 thread. The lighter tan one was done with a larger 1mm thread.