As I mentioned in another post, I’ve been experimenting with molding leather trays. I have a quick rundown of the process below plus have attached the STL files in case anyone wants to make their own molds.
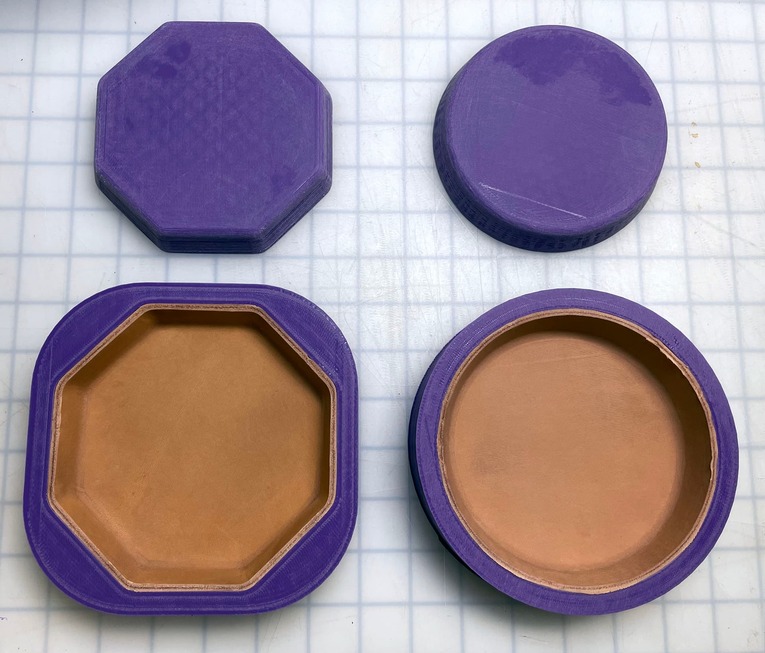
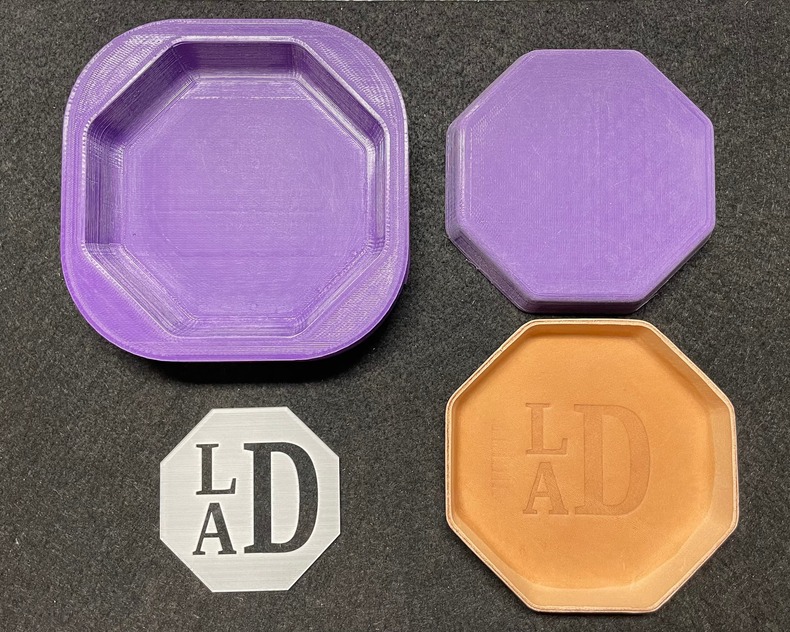
3D print molds
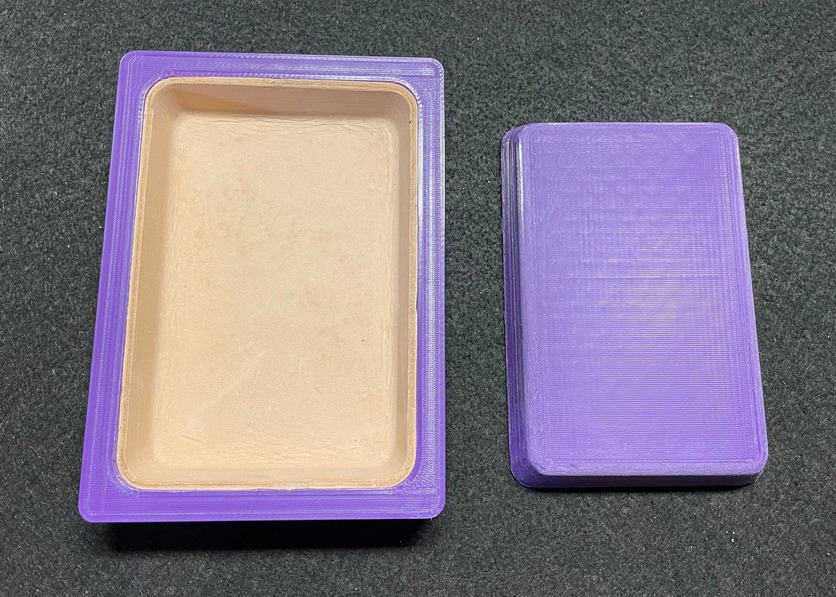
I cut 2 pieces of leather for each tray and glued them back to back so that I ended up with finished surface on both sides. I used medium proofgrade leather because that’s what I had. I designed mold halves with a little less than 1/8" gap so 2 layers of medium or 1 piece of thick leather should work. For whatever size tray, I cut the blanks about 2" bigger to fit mold and have a little extra to trim off (4"x6" tray - cut pieces at 6"x8").
Soaked leather in water for a few minutes then pressed into cavity side of mold using core side. Nothing special done here to prevent wrinkles. The wet leather molds really easily.
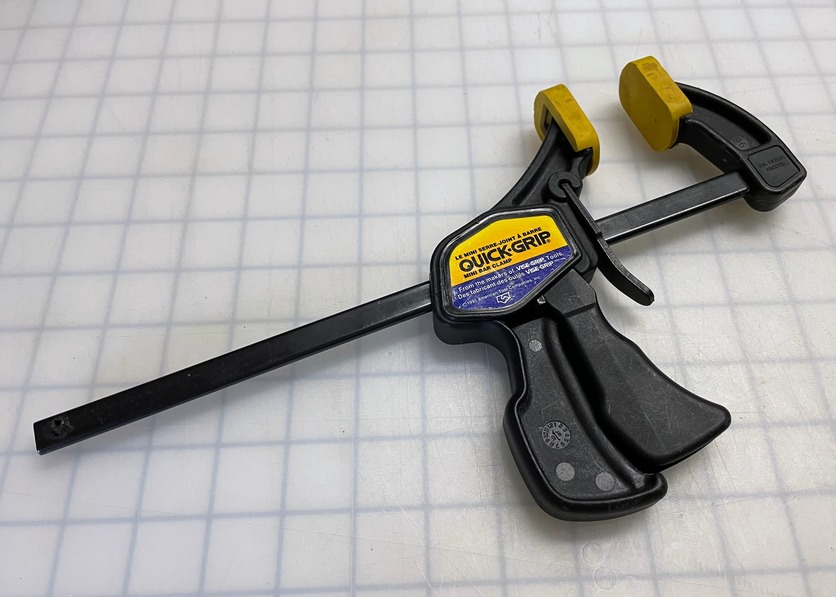
Clamped mold tight for while.
Before removing core side, I trimmed off excess leather with sharp razor blade (easier to get a good straight edge while in mold).
-After removing core side, I left tray in mold for a while to dry completely.
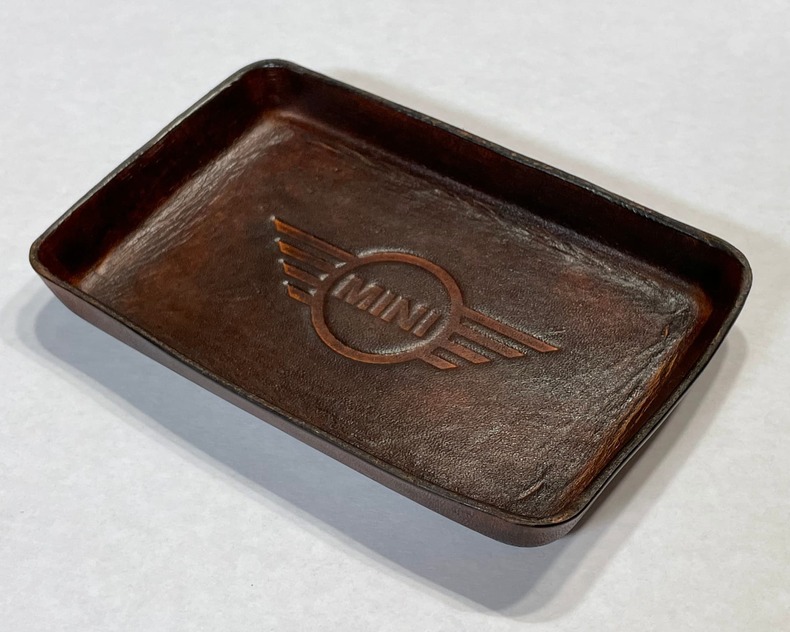
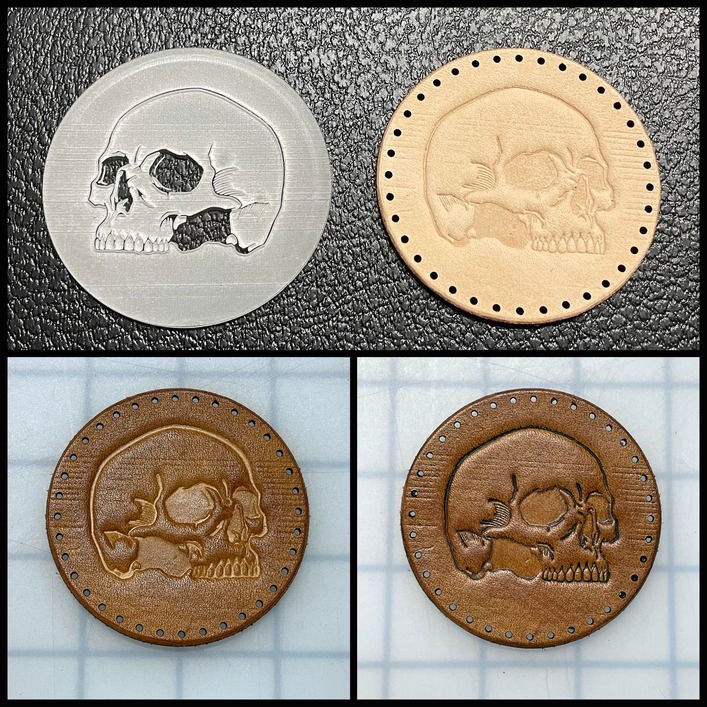
For the one tray, I used my Glowforge to make a stamp out of medium acrylic. Just be sure to reverse your image (something I have forgotten to do on multiple occasions). I make 2 passes on engraving to get deeper features. I lightly wet the bottom of the tray then pressed in the stamp.
Takes only a few minutes to create the parts in my design software, but about 8 hours total to 3D print both mold halves. Could take a little less time but I make the walls thicker for better durability.
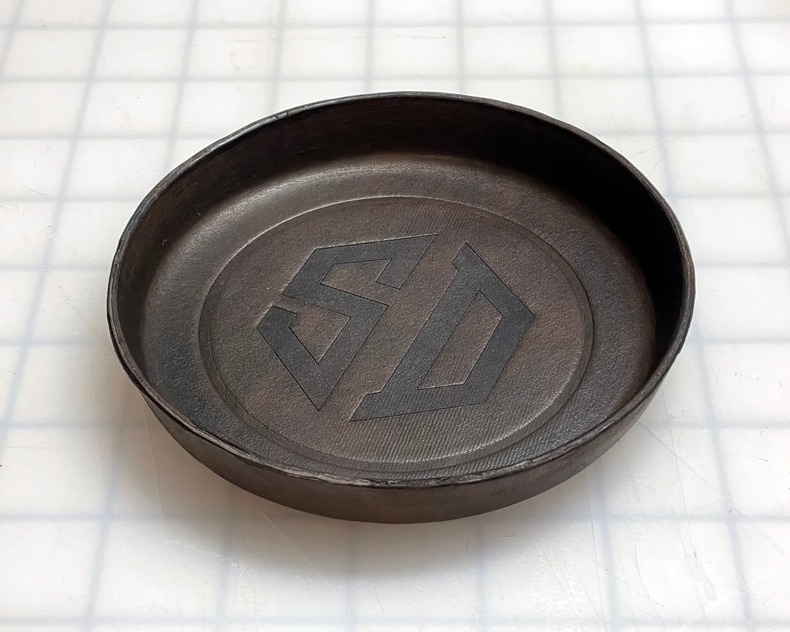
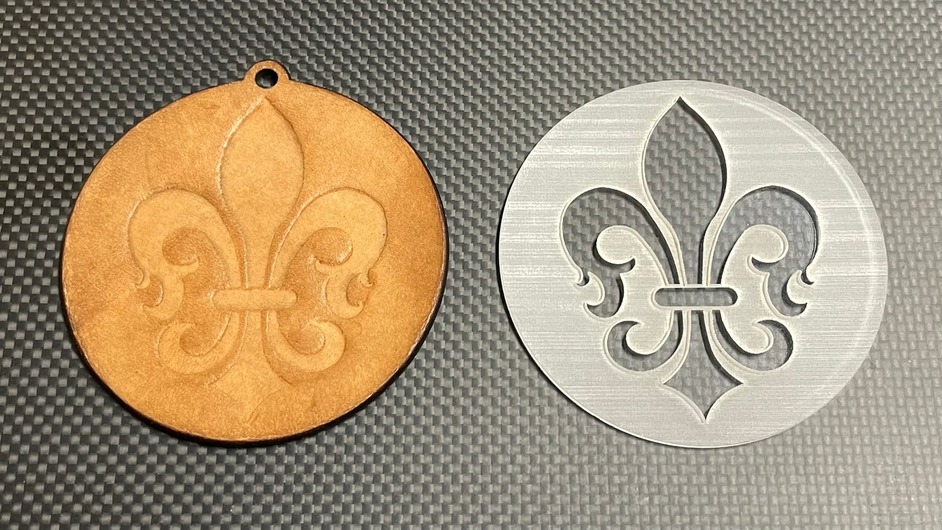
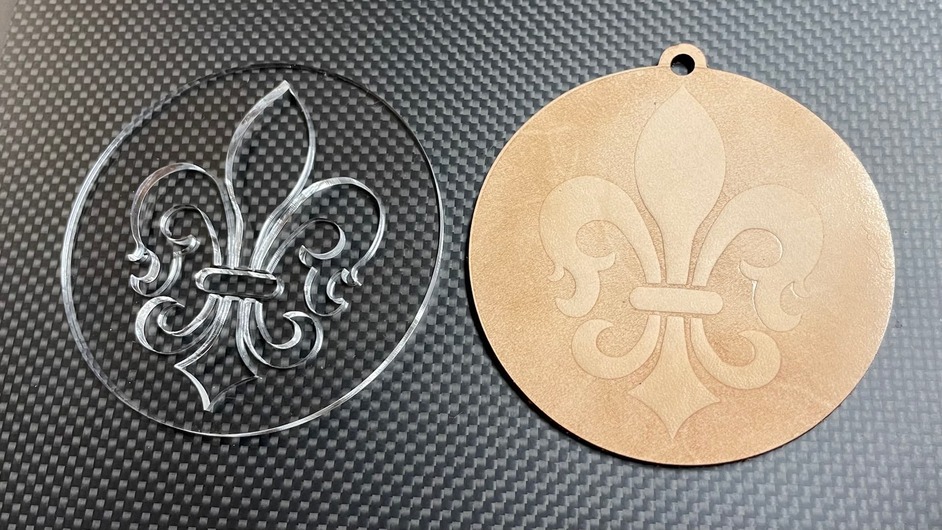
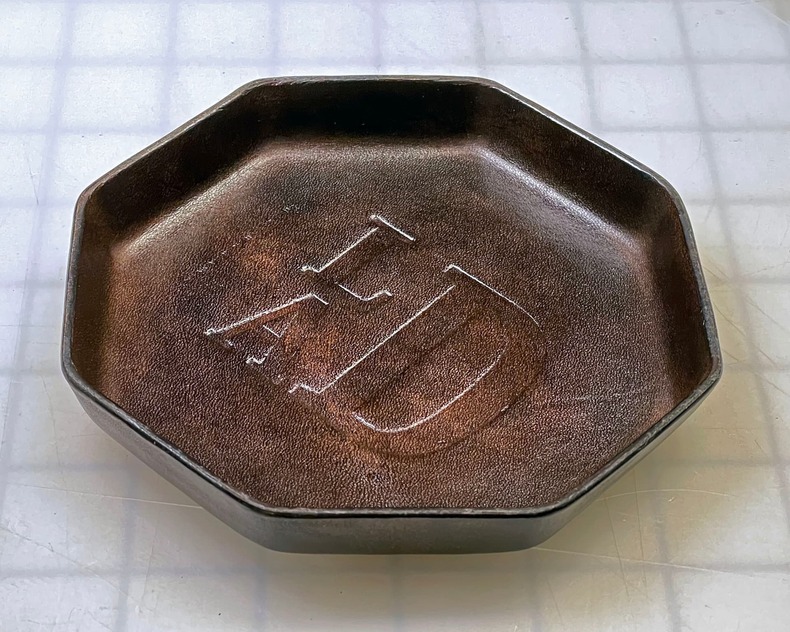
Here is the final result for the round tray.
Molded the tray, embossed the monogram with stamp made out of medium acrylic, dyed with Fiebing’s Pro Dye Chocolate.
If I’m stamping a flat piece, I will sandwich between a couple pieces of wood to get pressure more even.
When stamping the trays, I just put it back in the mold with the stamp and clamp.
Either way, I lightly wet the leather first. I also find pressing the stamp in a little by hand first helps it stick and keep from moving when clamping. I don’t clamp for any specific time…doesn’t seem to require long.