EDIT: I revised the steps below to be more complete.
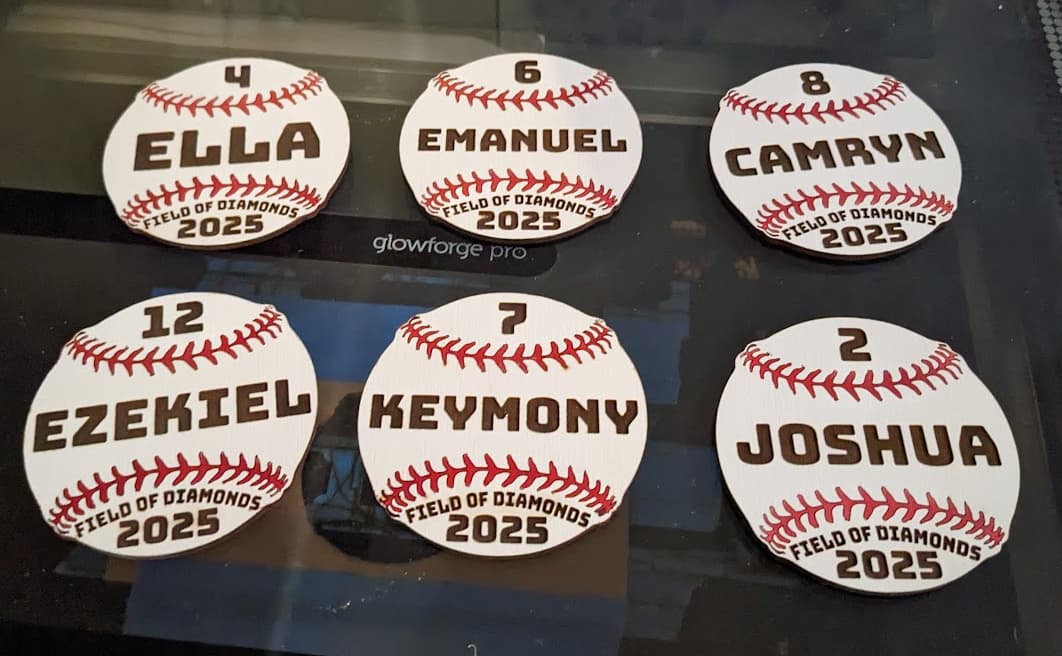
My brother got roped into coaching a little league team and he wanted to give some goodies to the kids after the season, so I got roped into doing that. They came out pretty good. Standard procedure.
Paint sheet of 1/8" plywood white.
Sand plywood when dry
Second white coat and sanding if necessary
Cover in masking tape
Score tape for seams and cut out baseball outlines in one laser setup.
Remove blanks from laser and weed the tape from the seams.
I had to do two sheets. One of the sheets I had some transfer paper to use for masking. It’s paper-based and laser safe. It was a pain to apply without wrinkles, but definitely gave a good result. The other one I just covered with cheap painter’s tape. That left a bit of a scorch line wherever the tape overlapped and thus didn’t perfectly seal to the surface, but I was able to touch it up with a cotton swab dipped in rubbing alcohol.
Solid workflow. You didn’t mention at what stage you did the cut to get the baseball rounds. Did you do that at the beginning or did you do it at the end as one big sheet of cuts?
I cut the baseball outline at the same time as I scored the tape for the laces.
I was working with 12" square sheets of plywood, and I could fit about 8 on each sheet, so I scored all of the laces for a sheet and cut them all out in one laser session. Then when it was time to do the text engraving, I took a piece of cardboard and taped it to the bed (you can see it in the bed in that image) and cut the outline of one ball, taking note of the exact offset with the ruler tool. Then each text engraving was simply dropping a blank into the hole (the seams are raised on the edge, so the ball keys into the hole and keeps the alignment precise), positioning the design at the same offset, and turning off all layers but text.
I’ve done this in the past by doing a full bed of different text engravings, but I’ve found for a smallish batch, a dozen or so, it’s easier for me to just do them individually. The time saved by doing them in big batches is lost bit by bit as you have to set up a complex alignment rig and juggle different designs in one file.
I liked the look, too. But the bumps also turned out to have utility, because they meant the ball would only fit in the alignment hole one way, so I didn’t have to stress about precisely orienting a circle. Though I guess if they were all perfectly circular I would have done the outline cuts as the last step and just aligned the whole sheet.
I think you might find that it’s simpler than you think to do them in larger groups. You just set up your SVG to have the text in the correct places and save your ball outline cut out until the end.
In any case if you have a workflow that works well for you then there’s nothing wrong with that!